Real aquarium vibes without having to worry about a real fish. If you’re looking for a nice addition to your home, aquariums would be nice. They give off a calming, positive vibe.
However, it can get costly. It also requires time and effort to maintain both the aquarium and what’s in it. Frankly speaking, not everyone has the patience. They’d just end up neglecting it in the long run.
If you have long wanted an aquarium, but cannot keep up with the maintenance, listen up! Aquarium jars are perfect for you.

It’s a no-sweat and this is almost a no-expense project that you’ve always wanted. The big advantage is, that you won’t have to worry about the fish!
If you’re looking for some creative and inspiring ideas for your jar design, then look no further! Check out these 8 eye-catching oceanic aquarium jar designs that are sure to inspire you!
Click on any image to start the lightbox display. Use your Esc key to close the lightbox.


Contents
How to Make a DIY Aquarium Jar?
This project promises an enjoyable bonding experience for your family. With minimal supplies, you can produce an artistic masterpiece that will invigorate your household.
Unleash your creativity and explore the boundless opportunities for creation. You might even uncover a hidden artistic skill. Don’t hesitate, initiate your artistic journey now!
Materials
Before we dive into the steps, here are the supplies you will need to create your DIY aquarium jar:
- Jar
- Any clear glass container can be used, such as a mason jar or large vase.
- Pebbles/small rocks
- Use these to create a base for your aquarium.
- Water
- Fill your jar with clean water.
- Artificial aquatic plants
- Acquire natural-looking accessories for your aquarium from craft stores or online retailers.
- Seashells (optional)
- Adding seashells can give your aquarium jar a beachy vibe.
- Toy fish/octopus
- Use these to add some life to your aquarium.
- Scissors
- You’ll need these to trim your artificial aquatic plants to the right size.
This lovely masterpiece is ideal for showcasing in your living space. Its exquisite artistry and craftsmanship will surely impress your visitors. It’s a fantastic way to express your imaginative side.
Also, your children will love in joining you while creating these captivating pieces. Moreover, they make exceptional presents for loved ones.
Step-by-Step Instructions
With the following simple steps, you and your family can create a vibrant DIY aquarium jar.
Prepare the Jar
Before starting your DIY aquarium jar, it is important to guarantee that the jar is clean and free of any dirt or debris. The debris or dirt within the jar could potentially make your project less attractive.
Consider using gentle dish soap to cleanse the jar, ensuring that any soap residue is thoroughly removed with warm water. Beginning with a clean jar will result in a stunning and long-lasting aquarium.
Add Some Small Rocks
After cleaning the jar, ensure it is completely dry before continuing. Next, incorporate a layer of small rocks or gravel into the base to provide support for the artificial plants and toy fish that will be added later.
For optimal visibility of your toy fish, we suggest opting for light-coloured gravel. The size and colour of the gravel can be tailored to your personal preference and the overall design scheme of your aquarium jar.
Before adding them to the jar, it is important to ensure that the rocks or gravel used are free of dust or debris. This measure will guarantee the water in the jar stays clear. By sticking to these precautions, you can establish an aesthetically pleasing project for your home.
Add Your Artificial Aquatic Plants
Enhancing the natural appearance of your DIY aquarium jar can be achieved by incorporating artificial aquatic plants. You can easily purchase these from pet stores or online. Personal preference and jar size can determine the selection of plants, which come in different sizes and shapes.
To create a visually appealing appearance in your DIY aquarium jar, it is vital to arrange the artificial plants in a natural manner. Clutter or mess should be avoided. The use of tweezers can assist in the delicate placement of the plants into the gravel, guaranteeing they stay secure despite water disturbances.
Arrange the larger plants towards the rear of the jar and the smaller ones near the front to provide depth and enhance the spaciousness of the jar. Introduce various types of plants to create a captivating underwater habitat.
Certain plants can be positioned in the gravel, whilst others can be affixed to rocks or driftwood using fishing lines or plant glue.
Add Your Toy Fish or Octopus
Once you have adorned your jar with artificial aquatic plants, it is crucial to carefully choose the appropriate toy fish or octopus. Consider the dimensions of your jar and the area in which your toy creatures can move about.
For smaller jars, select small toy fish like guppies or neon tetras as they require less space to move. For larger jars, choose bigger toy fish like goldfish or bettas.
Fill with Water
Once you have arranged the artificial plants and included the toy fish, it’s time to fill the container with fresh water. It’s advisable to use a funnel to prevent any spillage or splashing on your creation or work surface.
Gradually add water to the jar, leaving some room at the top for ventilation. Be mindful not to overfill the jar as this will result in water overflowing when you attach the lid. Once you have filled the jar with water, give it a gentle swirl to distribute the gravel and adjust any plants or toys that may have shifted.
This will also help to release any air bubbles that may have formed in the water. After swirling, let the jar sit for a few minutes to allow the water to settle and any air bubbles to escape.
Close the Jar
When the water has settled and you are satisfied with the arrangement of your fish and plants, it’s time to place the lid on the jar. Make sure that the lid is secure and tight to prevent any accidental spills. And that’s it! You now have a beautiful aquarium jar to admire. Take a moment to appreciate your creation and the effort you put into it.
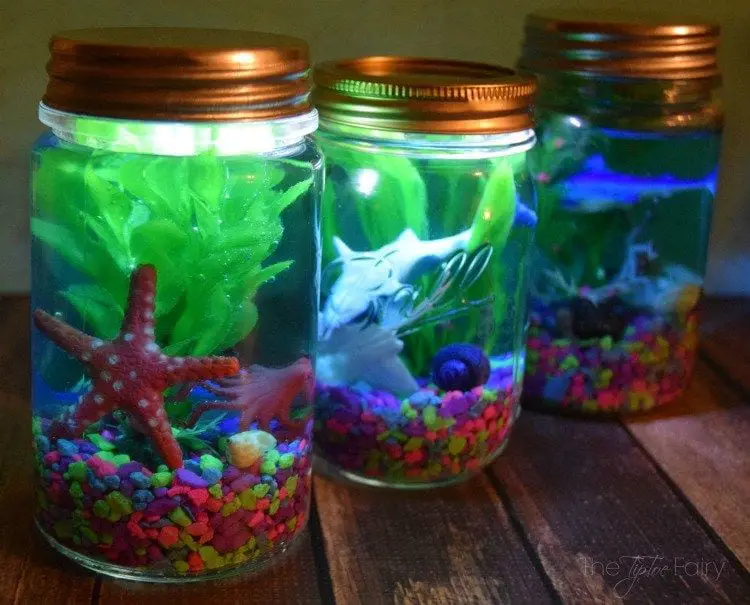
To showcase your DIY aquarium, position it in a brightly well-lit area within your home, avoiding exposure to direct sunlight. An ideal location could be near a window that receives indirect sunlight, highlighting the jar’s natural aesthetic appeal. Additionally, increase its appeal by including LED lights, producing a captivating and enchanting ambiance.
Cute DIY Aquarium Jar Designs
Here are some starting ideas. Your options are limitless, so unleash your creativity and design a personalized aquarium jar that reflects your individuality and taste.
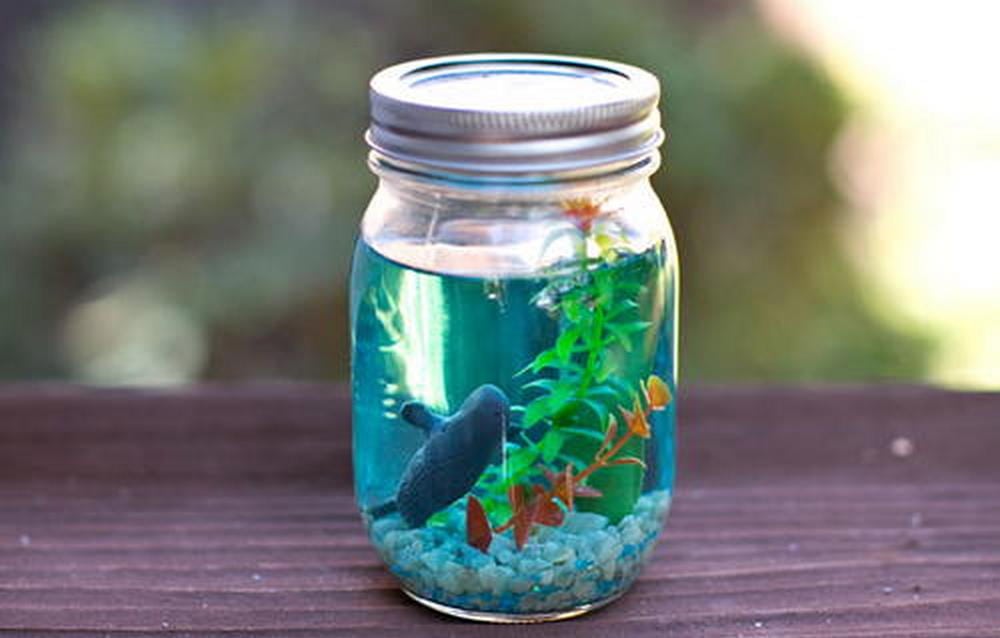
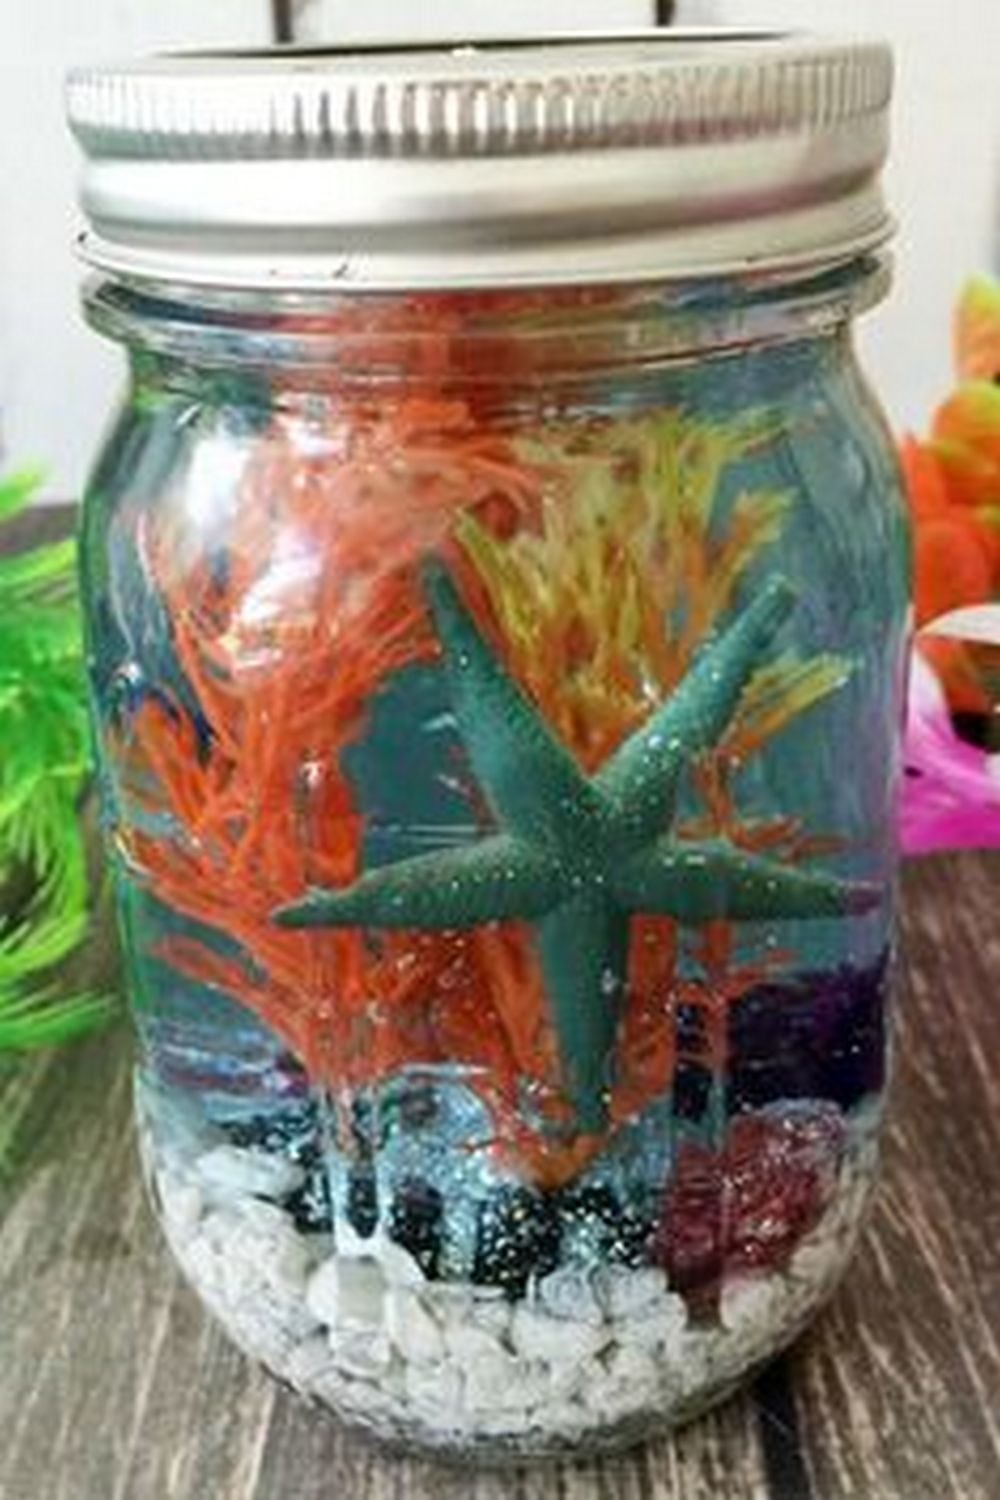
Beachy Theme
- Use sand instead of gravel and add seashells and artificial coral to create a beachy vibe. Add a toy octopus or crab for an extra touch.
Fairy Garden Theme
- Use small stones as substrate and add miniature fairy garden accessories such as a small bridge or a tiny mushroom house. Add small toy fish or even a miniature mermaid for a whimsical touch.
Zen Garden Theme
- Use sand as substrate and add a small zen gardens accessory such as a mini Buddha statue or a small rake. Add a few small, peaceful-looking toy fish to complete the calming atmosphere.
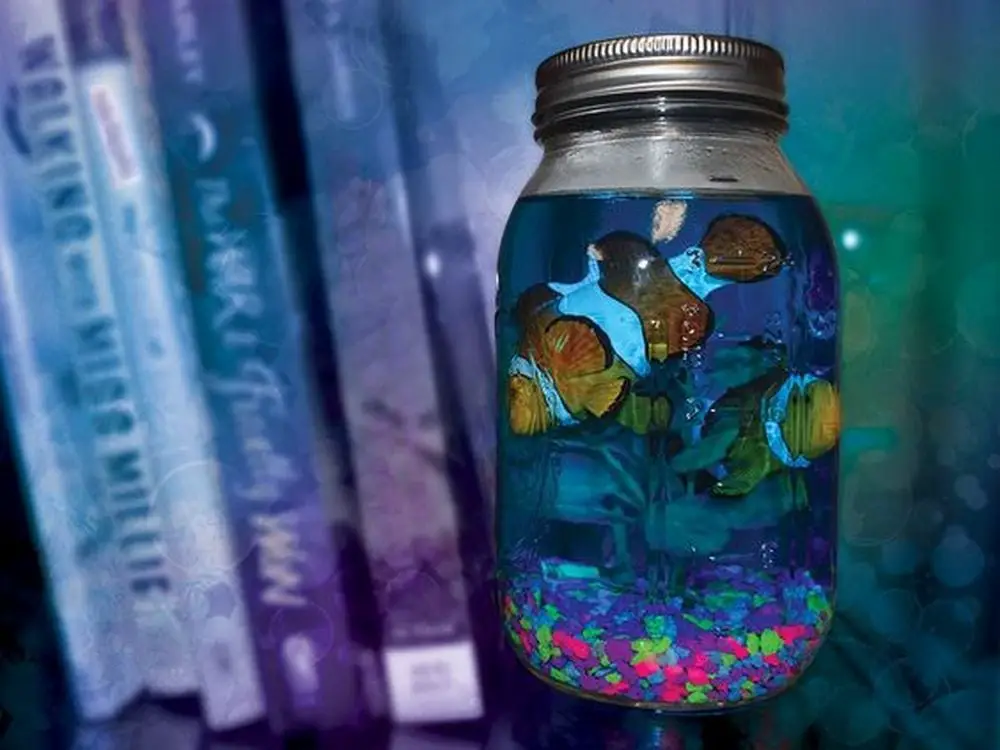
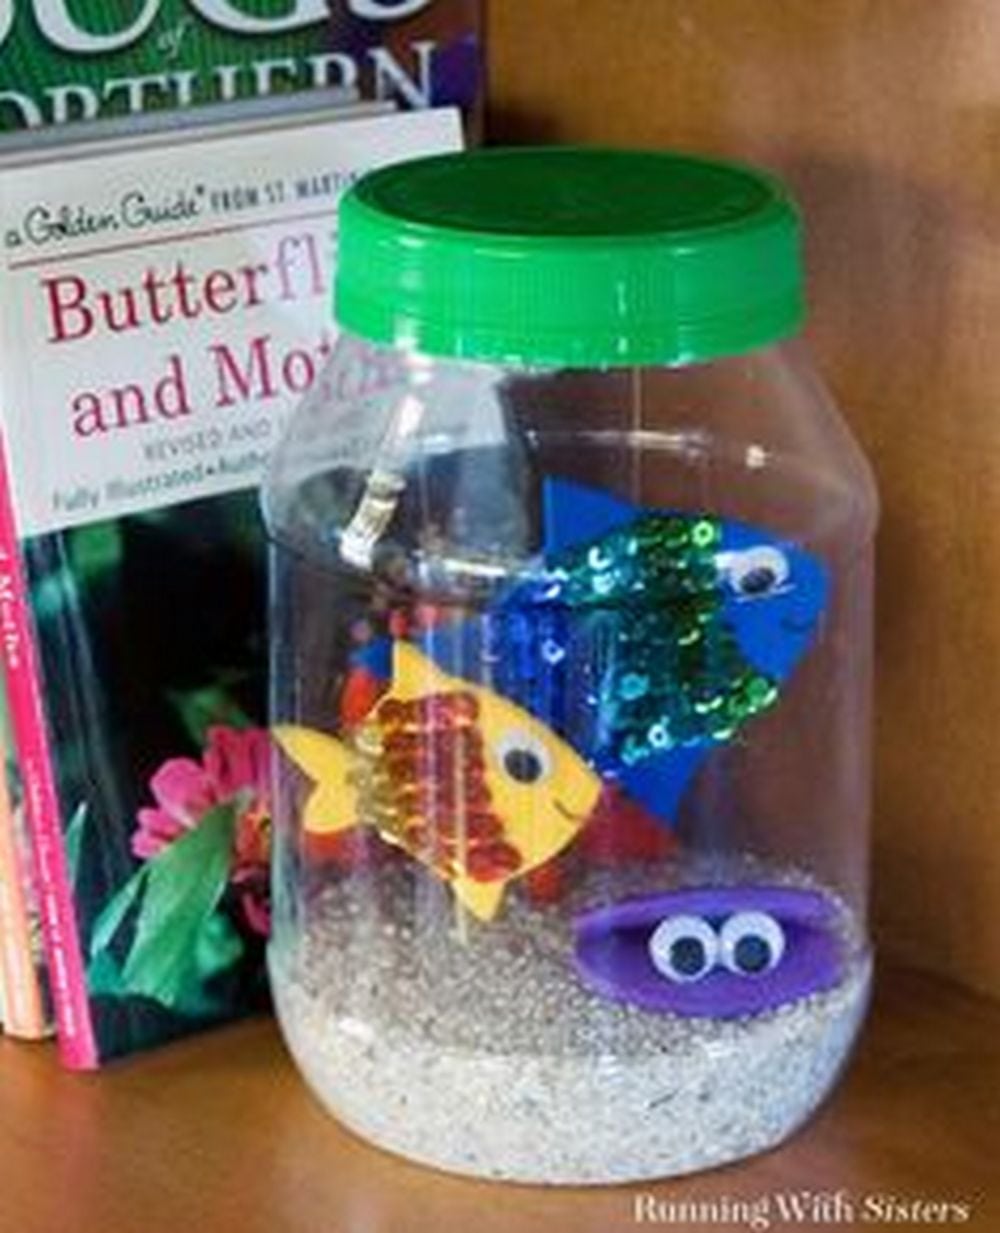
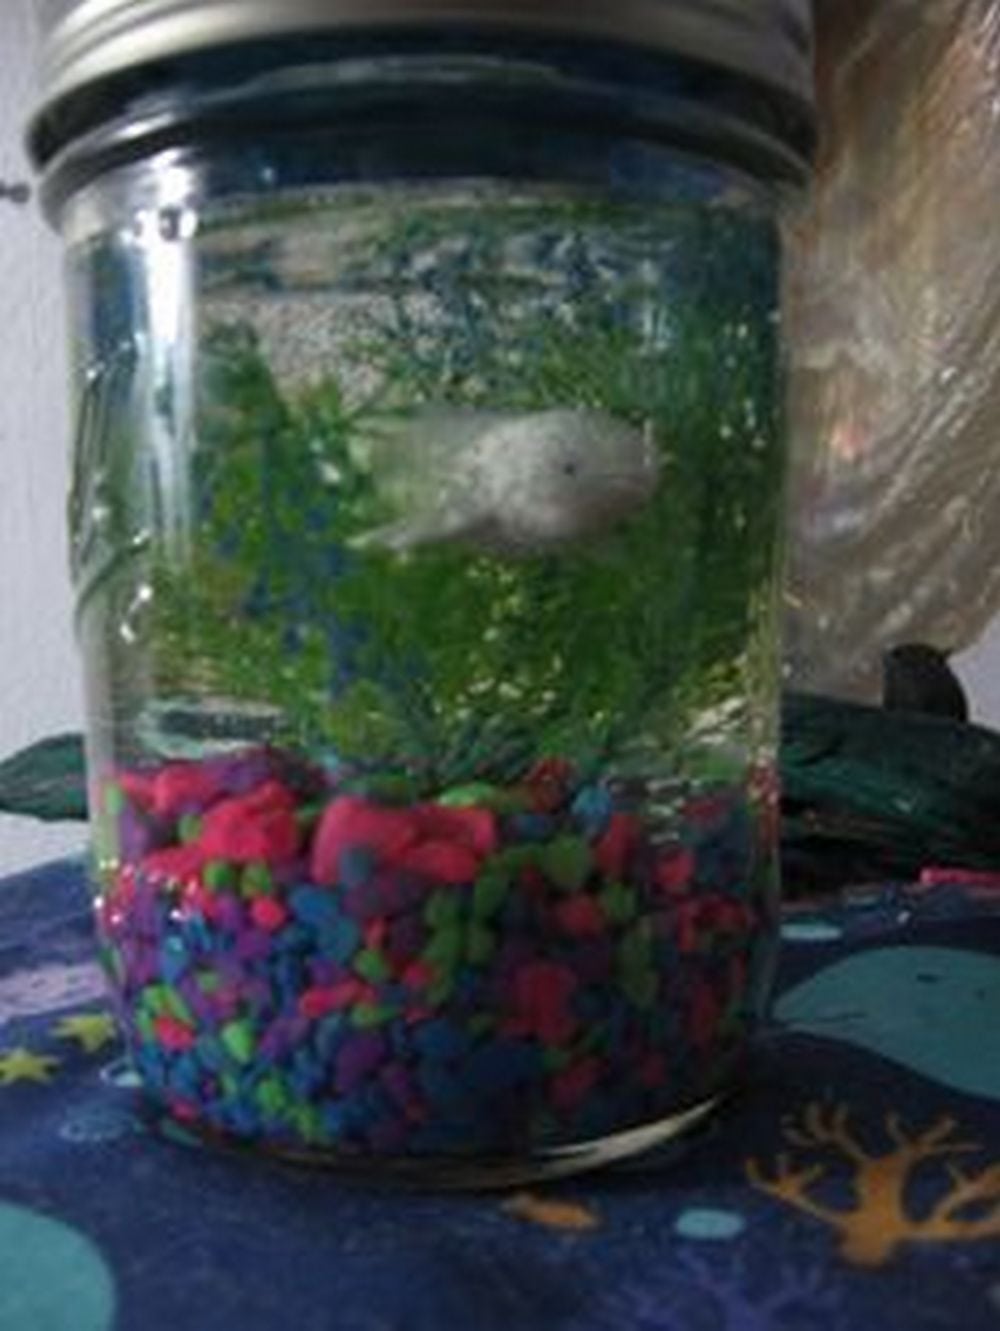
Rainbow Theme
- Use a mix of coloured gravel or sand to create a rainbow effect. Add artificial plants in corresponding colours and toy fish in bright colours to complete the colourful look.
Jungle Theme
- Use darker-coloured gravel or sand to create a jungle floor and add artificial plants such as ferns and vines to create a jungle canopy. Add a toy snake or a toy crocodile for a wild touch.
Underwater Cave Theme
- Use larger stones to create a cave-like structure at the bottom of the jar. Add artificial seaweed and coral to create the underwater vibe. Add a toy fish or a toy octopus hiding inside the cave for an adventurous touch.
Conclusion
Crafting a DIY aquarium jar is a simple and inexpensive way to enhance serenity and aesthetics in your home. With minimal supplies, you can create a unique masterpiece that will amaze your visitors and invigorate your surroundings. Don’t hesitate any longer; ready your materials and unleash your imagination while constructing your DIY aquarium jar!
You can watch the video tutorial here…
Thanks to the Learning resources blog for this great project.
If you liked this project, you might also like to view the DIY Glow in the Dark Jar…


