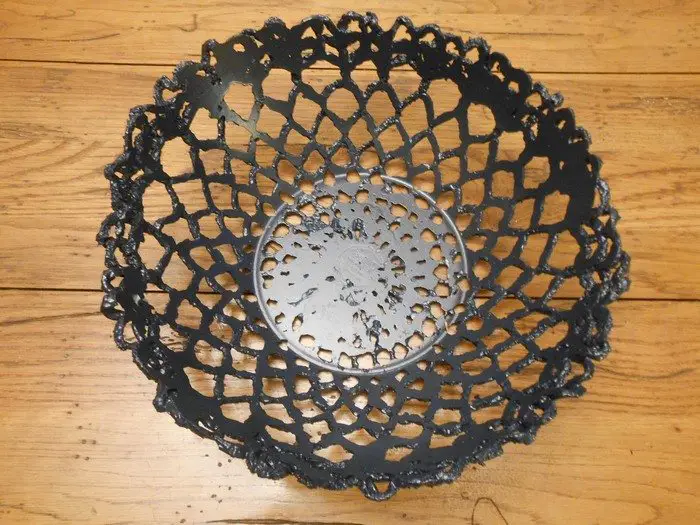
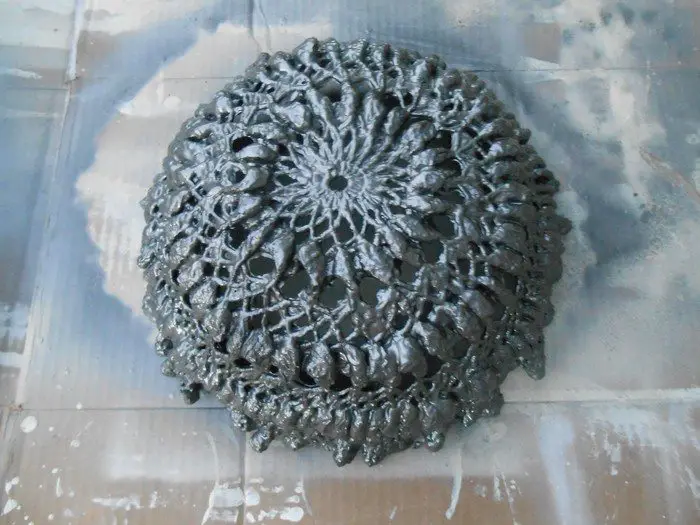
Feeling crafty? Here’s a little DIY decor project with doilies you can try!
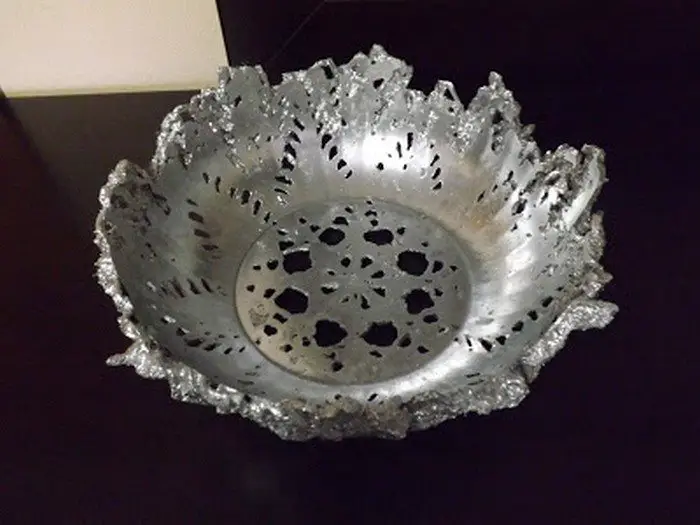
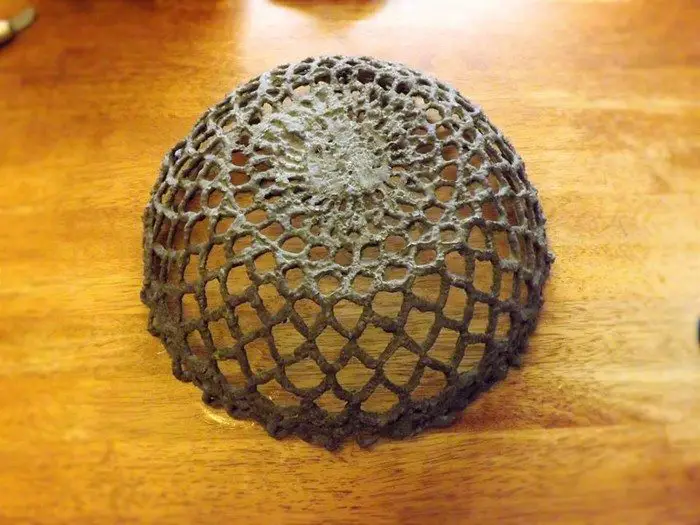
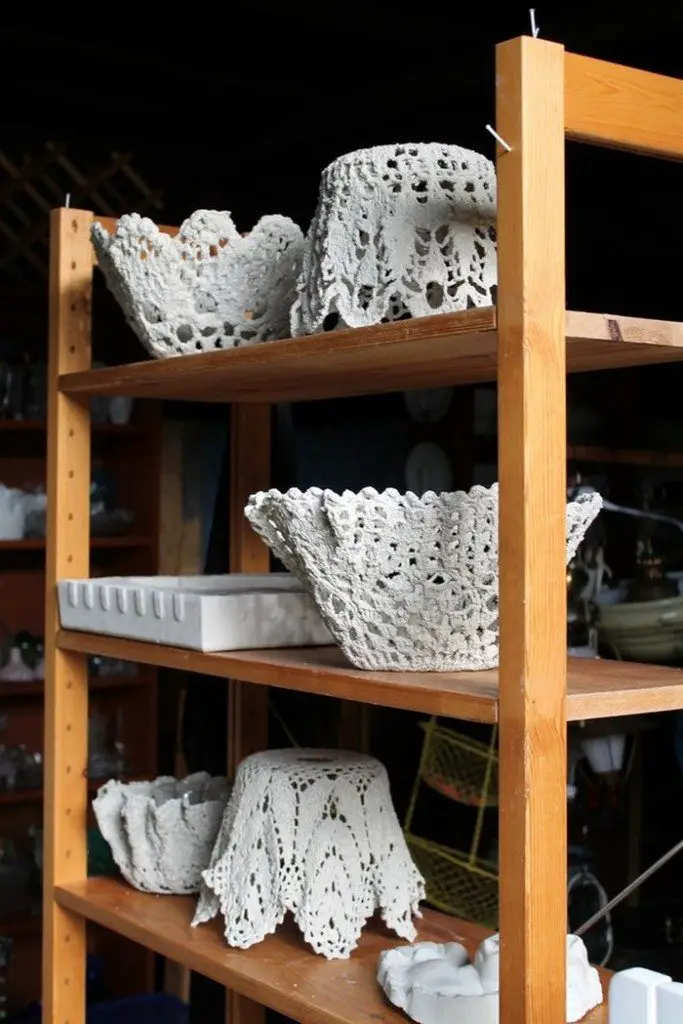
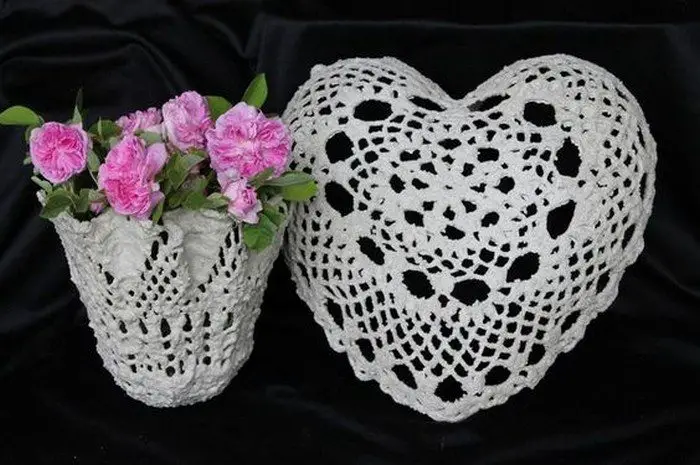
A cement lace bowl is a small, delicate bowl excellent for holding small items such as keys, earrings, and small trinkets. You can always buy them from a specialty store, but why spend good money on something you can make at home for much less?
Some of you may already have a few lace doily bowls at home right now. But instead of using starch and other fabric stiffeners, this DIY project is done with Portland cement. The result is an equally beautiful yet stronger and more permanent lace bowl!

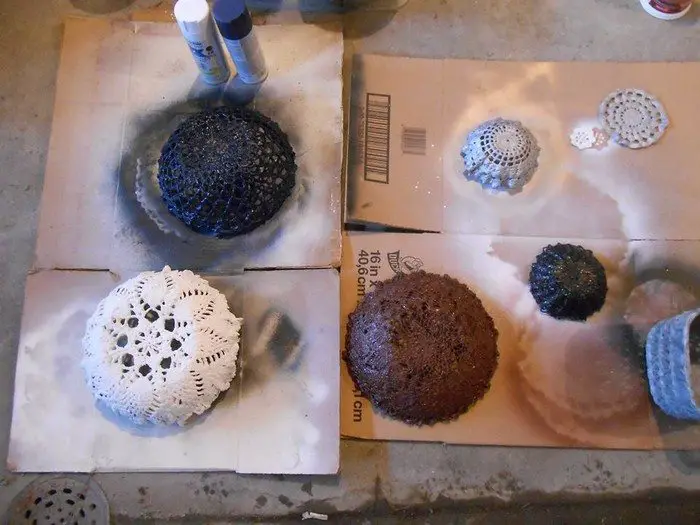
You can re-purpose old doilies if you have some. Otherwise, you can buy them from thrift stores or yard sales. If you’re feeling extra crafty and you know how to crochet, why not make your own? That should give you more freedom with the design. :)

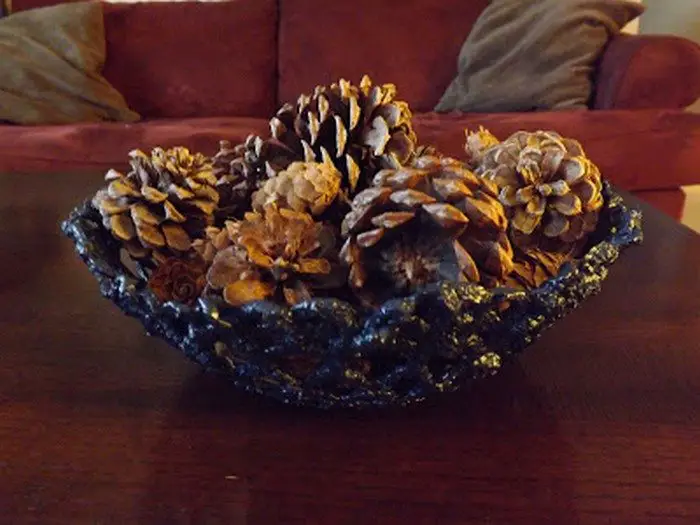
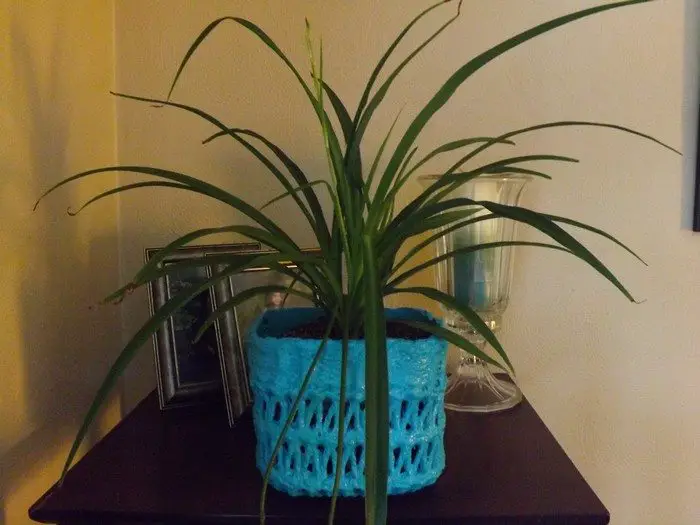
Do this little cement project to make some decorative accessories, planters, or candle holders. And when you’ve got a hold of it, you can try other materials to create a cement bowl/planter. Maybe an old drape or extra fabric you have from a previous project?
Materials:
- Cotton Doilies
- Concrete Bonding Additive
- Portland Cement
- Water
- Plastic Sheet
- Canola Oil Spray
- Long Gloves, Dust Mask, Safety Glasses
- 2-in-1 Spray Paint with Primer
Tools:
- Plastic Container (as your measuring tool)
- Fine Sieve
- Paintbrush
- Plastic Mold
How to make a DIY cement lace bowl
1. Gather the materials
To avoid a big mess. Make sure to lay all your materials on a particular working area, a wide plastic or carton will do.
2. Prepare your containers
You can choose between wood or plastic, this will determine what shape would you like for your cement bowl. Lay down these containers and spray with a mold release or a canola cooking spray.
3. Add the cement
In your mixing tub, sift your portland cement used in 5 parts into your measuring container with your sieve. Make sure there are no lumps and remove any hard lumps. To make a fine powder.
4. Add concrete bonding additive
Add the concrete bonding additive to the mixing tub and mix well.
5. Add water
Add water to the mixing tub and mix. If still dry, add enough water to make it look like thick mud or pudding.
6. Add the lace
Place the lace on top of the cement, enough to cover it all with cement.
7. Transfer the lace
After covering it with cement, you can now place it in the container. Try to clean it by wiping off the excess cement.
8. Let it dry
It takes about 10 to 12 hours to harden the mixture.
9. Let it cure
When they are hard enough, you can now cover them with plastic. Let it sit for about 1 week to make sure it’s sturdy enough and will not crack.
10. Remove the plastic
After 1 week, you can now gently remove the plastic, do not force or it may crack. Then let it dry again for two or more weeks. A cement surface that hasn’t dried thoroughly will fail to adhere to sealant and/or paint, causing them to peel off prematurely.
11. Paint your cement lace bowl
After a few weeks of drying, you can now paint your cement lace bowl.
12. Ready to display
After painting. Let it dry. Now you can display this anywhere in your house.
Enjoy crafting!
See our album of cement lace bowls for inspiration!
Click on any image to start the lightbox display. Use your Esc key to close the lightbox.![]()
![]()
Thanks to Sprouts and Stuff for this great project. You can get further details here…
If you liked this project, you might also like to view DIY Concrete Coasters…

