Last Updated on September 3, 2024 by Team Ideas24
3. Make the table’s second layer
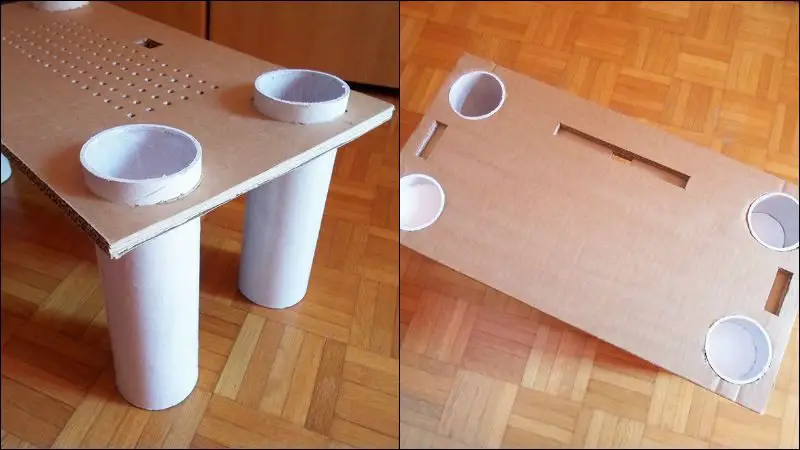
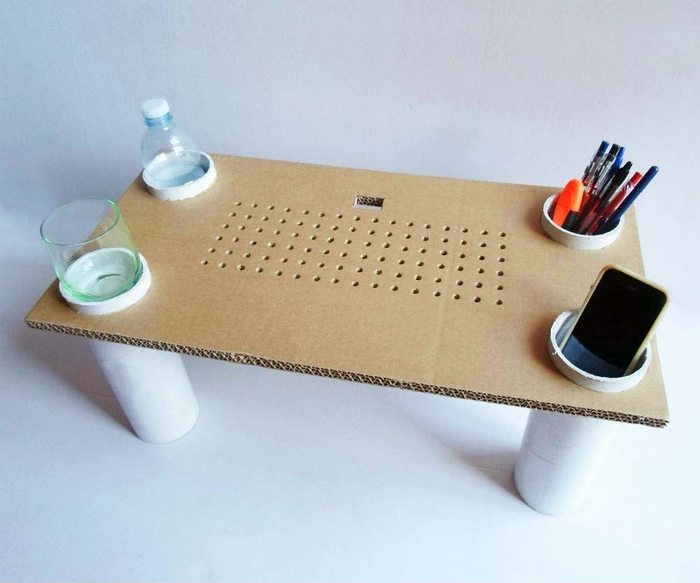
The second layer of your bed table is the one for your laptop. Laptops tend to get very warm while they are working so I decided to make some holes that would help the air pass through the surface.
Draw a grid in the middle of the second rectangle, right under the hole you made for the tablet cable. Make it 30 x 10cm (11.81 x 3.93 inches). The horizontal and vertical lines are 2cm (0.78 inches) from each other.
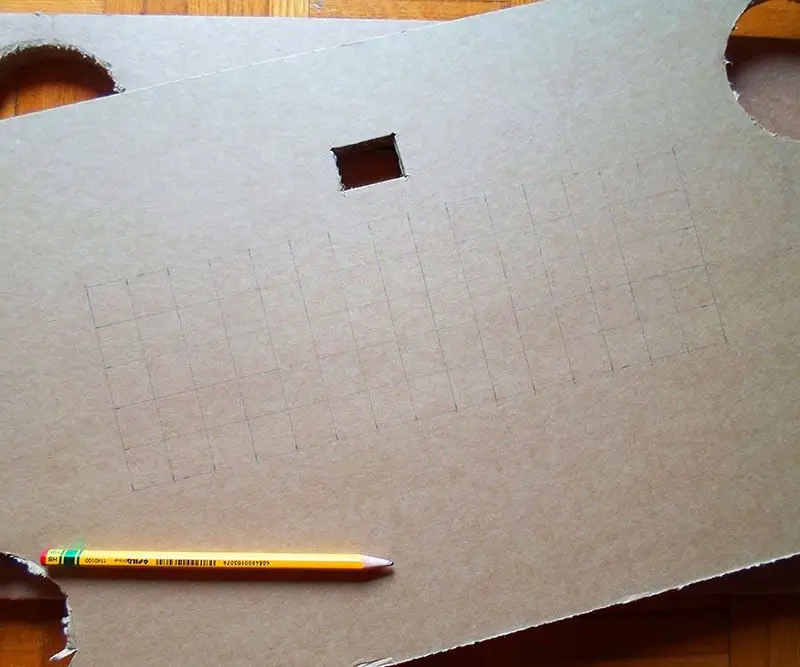
Now use a long needle or scratch awl to make holes wherever the horizontal and vertical lines intersect.
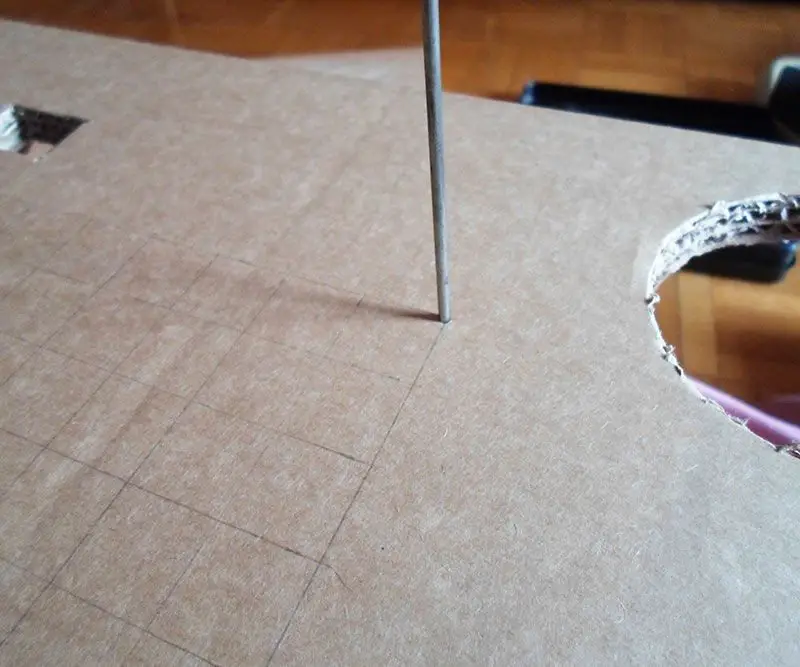
When you are done making holes, pass something thicker through them to make them a little bigger. I used a screwdriver, but a pencil would work fine too.
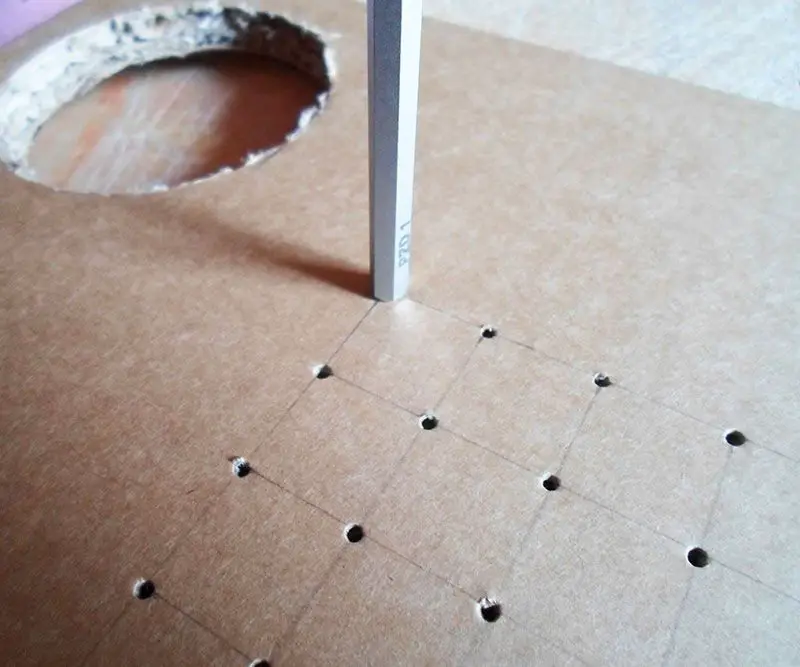
The second layer is done too!
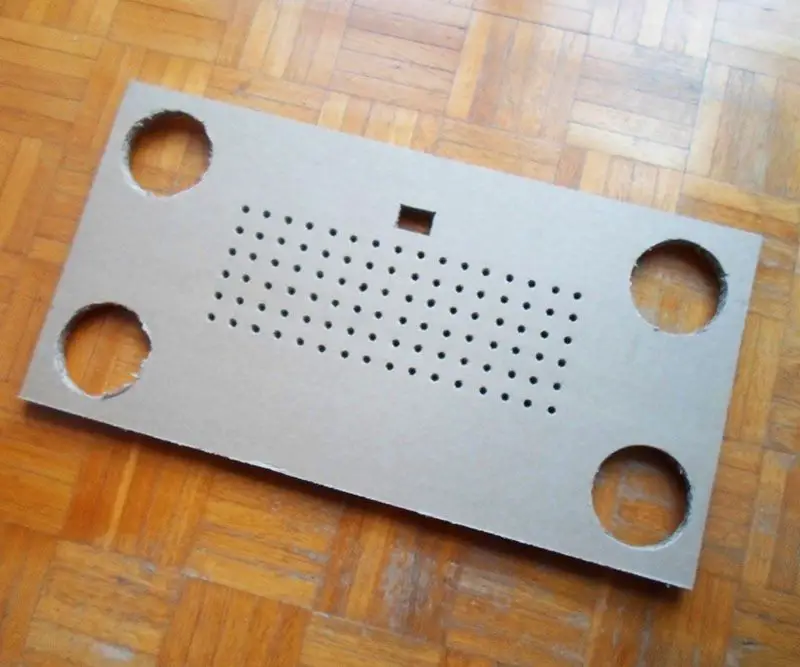
4. Attach the feet to the table’s second layer
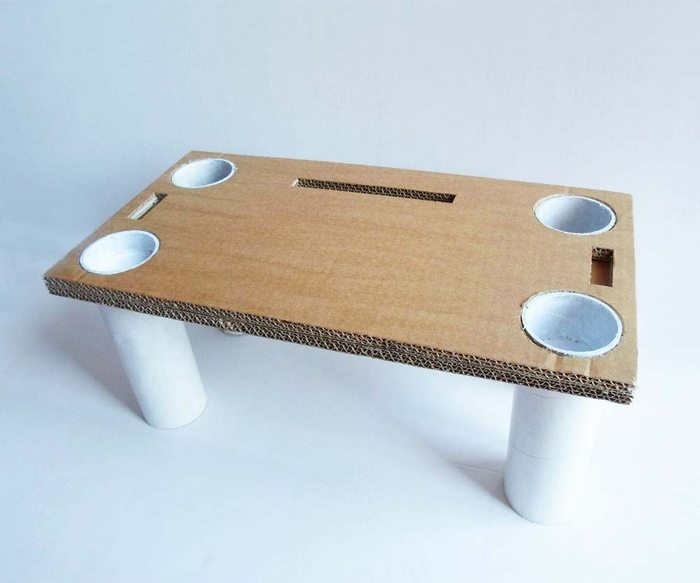
Now lay your second rectangle (the laptop one) upside down and insert the top of the tubes in the 4 round holes.
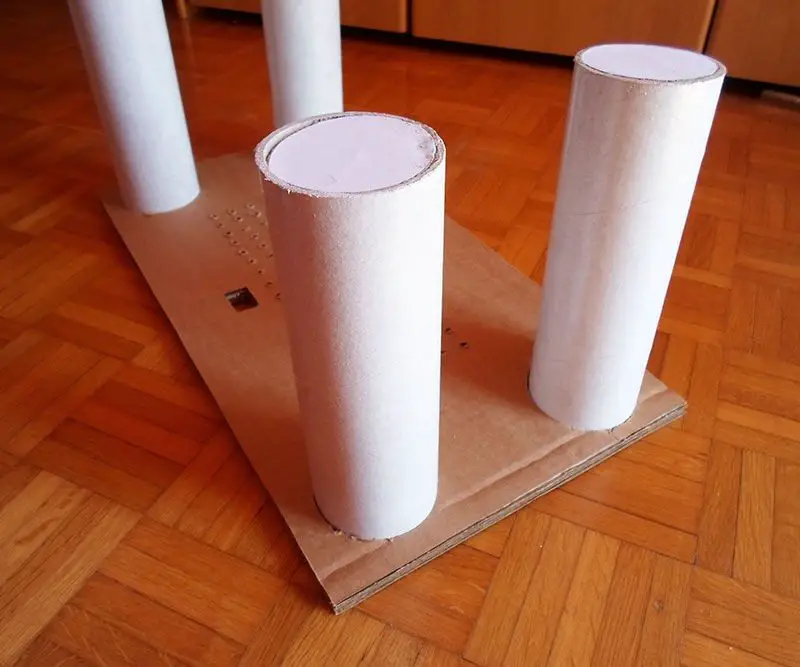
Apply some white glue around each tube, close to where the cardboard is.
Turn the bed table on its feet now and press down the cardboard a little bit, leaving about 1,5cm (0.59 inches) free from the top of the tubes.
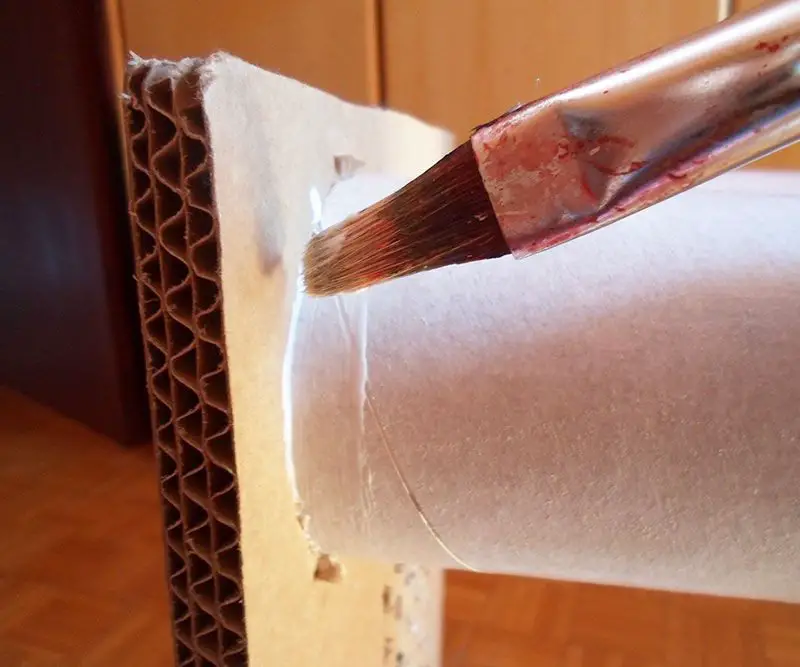
That space is actually the thickness of the other cardboard rectangle, so insert it on top of the bed table too, but remember NOT to put any glue this time!
Push it down until it’s on the same level as the tubes’ border.
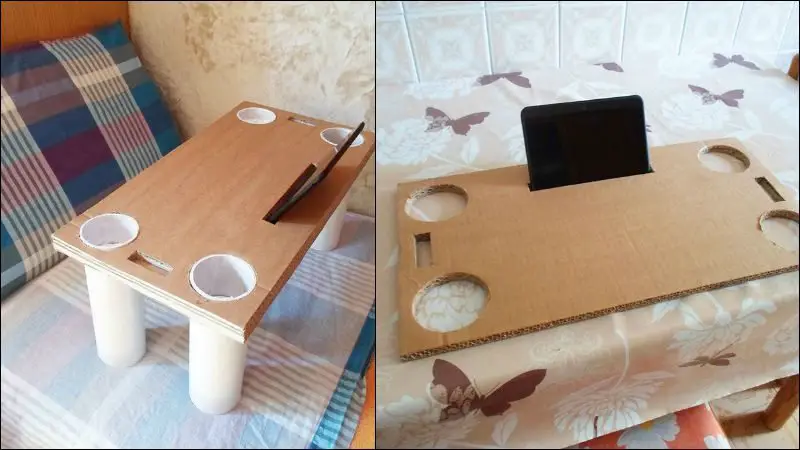
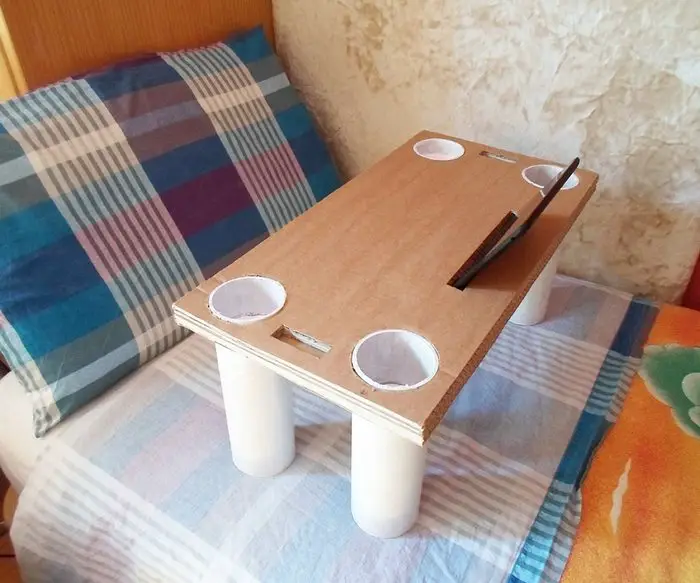
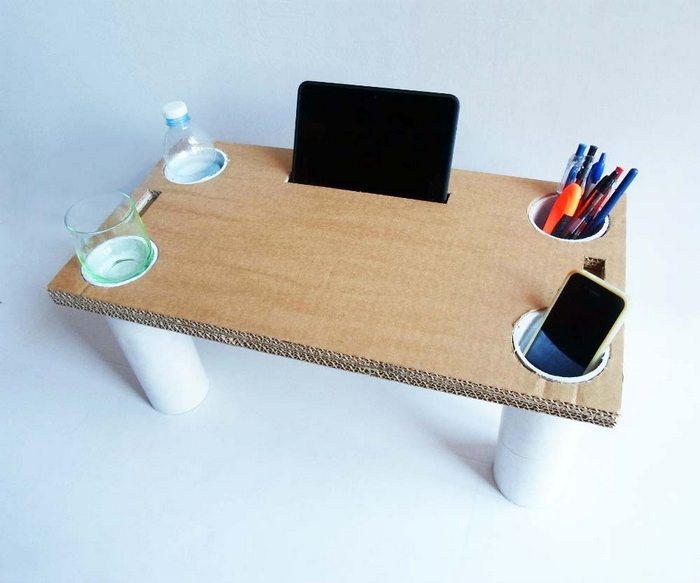
Your multipurpose tray is done!
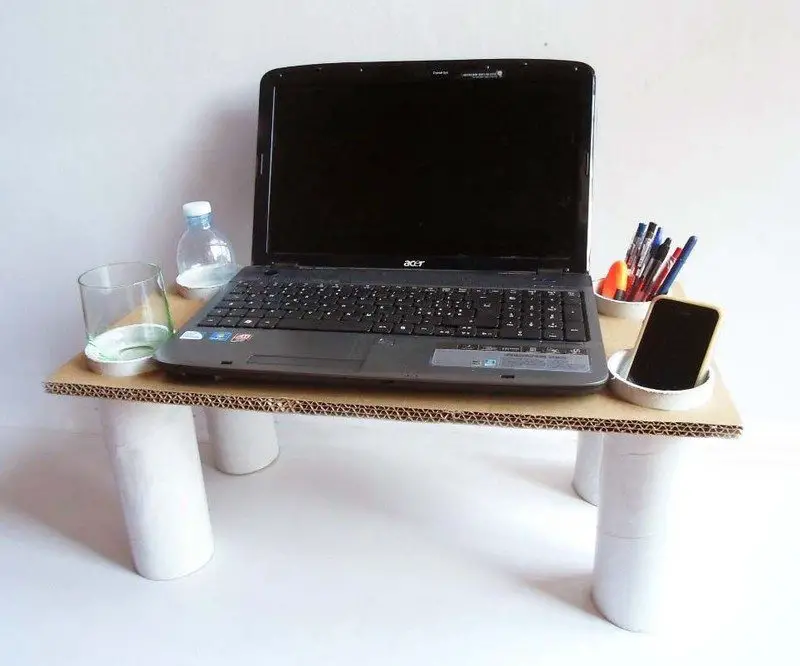
You can finally use it as a computer table, a tablet stands in bed, or on a bed table, and the tubes can contain anything you want! :)
Tip: apply some plastic contact paper on top of both layers. Your table’s surfaces will be protected by it and they will be much easier to clean!
Enjoy!
Click on any image to start the lightbox display. Use your Esc key to close the lightbox. 😎
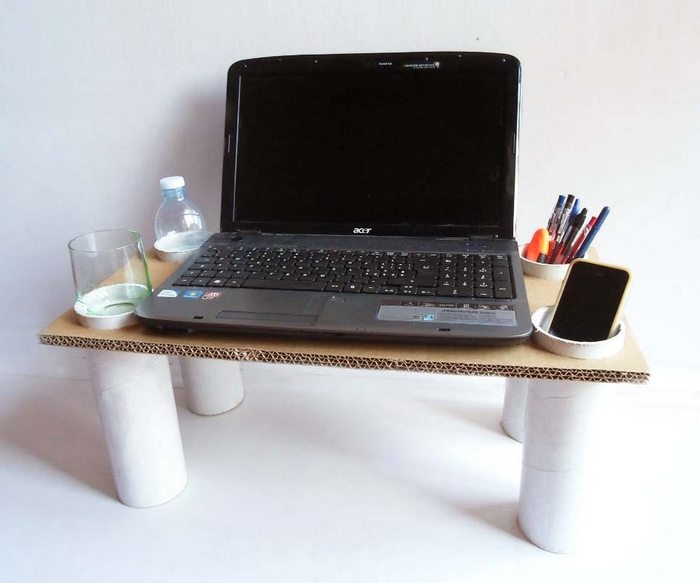
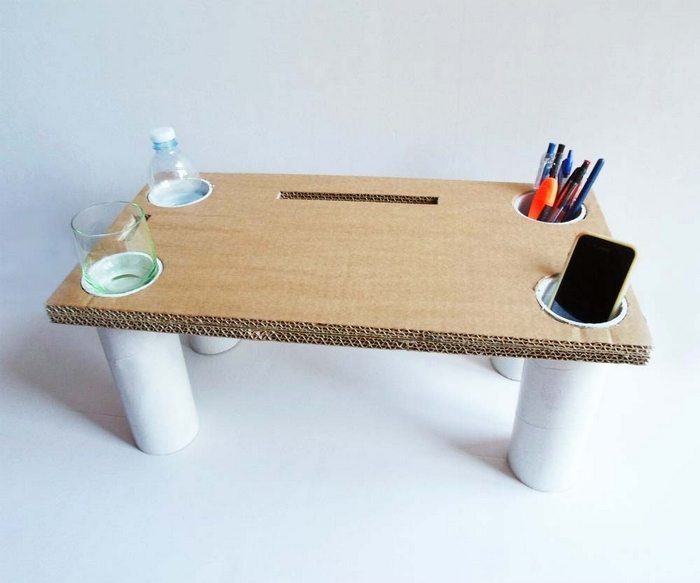
Thanks to lindarose92 for this great project.
Additional Functionalities
Enhancing the functionality of your DIY multi-purpose bed table can greatly improve its usability and comfort. Whether you’re using it for work, leisure, or recovery, incorporating additional features can transform a simple bed table into a versatile and indispensable household item. Here are some enhancements to consider for your next DIY project:
Built-in Reading Light
Integrating a reading light into your bed table can make it the perfect accessory for book lovers and night owls. This feature allows for late-night reading or work without disturbing others with bright room lights. Position the light strategically so it illuminates your book or laptop without causing glare.
Adjustable Surface
An adjustable surface on your bed table can greatly enhance ergonomics, especially for those who spend extended periods in bed. Adding a simple mechanism, such as a tiltable top, can help adjust the angle for reading, typing, or viewing a screen, reducing strain on the neck and eyes.
Enhanced Device Management
Consider designing your bed table with built-in features like a slot for tablets and a secure stand for smartphones. This can make it easier to keep devices accessible and organized. Additionally, creating a hidden channel for managing cables can help maintain a clean and tidy workspace.
Collapsible Design
A collapsible design can make your bed table more versatile and space-efficient. Incorporating hinges or foldable sections into the table design allows it to be easily stored away when not in use, making it perfect for small spaces and occasional needs.
Multipurpose Holders
Add specialised holders for a variety of objects, such as a cup holder, a snack tray, or a remote control pocket, so extending the use of your bed table. These additions might make your bed table a necessary tool for convenience and utility during recovery or leisure.
Including these features transforms your homemade multifunctional bed table from a handy tool into a main component of your home comfort system. Any bedroom should have a bed table since every feature adds a layer of comfort and utility.
If you liked this project, you might also like to view Brilliant Crafts You Can Make With Recycled Cardboard…

