When the discs are done, glue one at the bottom of each tube. You have to insert it into the tube as if you were putting a cork in a bottle!

Now make up your mind about what you want to put inside each tube/foot.
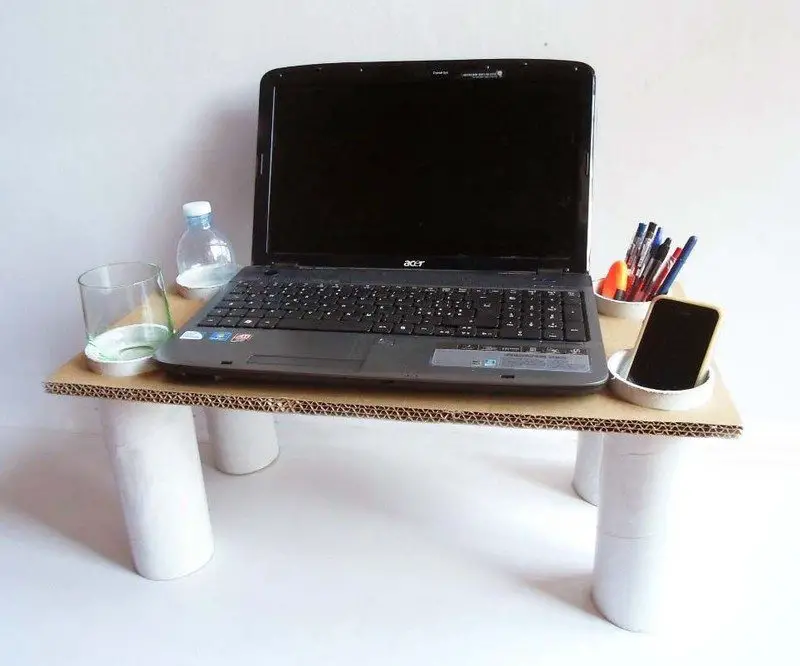
I decided that one would be a container for cellphones, one for pencils, one for bottles, and one for glasses.
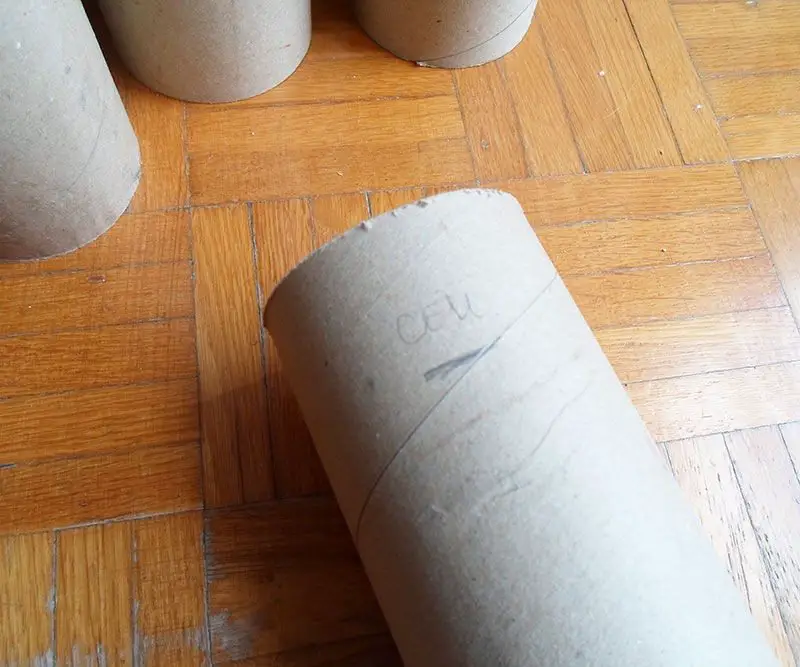
So, starting from the top of the tubes (the empty part), measure how big you want your containers to be and make a sign.
For example, the bottle container is bigger than the glass one, so the sign for the glass one is much closer to the top of the tube than the bottle one.
Now apply white glue around the 4 discs that you’ve left and insert them in the tubes, keeping the signs you made as reference for where they have to be placed.
These discs will be the bottoms of the different containers.
2. Make the table’s first layer
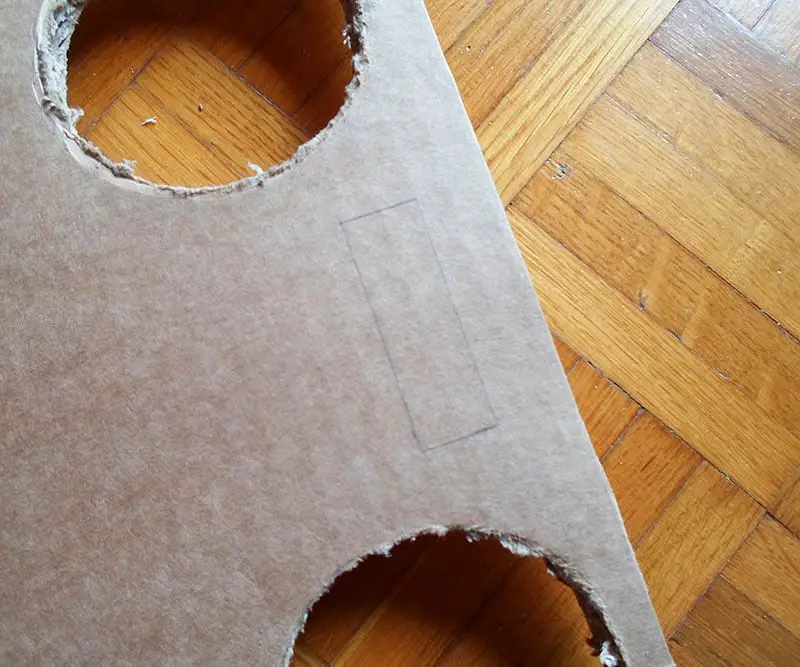
The tablet stand is placed on what will be your first rectangle (at the top of the bed table).
All you have to do is draw a strip on one of the cardboard rectangles.
I made mine 2cm thick (0.78 inches) and as long as the longest side of my tablet, which is about 20cm (7.87 inches). This site doesn’t have to be perfect, as long as it is bigger than your tablet’s length.
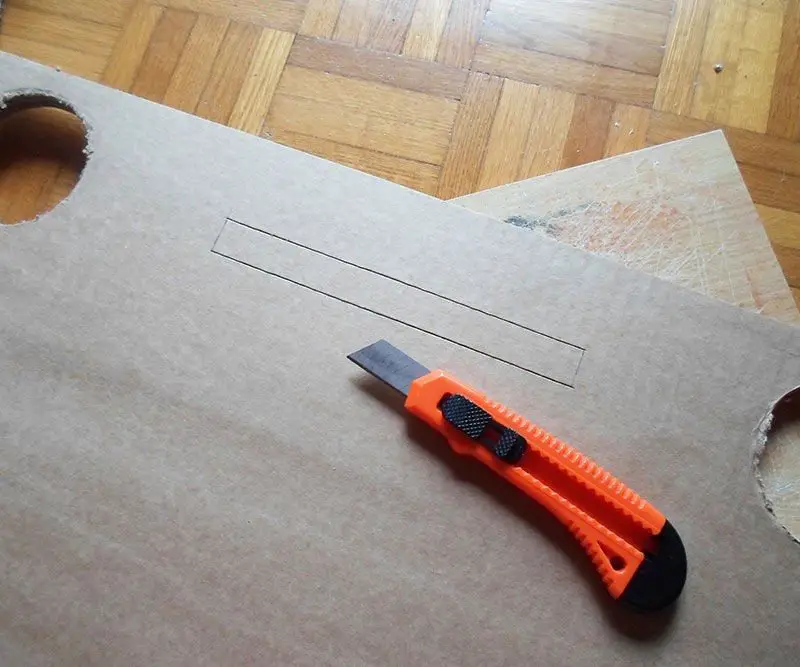
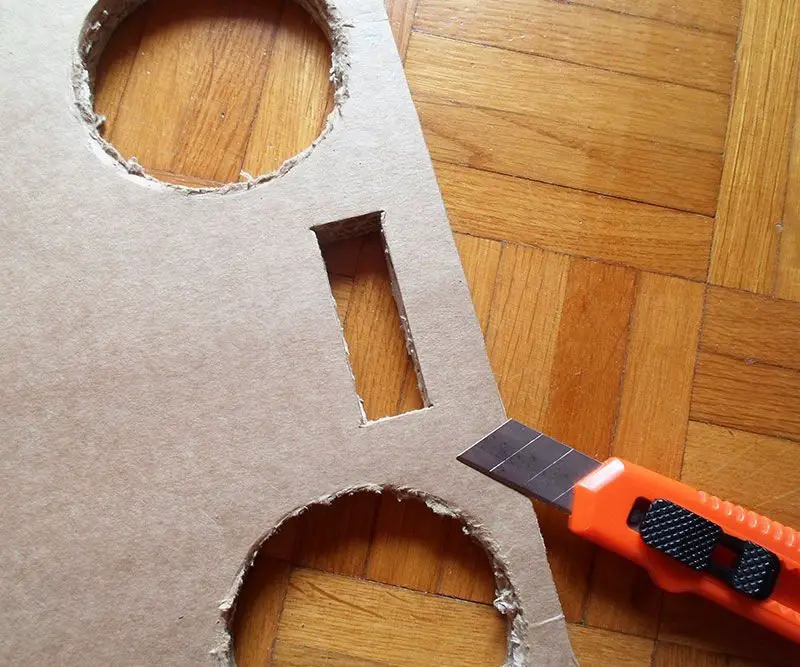
When you are done drawing it, cut the strip out of the cardboard.
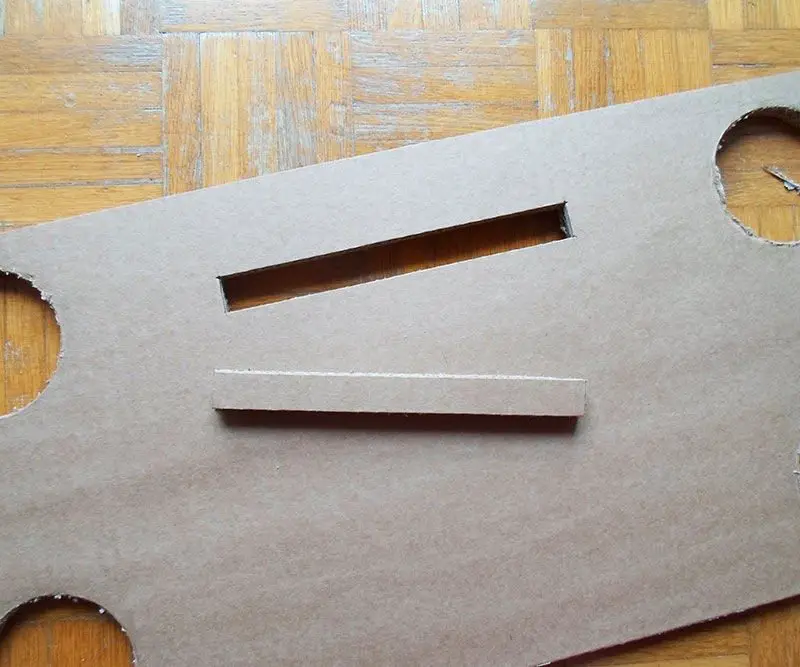
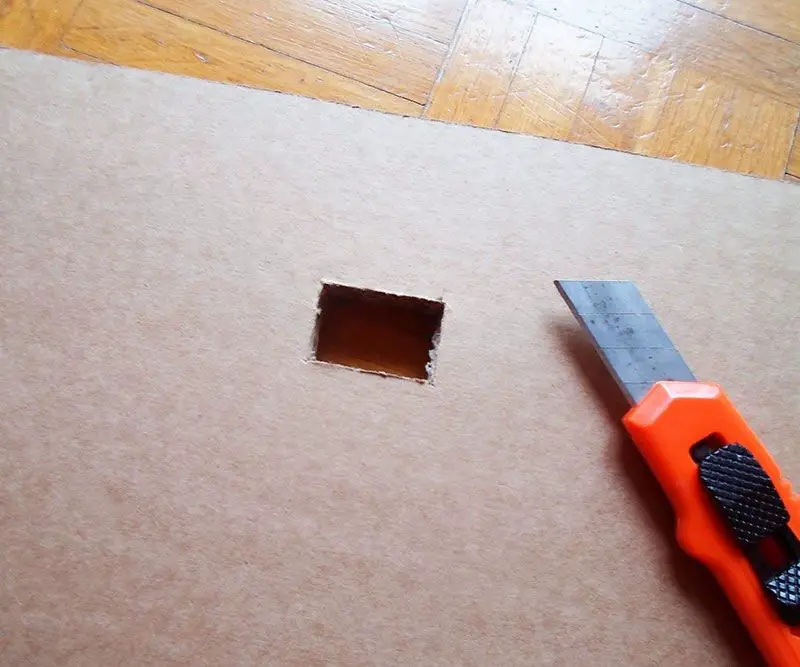
Now place this rectangle on the other one, making sure that the round holes match perfectly, and draw a smaller section on the second rectangle through the strip you cut on the first one.
I made it 3 x 2cm (1.18 x 0.78 inches) and placed it in the middle of the tablet strip (see the third photo).

Cut that small section out too.
This will be the hole for your tablet cable (in case you need it).
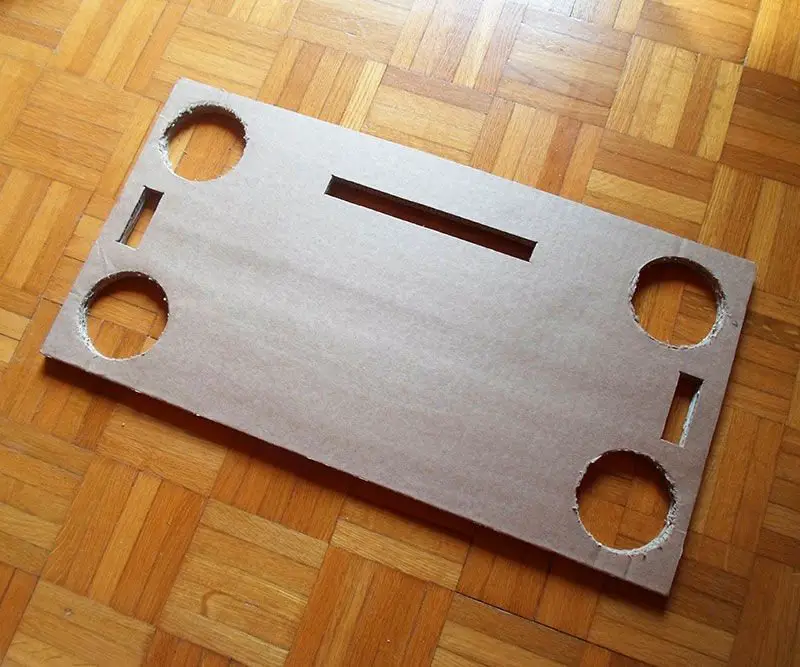
I decided to make 2 handles on the first-bed table layer.
The handles are 2 simple strips cut from the 2 sides of the cardboard rectangle so that you can easily lift it up and separate it from the rest of the bedtable.
So, draw 2 strips at about 2cm (0.78 inches) from the sides (left and right) and cut them out using a cutter.
My strips are 6 x 2cm (2.36 x 0.78 inches).
The first layer of your bedtable is done!
Continued Page 3…


