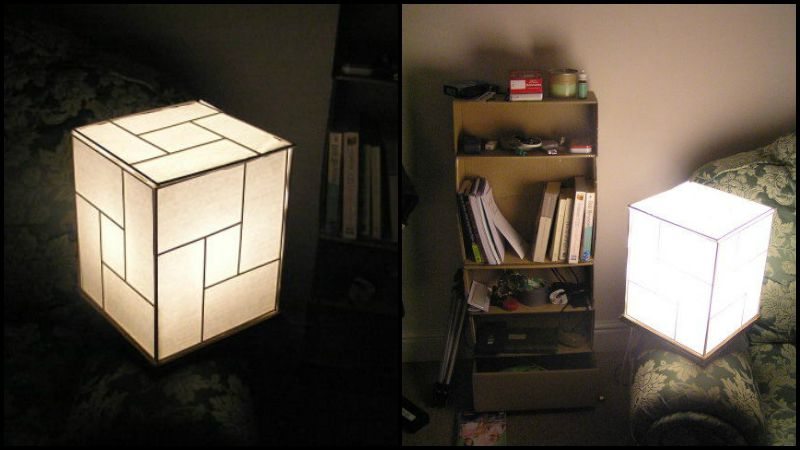
Are you a fan of the Japanese motif? If so, you have probably checked out some Japanese lighting sold in home furniture stores. But why buy those costly lamps when you can make them yourself?
Walk into a room bathed in cozy, inviting light and you’ll feel instantly at ease. Walk into the same room while it’s buzzing with harsh fluorescent light, and you’ll feel ill at ease.

In 2014, a Journal of Consumer Psychology study found that the more intense the lighting, the more affected and intense our emotions become – both positive and negative.
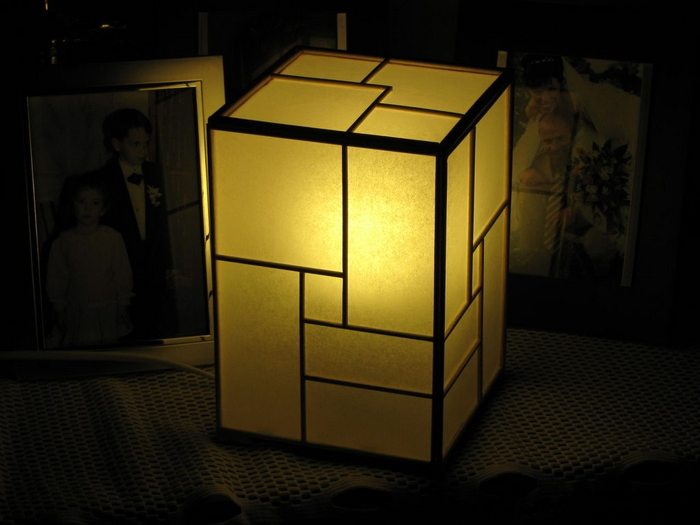
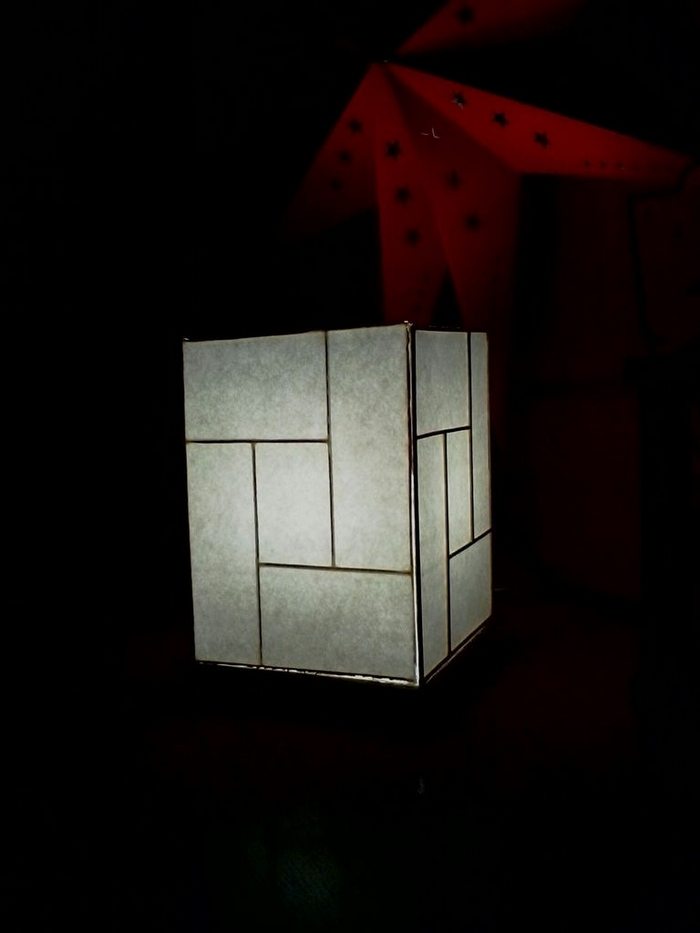
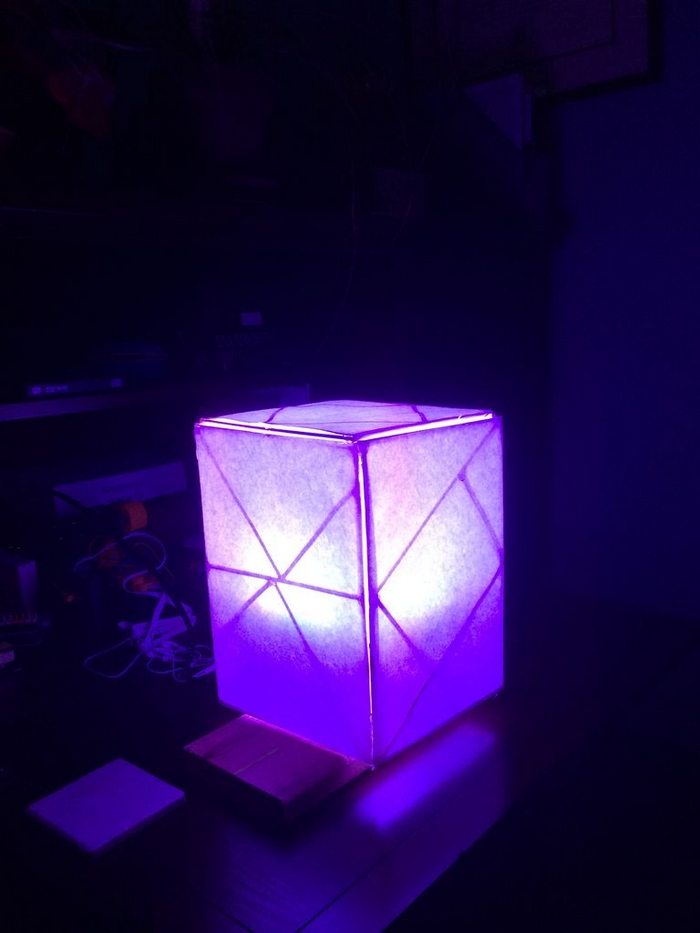
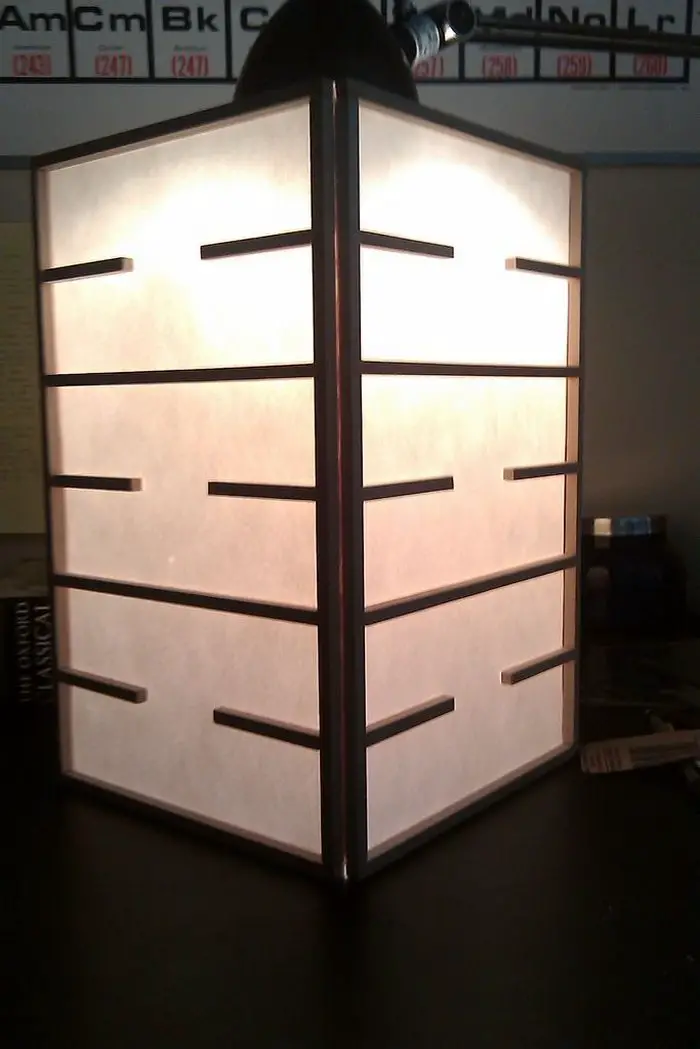
This beautiful DIY Japanese lamp is great as a night lamp you can use for reading before bedtime or as additional decorative lighting for any room. The light filtered through the textured paper is soft, soothing, and easy on the eyes.
This project is a super lightweight lamp and does not have a very strong structure. So make sure that you place this where it won’t get accidentally knocked around.
Check out these brilliant DIY Japanese lamps! These lamps are not only stylish, but they’re also easy to make. With just a few simple materials, you can create a one-of-a-kind lamp that will add a touch of personality to any room.
These brilliant DIY designs are sure to get your creative juices flowing. Whether you’re looking for a simple and elegant design or something a little more elaborate, you’re sure to find something to suit your taste. So what are you waiting for? Get started on your own Japanese lamp design today!
Contents
DIY Japanese lamp design ideas
Click on any image to start the lightbox display. Use your Esc key to close the lightbox.![]()
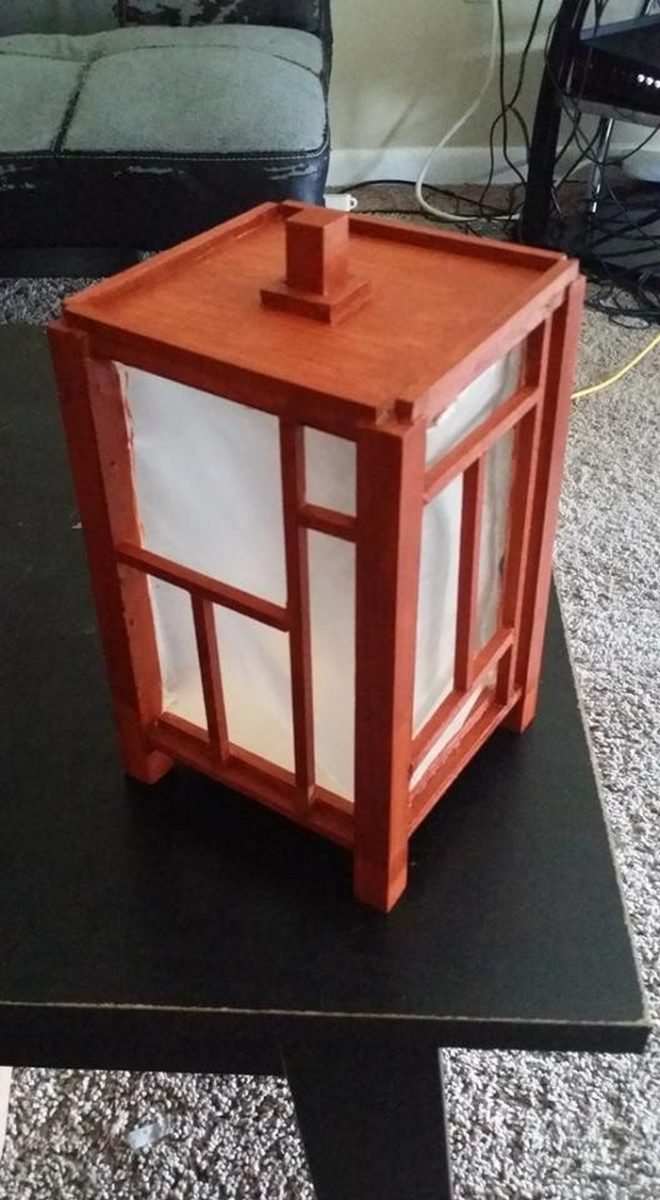
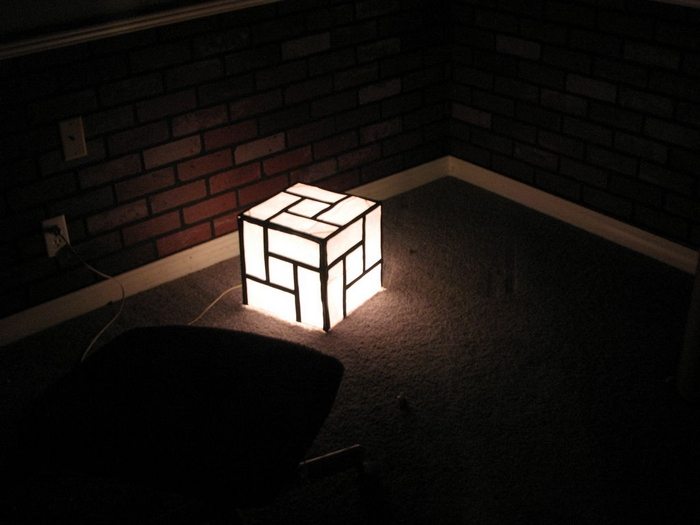

To make your own Japanese lamp, you’ll need a few supplies:
- 2-ply strong Corrugated Cardboard
- Paper – regular, textured craft paper or tracing paper
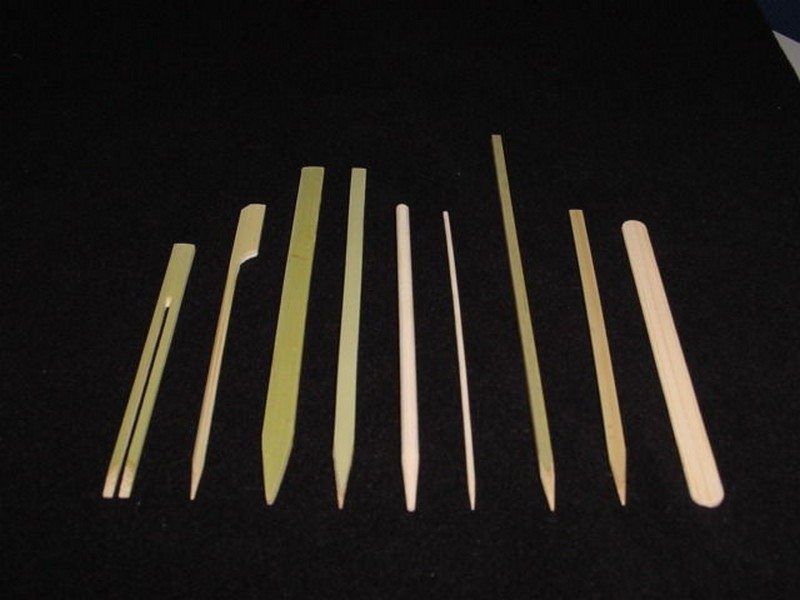
- Bamboo, Wooden Chopsticks, or Kebab Skewers
- Straight Batten Lightbulb Socket
- Plug
- A few meters Flex – 2-core or 3-core
- Inline Switch (optional)
- 11W CFL Lightbulb
- Glue Gun
- Craft Knives
- Scissors
- Diagonal / Wire Cutters or Nail Clippers
With these supplies, you’ll be able to create your own beautiful Japanese lamp.
How to make a DIY Japanese lamp
Not sure where to start? Check out these step-by-step instructions for making a DIY Japanese lamp and you’ll be able to create a beautiful lamp in no time.
Now you have your supplies ready, let’s get started!
1. Determine the size of your Japanese lamp
Before doing this you will need to decide how big you want your lamp to be. You are constrained by the length of your chosen framing material (unless you want to go hardcore woodwork and make joints) and the size of your paper. I chose a shape a little smaller than the A4 paper I was using in roughly the same aspect ratio. If you are very keen on mathematical aesthetics you might like to use the golden ratio, but a slightly tall rectangle is generally a good way to go. Avoid a shape wider than it is, your lamp will look squat and weird.
2. Create the framework
Cut two stick-like things (hereafter referred to as “sticks”) to the height of your frame and two to the width of a side.
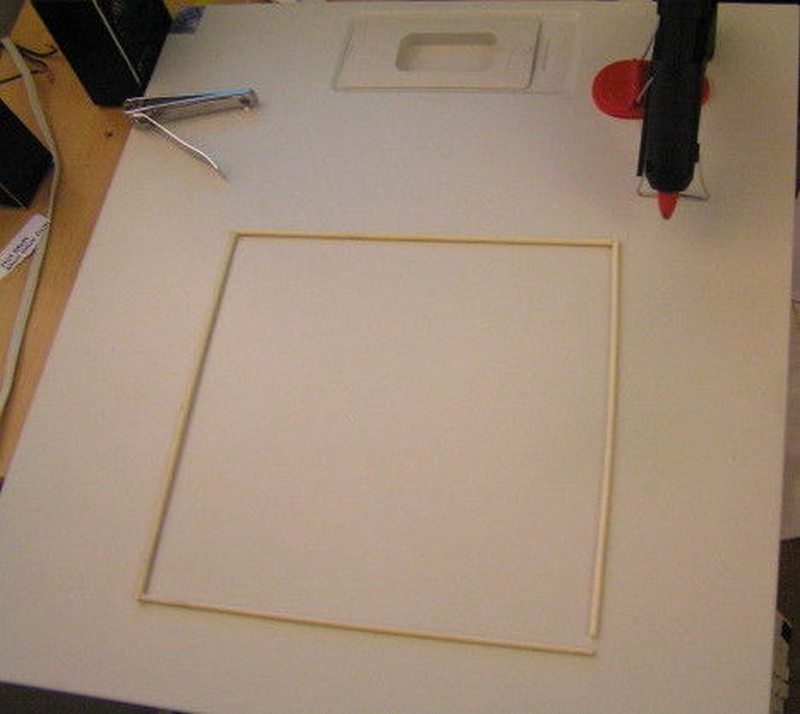
Glue a short stick to a long stick.
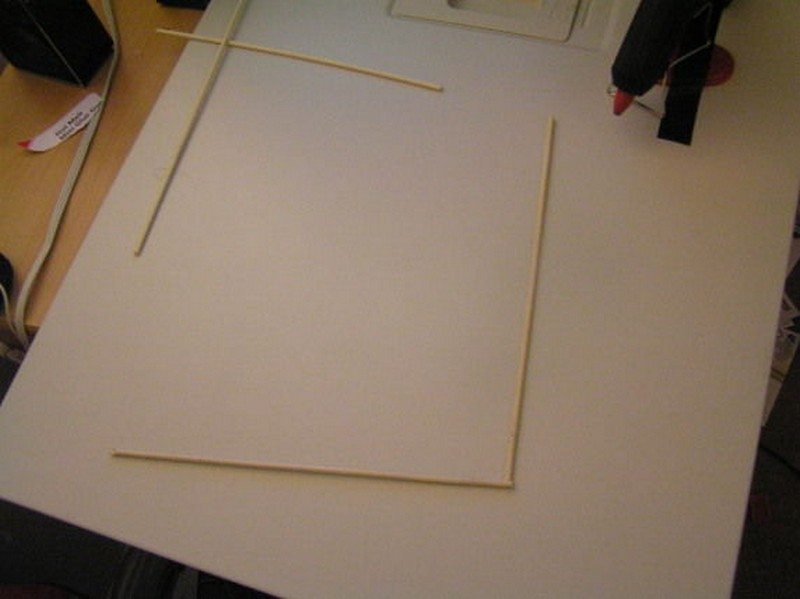
Glue another short stick to the free end of the long stick, then get the right angle as much as possible and glue the remaining long stick between the two short sticks.
I used this asymmetric square pattern because I liked the way it looks- anything within the bounds of reason that you can construct with a glue gun and bamboo skewers, go for it. I will provide instructions on how to construct this motif which can be generalized to many rectilinear patterns.
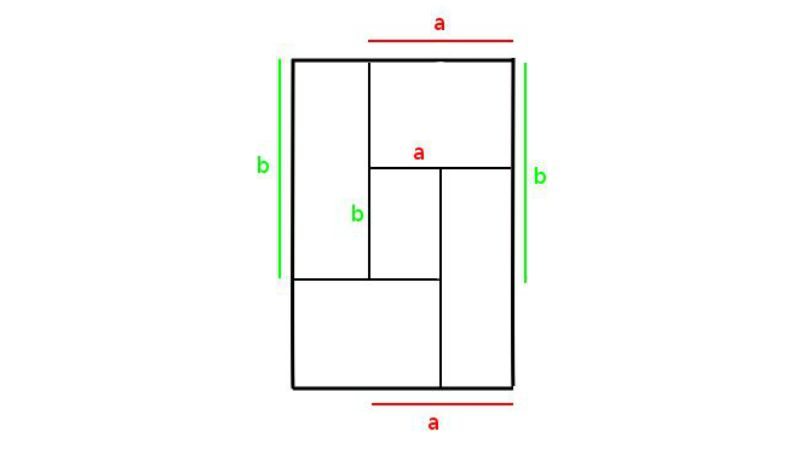
I was intending for the small rectangle in the middle of the motif to be square but screwed up my measurements, and by complete chance, it ended up having the same aspect ratio as the side which actually looks much better. The exact lengths are not important but I will assume you have “short motif sticks” and “long motif sticks”.
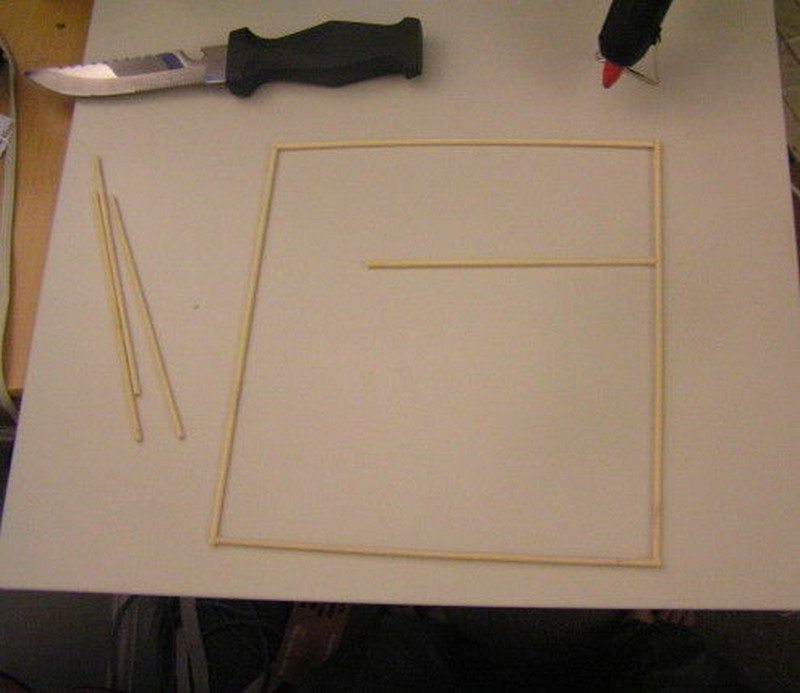
Measure one short motif stick length from one long side of the frame, at the top and bottom.

Glue a long motif stick to one of the points you just marked, along the line connecting the two points.
Continued Page 2…

