Last Updated on August 8, 2024 by Team Ideas24
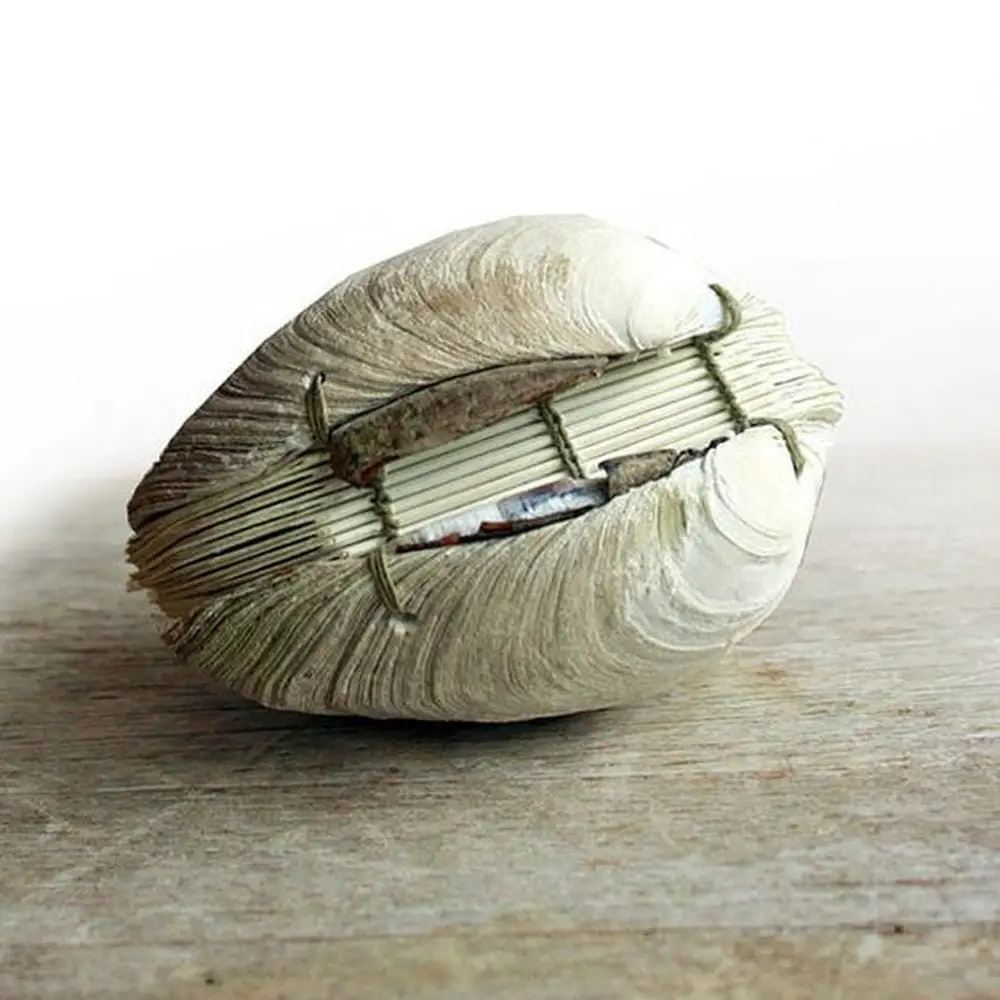
This seashell book project is a perfect gift for your beach-loving friends!
Scrapbooks make great gifts. It gives the receiver the impression that he or she is special. After all, you spent time and effort working on it. However, the usual scrapbook can get pretty cliché and boring. It would be nice to give it an upgrade and be more creative and innovative.
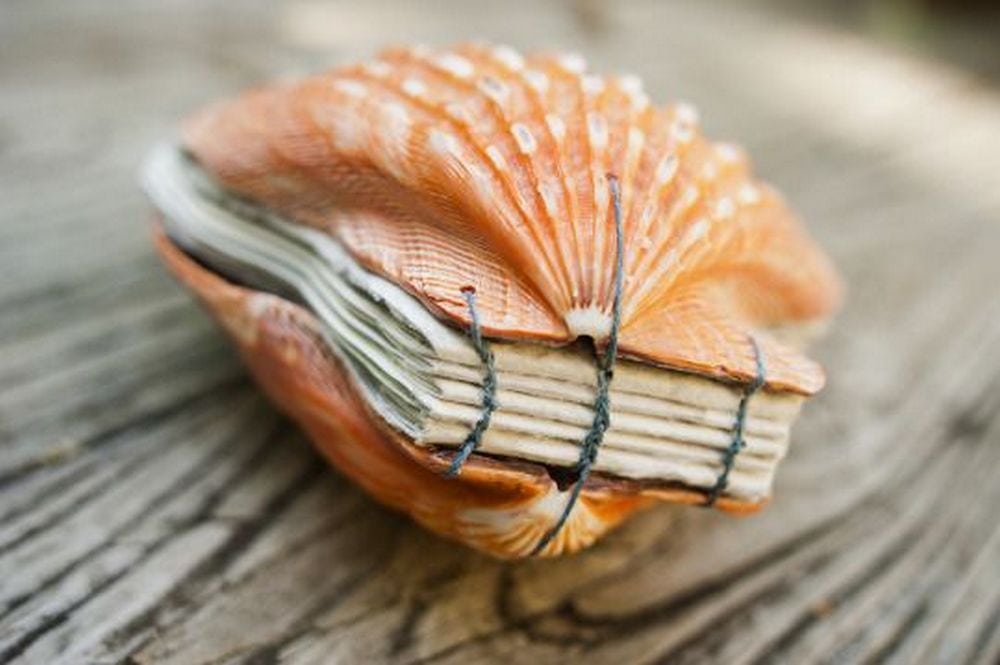
Consider this DIY seashell book. You can have this as a mini-photo book if you have small seashell molds. For large seashells, you can add magazine cut-outs and stickers on each page. This is perfect, especially for your friends who love the beach. Try it out!
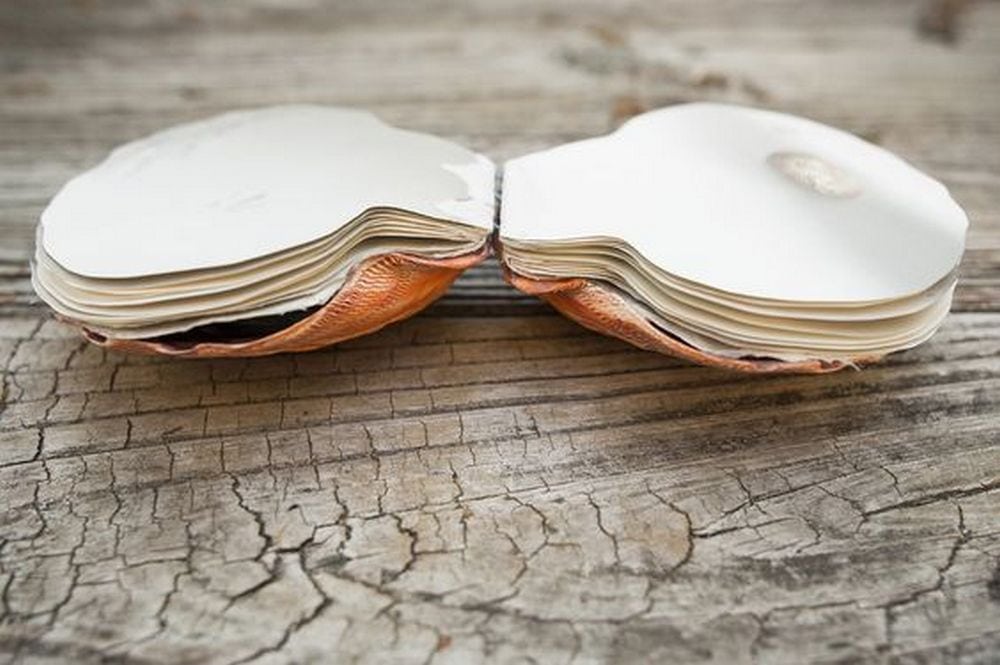
Give the old, boring scrapbook an upgrade with this seashell book.
To make your own seashell book, you’ll need some supplies.
Here’s what you’ll need…
Contents [show]
Crafting a Seashell Book
Materials
- Sea shells (2 shells, about 3.5″ or 9cm)
- 9×12″ pad of watercolour paper (7 sheets)
- Waxed thread
- Rubber band (or hair tie)
Tools
- Pencil
- Cutting mat
- Awl (or Dremel drill)
- Needle
- Scissors
- A small bowl of water
- Towel
If you love spending time at the beach, then you’ll love these adorable DIY seashell book designs! They’re perfect for summer reading, and they’ll inspire you to get creative with your own book covers.
Check out these adorable DIY seashell book designs! These cute books are easy to make and will add a touch of seaside charm to any room in your home. Whether you use real seashells or craft store shells, these DIY books are sure to inspire you. So gather up your supplies and get started on your own seashell book today!
Adorable DIY seashell book designs
Click on any image to start the lightbox display. Use your Esc key to close the lightbox.
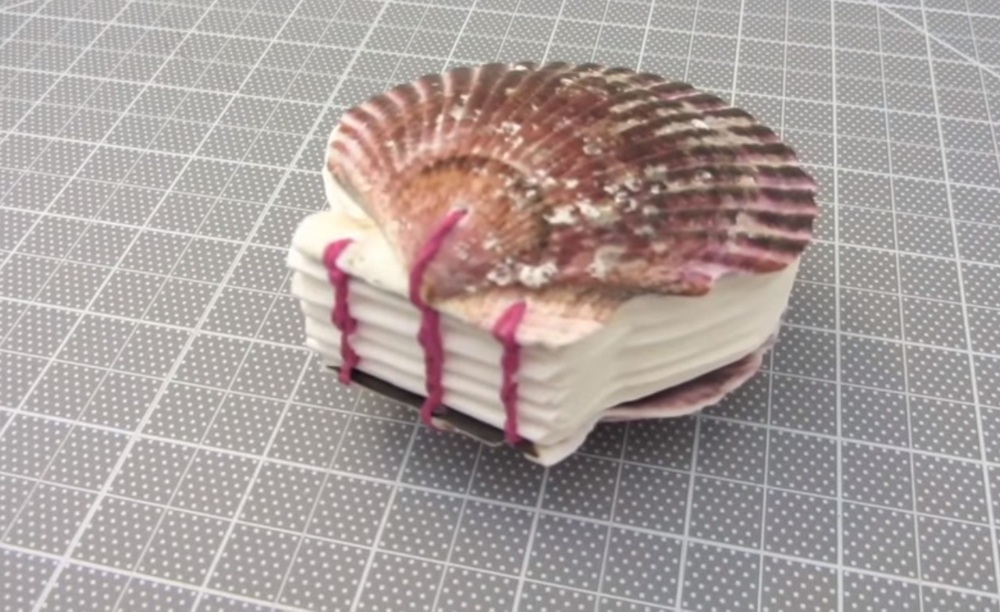
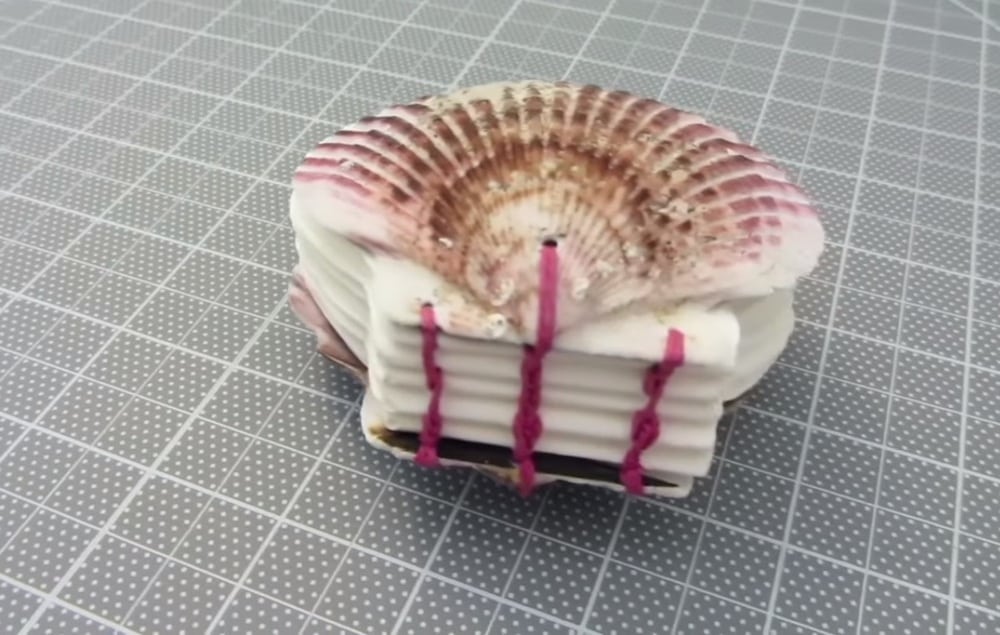


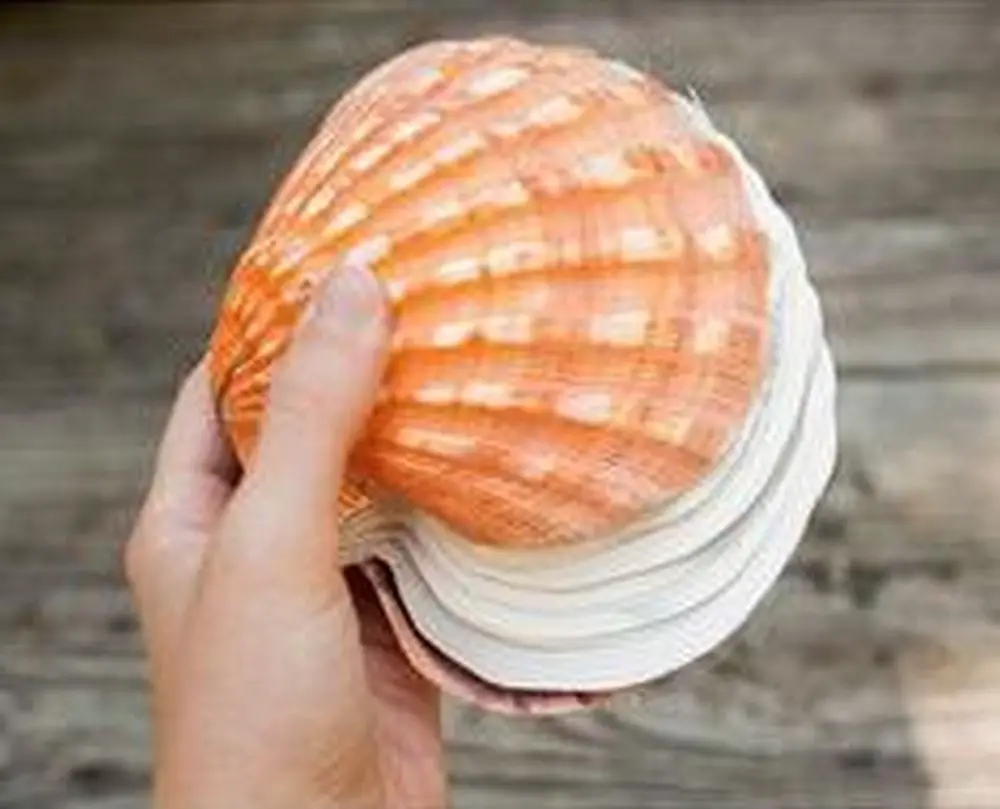

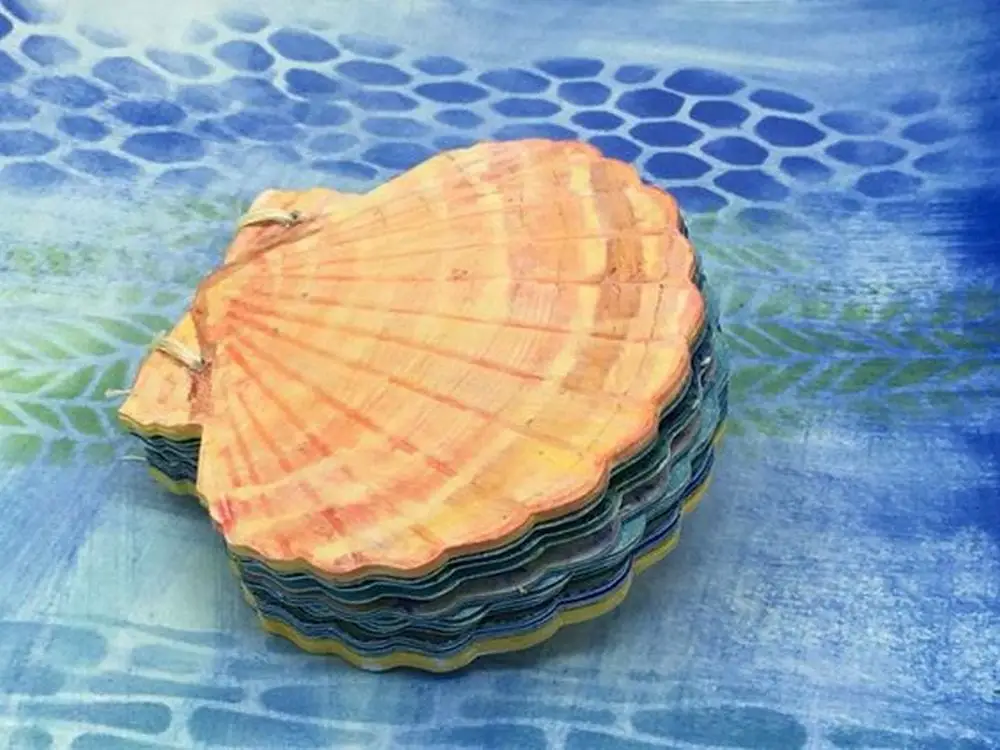
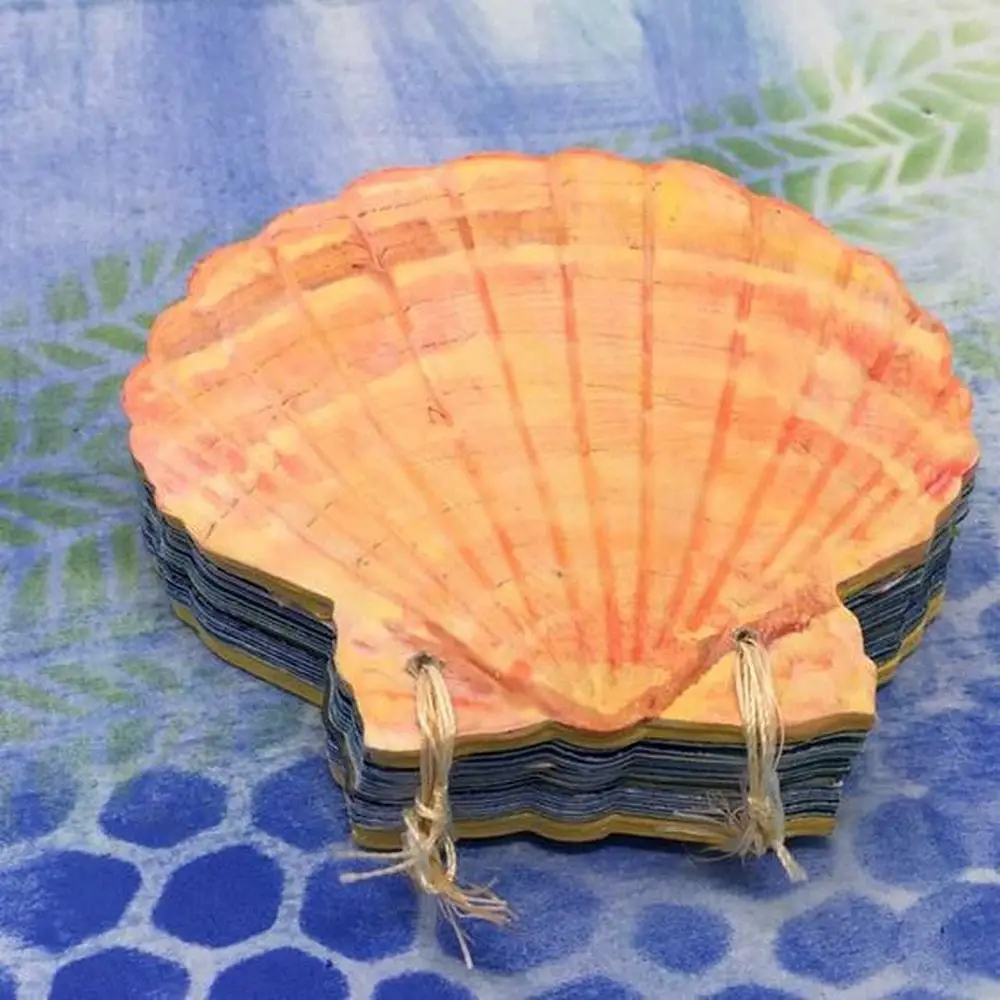
Instructions
This project is perfect for beachcombers of all ages, and it’s a great way to display your seashell collection. Here’s how to get started:
1. Make the cover
If your seashell was collected from the beach, make sure to clean it thoroughly. Let it dry.
Using an Awl (or Dremel drill), drill three holes in the seashell’s side. You’ll need to do this to both seashells.
This will be your book’s cover.
2. Make the book pages
Gather 7 sheets of watercolour paper and fold them into the same size as your shell cover.
To make a template for the pages, simply trace the seashell on one of the watercolour paper. Cut the pattern and now you can use this template to make more pages.
3. Thread the pages
Once all seashell-shaped pages are ready, you can now add three holes each to their side, aligned with the hole you made to the seashell cover.
Now you can use a waxed thread and needle to combine your book cover with the book pages.
4. Dip into water
Once the book cover is threaded to the book pages, you can now dip the edge (the part where the waxed thread is) into the water. This will make the book shut even if we have thick pages. Temporarily wrap or close the book with a rubber band. Let it dry.
Once the book’s edge is dry, your project is now complete, it’s now ready to use! Enjoy crafting and see what amazing results you can achieve with your new creation! 
You can watch the video tutorial here:
If you liked this project, you might also like to view the Kids Seashell Collage…
Seashell Sourcing Guide
Making a handmade seashell book calls for not only skill but also the art of selecting the appropriate supplies. The beauty and genuineness of your book depend much on the seashells you chose. Knowing where and how to get the greatest seashells will make all the difference whether your project calls for a decorative piece or a mini-photo album.
This section will offer basic advice on finding seashells, so making sure your seashell book turns into a personal and meaningful product.
Where to Find Seashells
- Beaches: Usually, one can find seashells naturally at the beach. See less-traveled beaches for the best range of variation. Prime periods are early morning or just after low tide since fresh shells regularly wash ashore over night.
- Estuaries and Bays: Estuaries and bays can be great places to search for unusual shells since they support several kinds of marine life unlike those of ocean resorts. Calmer waters found in estuaries and bays help to reduce the likelihood of delicate shell breaking.
- Shell Shops and Craft Stores: Good substitutes for people who live far from the seaside are shell stores and crafts shops. Though you should make sure they are responsibly acquired, they provide a large selection of seashells fit for your seashell book.
Choosing the Right Seashells
- Size and Shape: Consider the size and shape of the shells in relation to your seashell book project. Smaller shells are ideal for mini-photo books, whereas larger, flatter shells can serve as sturdy covers for bigger projects.
- Condition: Look for shells that are clean, intact, and free from cracks. Damaged shells might not withstand the crafting process, especially when drilling holes for binding the pages of your seashell book.
- Color and Texture: Select shells that complement each other in color and texture for a cohesive look. Think about whether you want a uniform appearance or a more eclectic mix to add character to your seashell book.
Ethical Considerations
- Sustainable Collecting: Always practice sustainable collecting by taking only a few shells and leaving plenty behind. This helps preserve the ecological balance and ensures that marine habitats are not disrupted.
- Respect Local Regulations: Some areas have specific regulations about collecting seashells. Always check local guidelines and respect marine protected areas where shell collecting might be prohibited.
Creating a seashell book is a rewarding project that combines the joys of beachcombing with the satisfaction of DIY crafting. By choosing the right seashells and sourcing them responsibly, you can create a beautiful and sustainable piece that holds special memories of your seaside adventures. Whether for yourself or as a gift for a friend who loves the ocean, a well-crafted seashell book is a treasure to cherish.
Preservation Tips for Seashell Crafts
Making crafts with seashells lets you bring a bit of the shore into your house. Maintaining the beauty and longevity of your seashells depends on their appropriate preservation, whether you’re making a seashell book or another kind of décor.
This tutorial will offer basic advice on how to keep seashells for use in crafts, thereby ensuring that your works stay perfect for years to come.
Cleaning Seashells Properly
- Initial Rinse: First rinse your seashells in fresh water to get any loose sand or trash off of them. This stage reduces scratching during more thorough cleaning.
- Soaking: Soak the shells in a water and mild bleach combination (one part bleach to three parts water) for several hours. This will eliminate any germs and get out tough organic debris. Take great care not to overbleach; this can weaken the shells and make them brittle.
- Scrubbing: Scrub each shell lightly from the surface with a gentle brush will help This will clear any last traces of dirt and assist to accentuate the natural hue of the shell.
- Drying: Let your shells dry totally under shade after cleaning. Steer clear of direct sunlight as it can fade the shells’ inherent hues.
Sealing Seashells
- Choosing a Sealant: Select a clear sealant appropriate for natural materials. You can choose between a spray or brush-on sealant depending on the finish you prefer—glossy or matte.
- Application: Apply the sealant in a well-ventilated area. For spray sealants, hold the can several inches away from the shell and spray in a steady back-and-forth motion to ensure even coverage. For brush-on types, use a soft brush to apply a thin layer, being careful to cover all nooks and crannies without pooling the sealant.
- Drying: Allow the sealant to dry according to the manufacturer’s instructions. A second coat may be necessary for porous shells to fully seal them.
Handling and Storage
- Gentle Handling: Always handle your seashell crafts gently to avoid chips and cracks. Seashells can be fragile, especially after being drilled or modified for crafting purposes.
- Proper Storage: Store your seashell crafts in a cool, dry place. High humidity can weaken the adhesive used in seashell books and other crafts, while fluctuating temperatures can cause materials to expand and contract, leading to damage.
- Displaying: When displaying seashell crafts, avoid direct sunlight and high-traffic areas where they may be bumped or knocked over. Consider using shadow boxes or glass cases to protect and showcase your seashell creations.
By following these preservation tips, your seashell crafts, including seashell books, will maintain their aesthetic appeal and structural integrity over time. Properly cleaned, sealed, and stored seashell crafts can become timeless treasures that evoke memories of the ocean and add a unique touch to your home décor. Whether you’re crafting a seashell book or other intricate designs, these methods will help ensure that your seashell crafts stand the test of time.
Conclusion
Making a seashell book mixes the pleasure of do-it-yourself projects with the beauty of the sea. Your seashell book can become a treasured keepsake or a distinctive gift with correct methods in sourcing, designing, and preservation. This activity sharpens your craftsmanship and increases your respect of the gifts found in nature.


