Let’s face it… not all old books have merit. In fact, some should probably have never been published.
If you love reading as much as we do, then you know that walking into a bookstore as an adult gives you the same feeling you got as a child when you walked into a candy store. But even then, you knew that not all of that candy was good.

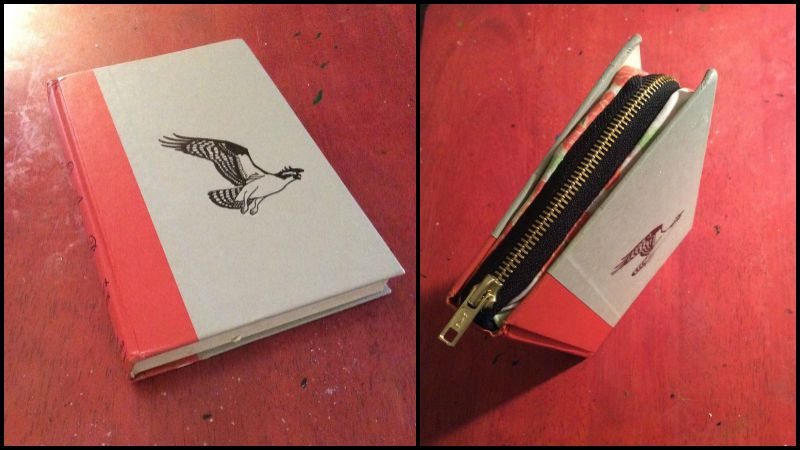
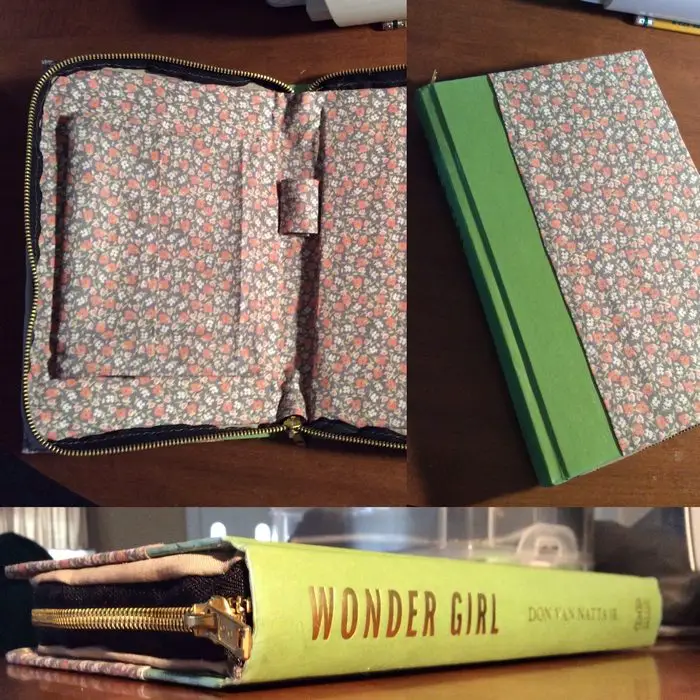
Now, this upcycling project is one of the best ideas you can do with those old, but unloved, hardbound books. It’s stylish and can be used for many, many purposes!
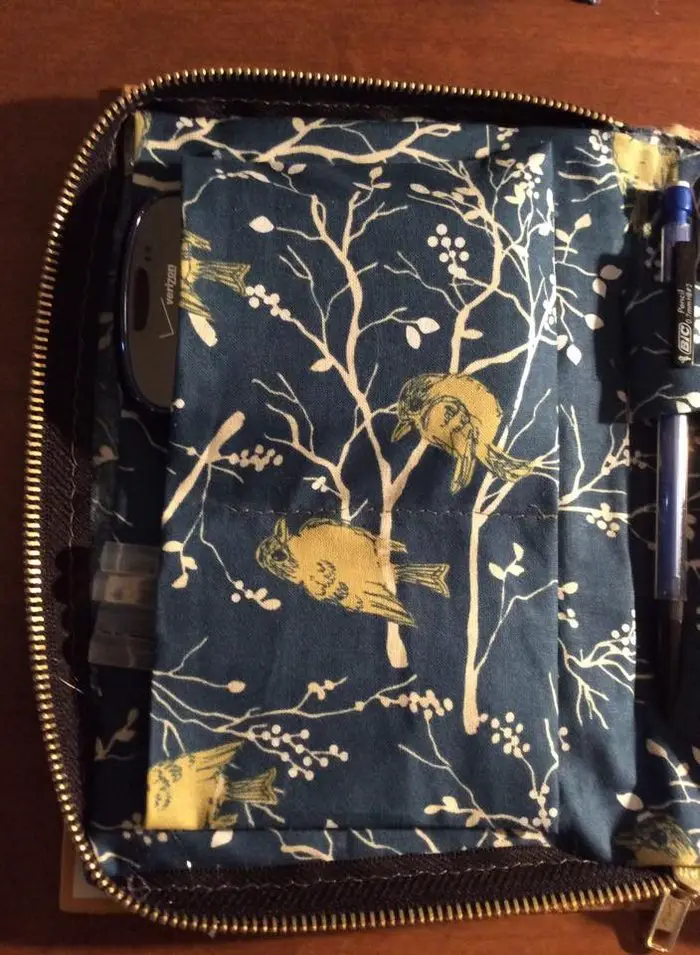
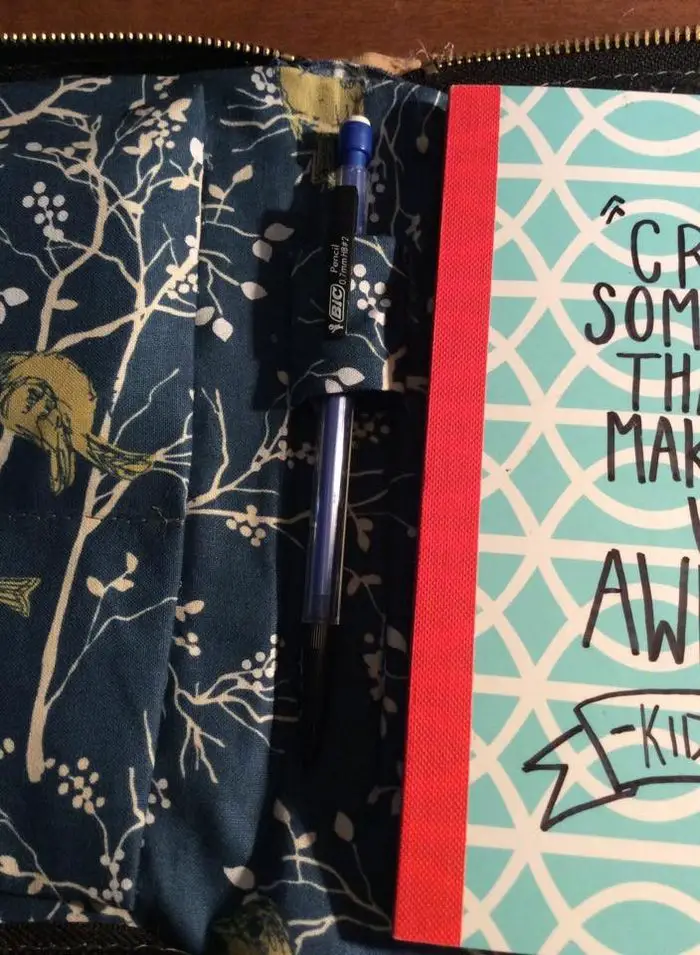
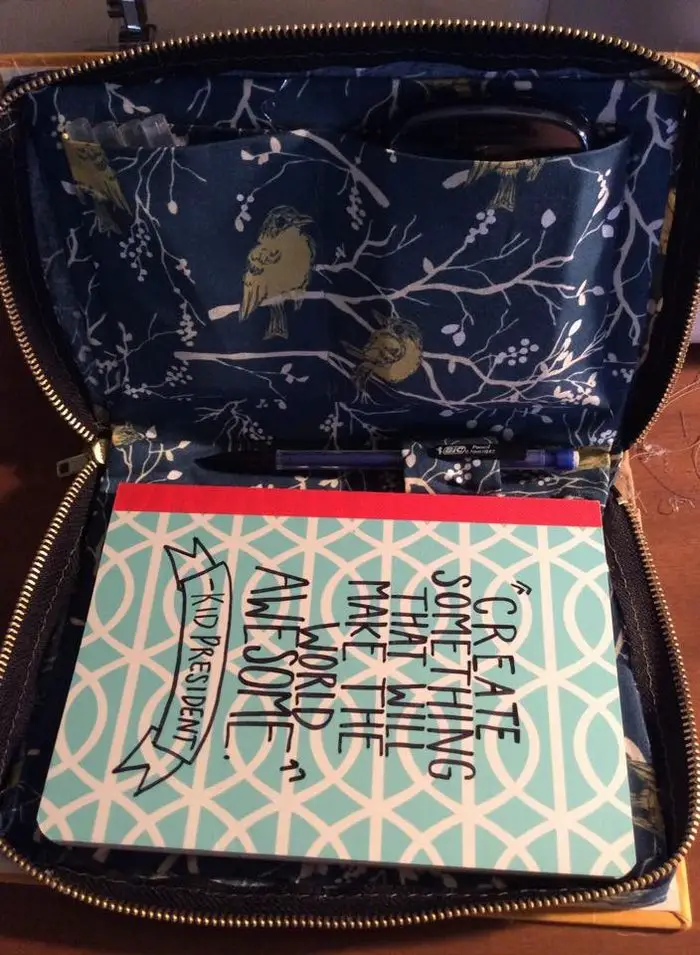
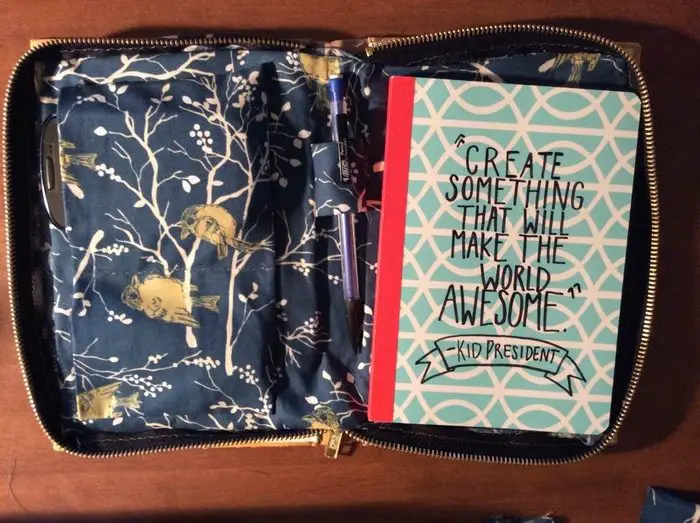
A book clutch is an awesome ‘handbag’ anybody can comfortably carry around. You can use it to store makeup for girls or everyday travel necessities for men, or as a notepad and pencil holder for kids! It also makes a great gift kit, where you can put simple gift items such as candies and chocolates, little arts and crafts supplies, cologne samples, and all other things you can think of that will, of course, fit inside. :)
And you don’t have to feel guilty about taking out all those book pages! Here’s a beautiful art project anybody can make — even those who think they’re less artistic! ;)
Do you have old hardbound books to upcycle? If not, then you better be heading to the thrift store to grab some good-looking books now!
Click on any image to start the lightbox display. Use your Esc key to close the lightbox.![]()
To turn your hardbound books into clutches with zippers, you’ll need a few supplies:
- Hardbound Book
- Zipper – should be a little longer than the three sides of your book
- 1/4 yard of fabric
- Sewing Machine / Needle and Thread
- Straight Pins
- Hot Glue Gun / e6000 Craft Adhesive
- X-acto Knife (optional)
- Scissors
Contents
How to turn your hardbound books into clutches with zippers
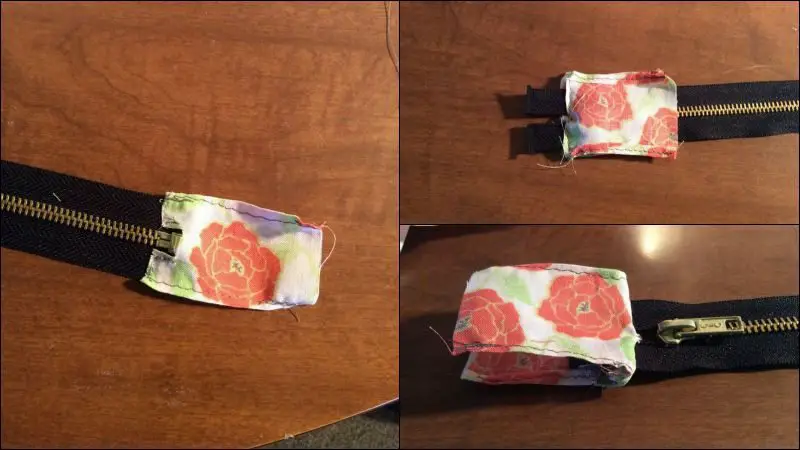
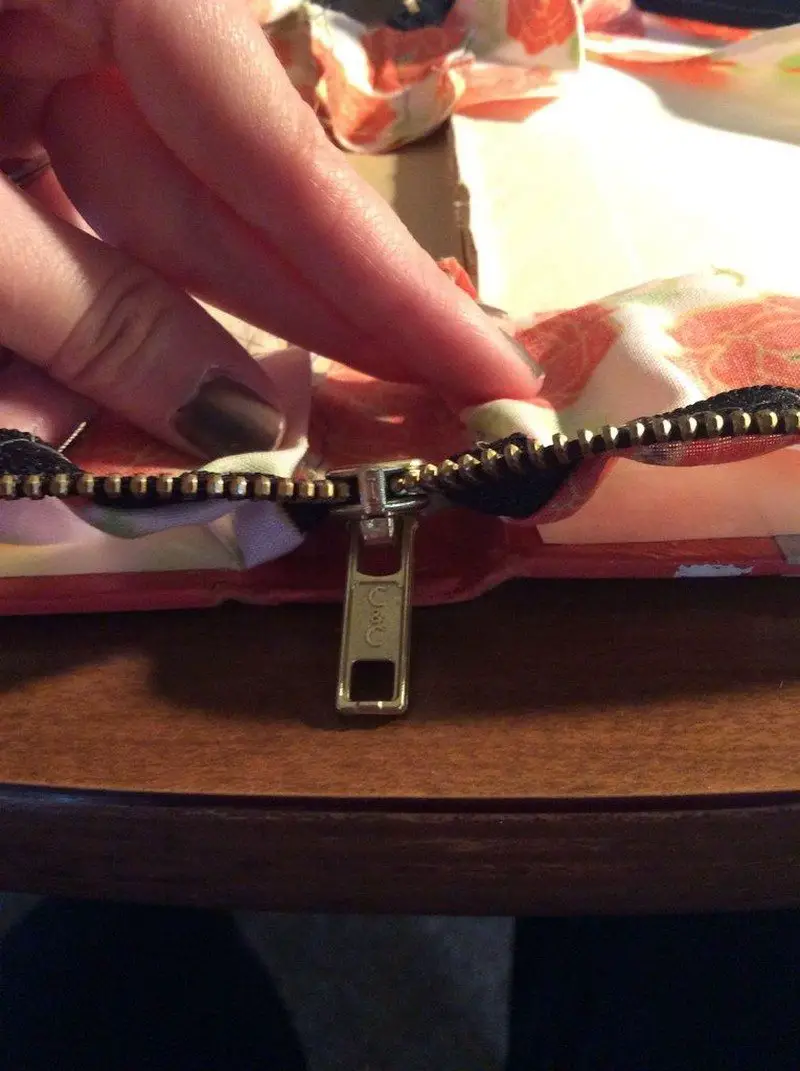
1. Prepare the zipper
First I prepared my zipper by sewing material around it. I cut small squares of material to attach to the ends of the zipper. On one side I easily sewed the material right on the end of the zipper with my machine. The other end, however, is a little trickier since it ends in with the metal part and doesn’t have a nylon end to sew the material on. So I cut out a notch for the zipper end and hand-sewed the material onto either side of the zipper end. I hemmed most of my ends so that the material wouldn’t fray, the notch at the zipper end can be sealed with white glue to prevent fraying.
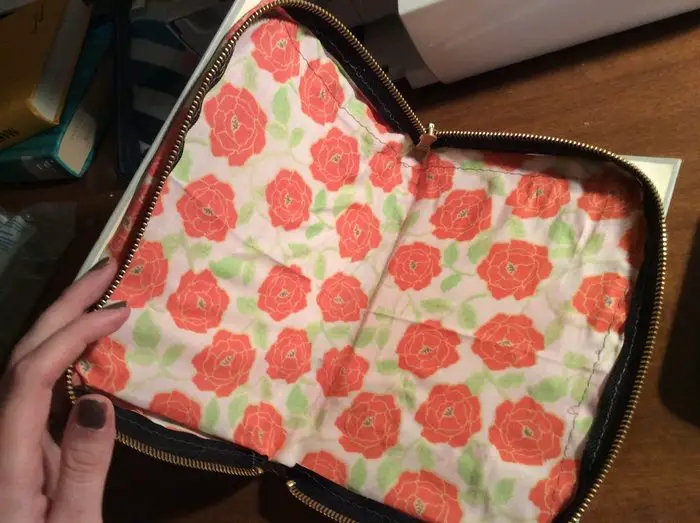
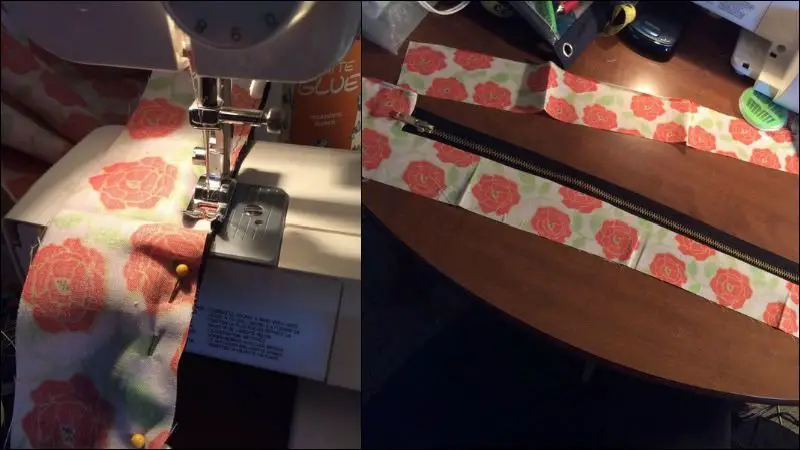
Next, you will cut long strips of material for either side of the zipper. Make these go at least to the end of the zipper if not all the way to the end of the material squares.
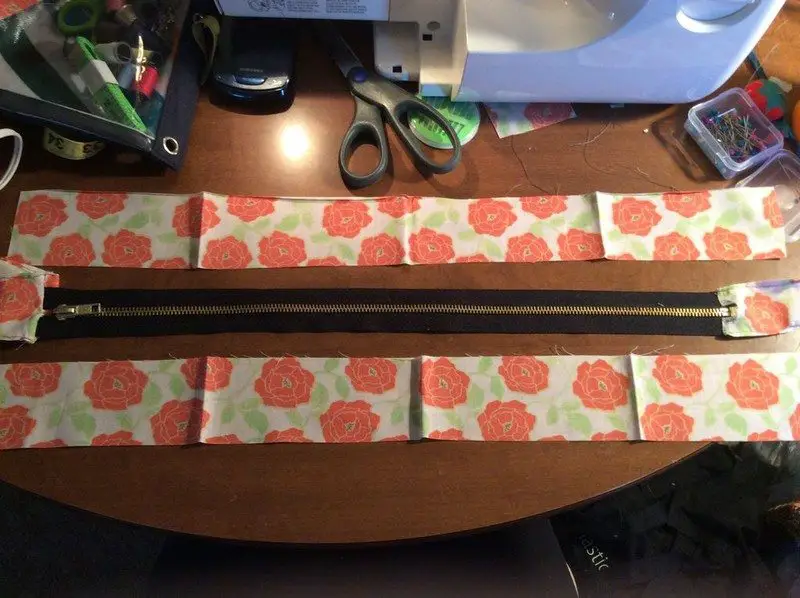
Pin down one side with the material upside down and across the zipper. Then when you are finished sewing, you can fold it back over to create a nice edge with the material the right way up. Then do the same to the other side so that your zipper is completely framed in material!
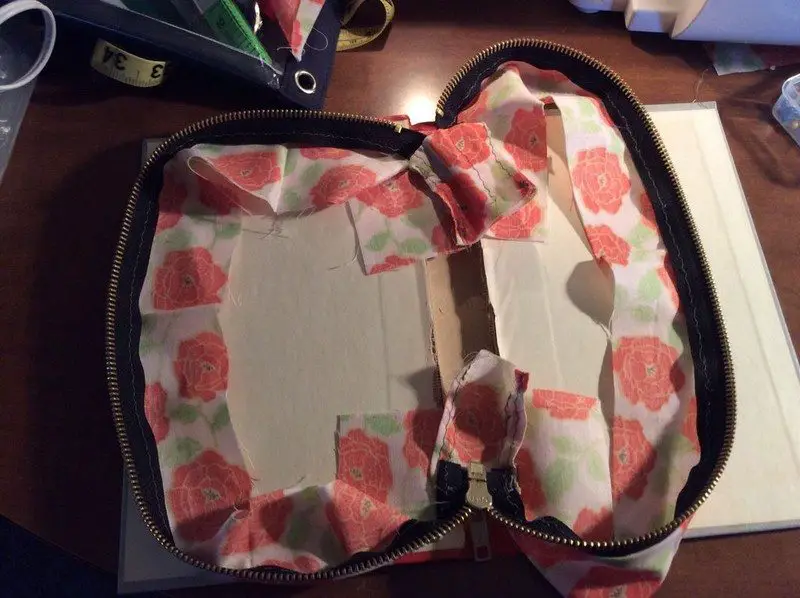
2. Remove the book pages and attach the zipper to the book’s front cover
First, take an exacto or scissors and remove the pages from your book. You can do this by cutting the thin piece of paper and attaching the front/back pages to the spine. I just used scissors, but an exacto is easier and cleaner. You can save the book to read later or reuse the pages with another arts and crafts project! (Have a look at this wonderful canvas decor using old book pages!)
Next, you want to unzip the zipper. I attached one side of the zipper first. This is probably the trickiest part of the project. Take your time and play with the shape of the zipper to make sure it is going to be where you want it.
3. Remove the excess
If your zipper is slightly longer than the three sides of the book, then you can get your book to open flat. To do this, you will glue the ends of the zipper further in the spine towards the middle of the book so that the zipper can open all the way.
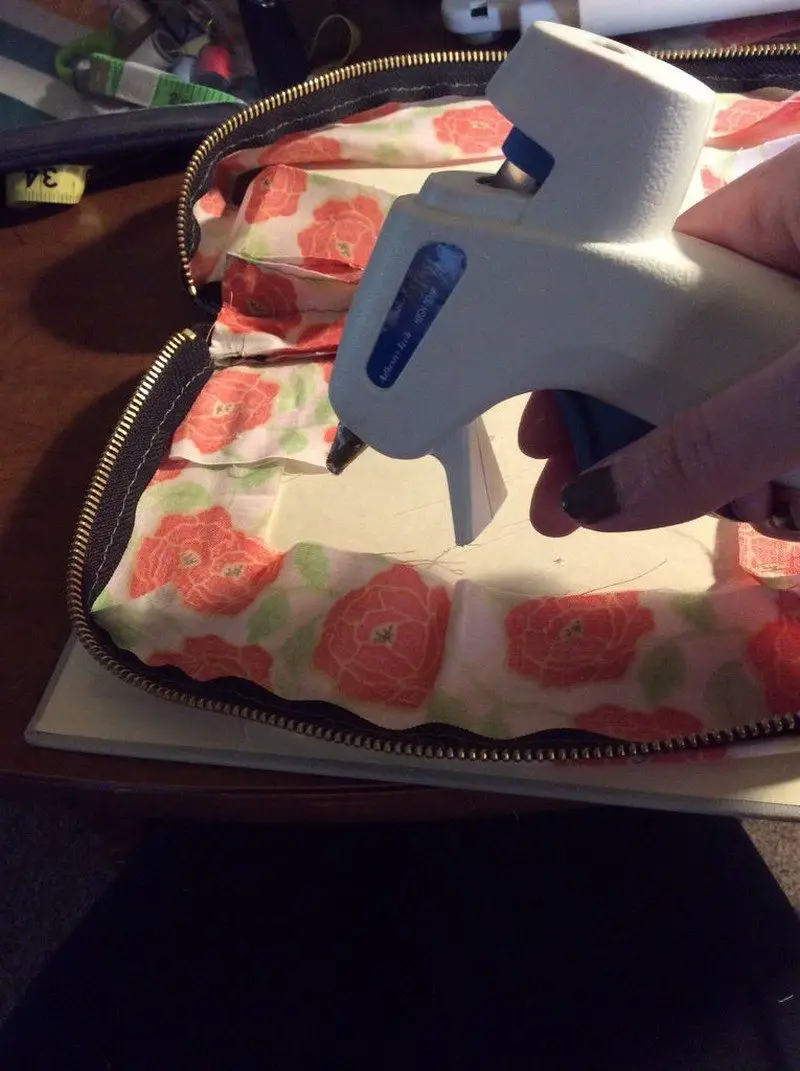
4. Glue the zipper ends
My zipper was the exact size of the three sides of the book. This means I had to choose between opening the book all the way flat or having a larger compartment area with the zipper closer to the edges of the book. I went for the larger compartment, so I stretched my corners out as far as they could go which made the end of the zippers closer to the edge than the middle of the spine.
I put glue on the ends of the zippers and each corner and then glued down the rest of the material, folding in at the corners to make it flat. All of this is going to get covered so you don’t have to worry about how nice it looks.
Continued Page 2…


