These whimsical doors will add magic no matter where you put them! As a child, I was amazed by stories that involve little fairies and magic. I must admit that feeling has never left me even at this age.
There’s something whimsical about fairies. And believing in magic makes one believe that anything can happen.
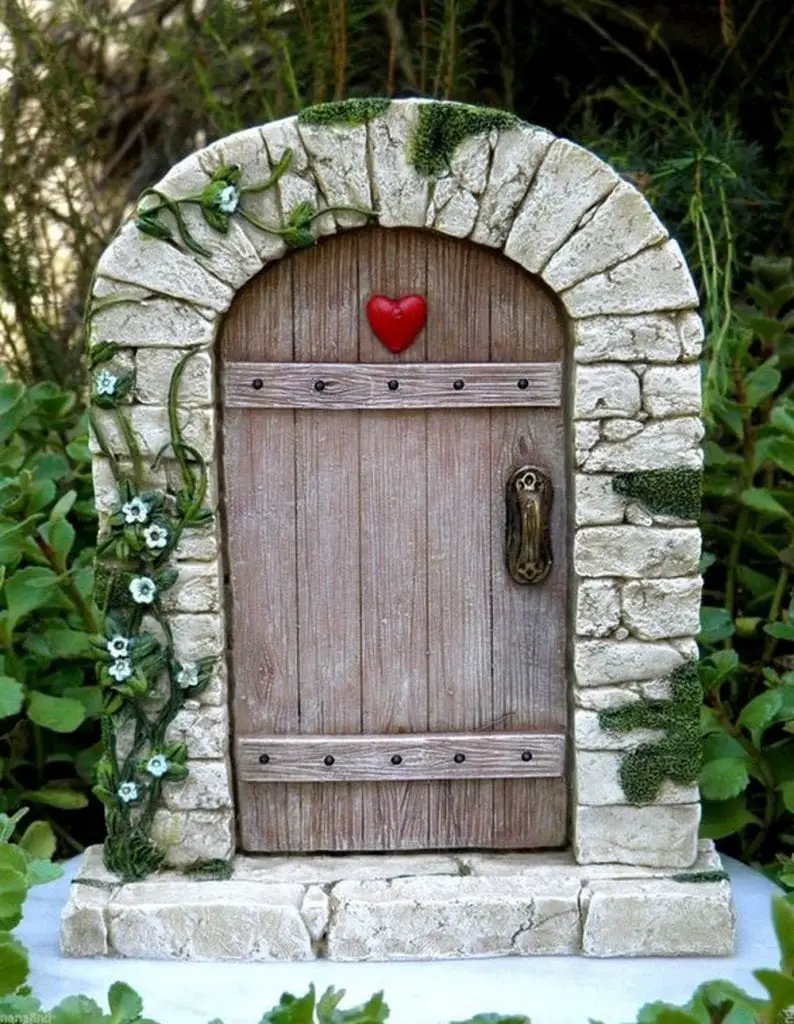
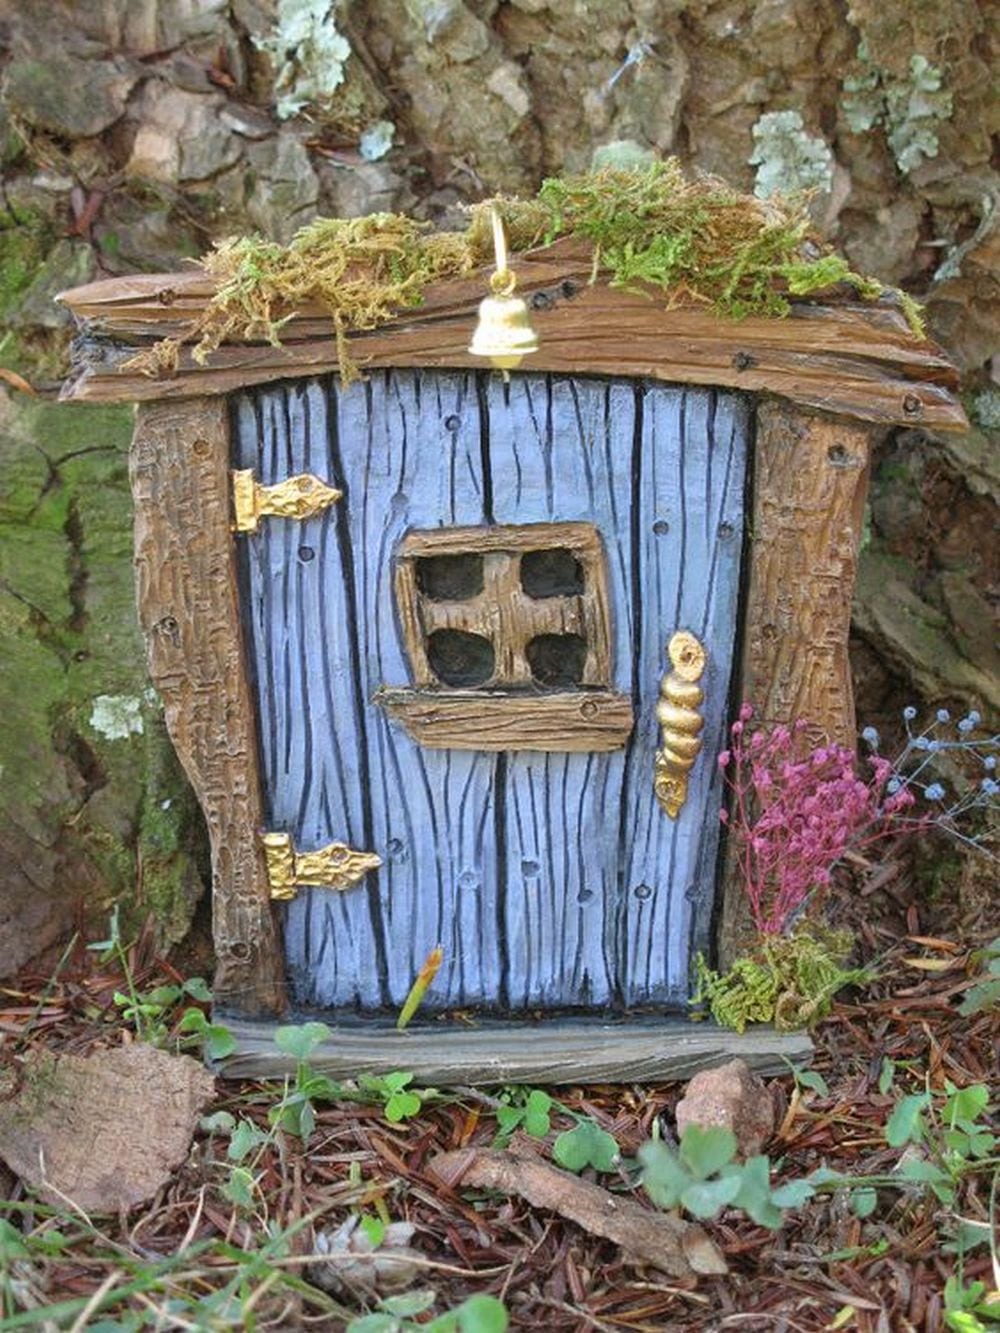
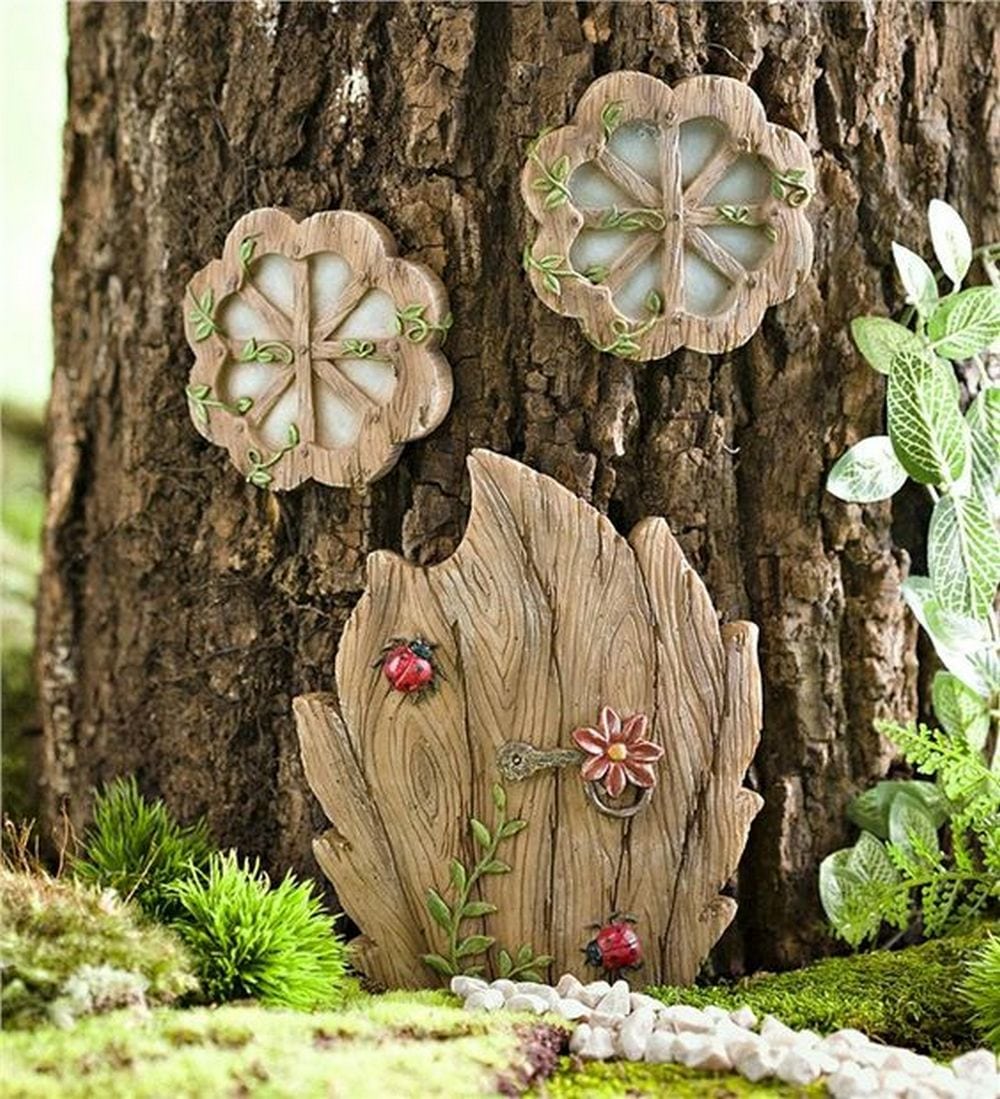
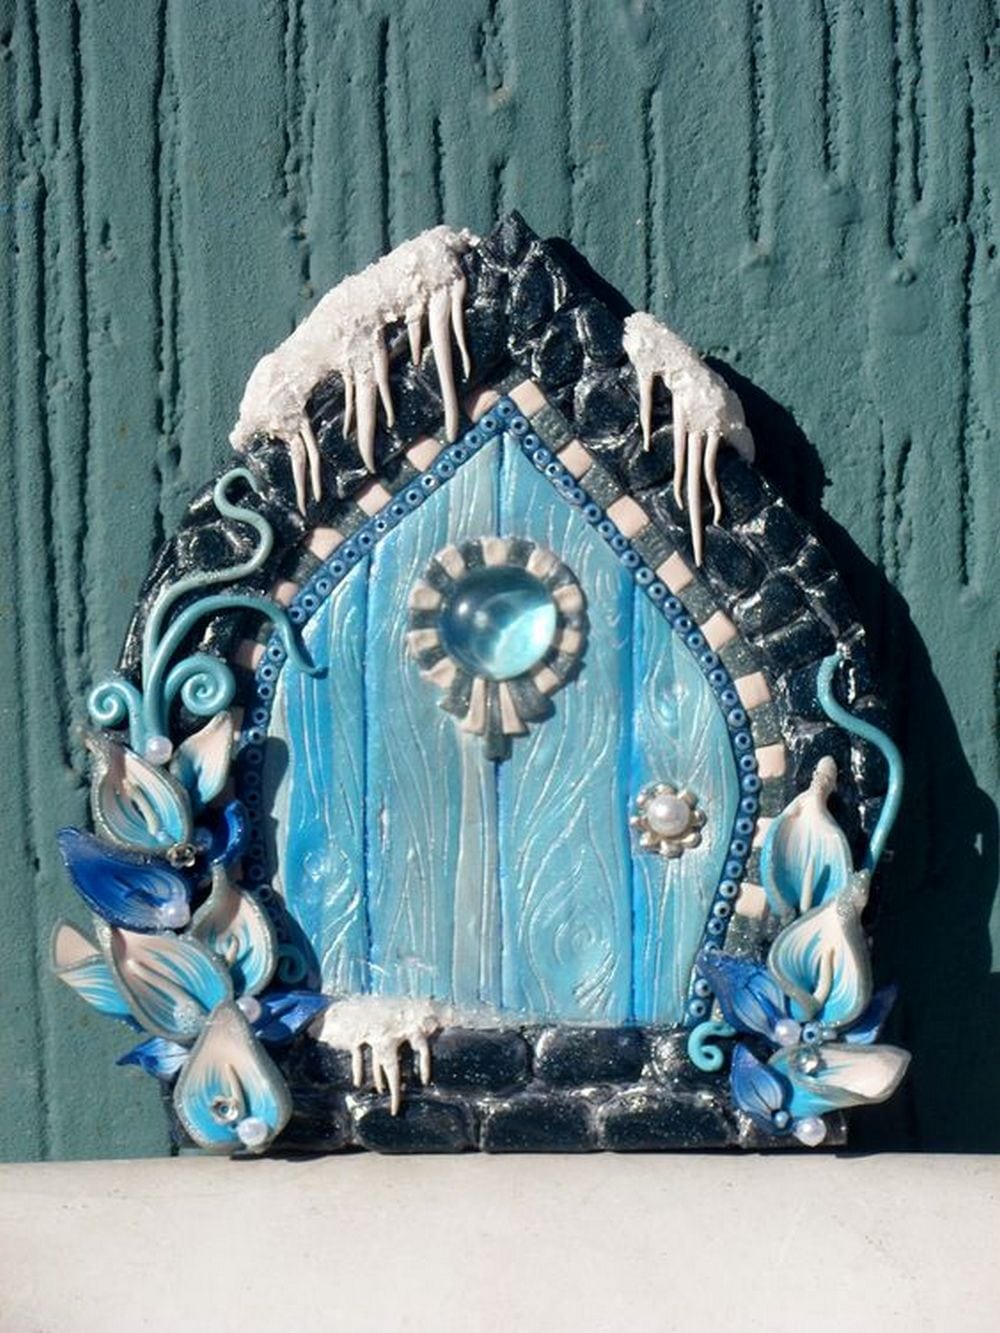
When reading most fairytales or fairytale-like stories, you will almost always encounter a magical, enchanted doorway. There are the round doors of the hobits, magic castles with towering wooden doors full of elaborate scrollwork, and the woodland bear whose cave has an appealing door with a sign hanging above.

I think they add a little bit of magic. Whether you believe in fairies or not, having these little doors will make lovely little accents. You can put these doors inside a room or on a tree trunk. Work on it over the weekend. Ask your kids to help.
This DIY project will be a fun bonding activity for the whole family! These enchanting doors can be used to add a touch of magic to any room in your home.
Not sure where to start? Check out these five fairy door designs that are sure to inspire you.
We’ve rounded up a few of our favourite ideas to help get you started. From rustic to modern, there’s a style for everyone.
Contents
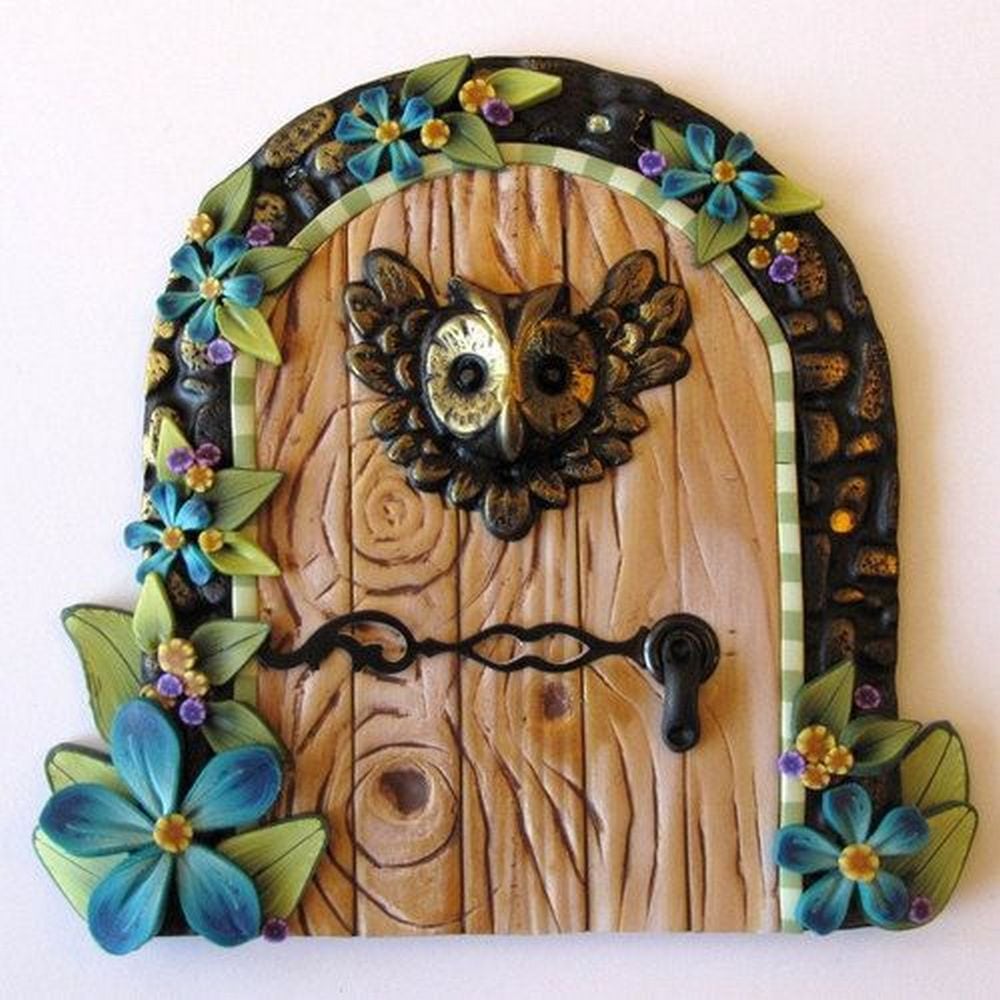
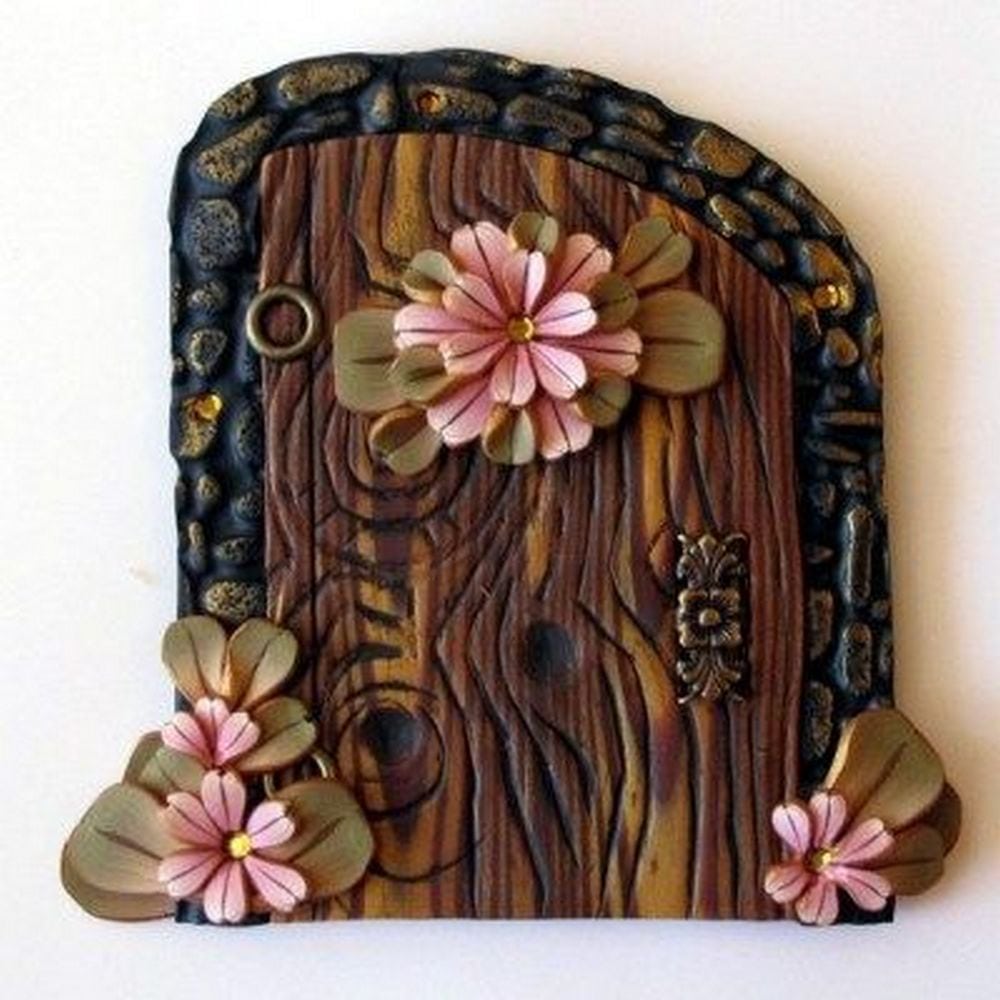
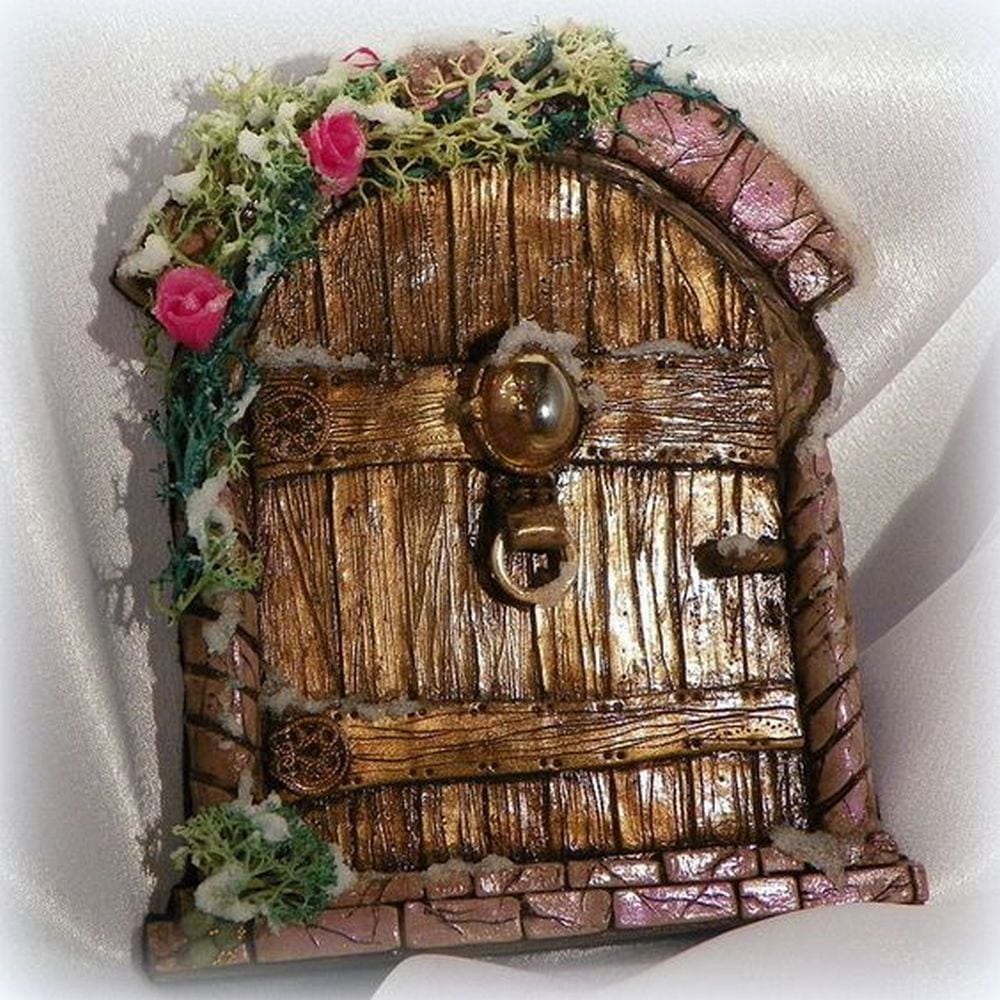
Majestic DIY fairy door designs
Click on any image to start the lightbox display. Use your Esc key to close the lightbox.


This charming little door can be a fun addition to any home, and with a few simple supplies and a little bit of creativity, you can make your own! Here’s what you’ll need to get started:
Materials:
- 1/8″ or 1/4″ plywood
- Craft sticks
- Polymer clay (grey and black)
- Liquid Nails
- Craft paint
- Thin-set mortar
- Sanded grout
- Masking tape
- Flat stones
Tools:
- Utility knife
- Jigsaw
- Paintbrush
How to make a DIY fairy door
Working on this DIY fairy door project will be a great bonding activity for the family.
So what are you waiting for? Let’s get started! Here’s how:
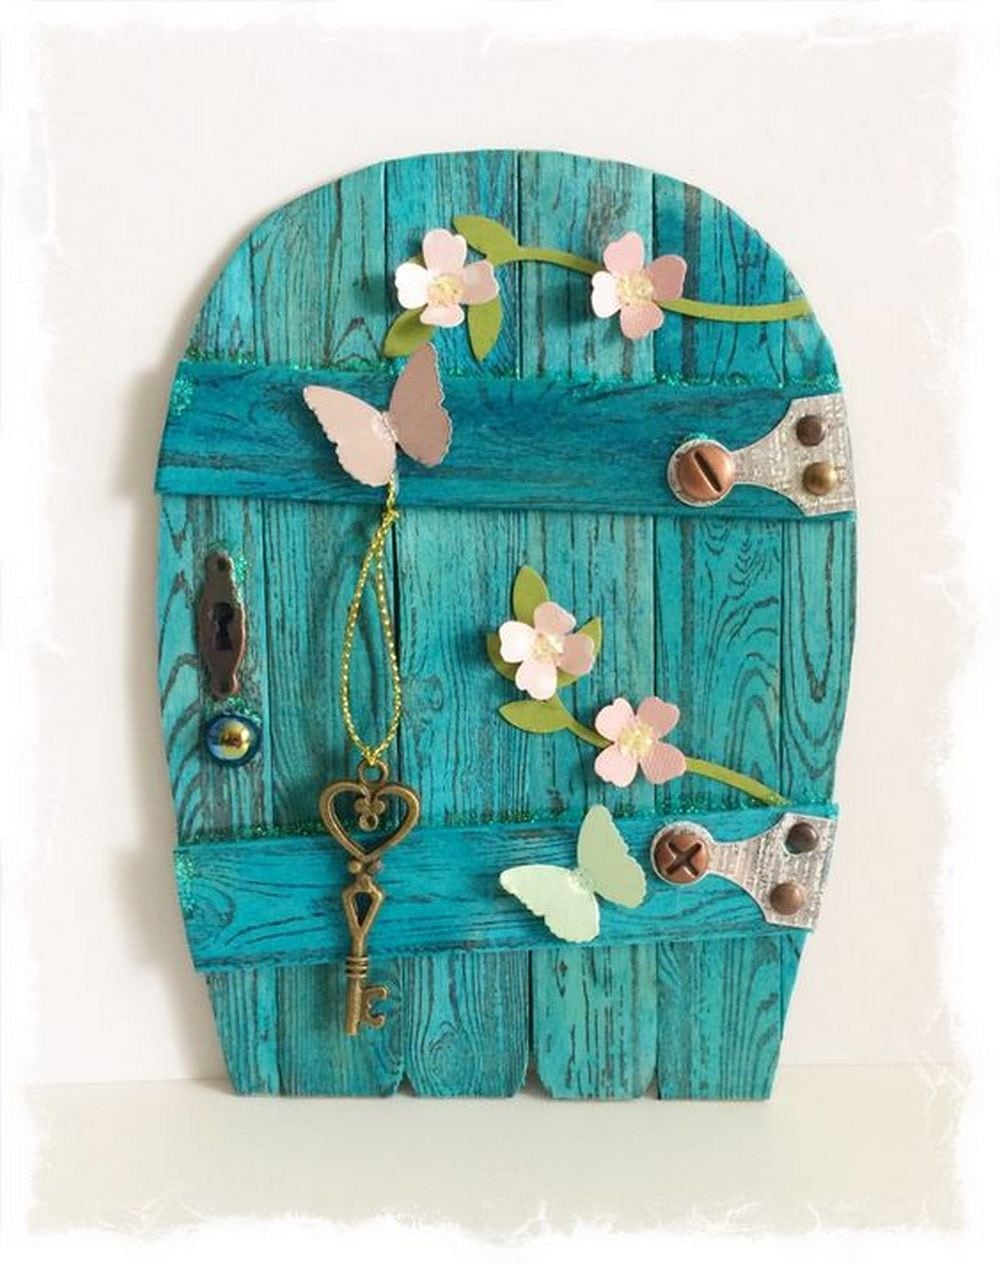
1. Arrange the popsicle sticks
Start by arranging the craft sticks in the desired structure for your fairy door, ensuring they create the envisioned shape. Then, apply glue to attach two additional craft sticks in strategic positions, providing stability and securing the arrangement.
Use a cutter or knife if necessary to trim or adjust the sticks for the desired outcome. Be cautious and precise during this step to achieve perfect alignment.
2. Add your door designs
To further enhance the aesthetic appeal of your fairy door, you have the freedom to incorporate additional embellishments.
Consider adding buttons, beads, or any small artificial jewellery that resonates with your personal style and creative vision. This is your opportunity to let your imagination soar and adorn your door with unique and charming elements.
Once you have selected your desired decorative pieces, securely affix them to the surface of the door using an appropriate adhesive, such as glue. Feel free to experiment with various arrangements and combinations to create a truly captivating design.
3. Color your door
Now comes the exciting part – it’s time to infuse vibrant colours into your fairy door! With the aid of polymer clay and a range of craft paints available in a myriad of hues, you have the freedom to choose any colour palette that speaks to your artistic sensibilities.
Unleash your creativity while colouring your door. The options are endless, whether you favour a daring and eye-catching style or a delicate and captivating colour scheme. Use polymer clay to form elaborate designs or textures, then meticulously paint your door with the selected craft paints to animate it.
Immerse yourself in the process, allowing your creativity to guide you as you carefully add colour and transform the surface of your fairy door into a breathtaking visual spectacle.
With each stroke of the brush or touch of clay, watch as your door undergoes a magical transformation, becoming a true reflection of your artistic vision. Embrace this opportunity to create a door that exudes beauty and captivates the imagination of all who behold it.
4. Make it stand
Now you have your door complete, then how will you make it stand? Just simply add a stick. The bottom of the stick can be glued so that it can be firmly embedded in the soil with a stick, wire, or other popsicle stick. That would have been fine as well.
5. Attach the door to the branches
To make it look real and majestic, why not attach it to a tree? So go on, look for a little branch or stem. Just trim them first, then glue them to both sides of your doors.
To add some more accessories, you can have a cute roof on it made from tiny pieces of wood and hang some cute tiny lamps on both sides.
That’s it! You have completed your fairy door! You can now display it in your garden and enjoy it! You can even leave a note or some food for the fairies if you want. They might just leave you a gift in return! 😉
Conclusion
In conclusion, creating your very own fairy door is a delightful and engaging DIY project that allows you to infuse your home with a touch of enchantment.
By utilizing simple materials like craft sticks, plywood, polymer clay, and paint, you can craft a unique and captivating fairy door that adds a sense of wonder to any space. The process of designing and assembling the fairy door provides an excellent opportunity for family bonding and creative expression.
Once completed, you can proudly display your fairy door in your garden or home, inviting a touch of whimsy and magic into your surroundings. So, don’t hesitate to embark on this imaginative journey and bring the charm of the fairy realm into your own abode.
You can also watch the video below for a step-by-step tutorial on how to make a DIY fairy door…
Thanks to the Learning Resources Blog for this project.
Think your outdoor area could use some decorative lights? Perhaps these DIY grapevine balls are the perfect project for you!


