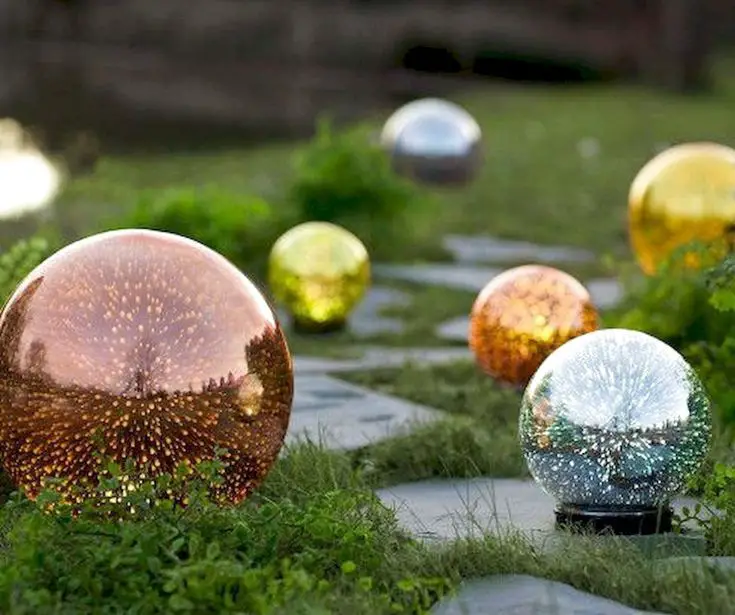
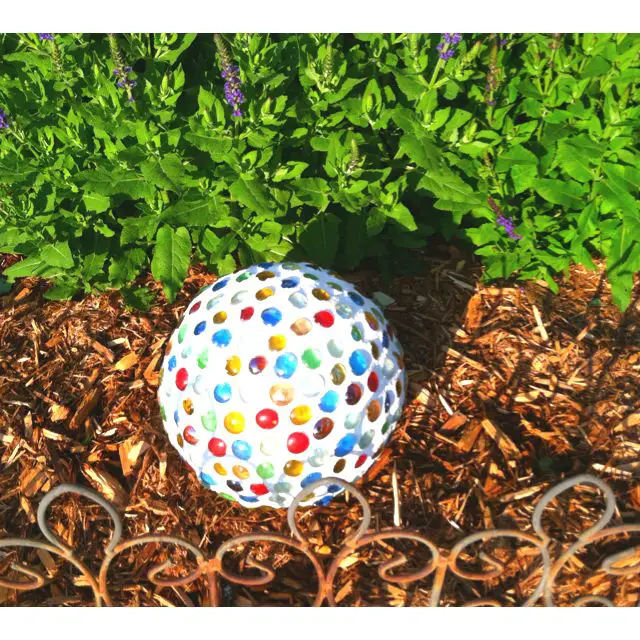
This fun and creative project will surely add pops of color to your garden.
Gardening is an assertion of influence on a tiny sliver of the environment – that’s influence, not control. The wise gardener seeks to employ the elements of the garden’s environment – soil, plants, critters, the weather – to produce a small, living network of beauty and abundance.
Well-planned, well-maintained gardens allow us to enjoy the best that nature can bring into our backyards. That’s why most of us are constantly looking for new ideas to decorate the garden. That’s understandable. Sometimes, looking at the same old stone-and-pebble combinations can get pretty boring. Variety is good. It keeps the space fresh and interesting and in touch with natural diversity. That’s why it pays to always be on the lookout for innovative and creative garden decor ideas.
Just last month, I added hanging lights and miniature statues. Last week, I once again had the urge to add something new. I browsed through the Internet for concepts and discovered these decorative garden balls. They’re easy and fun to make. I’m sharing with you this adorable project.
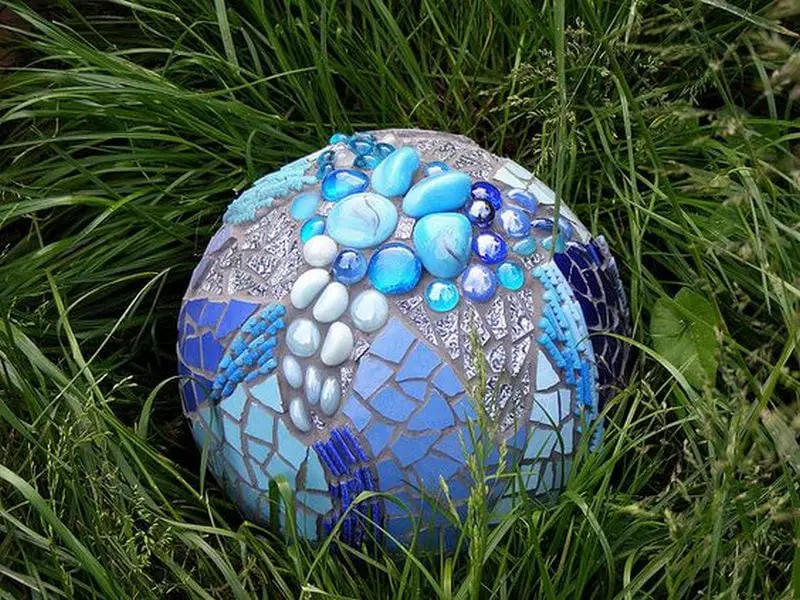
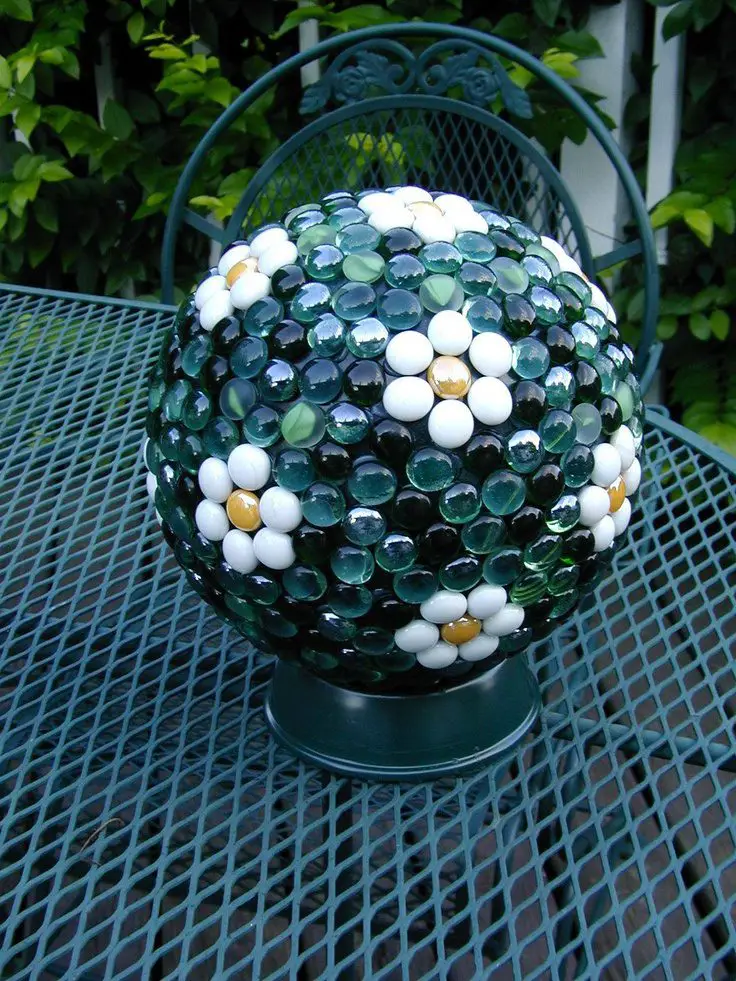
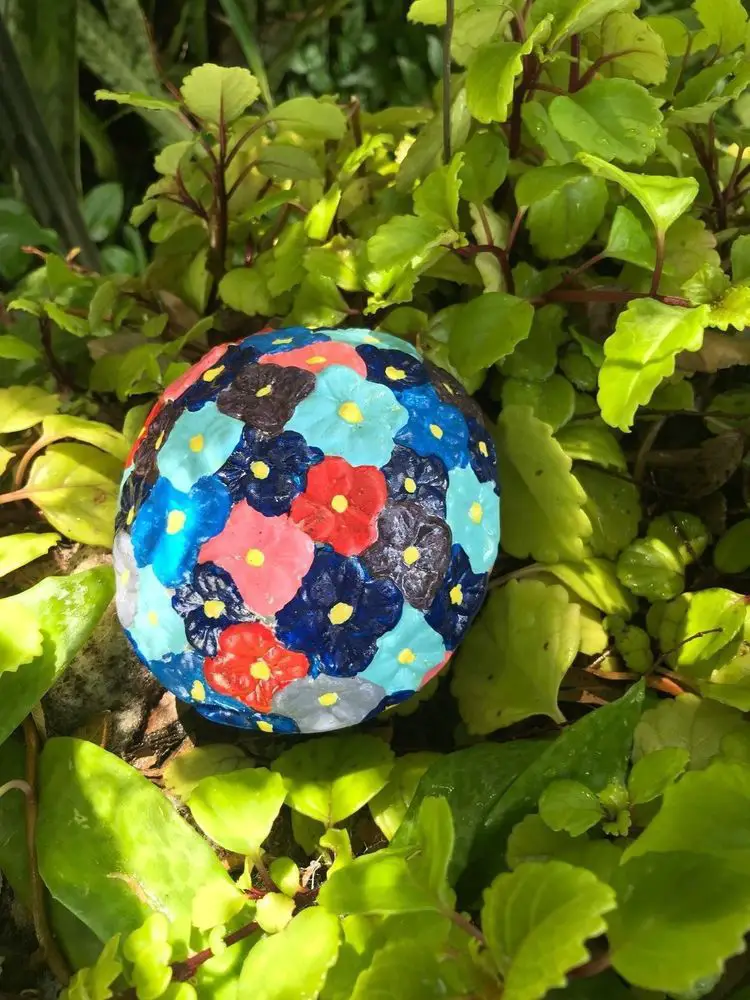
Not sure where to start? Check out these amazing DIY decorative garden balls! They’re easy to make, and they’ll add a touch of personality and style to any outdoor space. Who says garden balls have to be boring? With a little creativity, you can turn them into works of art! Here are some fun and creative ideas to get you started.
Contents
Wonderful DIY decorative garden ball designs
Click on any image to start the lightbox display. Use your Esc key to close the lightbox.
One great thing about garden balls is that they can be made from a variety of materials. From upcycled plastic bottles to colorful fabric scraps, there’s sure to be a garden ball project that’s perfect for you. And once you’ve made your balls, the possibilities for decorating with them are endless! So what are you waiting for? Let’s get started!
First, you’ll need the following supplies for this project.
- A round base (either a bowling ball or lamp globe)
- Spray paint (color of your choice)
- Decorative materials (flat bottom marbles, mini bits, decorative fillers, pennies, costume jewelry)
- Outdoor silicone sealant/adhesive
- Sandpaper
- Strong bowl
How to make DIY decorative garden balls
If you love spending time outdoors surrounded by beautiful flowers and greenery, then you’ll love these DIY decorative garden balls. They’re easy to make and only require a few simple materials that you probably already have around the house. Plus, they add a touch of whimsy and charm to any garden.
Here’s how:
1. Prepare the bowling ball
Prepare the bowling ball by cleaning it thoroughly. You can use another object similar to a bowling ball or a lamp globe. Make sure there’s no grease, otherwise your decorative materials will not stick. You can also spray paint it if you want, just make sure to let it dry before moving to the next step.
2. Apply the outdoor silicone sealant
Once your bowling ball is clean, you’re now ready to apply the outdoor silicone sealant. We recommend you use a waterproof and clear drying sealant. Look for a bowl where you can place your bowling ball while applying the sealant. Start from top to bottom.
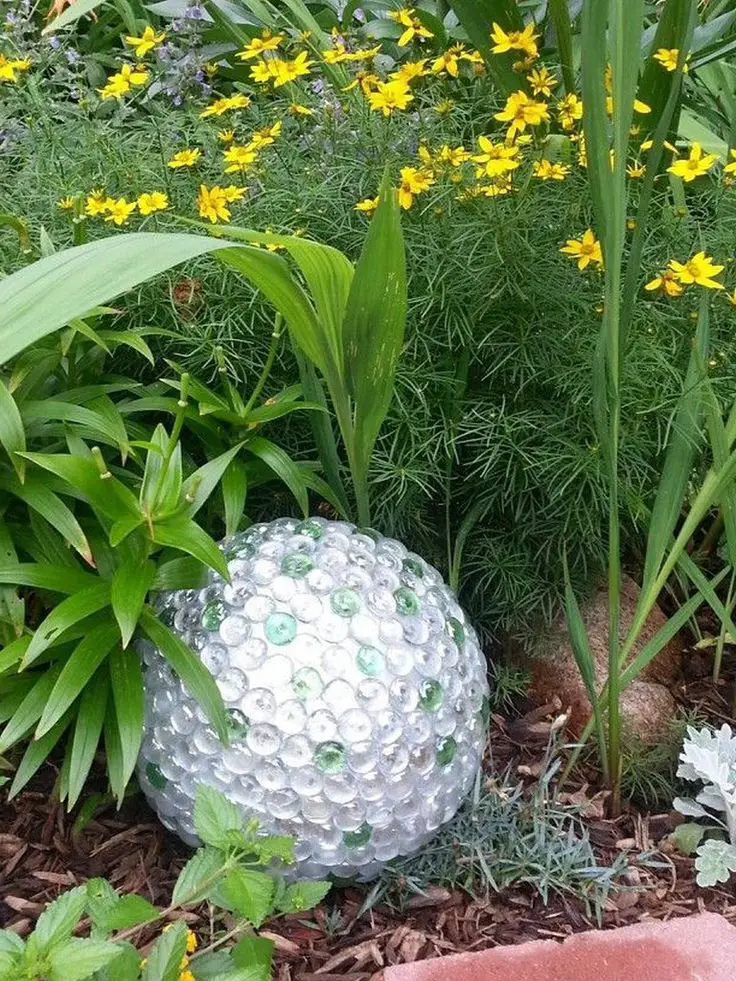
3. Attach the marbles
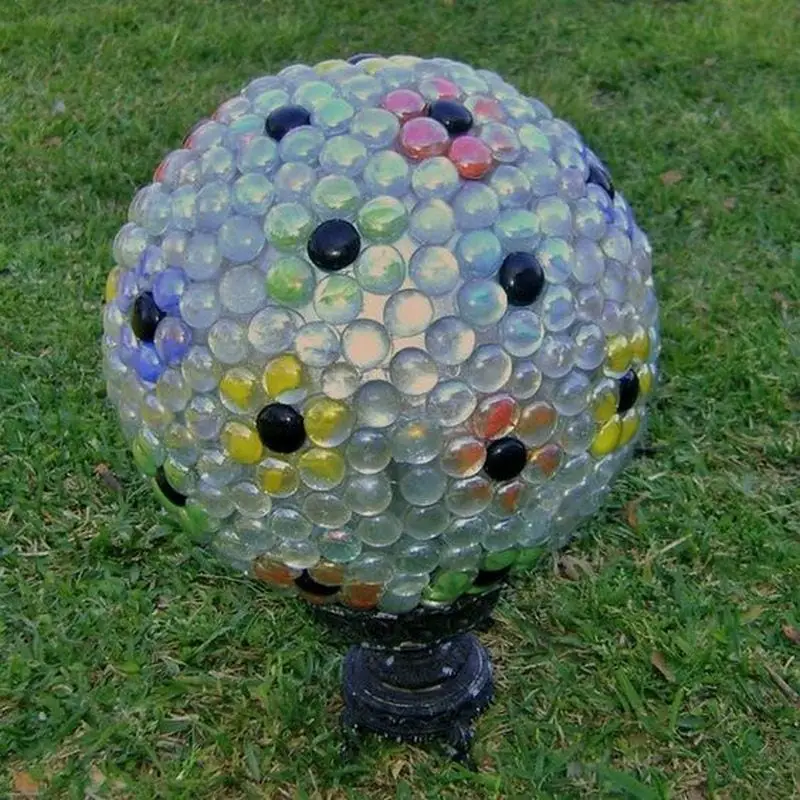
If you don’t have the marbles, you can use other decorative materials such as pennies or costume jewelry. You can start adding the marbles to the ball from top to bottom. Then let it dry. The drying time of the sealant will depend on the product label. Once dry, you can now carefully flip it over to fill the bottom part with adhesive and marbles. Then let it dry.
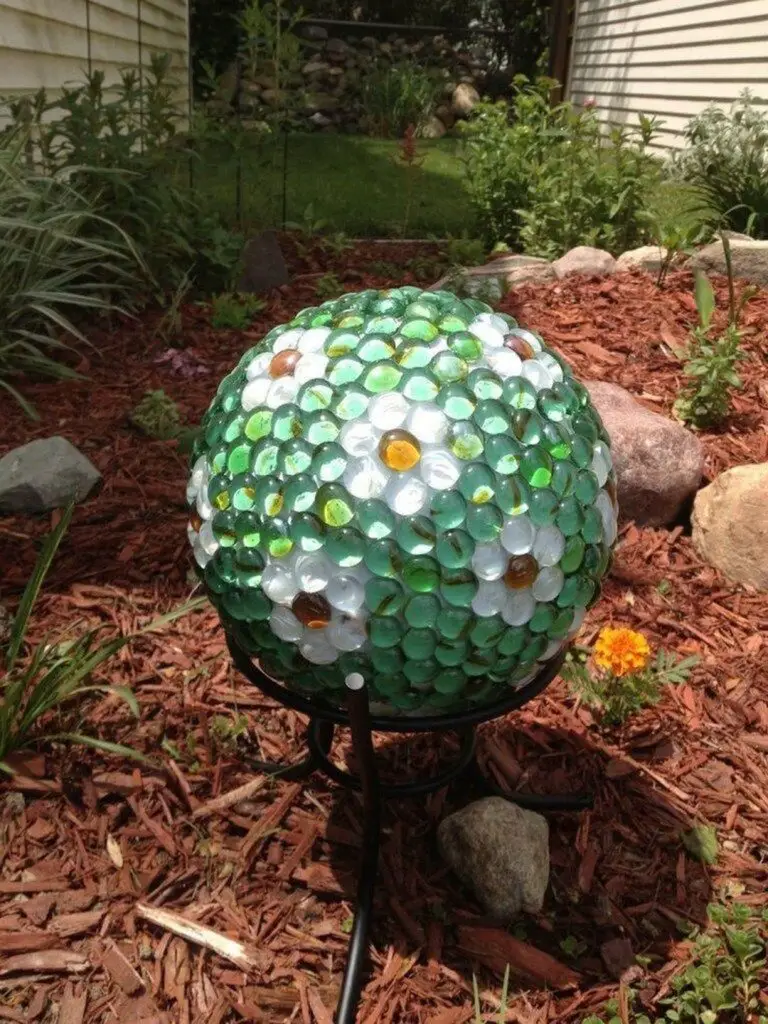
4. Display your garden ball
Once the sealant is dry, you may now display your garden ball in your backyard.
If you’re looking for a way to display your garden ball that is both presentable and unique, consider using an old lamp stand or lamp base. You can often find these items at garage sales or thrift stores. If you can’t find one, try checking your local store for any stand or lamp base that would work for your garden ball.
Simply place your stand in your garden, and add your garden ball on top of it. You can make as many as you like, so your garden will always look its best!
You can get as creative as you want with this project, so have fun and let your imagination run. Enjoy crafting! 😎
Thanks to Empress of Dirt for this great project. You can get step-by-step instructions here…
If you liked this project, you might also like to view the DIY golf ball ladybugs…


