Visit any preschool classroom during free play and you will likely see a child pretending to be someone else. Beyond being fun for kids, pretending and other kinds of imaginative play are critical to healthy child development.
When kids pretend they’re pirates or wizards, or create their own characters using dolls or action figures, they may literally appear to be engaging in child’s play.
But what’s going on when kids use their imaginations is actually very complex, and very good for their development!
That’s why most healthy, happy kids love playing pretend, especially about having superpowers.
It’s a great way to explore the world around them and learn about new and exciting things. And what could be more exciting than pretending to have superpowers? Whether it’s flying like Superman, shooting webs like Spider-Man, or playing with magical wands like Harry Potter, kids love to imagine what it would be like to have amazing abilities. So next time your little one is pretending to be their favorite superhero, just let them play and have fun. They will surely enjoy it, and you might even learn a thing or two yourself!
Contents
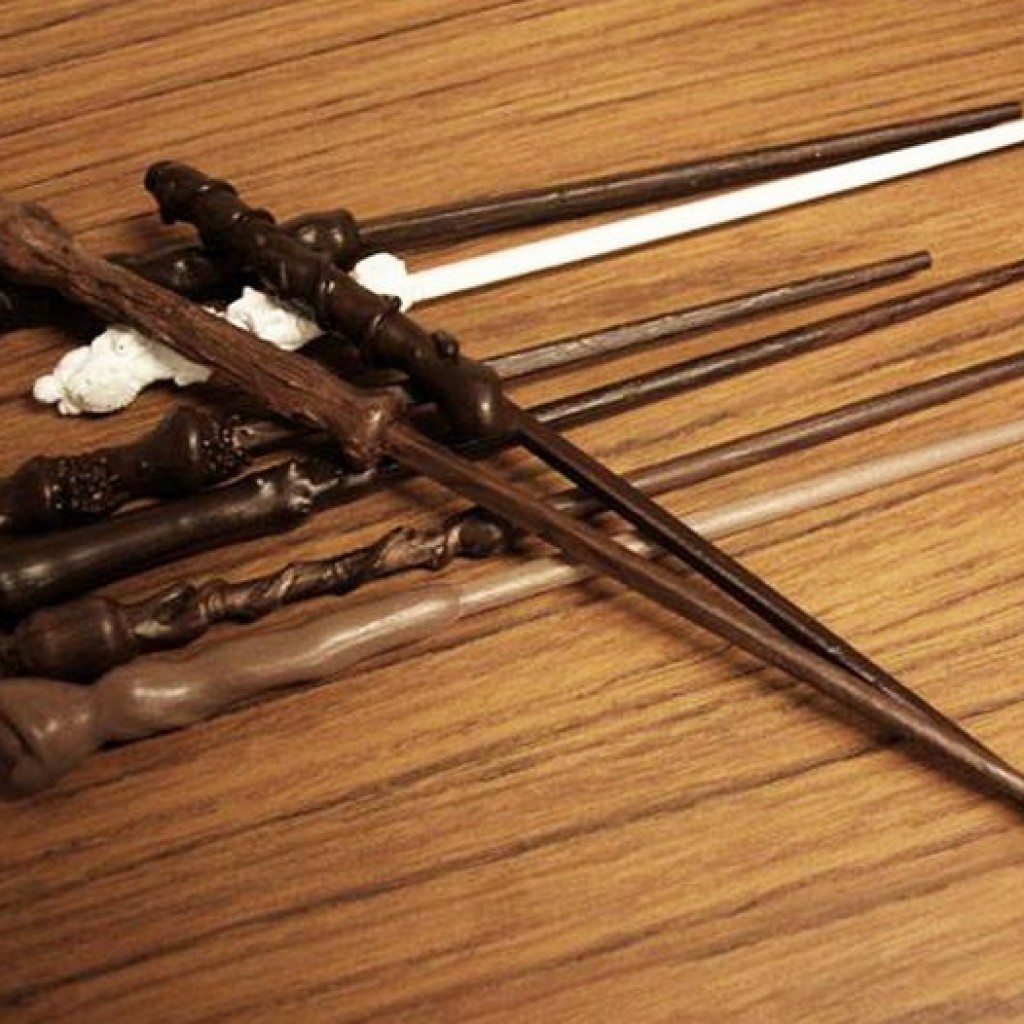
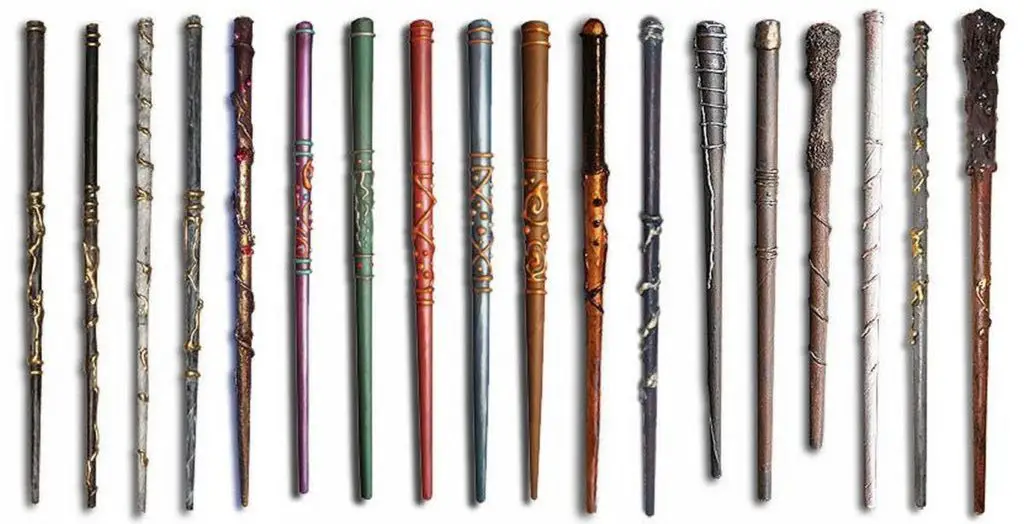
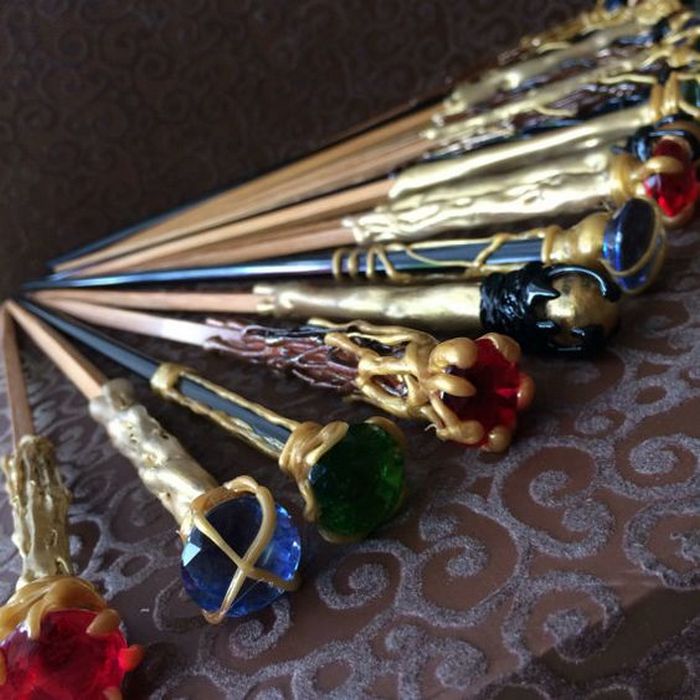
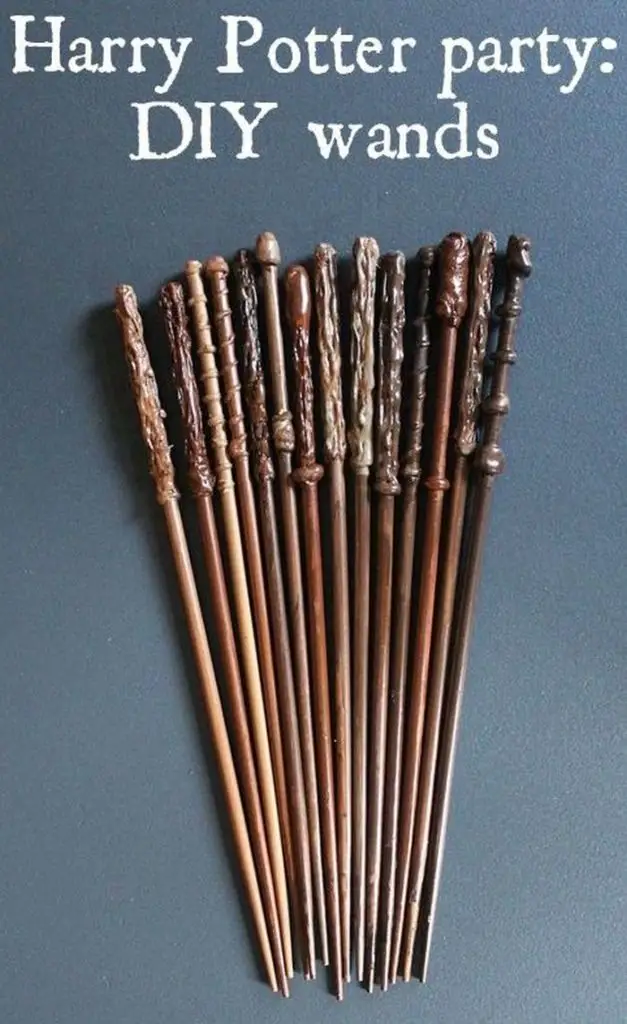
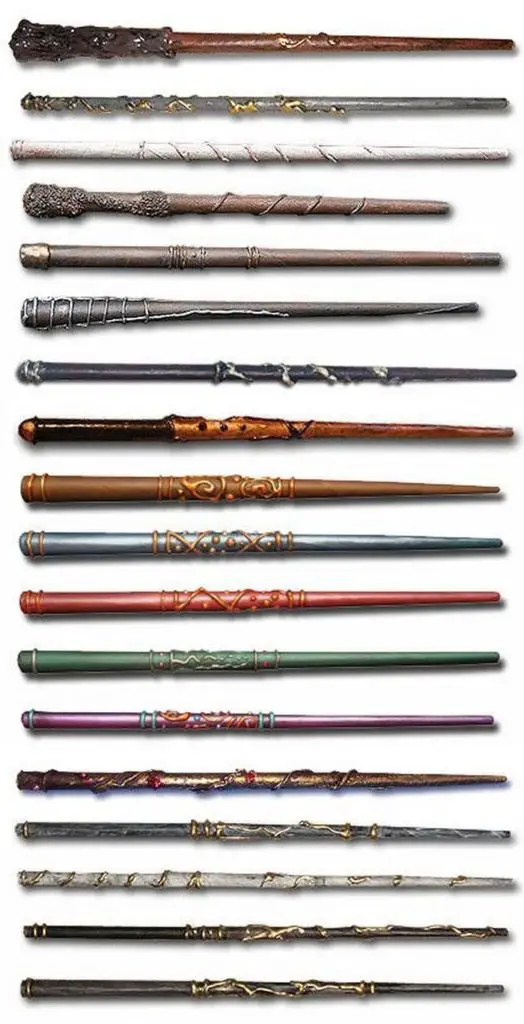
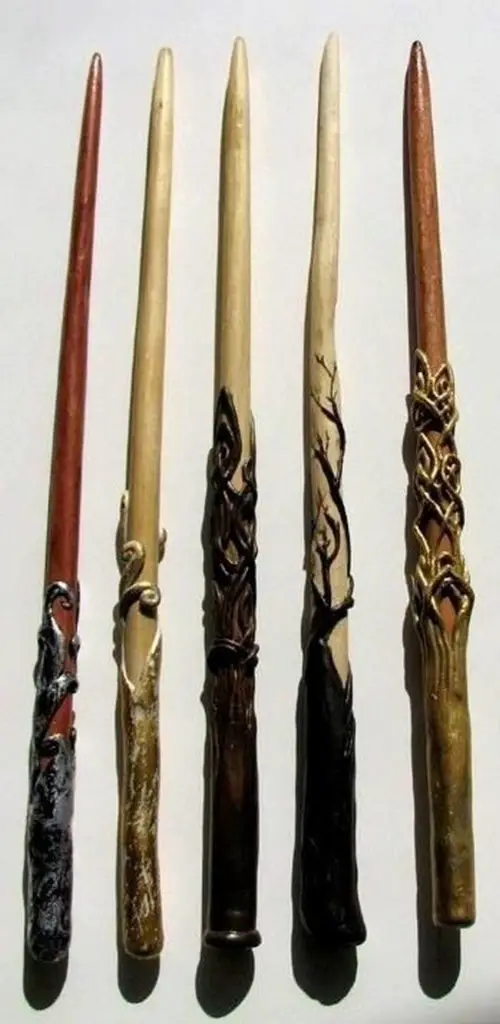
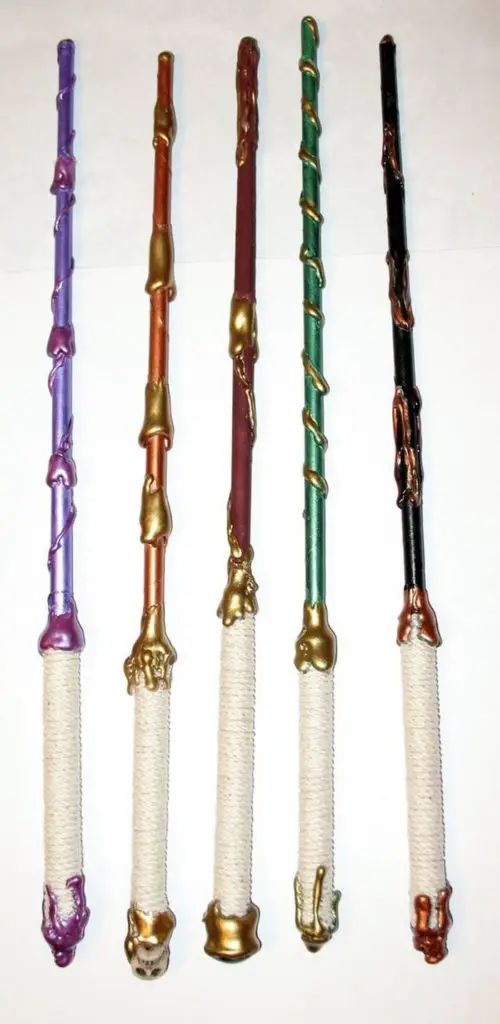
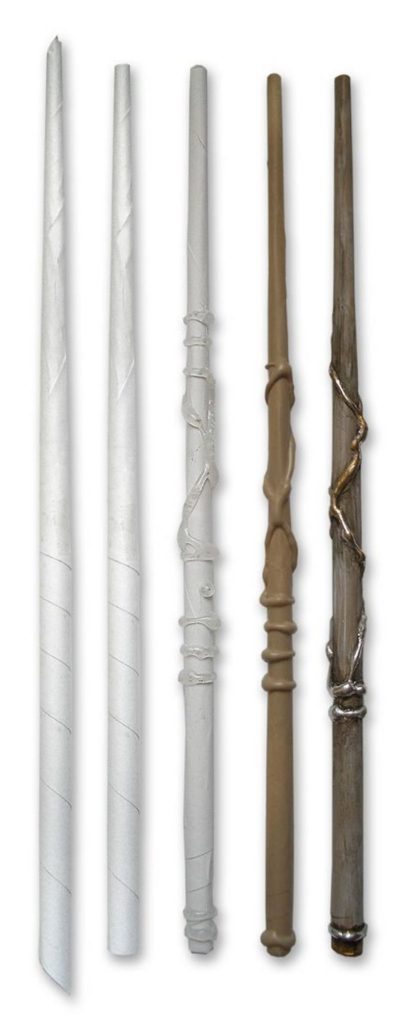
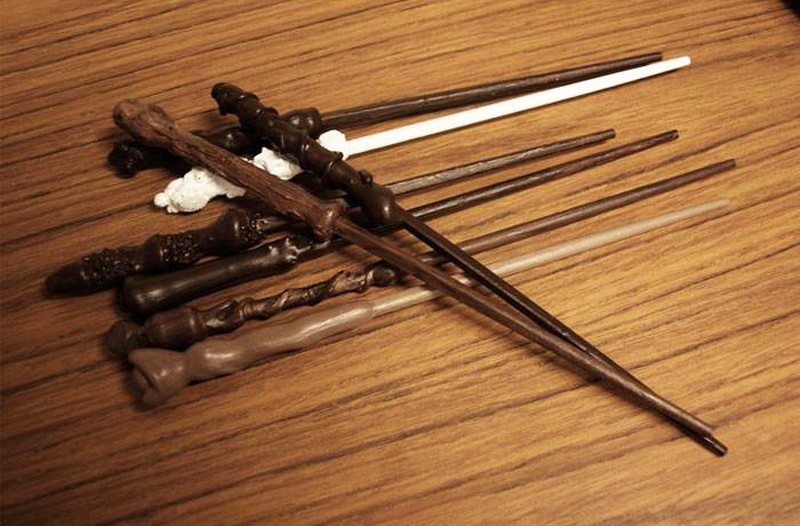
Amazing DIY wand designs
Below are amazing examples of our DIY wand designs that will surely inspire you.
Why not motivate your child’s creativity and imagination by leading them on how to create this project? This is a fun task that the whole family can enjoy, and it’s a wonderful way to bond with your children. Plus, they’ll love having their very own wand to use for make-believe plays and other fun activities.
Click on any image to start the lightbox display. Use your Esc key to close the lightbox.
What are the materials needed to make DIY wands?
You’ll need the following materials to make this project.
- Chopsticks
- Glue gun
- Beads
- Acrylic Paints (Brown, White)
How to make DIY wands?
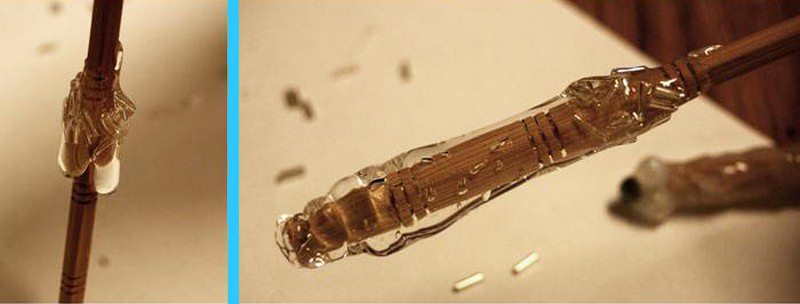
1. Prepare your chopsticks
Apply glue to one end of the chopstick.
Apply a sufficient amount of glue to one end of the chopstick. Be sure to cover the whole end of the chopstick, as this will secure a strong bond.

Move your stick around to try to control the shape of the hot glue.
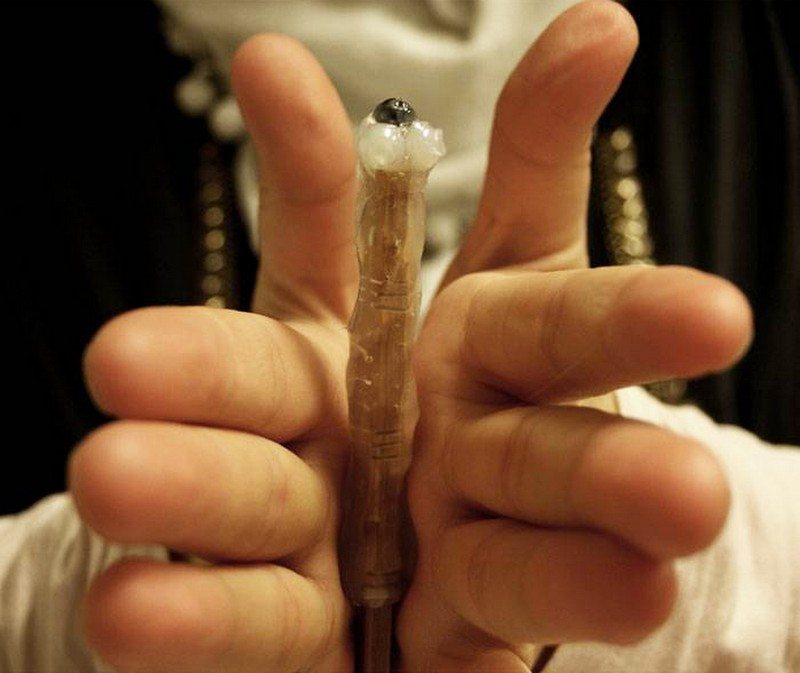
2. Add some beads
Add the beads fast, but be careful with the hot glue.

Carefully secure the beads by covering them with hot glue.
Make sure to carefully secure the beads by covering them with hot glue. This will keep them from sliding around or falling off and will give your project a nice, finished look.

You can still try to shape your once you can tolerate the temperature of the glue.
Even if the glue is slightly dry, you can still try to shape your project. Just be careful not to overdo it, since the heat from your shaping tools may potentially remove the glue.
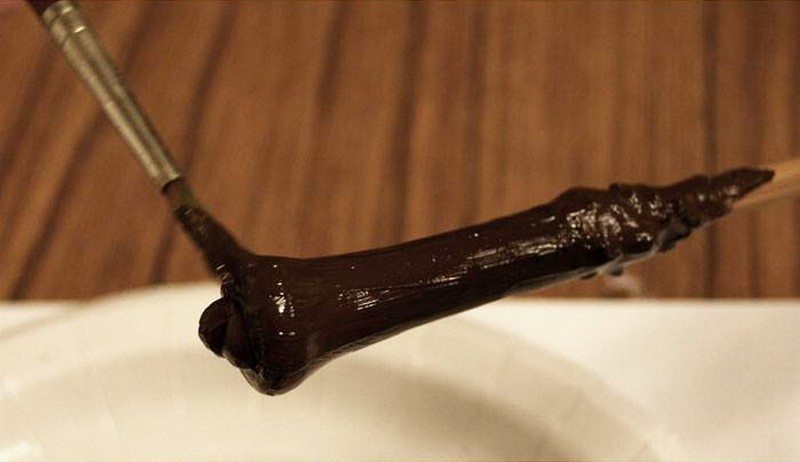
3. Paint the wand
Once the glue has cooled down, you can now start painting.
Get creative and have fun with it – you can use any colors you want. Once you’re done painting, your wand will be ready to use for all your magical plays!
Now that you have your magic wands, it’s time to have some fun! 😉
Here are some ideas to get you started:
– Have a wand duel with your friends or family members.
– Put on a magic show for your kids.
– Use your wand to create secret messages.
– Make up your own plays and spells.
Remember, there’s no limit to what you can do with your magic wand, so have fun and be creative!
Source: DIY Home Hacks


