Last Updated on March 26, 2024 by Team Ideas24
Do away with boring pieces such as typical candle holders. Make a unique decoration with a rock candle holder.
This project will show you how you can make your own statement piece – a candle holder made out of rocks. It’s an inexpensive way to create something unique that’s both useful and visually appealing.
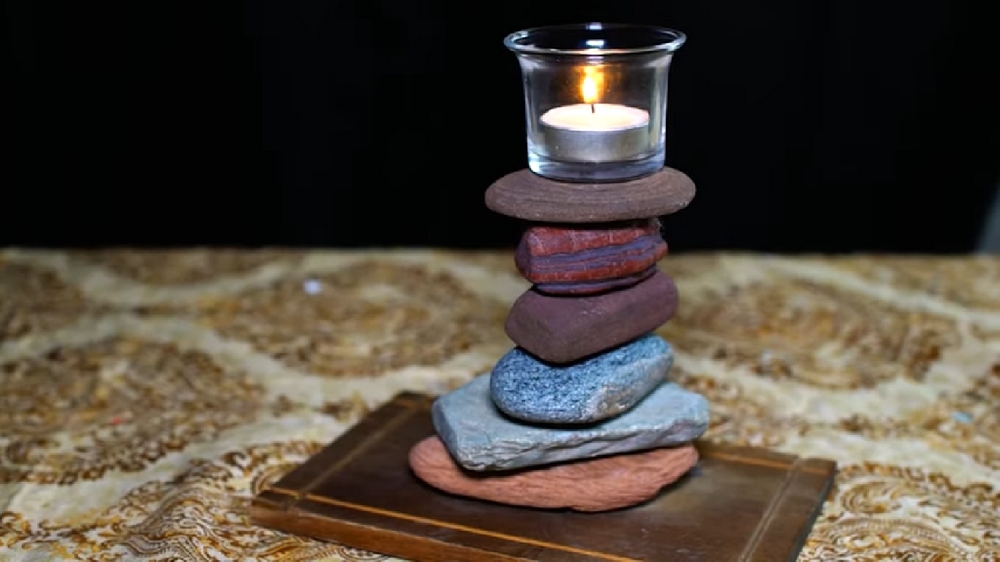
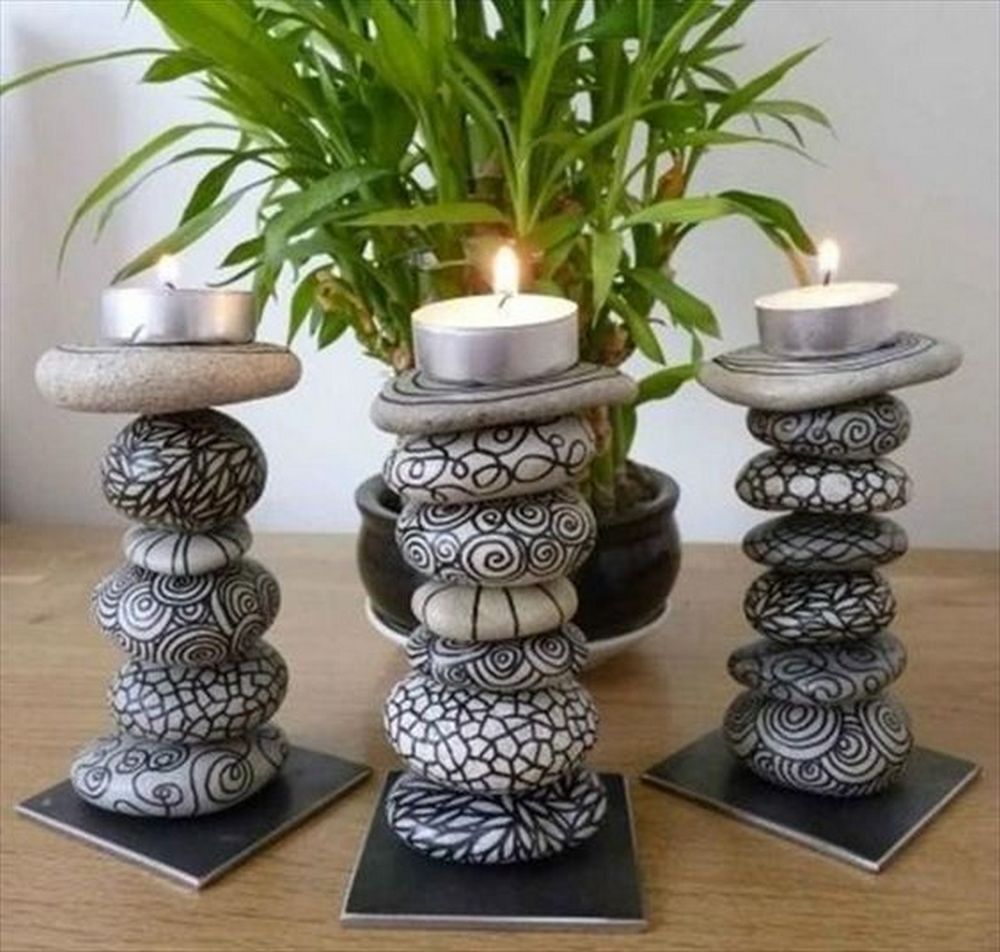
Choose rocks with flat surfaces. Go with rocks of different colors, too for aesthetics. You can make several of these candle holders and put them up on display. These would also be good as a housewarming present, or even during Christmas. You can even paint on the rocks if you want.
Contents [show]
Crafting a Rock Candle Holder
Materials
- Plank of wood
- Rocks
- Hot glue
- Candle holder
- Tealight candle
Tools
- Glue gun
Instructions
Prepare Your Base
Select a wood plank for the foundation of your project. Ensure it’s clean and smooth to serve as a stable base for the rocks.
Arrange the Rocks
Before diving into gluing, lay out your rocks on the plank to envision your design. It’s all about finding a balance that pleases the eye, keeping in mind the candle holder should take center stage.
Heat Your Glue Gun
Get your glue gun ready and at the right temperature. Safety comes first, so watch out for the hot tip and melted glue.
Secure the Rocks
Now, apply a generous dollop of glue to the bottom of each rock and press it onto the plank. Give it a moment to set. This step is about patience and precision, ensuring each rock is firmly in place and crafting a base that’s both sturdy and aesthetically pleasing.
Fix the Candle Holder
Once the rocks are set, it’s time to glue the candle holder in place. Make sure it’s centered (or wherever you’ve decided it fits best) and stable. You do not want the whole thing to tumble while there is a lit candle on top of the rocks.
Insert the Tealight
With the structure complete, place a tealight in the holder. If your design accommodates more, feel free to add them.
Final Touches
Give your rock candle holder a once-over. Are there any loose rocks? Secure them with a bit more glue. This is about ensuring longevity and safety.
Enjoy Your Handiwork
Find the perfect spot for your candle holder, light the candle, and enjoy the ambiance it adds to your space. Always remember to keep an eye on it when lit.
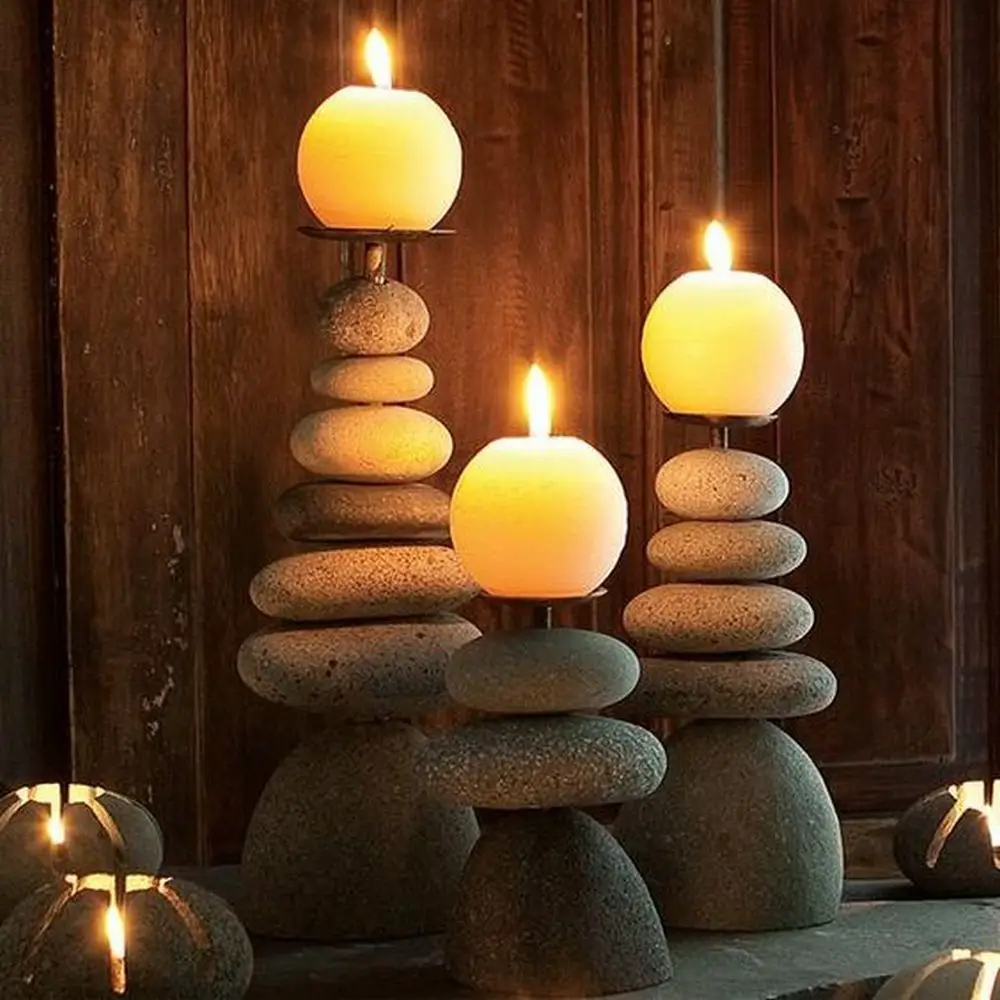
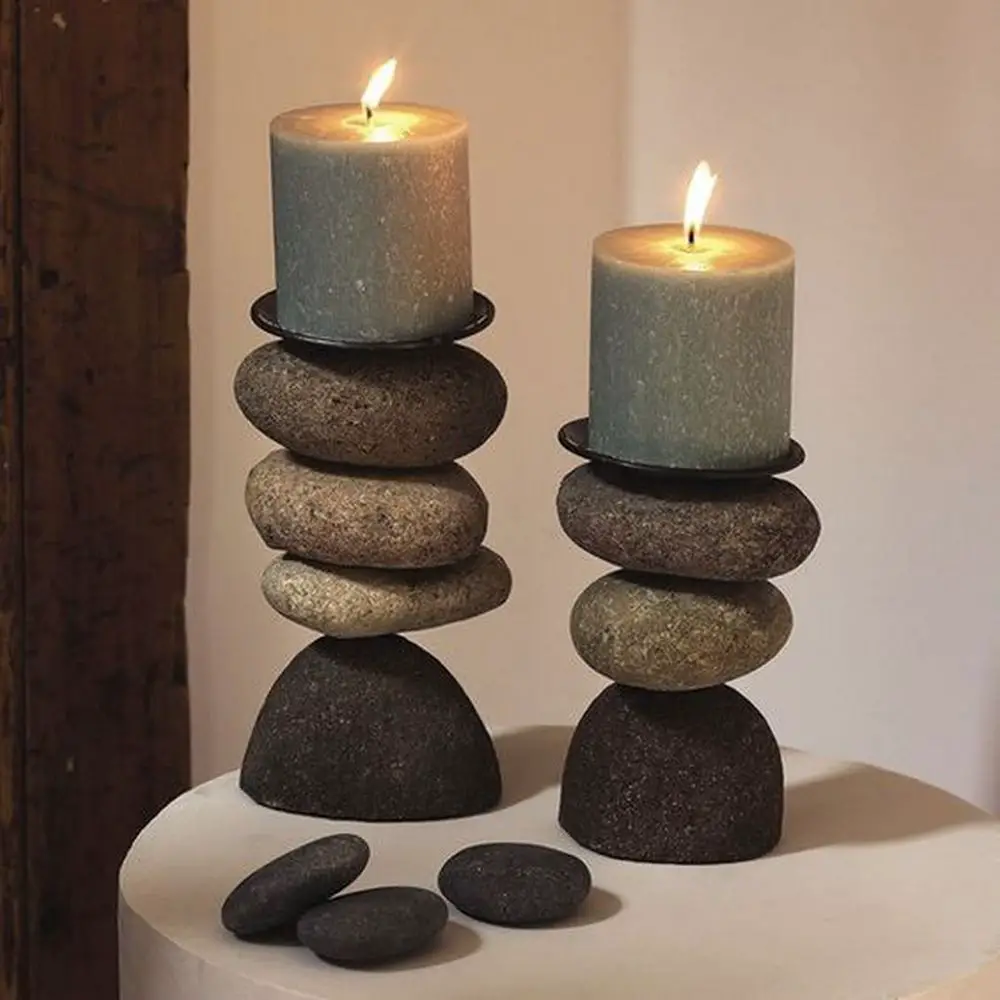
Rock Candle Holder Designs
Click on any image to start the lightbox display. Use your Esc key to close the lightbox.



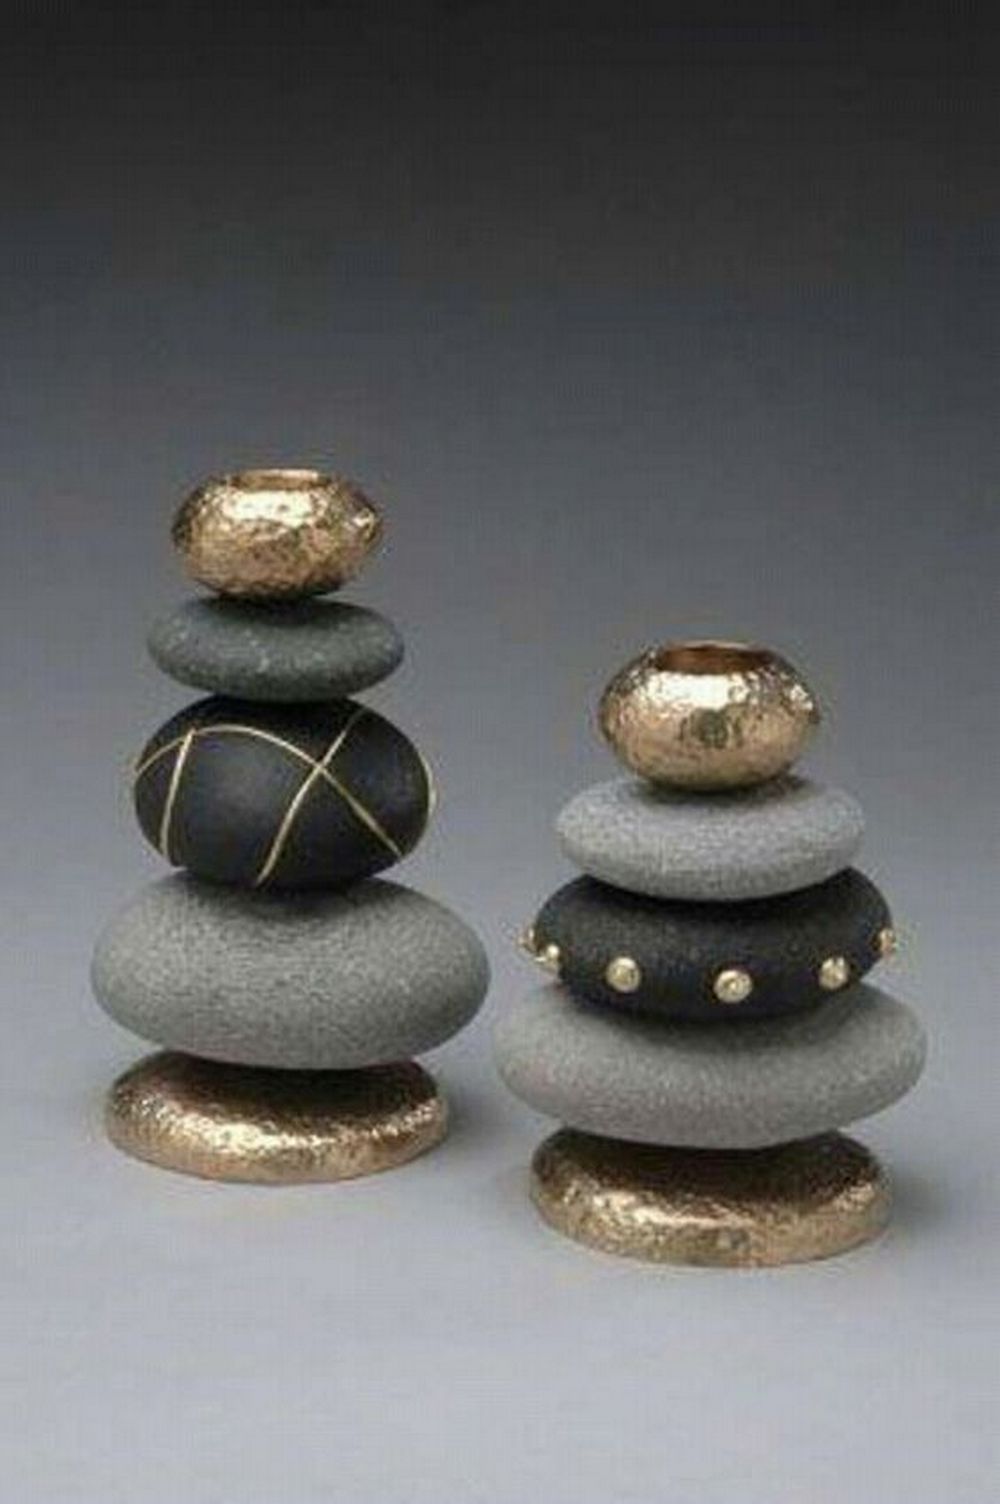
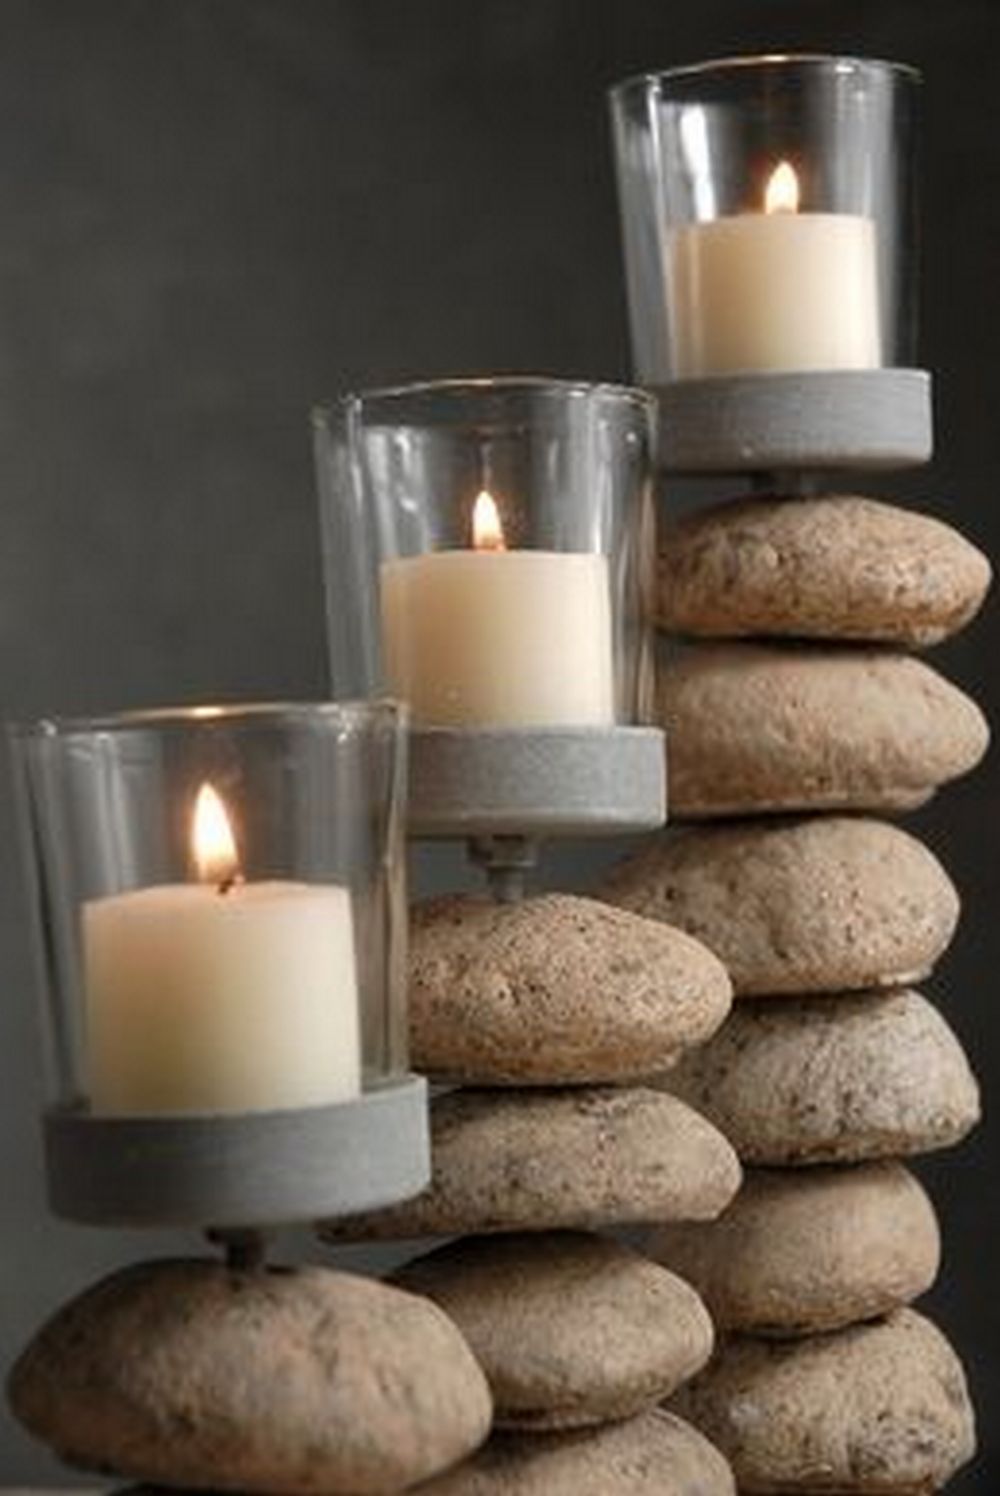
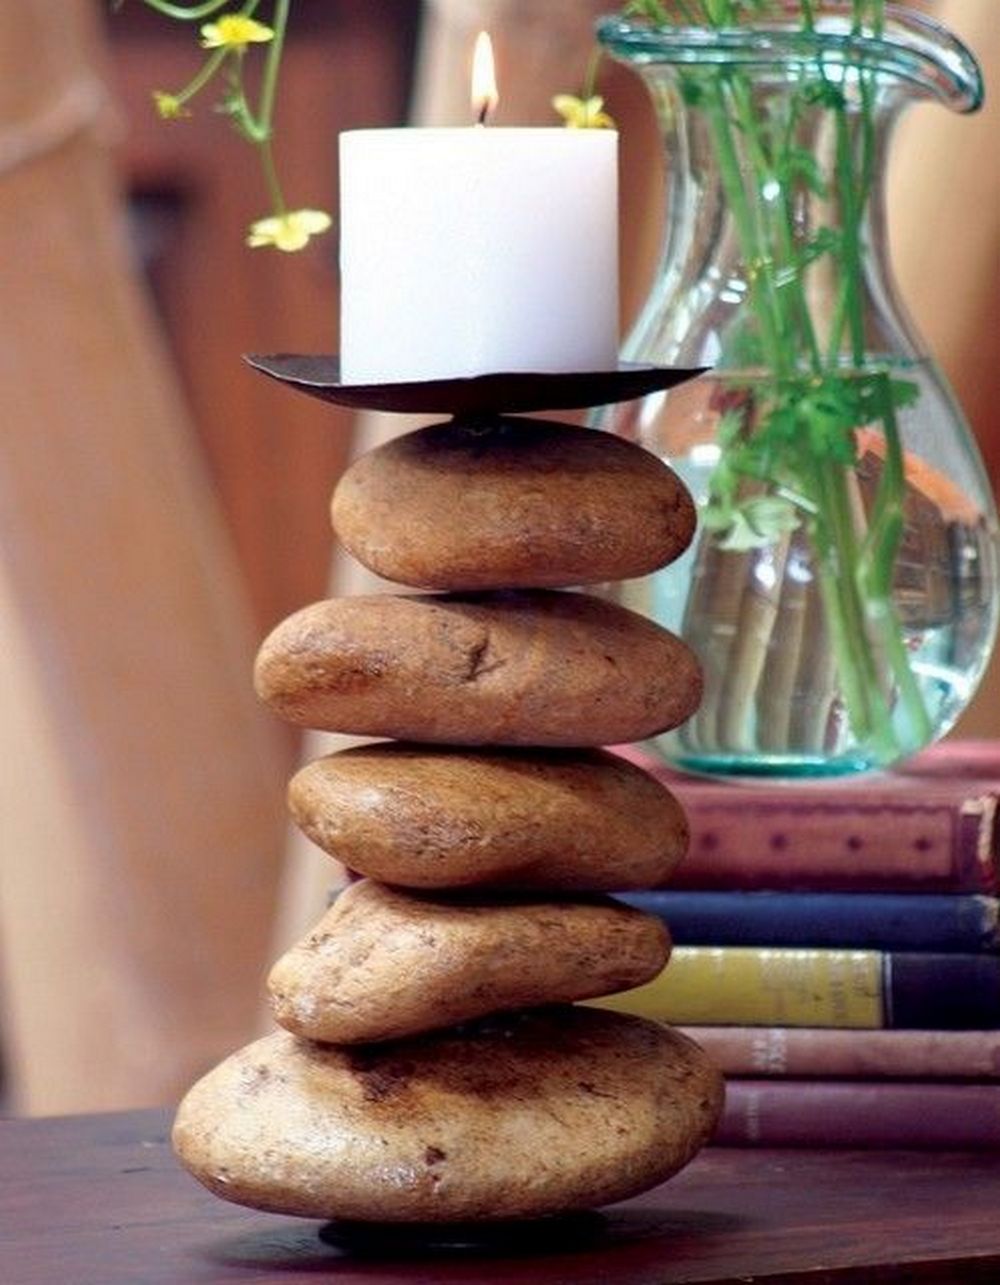

Watch the video below and learn how to make a rock candle holder.
Safety Tips for Working with Rock
Working with rocks to create unique items like rock candle holders can be an enriching and creative endeavor. Safety is you’re priority when working with this kind of project. Rocks, by their nature, can be unpredictable materials to work with, requiring specific precautions to ensure the crafting experience is both enjoyable and safe.
Here are essential safety tips tailored for enthusiasts looking to create their rock candle holders.
Choosing the Right Rocks
- Inspect for Cracks and Faults: Before selecting rocks for your rock candle holder, examine them for any cracks or faults. Even the smallest damage in these rocks could lead to bigger problems if you’re ignoring them.
Preparing to Drill
- Wear Protective Gear: Always wear safety glasses to protect your eyes from rock dust and fragments. You’re also dealing with rock shards when drilling into them, which makes heavy-duty gloves recommended while working on this project.
- Secure the Rock: Use clamps or a vise to hold the rock in place while drilling securely. This prevents the rock from moving, reducing the risk of injury.
Drilling the Rock
- Use the Correct Drill Bit: Ensure you’re using a drill bit suitable for stone or masonry. This reduces the effort required to drill and minimizes the risk of the drill slipping.
- Keep the Rock Wet: Wetting the rock can reduce dust and cool the drill bit. Use water sparingly to keep the rock surface wet during the drilling process. Moisture will keep most of the dust particles airborne as you drill into them, making them less dangerous to your lungs.
Handling Hot Glue
- Handle with Care: When using a hot glue gun to secure rocks to the base of your rock candle holder, be mindful of the hot glue and nozzle. It’s easy to get burned, so use a stand for the glue gun when not in use and avoid touching the glue until it has cooled.
Final Assembly
- Stable Work Surface: Ensure your work area is stable and free of clutter. This minimizes the risk of accidental spills or the rock candle holder falling during assembly.
- Check for Stability: Once your rock candle holder is assembled, check for stability. A stable base is crucial to prevent the candle holder from tipping over and causing burns or fire.
General Safety
- Ventilation: Work in a well-ventilated area, especially when using adhesives or when drilling, to avoid inhaling dust or fumes.
- First Aid: Keep a first aid kit nearby in case of minor injuries, and know how to use it.
- Fire Safety: Always place your finished rock candle holder on a non-flammable surface away from flammable materials. Never leave a lit candle unattended.
Creating a rock candle holder is a rewarding project that combines natural beauty with personal craftsmanship. By following these safety tips, you can ensure that your crafting experience is not only successful but also safe.

The Best Types of Rocks for Candle Holders
Creating a rock candle holder is an artistic endeavor that merges the rugged beauty of nature with the gentle ambiance of candlelight. The choice of rock is pivotal, not just for the aesthetics but also for the functionality and durability of the candle holder.
This guide explores the best types of rocks to use for candle holders, ensuring your creation is both beautiful and lasting.
Characteristics of Ideal Rocks
- Flat and Stable: Look for rocks with flat surfaces that provide a stable base for drilling and ensure the candle holder can sit securely without wobbling.
- Sufficient Size and Weight: Rocks should be large and heavy enough to support the weight of a candle without tipping over but not so heavy that they become impractical to use or display.
Recommended Rock Types
- Sandstone: Sandstone‘s relatively soft composition makes it easier to drill into without specialized equipment. Its natural layers and colors can add a warm, earthy element to your candle holder.
- Slate: Slate offers a flat and smooth surface, ideal for creating sleek, modern candle holders. It’s also durable and resistant to heat, making it a safe choice for holding candles.
- River Rocks: These rocks are typically smooth and have a rounded appearance, thanks to years of water erosion. Their varied sizes and shapes allow for unique and organic designs. River rocks are generally dense and hold up well when drilled into.
- Granite: Known for its hardness and resistance to scratches, granite is an excellent choice for a long-lasting candle holder. It comes in a variety of colors and patterns, providing plenty of options for customization.
- Marble: Marble is another option that offers beauty and durability. It can withstand heat well and adds a touch of elegance to any setting. However, it requires careful drilling to prevent cracking.
Tips for Choosing Rocks
- Visual Inspection: Look for rocks without visible cracks or faults to avoid breakage during the drilling process.
- Consider Heat Resistance: While granite and marble are known for their heat resistance, other rocks may not fare as well. Research or consult with experts on the heat tolerance of different rock types, especially if you plan on using your candle holder frequently.
- Consider the Environment: If collecting rocks from nature, ensure you’re doing so responsibly and legally. Some areas may have restrictions on removing natural materials.
- Avoid Highly Porous Rocks: Rocks with high porosity can absorb wax, making your candle holder difficult to clean and potentially affecting its durability. Opt for denser rocks that resist wax absorption.
- Test for Color Fastness: Some rocks may have colors that can fade over time or when exposed to heat from the candle. If possible, conduct a small test by applying heat to see if the rock’s color changes. This ensures the long-term beauty of your candle holder.
- Experiment with Combinations: Mixing different types of rocks can create visually appealing and unique candle holders. Consider combining rocks of various textures and colors for a distinctive look.
- Balance and Stability: When selecting rocks, consider how their weight distribution will affect the candle holder’s stability. A well-balanced rock can support a candle more securely, reducing the risk of tipping.
- Compatibility with Tools: Some rocks may be harder on your tools than others. Consider the wear and tear on drill bits and other equipment when selecting your rock type, especially if you’re working with a limited set of tools.
Choosing the right rock for your rock candle holder project is more than just picking up the first stone you see. It’s about finding a balance between aesthetic appeal, functionality, and the joy of working with natural materials. With the right materials, you can create a rock candle holder that not only lights up your space but also serves as a conversation piece for years to come.
Conclusion
Making a rock candle holder blends nature’s beauty with the cozy glow of candles. It’s about choosing the right rocks and staying safe while you craft a unique decor piece. This DIY project adds a personal touch of nature’s charm to your space.
While you’re here, you might want to also know how to make concrete balloon candle holder too!


