
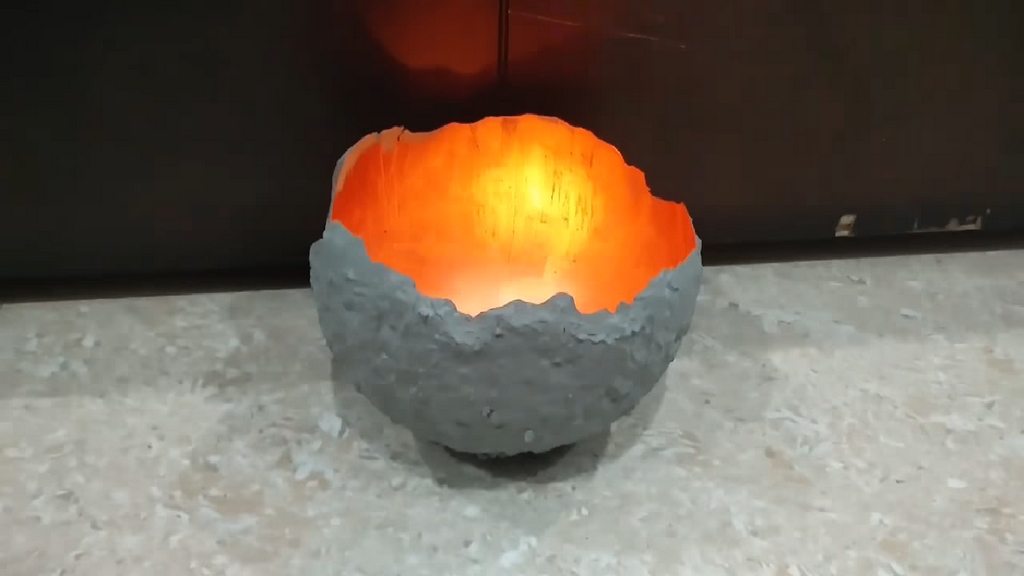
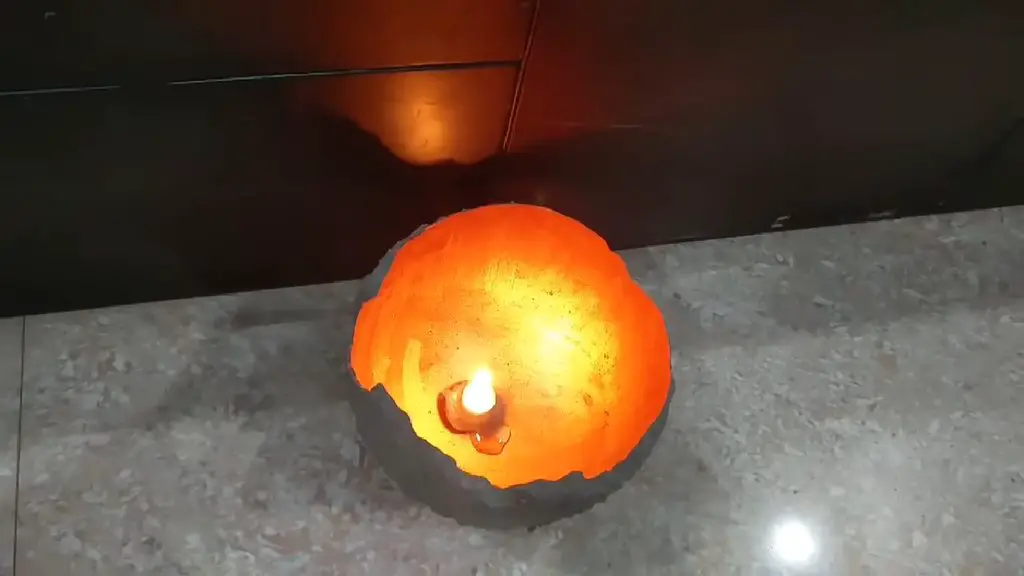
If you’re into candles like most people, you’ll find this DIY project very interesting. Made out of concrete, this candle holder has a rugged yet charming appeal to it. You can easily place several of them anywhere you want to.

They add a touch of class and sophistication to any setting and are sure to make your guests feel welcome.
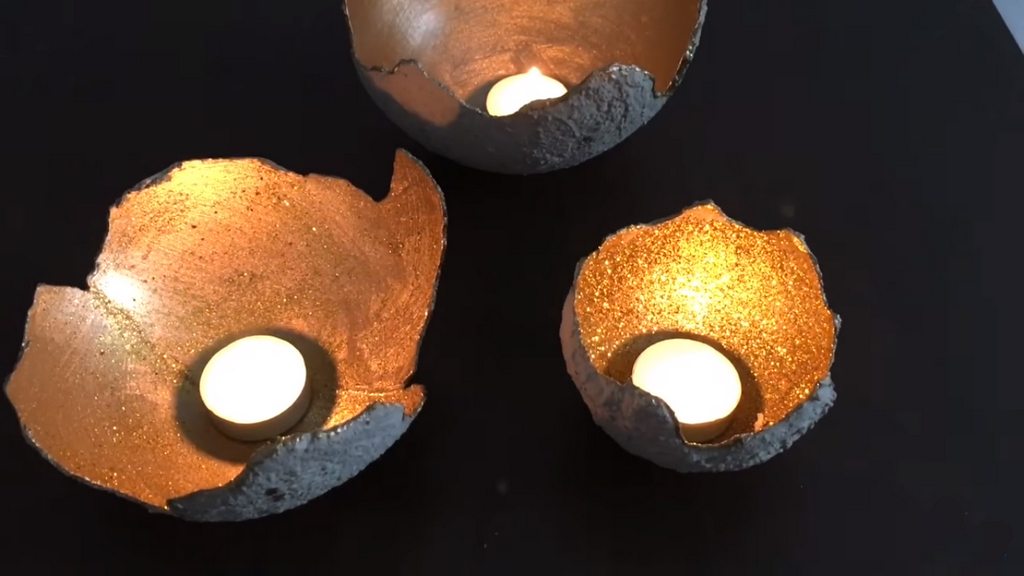
I imagine these would look good beside your tub. Light some scented candles and indulge in a relaxing bubble bath to ease the stress away. Or perhaps, line your pathway with these, put in some tea light candles, and light ‘em up during an outdoor dinner party. They’d look like glowing orbs. So whether it’s indoors or outdoors, these candle holders are a sure hit.
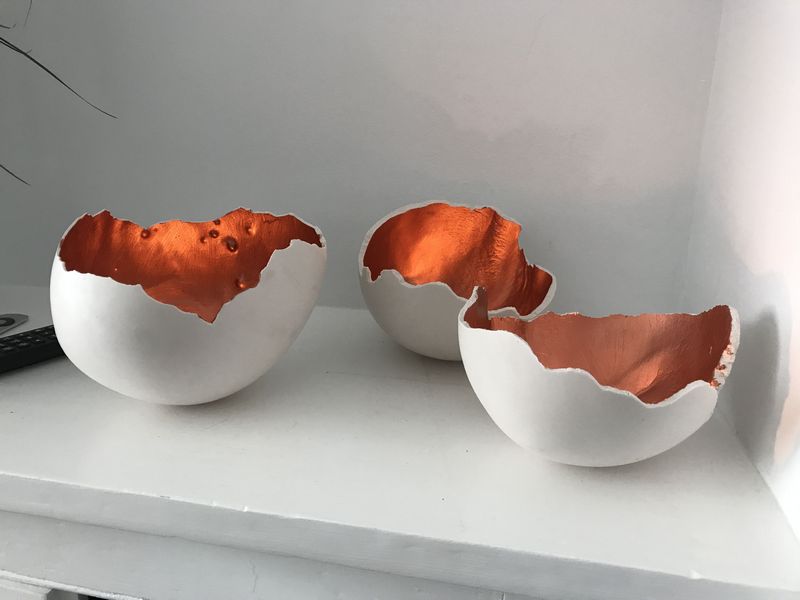
A balloon is used as a mold to achieve that half-circular shape. And because it’s free-wheeling, no two candle holders usually come out the same. The variety adds an element of surprise to this fun project.
You can use any size or type of balloon for this project. The most important thing is to make sure the balloon is properly inflated and the opening is tied off so that no air escapes.
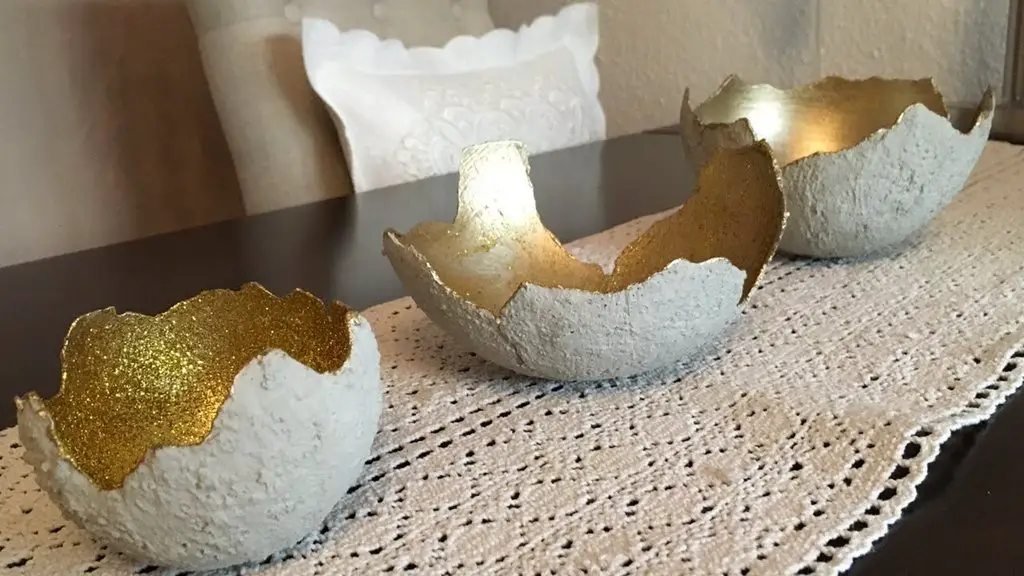
If you’re looking for some awesome DIY concrete candle holder designs to inspire you, look no further. These cracked-egg-look concrete holder designs are sure to impress.
Contents
DIY concrete candle holder designs
Click on any image to start the lightbox display. Use your Esc key to close the lightbox.

Tips for making a concrete candle holder from balloons
Here are some tips before we get started:
1. Work area
If you’re doing any sort of cement and painting project in your home, it’s important to take the necessary precautions to avoid making a mess. One of the best ways to do this is to lay down some newspapers or cartons on your floor before you start painting. This will help to absorb any potential spills and keep your floor clean.
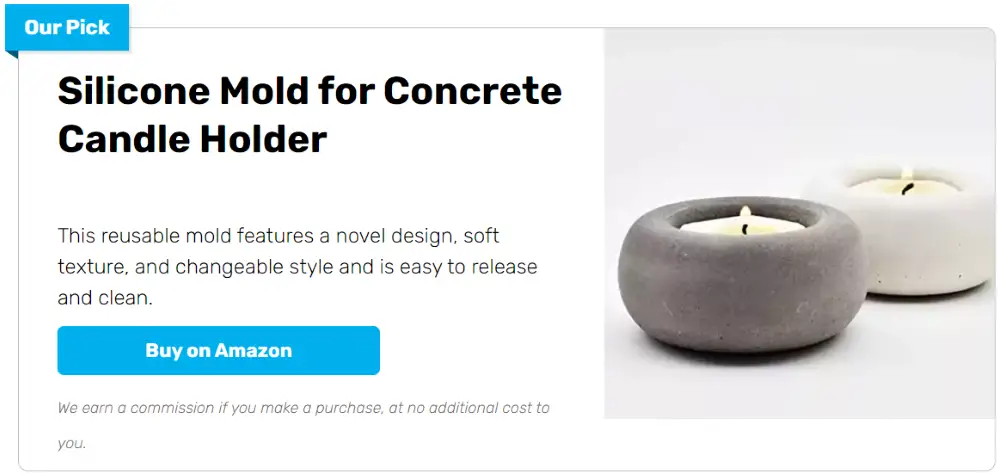
2. Choose the right mold
If you’re looking for a mold that will create a smooth surface on your concrete project, then you’ll want to use a smooth plastic or silicone mold. These types of molds are easy to work with and will create a professional-looking finish.
Plastic bottles can be cut to make perfect collars if you use them as molds. Just be sure to clean and dry the bottles thoroughly before cutting.
3. Choose a fast-drying concrete mix if you need the candle holders soon
The candle holders will cure faster if you use a rapid setting mix, but make sure the bag label also indicates fast curing. Mixtures that set quickly do not always cure quickly.
Plan accordingly, since most concrete mixes require that you wait until the next day (usually 24 hours) to de-mold. That way, you can avoid any potential issues and have your project turn out just the way you want it.
4. Smoother finish
Then, before applying the paint, it’s always a good idea to clean the inside of the mold. This will help the paint adhere better and create a smoother finish.
5. Sanding your candle holder
If you’re unsure of what kind of sandpaper to use on your project, don’t worry! Diamond sanding sponges or regular sandpaper will both work just fine. Whichever you choose, be sure to sand in the same direction as the grain of wood for the best results.
This concrete candle holder project is easy and inexpensive, and the results are stunning! You can find the supplies you need for this project at your local hardware store. With just a little time and effort, you can create beautiful concrete candle holders that will add a touch of elegance to your home.
Here’s what you’ll need:
- Concrete
- Balloons
- Recycled/disposable cups
- Tape
- Gloves
- Paint (your choice of color)
- Tea lights
- Face mask
- Eye protection
- Paintbrush
- Stirring stick
How to make a concrete candle holder from balloons
Concrete candle holders are a unique and stylish way to add some ambiance to any room. Here’s how to do it:
1. Set up
First, mix the concrete according to the package directions. Use the stirring stick to make sure the mix is completely combined. Then, blow up the balloon to the size you want your candle holder to be. Place it on a cup with rocks.
2. Apply the concrete to the balloon
Once the concrete is mixed, start spooning it into the balloon, filling it up about halfway.
Make sure to smooth out the concrete as you go, so it doesn’t end up with any air pockets. Once the balloon is filled to the halfway point, allow the concrete to set for a few hours, or overnight if possible.
3. Remove from the balloon
Once the concrete is set, carefully pop the balloon. You may need to use a sharp object to puncture the balloon. Be careful not to damage the concrete.
4. Paint it
Now you are ready to paint your concrete holder. You can use any color you like. Just make sure to let it dry before you use it.
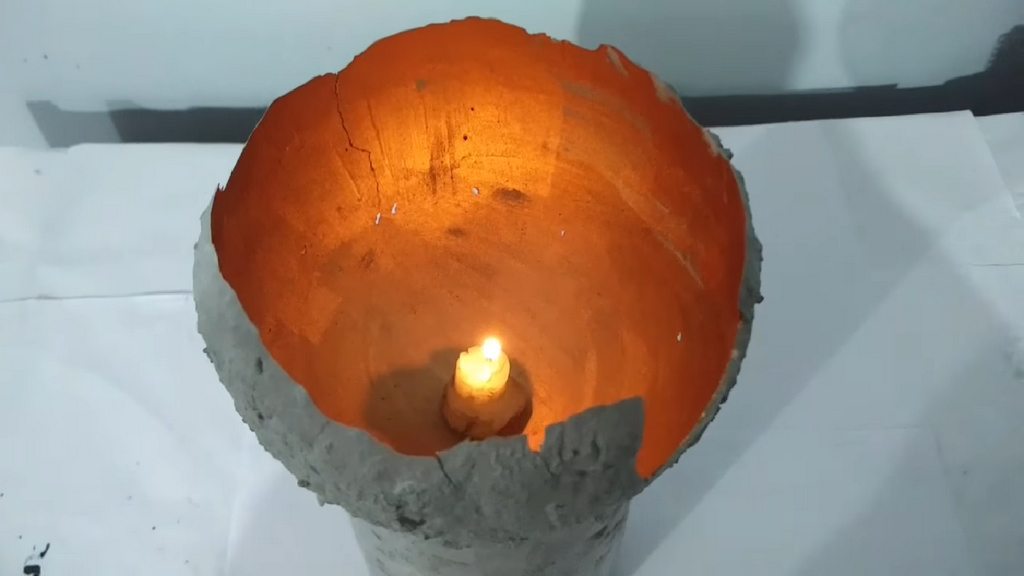
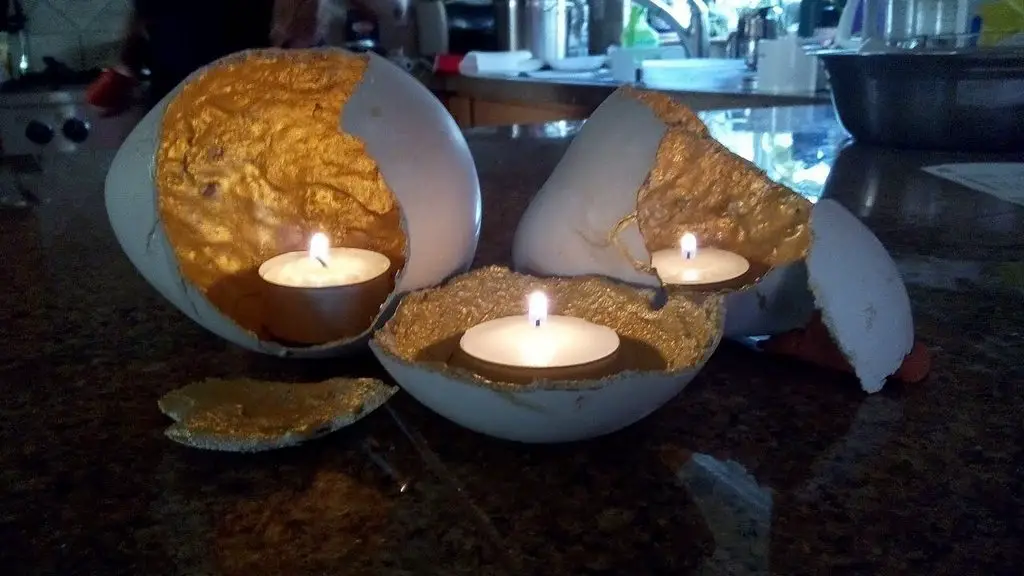
5. Add a tea light
Once the paint is dry, just add your tea light, and voila! You have a beautiful concrete candleholder!
Isn’t it amazing how such a simple project can result in something so beautiful? All you need is a few supplies, and you’ve got yourself a lovely concrete candle holder. Just make sure the paint is dry before adding the tea light and enjoy the warm, relaxing glow of your new creation!
These candle holders are perfect for you and your friends. Place them inside cute little boxes and give them away as gifts. The receiver will surely appreciate your thoughtfulness.
Here’s a quick video…
Thanks to Enjoy Crafting for this project…


