Last Updated on July 2, 2024 by Team Ideas24
This fun and creative project will surely add pops of color to your garden.
Gardening is an assertion of influence on a tiny sliver of the environment – that’s influence, not control. The wise gardener seeks to employ the elements of the garden’s environment – soil, plants, critters, the weather – to produce a small, living network of beauty and abundance.
Well-planned, well-maintained gardens allow us to enjoy the best that nature can bring into our backyards. That’s why most of us are constantly looking for new ideas to decorate the garden. That’s understandable. Sometimes, looking at the same old stone-and-pebble combinations can get pretty boring. Variety is good. It keeps the space fresh and interesting and in touch with natural diversity. That’s why it pays to always be on the lookout for innovative and creative garden decor ideas.
Just last month, I added hanging lights and miniature statues. Last week, I once again had the urge to add something new. I browsed through the Internet for concepts and discovered these decorative garden balls. They’re easy and fun to make. I’m sharing with you this adorable project.
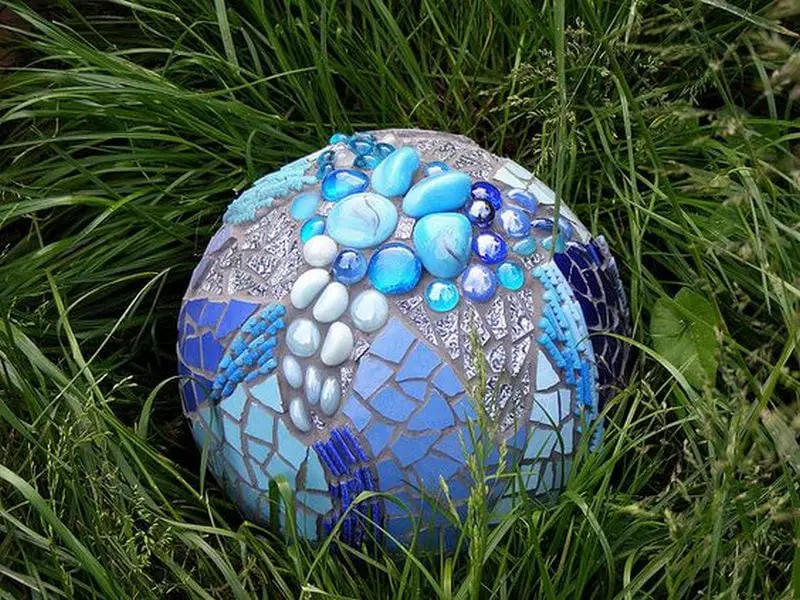
Not sure where to start? Check out these amazing DIY decorative garden balls! They’re easy to make, and they’ll add a touch of personality and style to any outdoor space. Who says garden balls have to be boring? With a little creativity, you can turn them into works of art! Here are some fun and creative ideas to get you started.
Contents
Wonderful DIY decorative garden ball designs
Click on any image to start the lightbox display. Use your Esc key to close the lightbox.
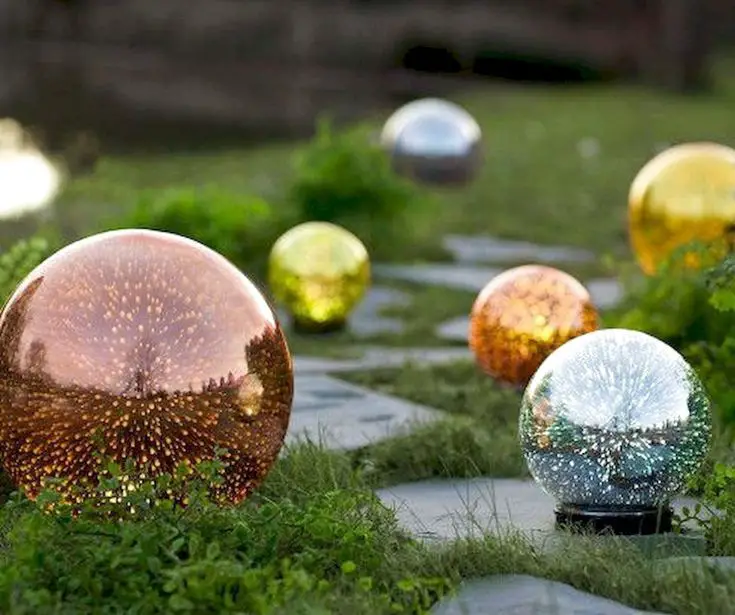
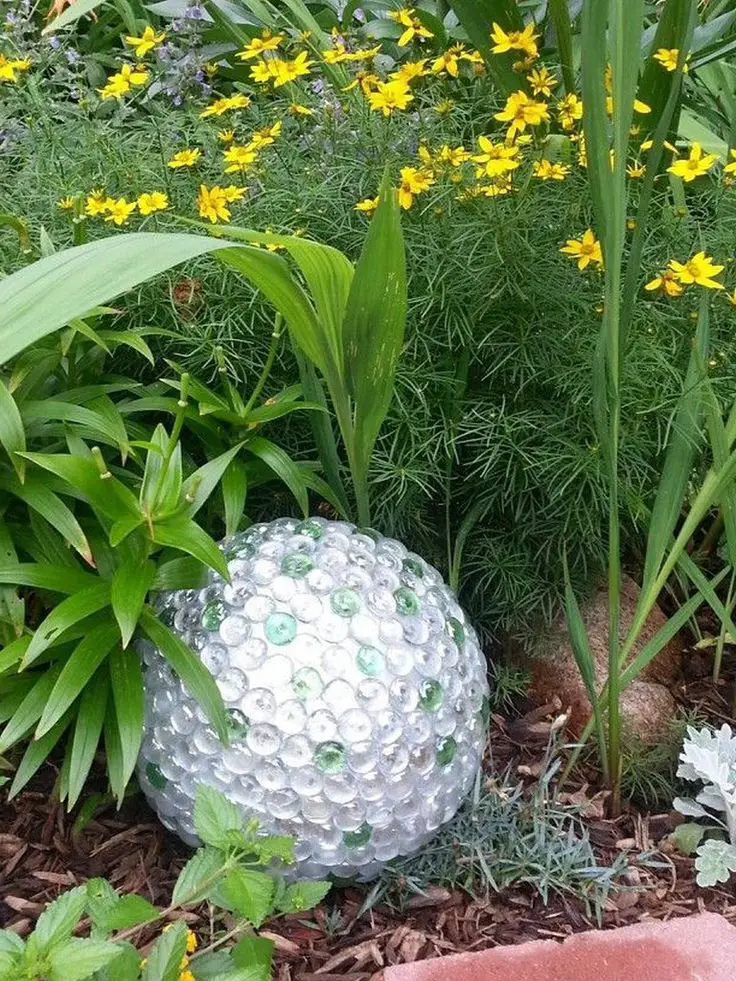
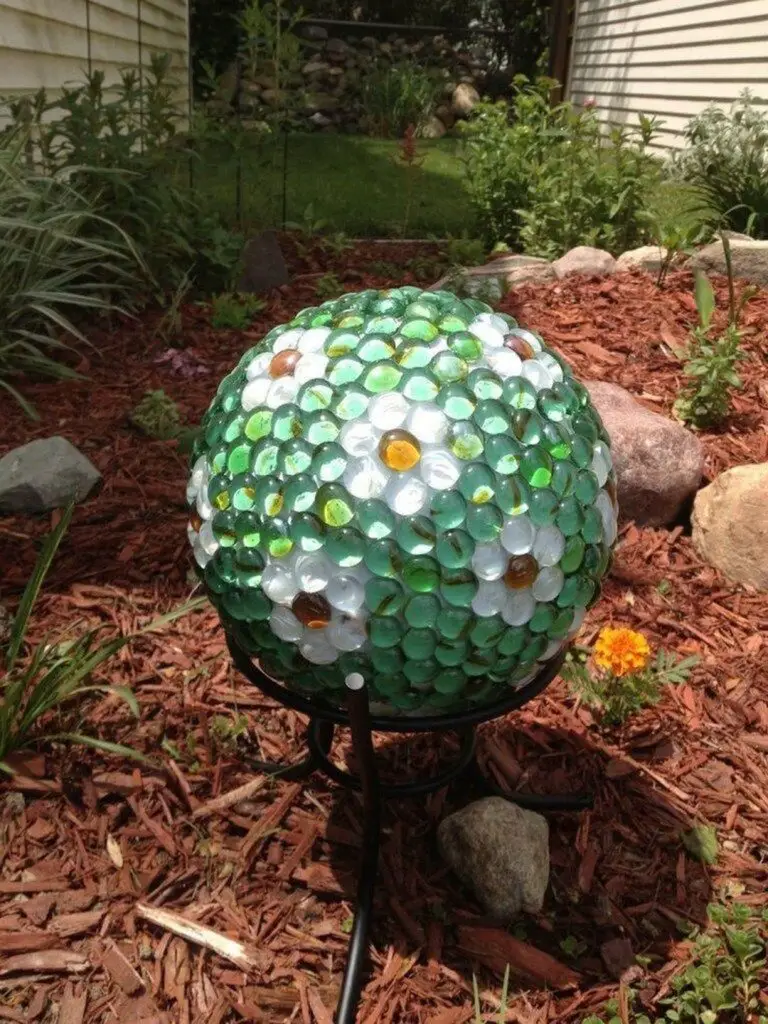
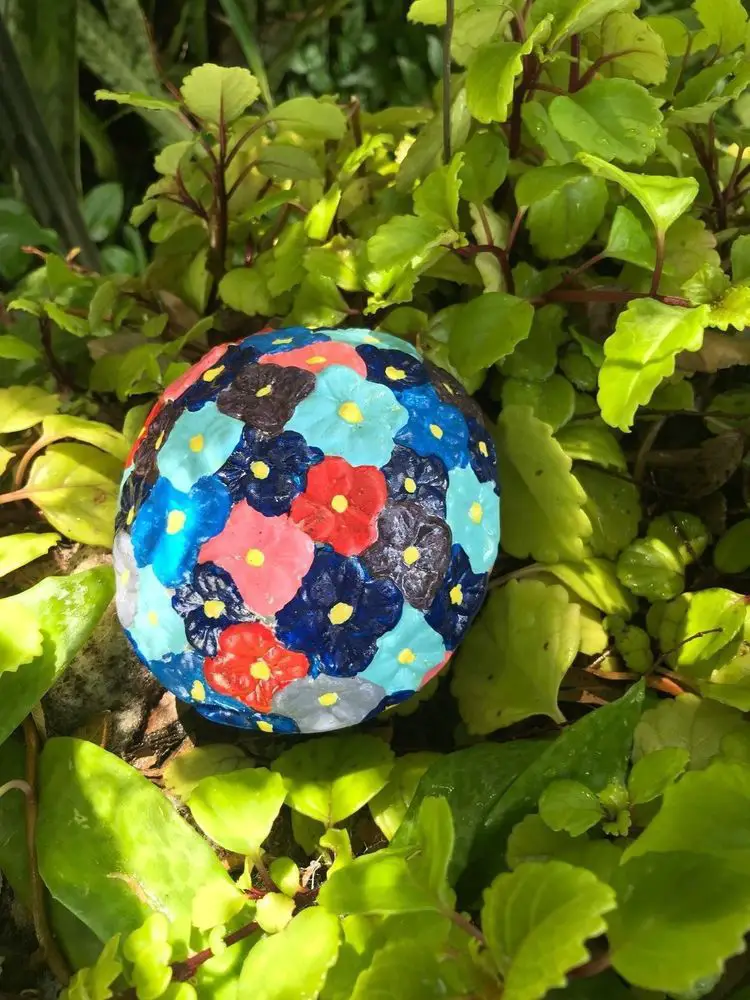
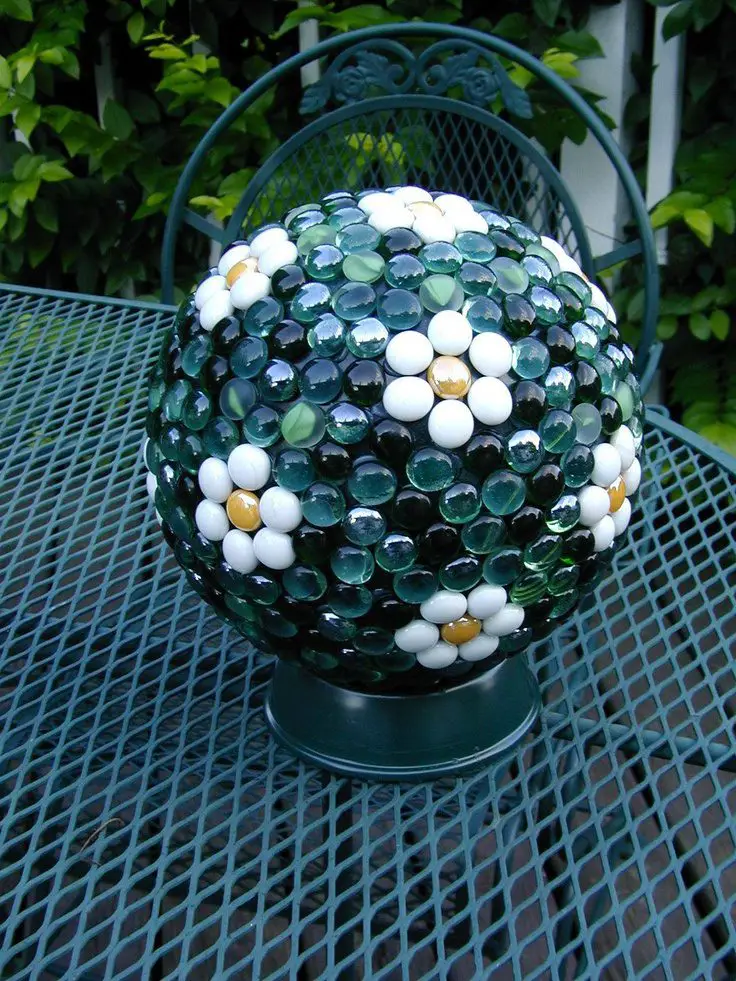
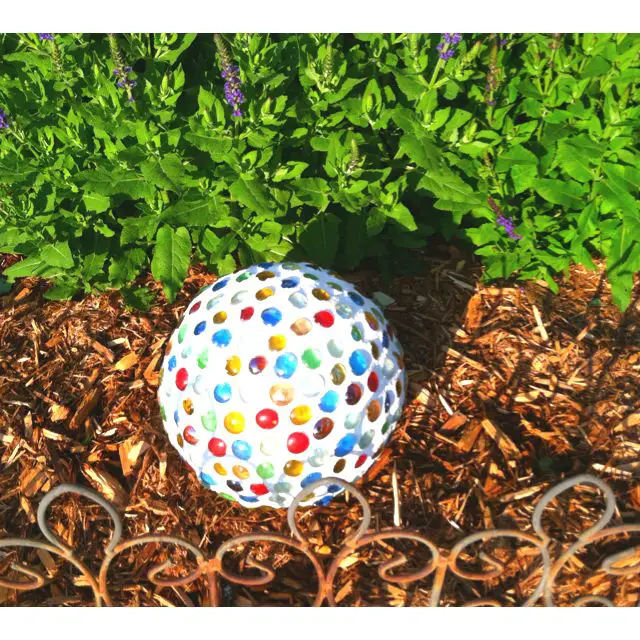
One great thing about garden balls is that they can be made from a variety of materials. From upcycled plastic bottles to colorful fabric scraps, there’s sure to be a garden ball project that’s perfect for you. And once you’ve made your balls, the possibilities for decorating with them are endless! So what are you waiting for? Let’s get started!
Making Decorative Garden Balls
Materials
- A round base (either a bowling ball or lamp globe)
- Spray paint (color of your choice)
- Decorative materials (flat bottom marbles, mini bits, decorative fillers, pennies, costume jewelry)
- Outdoor silicone sealant/adhesive
Tools
- Sandpaper
- Strong bowl
Instructions
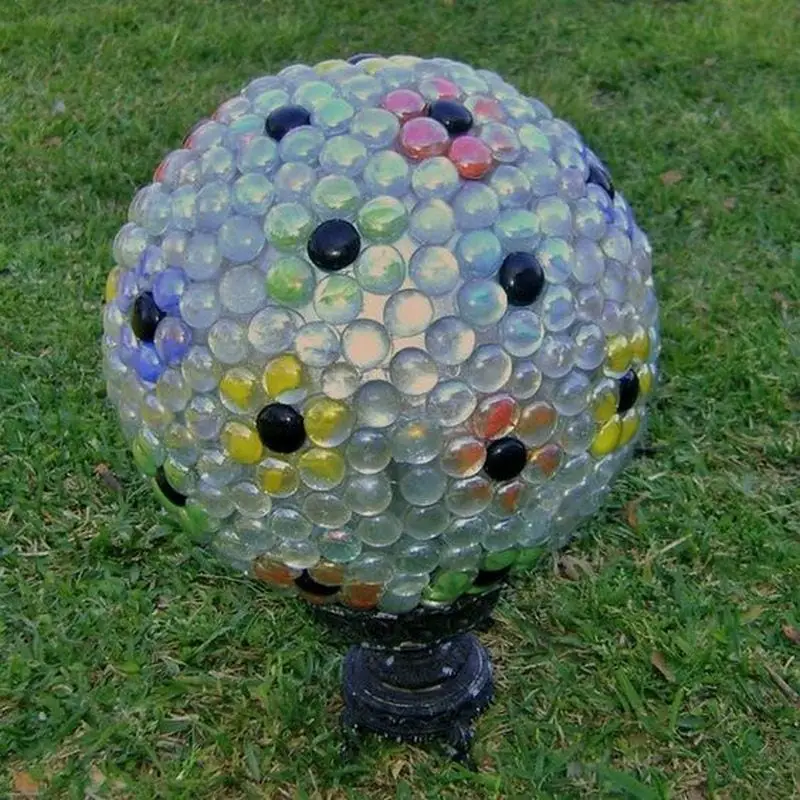
If you love spending time outdoors surrounded by beautiful flowers and greenery, then you’ll love these DIY decorative garden balls. They’re easy to make and only require a few simple materials that you probably already have around the house. Plus, they add a touch of whimsy and charm to any garden.
Here’s how:
1. Prepare the bowling ball
Prepare the bowling ball by cleaning it thoroughly. You can use another object similar to a bowling ball or a lamp globe. Make sure there’s no grease, otherwise your decorative materials will not stick. You can also spray paint it if you want, just make sure to let it dry before moving to the next step.
2. Apply the outdoor silicone sealant
Once your bowling ball is clean, you’re now ready to apply the outdoor silicone sealant. We recommend you use a waterproof and clear drying sealant. Look for a bowl where you can place your bowling ball while applying the sealant. Start from top to bottom.
3. Attach the marbles
If you don’t have the marbles, you can use other decorative materials such as pennies or costume jewelry. You can start adding the marbles to the ball from top to bottom. Then let it dry. The drying time of the sealant will depend on the product label. Once dry, you can now carefully flip it over to fill the bottom part with adhesive and marbles. Then let it dry.
4. Display your garden ball
Once the sealant is dry, you may now display your garden ball in your backyard.
If you’re looking for a way to display your garden ball that is both presentable and unique, consider using an old lamp stand or lamp base. You can often find these items at garage sales or thrift stores. If you can’t find one, try checking your local store for any stand or lamp base that would work for your garden ball.
Simply place your stand in your garden, and add your garden ball on top of it. You can make as many as you like, so your garden will always look its best!
You can get as creative as you want with this project, so have fun and let your imagination run. Enjoy crafting! 😎
Thanks to Empress of Dirt for this great project. You can get more step-by-step instructions here…
Integrating Garden Balls into Landscape Design
Decorative garden balls can transform an ordinary garden into a visually captivating space. These colorful and versatile decorations offer an effortless way to add a touch of artistry to your outdoor areas. By strategically placing decorative garden balls, you can enhance the aesthetic appeal of your garden and create a dynamic landscape that catches the eye.
Choosing Strategic Locations
The placement of decorative garden balls should be thoughtful and intentional. Consider positioning them at various points along garden pathways to draw the eye forward and create a guided visual journey through your garden. Placing them near garden benches or gazebos can also add a focal point and complement the surrounding flora.
Balancing Color and Design
Decorative garden balls come in various colors and designs, allowing them to serve as standout pieces or blend seamlessly with the garden environment. For a harmonious look, choose colors that echo the hues of nearby flowering plants. Alternatively, for a bold statement, select garden balls in contrasting colors to the dominant shades in your garden. This approach can invigorate a garden’s design and bring vibrancy to green spaces.
Creating Depth with Sizes
Using decorative garden balls of different sizes can create depth and perspective in your garden. Larger balls can anchor the landscape’s design, particularly in expansive areas or as centerpieces in circular flower beds. Smaller balls can be nestled among low-growing plants or lined up along smaller paths, giving the illusion of space and depth.
Enhancing Thematic Gardens
Decorative garden balls are especially effective in thematic gardens, such as Zen gardens or modern minimalist landscapes. In a Zen garden, smooth, uniformly colored garden balls can enhance the tranquil and meditative quality of the space. In contrast, a modern minimalist garden can benefit from bold geometric-patterned garden balls that reinforce the clean lines and simplicity of the design.
Illuminating with Light
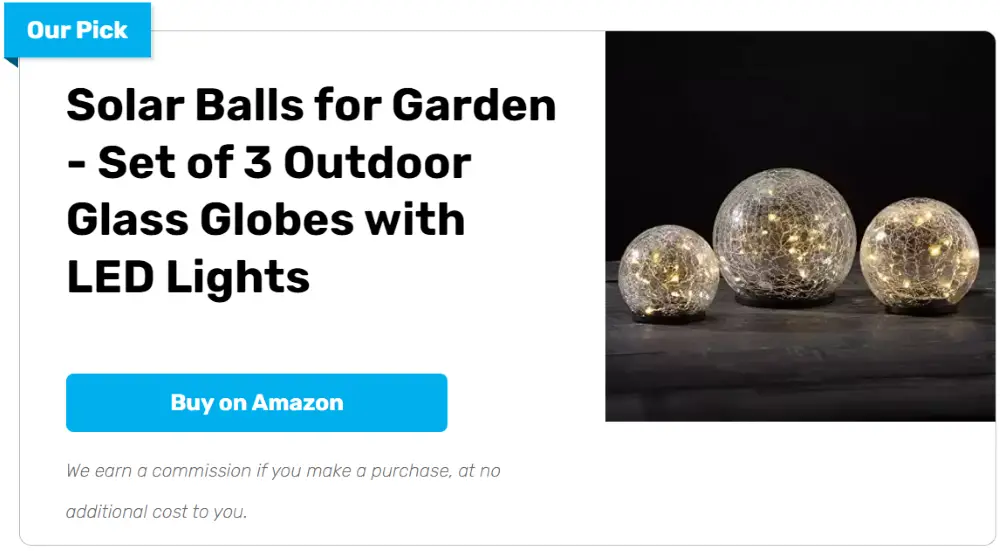
For gardens that are used during the evening, incorporating lighting elements into or around your decorative garden balls can create a magical nighttime ambiance. Solar-powered lights can be installed next to or inside transparent or semi-transparent garden balls, casting gentle, glowing light that enhances the nighttime beauty of your garden.
Including colorful garden balls into your outdoor space’s design will help to improve its whole look. These artistic details not only provide arresting décor but also help to create a coherent and pleasant garden.
Maintenance and Durability Tips for Garden Balls
Particularly for objects like colorful garden balls that are subjected to different weather conditions, maintaining the lifetime and beauty of your garden decorations is absolutely vital. These pleasing garden features can stay vivid and whole for years with correct care and maintenance. These are some basic guidelines to assist you maintain perfect condition in your garden balls.
Choosing the Right Materials
The materials used in their creation mostly determine the lifetime of decorative garden balls. Choose materials like high-density polyethylene, ceramic, or treated glass—those with known weather resistance. These materials resist factors including rain, sunlight, and cold temperatures, therefore preventing cracking, fading, and other wear.
Regular Cleaning
Garden balls look great only if they are regularly cleaned. Over time, dust, dirt, and outside wastes can fade their color and gloss. Using gentle cloth and soapy water, gently clean your garden balls. Steer clear of abrasive cleaners and brushes capable of surface damage or scratch-inducing action.
Protective Coatings
Yearly treat your decorative garden balls with a clear protective sealer. This sealer blocks UV light and moisture that could cause fading and water damage. Make sure the sealant fits the external surroundings and the substance of your garden ball. This little action can significantly increase the life and colorfulness of your garden accents.
Avoiding Direct Impact
Decorative garden balls should be placed in regions less likely to be knocked over or struck by pets, lawn mowers, or young children. To improve stability, you might bury them partially or on strong bases. Making sure they are in low-traffic, safe areas will help stop damage including chips and cracks.
Winter Storage
If you live somewhere with severe winters, think about keeping your garden balls inside during the colder months. Particularly for porous materials, freezing and thawing can be difficult on them. Keeping them in a garage, shed, or basement helps to prevent cracking and maintains their structural integrity.
Your garden balls will remain beautiful and charming for many seasons if you apply these maintenance and durability ideas. Regular maintenance guarantees they remain a valuable component of the beauty of your garden as well as helps them to look their finest.
Conclusion
Making decorative garden balls is a creative and enjoyable way to enhance the aesthetic of any garden space. With the right materials and a bit of imagination, these vibrant accents can become eye-catching features that reflect your personal style. Proper maintenance ensures they continue to beautify your outdoor areas for years to come.
If you liked this project, you might also like to view the DIY golf ball ladybugs…

