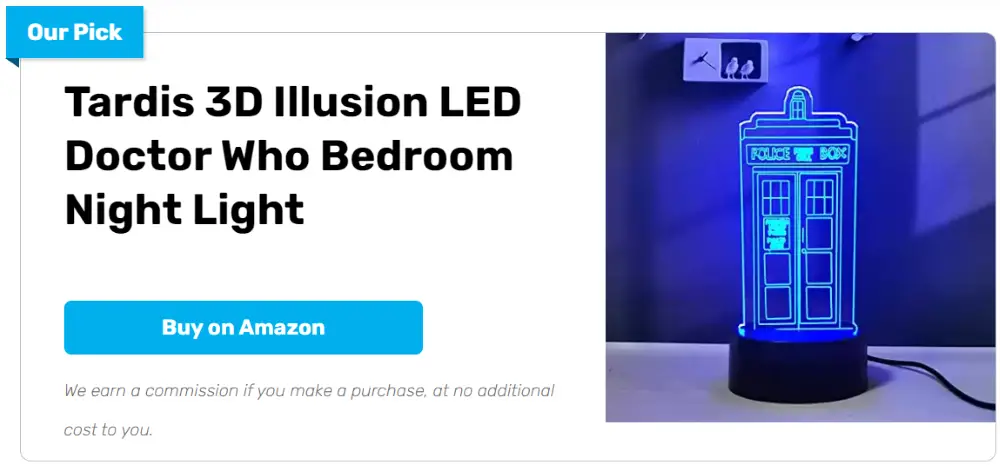
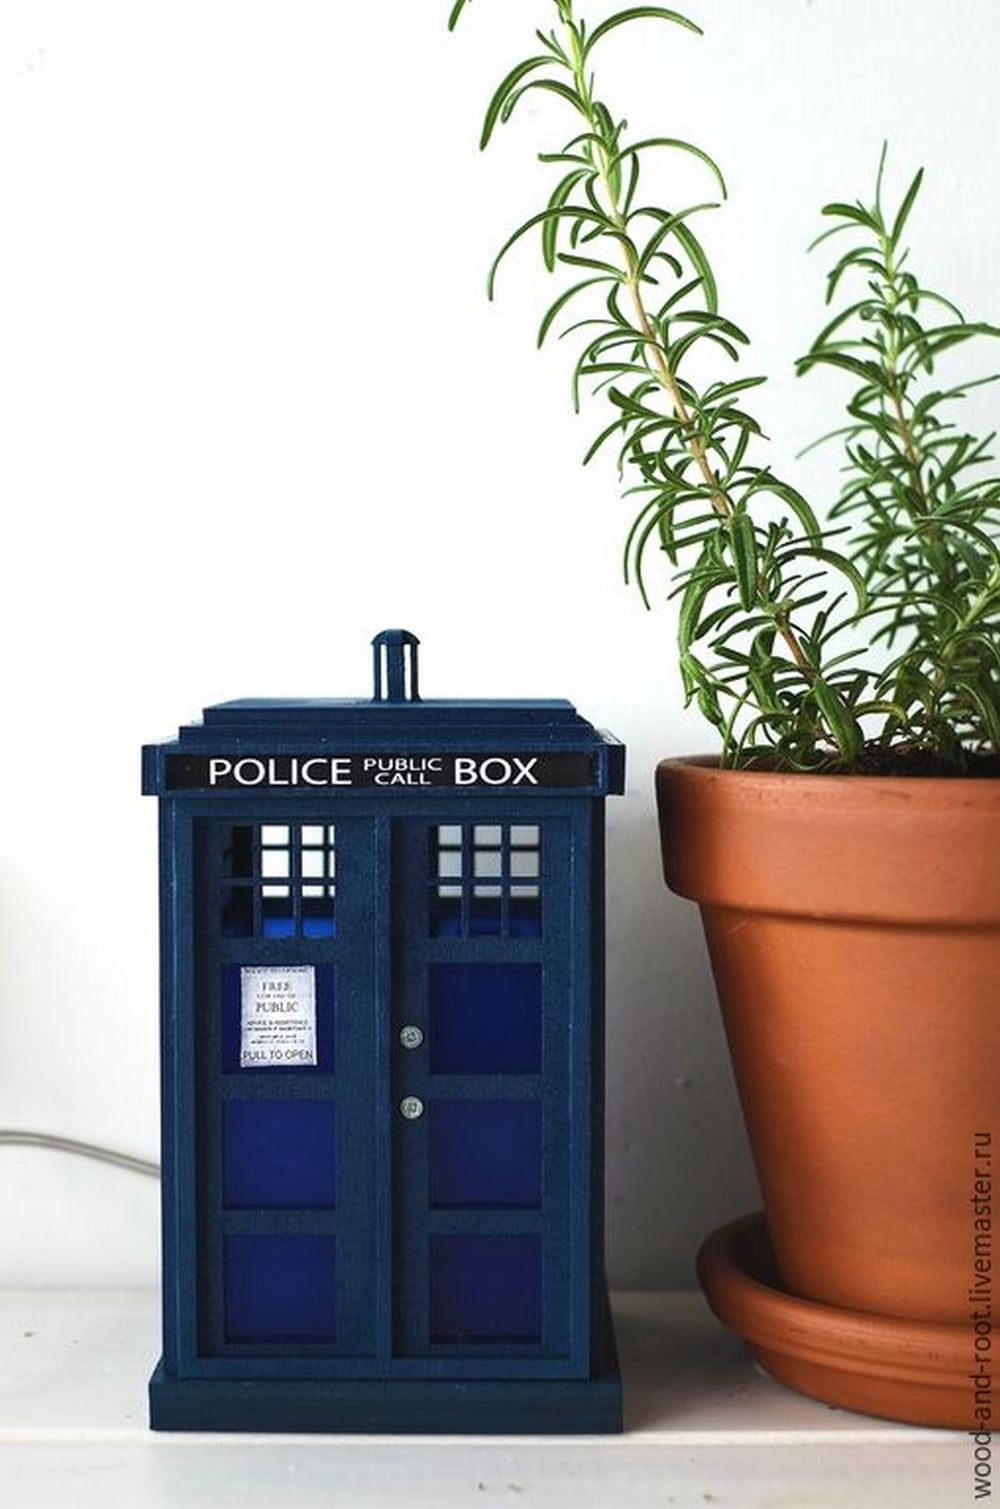
If you’re a big Doctor Who fan, you’d want this TARDIS nightlight badly. You wouldn’t want to pass up the opportunity of owning a Doctor Who-related item, would you? Not only will this satisfy your heart, but it’s functional too!

This DIY TARDIS nightlight project is a bit complicated. It involves a lot of cutting and electrical work – not to mention the minute details. But then again, the end product is worth it.
Roll up your sleeves and get ready for some real work!
Contents
Creating a TARDIS Nightlight
Whether you want to make a simple nightlight or a more elaborate design, there’s something here for everyone. So get inspired and start creating your own amazing TARDIS nightlight!
Here’s what you’ll need:
Materials
- (2) pieces of 3/16 plywood cut 5-1/8 inches square. (Box Base)
- (1) piece of 1×6 cut 4-1/2 inches square. (Lamp Base)
- (1) package of 100 standard 5-inch long pop sticks. (Sticks are 3/8 inches wide)
- (1) package of 50 large tongue depressors. (These are 1-1/4 in wide and about 9 inches long)
- (3) packages of square wood dowels.
- (1) package of Maple Veneer for the side panels and roof
- (4) clear plastic CD cases (for windows and signage)
- (1) Plastic “Garage Sale” sign (enough to create four 4-1/2 by 8-9/16 panels for sides)
- (1) Yellow “CAUTION” sign for the cupola top. (May substitute (4) more CD Cases)
- (1) Lamp Cord Set
- (1) 7-watt 120 VAC Lamp or a similar LED model.
- (1) Plastic kitchen cutting board for parts glued up
- (8) Clear Plastic Buttons 5/8 in. diameter (for Beacon)
- (1) Black Plastic Button 3/4 in. diameter (for Beacon)
- (2) Large Paper Clips (Door Handles)
- Adhesives & Tape
- A Dozen Binder clips to use as miniature clamps
- Paint (your choice of color)
- Pencil
Tools
- Knives – X-ACTO Number 1 and Number 2 along with extra blades
- Rulers – (1) Six-inch and (1) twelve-inch square and an adjustable twelve-inch Square.
- Table Saw with plywood and crosscut blades
- Scroll Saw
- Drill with 5/8″ and 1/2″ Forstner bits.
- “The Chopper” from North West Short Line for small piece of wood cutting
- Sanding block and boards of various grit sizes for fine-tuning small parts
Instructions
With a little creativity, you can easily turn an ordinary nightlight into a TARDIS-themed one that is sure to impress your friends and family. So what are you waiting for? Get creative and make your own TARDIS nightlight today! Just follow the steps below:
1. Prepare the wood
Trace your measurement based on the materials needed above for the woods.
Using your chopper and saw, you’re now ready to cut the plywood.
2. Make the box
Assemble the TARDIS box similar to a tiny police public call station.
Drill a hole in the base of the cardboard box big enough to fit the LED light lamp.
3. Paint the box
Paint the box blue and black. Let it dry.
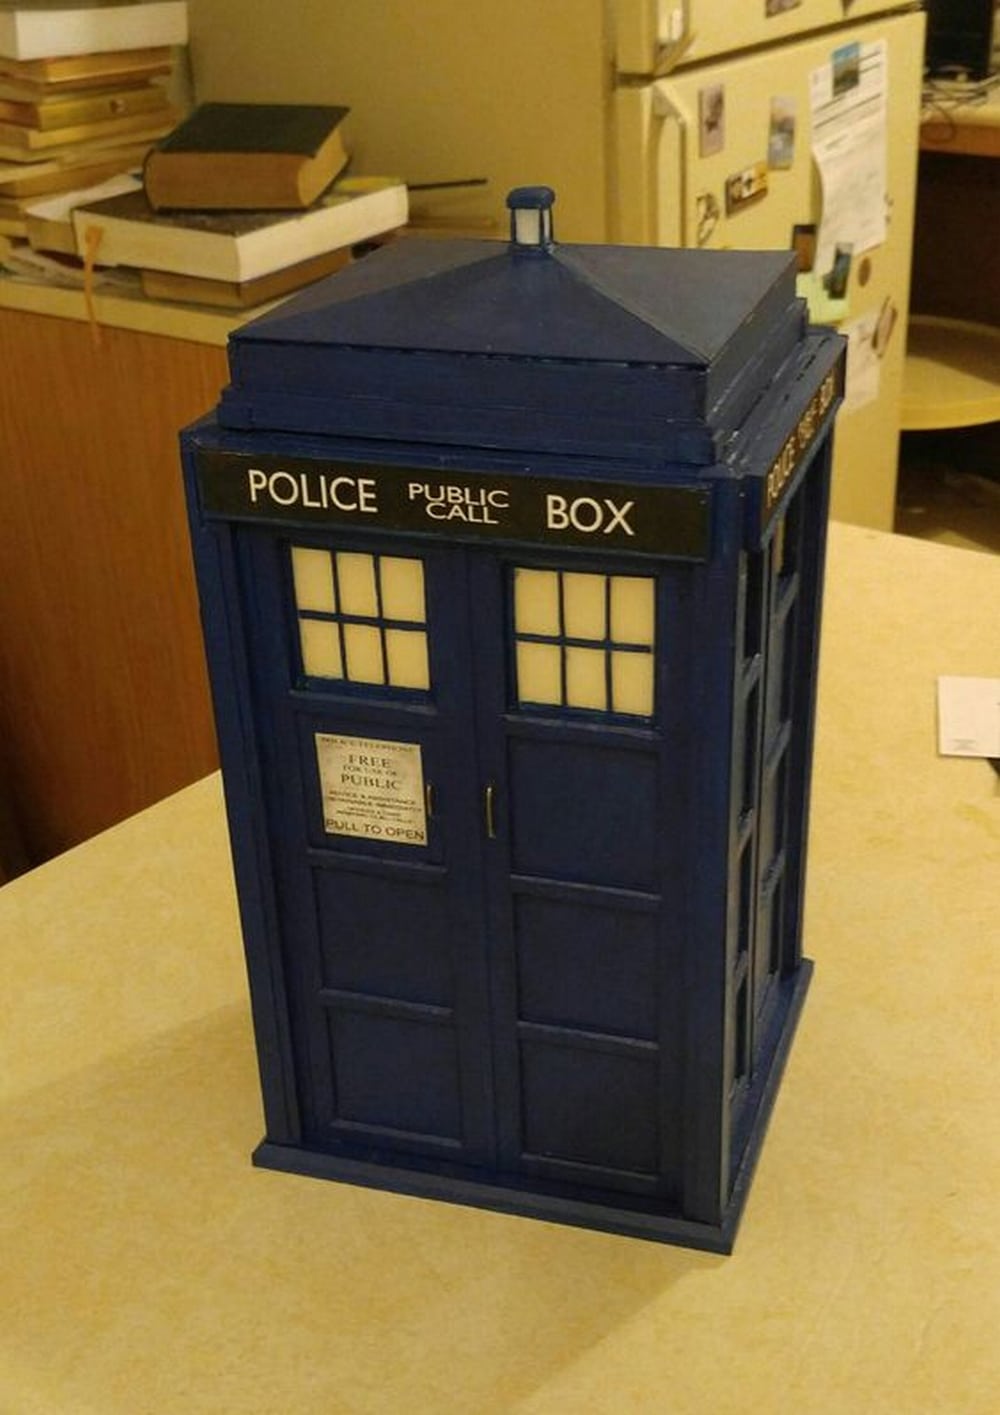
4. Add the door, windows & other details
Using clear plastic, trace the door and windows. Cut them carefully using a knife. Then, attach them to the box. You can use a Loctite Professional Superglue, Elmer’s Craft Bond Glue, Elmer’s Craft Bond Spray Adhesive, Painter’s tape, cellophane tape, and/or clear package shipping tape.
Use the buttons and clips to add more designs.
Add some tiny signages like “Police”, “public call”, “garage sale”, ‘”caution” and etc.
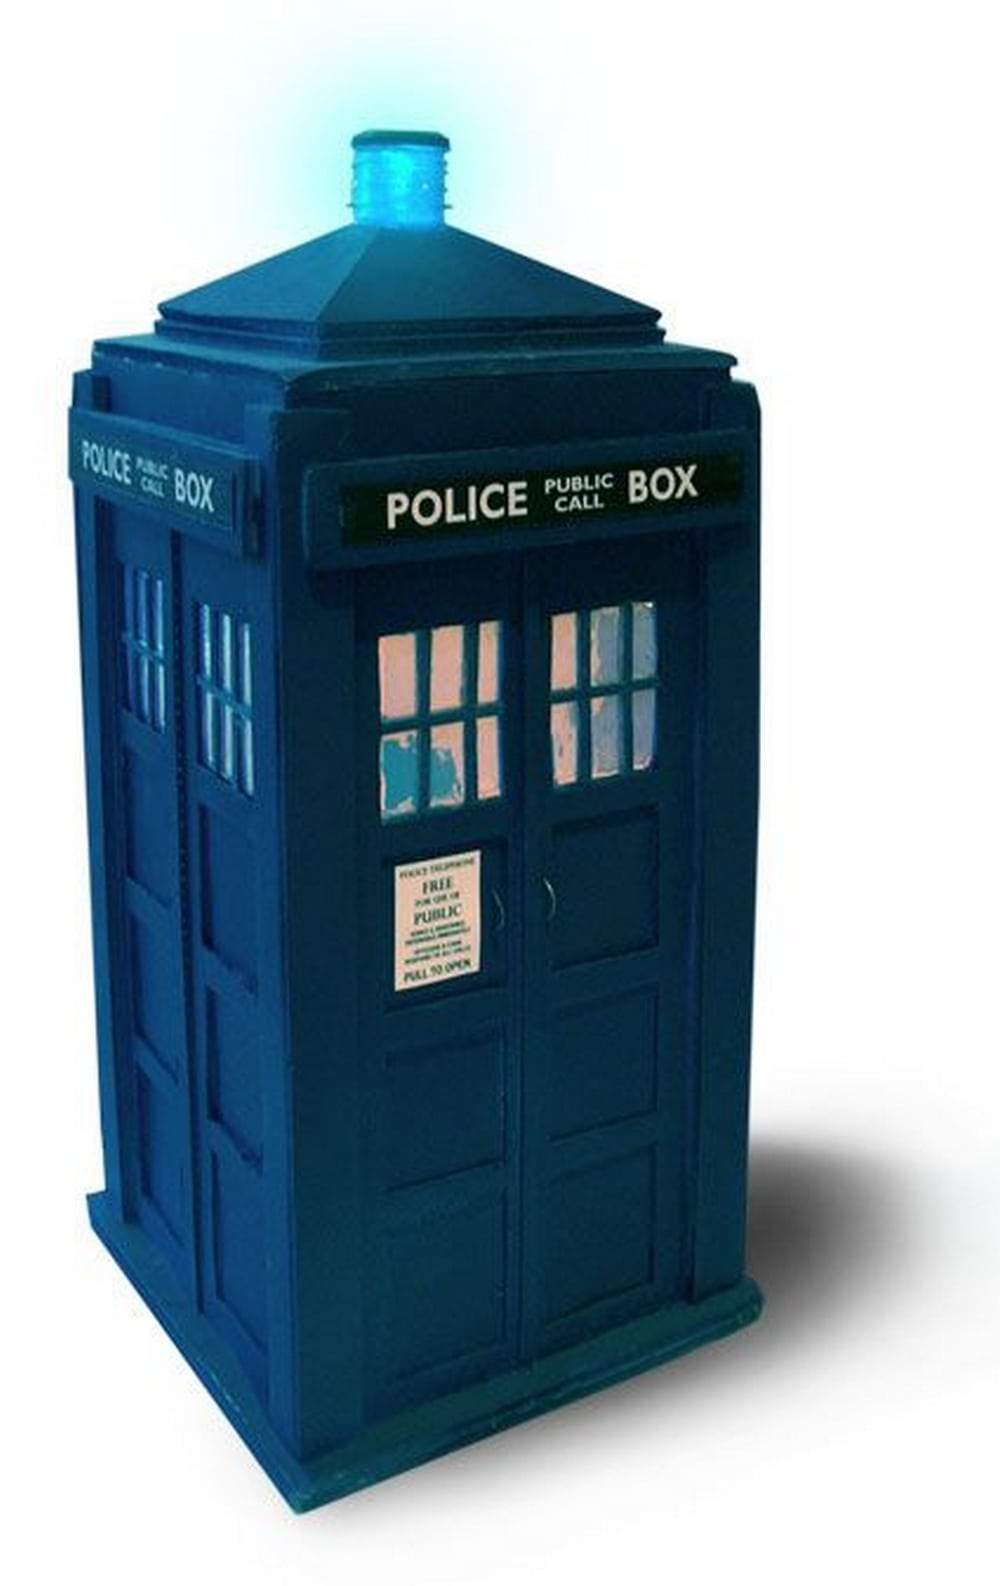
5. Make a removable roof
Make sure to make your roof removable, to allow you to replace the LED bulb once it no longer works. Paint it with black and blue. Let it dry.
6. Add the LED bulb
Assemble the LED bulb with the lamp cord set.
Once the paint applied on the TARDIS is dry, tape the LED lamp inside the box.
Attach the LED bulb to the base of the TARDIS base. Make sure the cord is long enough to reach your outlet. LED is preferred because it produces less heat and lasts longer.
7. Close the base
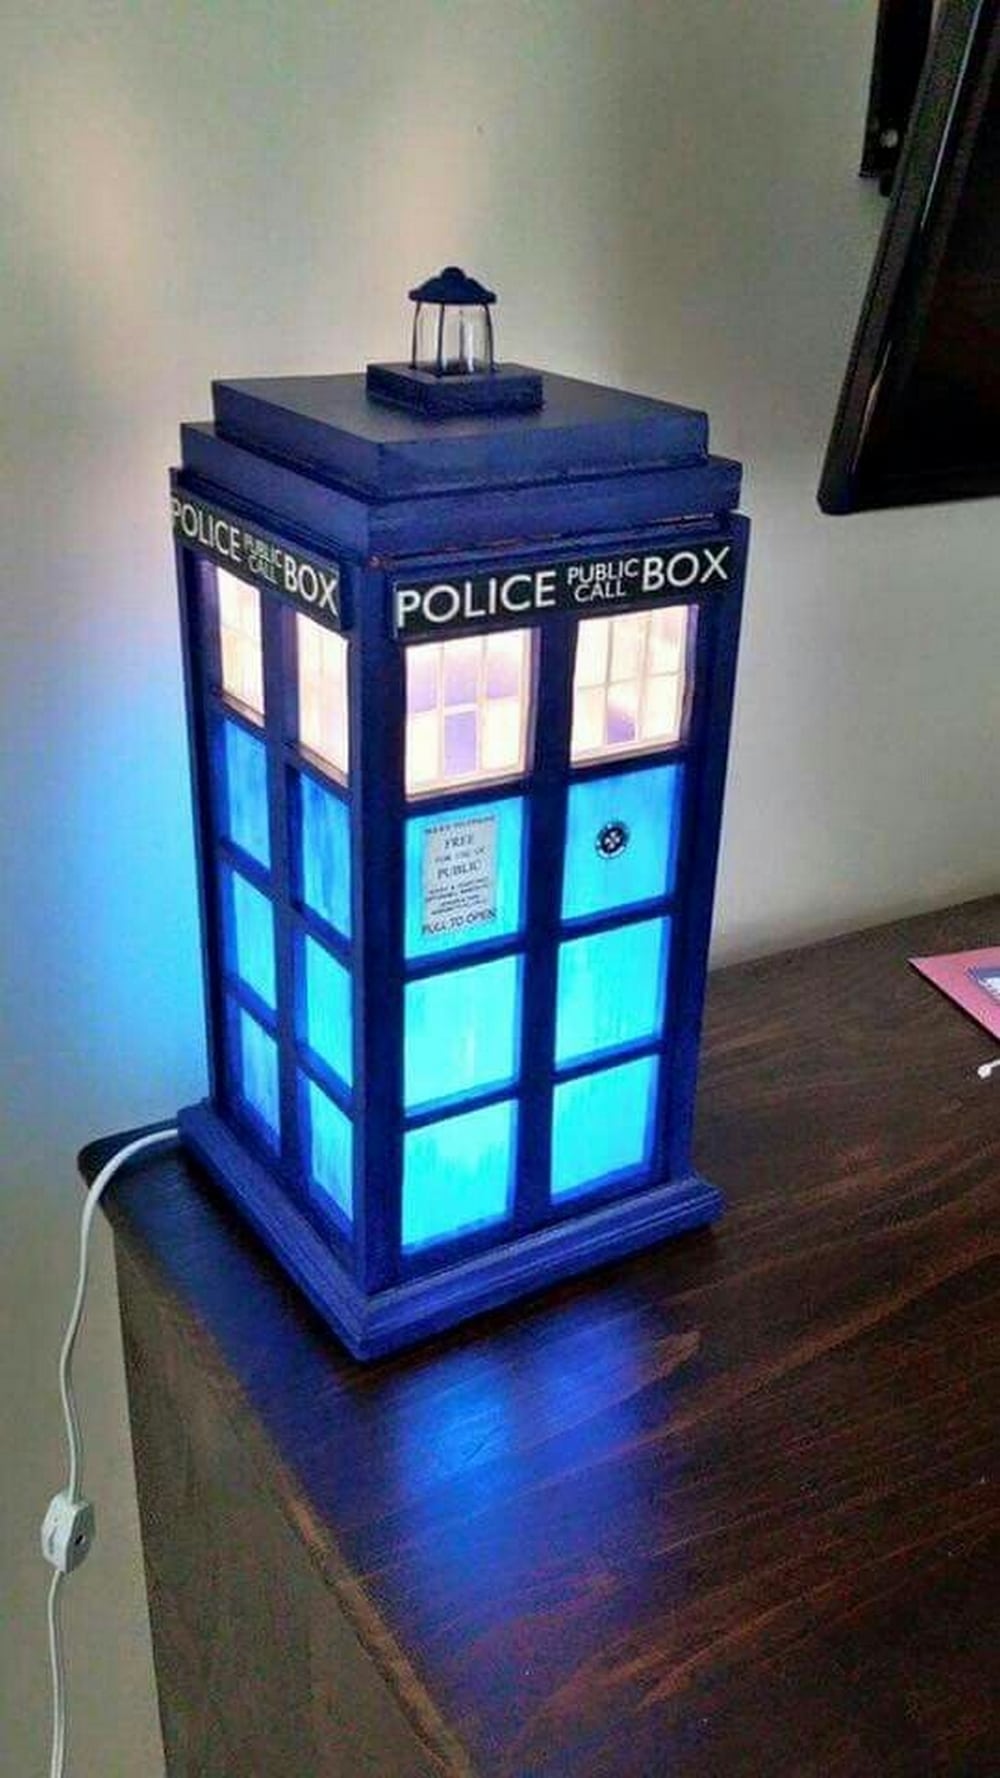
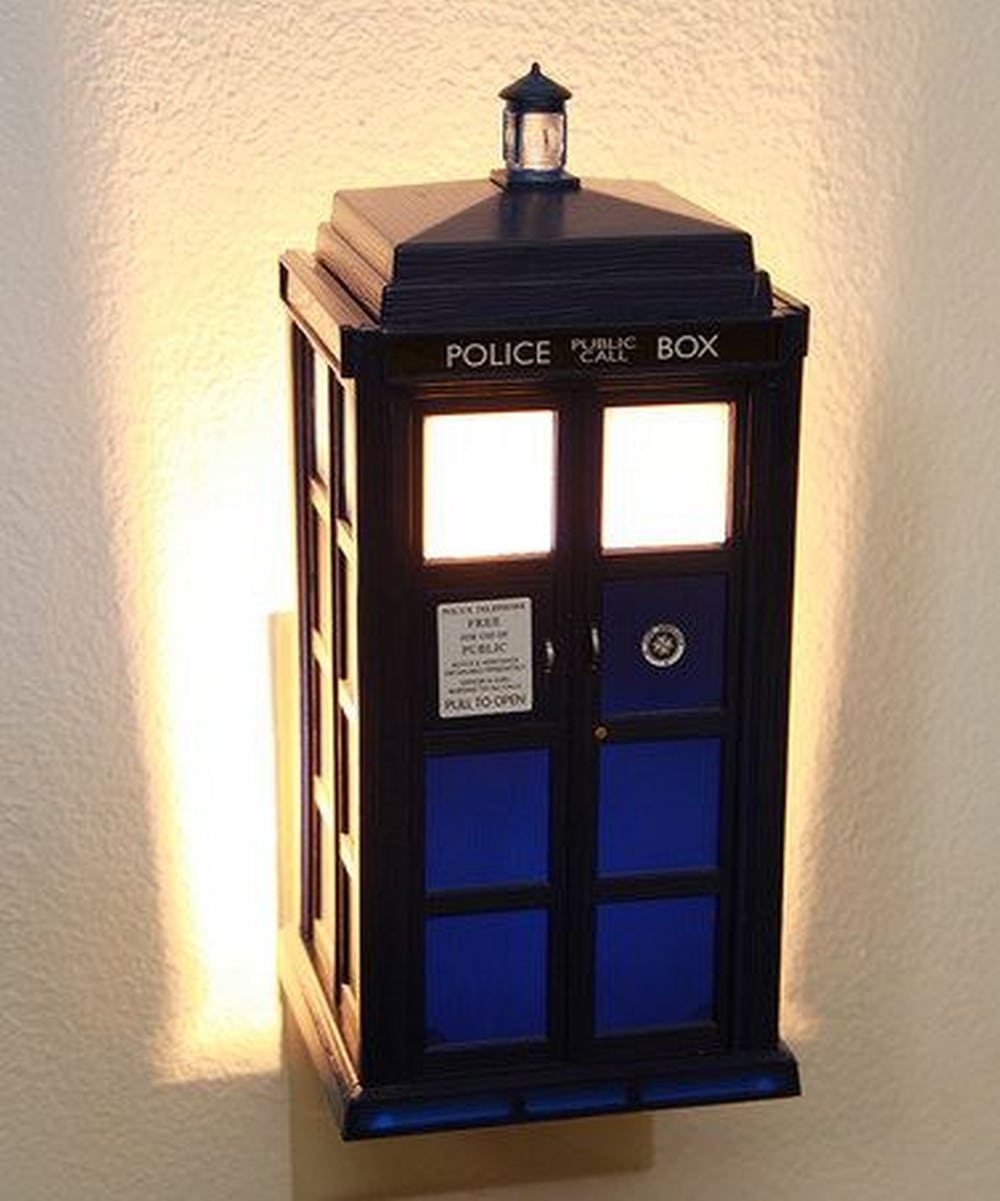
You can now close your TARDIS box and try to turn on your TARDIS nightlight!
Now that you have your TARDIS box closed, you can turn on your nightlight! The soft, calming light will help you relax and enjoy the evening. This will help you enjoy the evening, and perhaps even get a good night’s sleep. Sweet dreams!
These creative lights are perfect for showing your fandom, and they make great gifts!
Thanks to the Learning Resources Blog for this project. You can watch the video tutorial here….
Awesome DIY tardis nightlight design ideas
Click on any image to start the lightbox display. Use your Esc key to close the lightbox.


Incorporating Technology
Incorporating technology into your DIY projects can elevate their functionality and appeal. The TARDIS nightlight is a perfect candidate for tech enhancements. These upgrades can make your nightlight more interactive, convenient, and personalized. Here’s how to infuse modern technology into your TARDIS nightlight creation.
Adding a Motion Sensor
Integrating a motion sensor into your TARDIS nightlight can significantly enhance its functionality. This advanced feature triggers the light to turn on automatically upon detecting movement.
It’s an ideal solution for those late-night trips to the bathroom or kitchen, providing immediate illumination without the need to fumble for light switches in the dark. The convenience of motion-activated lighting not only adds a modern touch to your nightlight but also promotes energy efficiency by ensuring the light is only on when needed.
Smart LED Bulbs
Incorporating smart LED bulbs into the TARDIS nightlight brings a whole new level of customization and control. These innovative bulbs offer an extensive palette of colors, enabling you to personalize the ambiance of your room according to your mood or the occasion whether you’re looking for a soothing blue to calm the mind before bed or a vibrant red for an evening of “Doctor Who” binge-watching, smart LEDs have you covered.
You’re going to love the custom lighting of smart LED that lets you match your room’s decoration. This feature transforms a simple DIY project into an interactive, fun, and adaptable piece of decor that’s sure to impress any “Doctor Who” enthusiast.
Sound Effects Module
Enhancing your TARDIS nightlight with a sound effects module can immerse you deeper into the “Doctor Who” universe. By incorporating sound effects from the iconic series, your nightlight doesn’t just visually mimic the TARDIS but also audibly brings it to life. Installing a compact sound module allows the nightlight to emit recognizable TARDIS sounds, such as its distinctive materialization noise, when the light is activated or when motion is detected.
This auditory feature creates a more engaging and authentic experience, making the nightlight not just a source of light but a piece of interactive “Doctor Who” memorabilia. It’s a perfect way to surprise guests and delight any fan of the series, adding a layer of fun to the functionality of your DIY project.
Timer Functionality
Adding a timer to your TARDIS nightlight is a smart way to blend convenience with energy efficiency. This functionality allows the nightlight to automatically turn off after a predetermined period, which is particularly useful for bedtime. As you drift off to sleep, the light will gently fade away, ensuring a perfect sleep environment while also conserving electricity.
The timer feature is especially beneficial for children’s rooms, helping them feel safe and secure as they fall asleep without the nightlight needing to stay on all night. This not only aids in a better night’s sleep but also prolongs the life of the nightlight and saves on energy costs.
Remote Control
Incorporating a remote control with your TARDIS nightlight adds a layer of convenience and versatility. With a remote, you gain the freedom to turn the nightlight on or off from anywhere in the room, eliminating the need to physically interact with the light itself. This is particularly handy for adjusting settings from bed or across the room.
Moreover, a remote control can allow you to alter brightness levels to suit your preference or change the light’s color to fit different moods or themes. This means you can easily customize the atmosphere of your space without moving an inch, making the TARDIS nightlight a more dynamic and flexible addition to your home decor.
By integrating these technologies into your TARDIS nightlight, you enhance its utility and interactivity. Such upgrades bring a piece of “Doctor Who” magic into your home, combining fandom with functional design.
Troubleshooting Common Issues
You’re looking to bring the Doctor’s own transportation to your home. Yet, every adventure might have a few hiccups. It’s totally normal to run into snags, especially with DIY projects that blend crafting with a bit of tech.
Below are the common problems you might come across in making your night light and how you can fix them.
Tackling Electrical Hiccups
Ran into a snag with the wires or the bulb? Double-check those connections. Make sure each wire is snug and secure. If that bulb won’t light up, revisit the connection points between your lamp setup and the bulb. It also pays to make sure the outlet is actually working. And hey, if electrical work isn’t your jam, maybe practice on something a bit more straightforward before you dive into your nightlight project.
When Cutting Gets Tricky
Finding those precise cuts to be a challenge? Sharp tools are your best friends here. Measure twice (or even three times) and cut once. And don’t rush it. For those really neat lines, a ruler or square can guide your tool, ensuring everything’s just right. For the more intricate bits, a fine blade or even a scroll saw might be the way to go.
Paint Not Playing Nice?
Paint’s being a pain? First off, make sure that surface is squeaky clean and sanded down. A bit of primer can go a long way in getting your paint to stick on wood or plastic. If the paint’s looking a little sad and streaky, go for several thin coats rather than one thick one. Patience is key – let each layer dry completely before adding another.
Motion Sensor Madness
Motion sensor not sensing much? Check those connections again and make sure it’s all hooked up right. Sometimes, these sensors get shy in bright rooms, so test it out in a darker space. If it’s still being stubborn, fiddle with the sensitivity settings if you can, and make sure nothing’s blocking its view.
Sound Effects Not Sounding Off
Sound effects more silent than you’d like? Make sure everything’s connected properly and that the speaker is free of obstructions. If it’s all crackly or just sounds weird, the volume might be too high, or the speaker itself might need a swap. Also, double-check that your sound files are the right type for your module.
Working on your TARDIS nightlight is supposed to be fun, not frustrating. There is always a chance you will encounter problems when you’re building your Doctor Who decoration, which can be fixed.
Conclusion
Your TARDIS nightlight will be the envy of most Doctor WHO fans when properly made. With a bit of patience and some technical tinkering, you can transform simple materials into a glowing tribute to the iconic time machine. This DIY endeavor not only lights up a room but also ignites the imagination of fans, making it a unique and personal piece of fandom to cherish.


