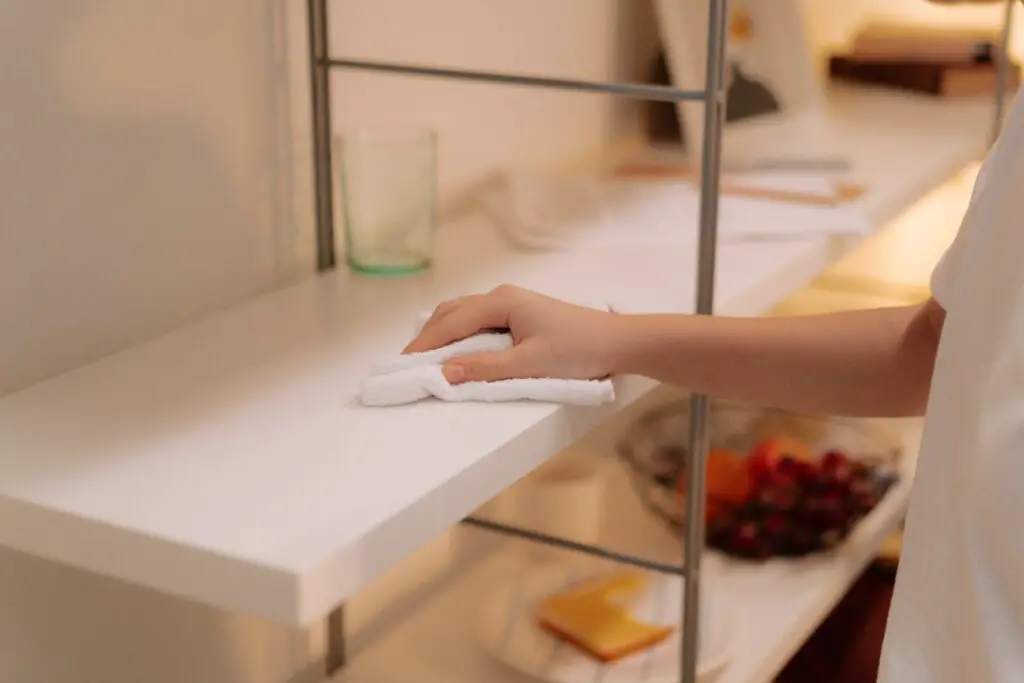
When it comes to protecting yourself and your family from viruses, bacteria, and other germs, one of the best things you can do is keep your home and workplace as clean and sanitary as possible. Disinfectant wipes are an easy and effective way to keep surfaces free of all these germs, but they can be expensive.
Fortunately, you can save money and keep your environment safe and clean by making your own disinfectant wipes at home.
Contents
- 1 10 Easy Steps to Homemade Disinfectant Wipes
- 1.1 1. Gather all the necessary materials and supplies.
- 1.2 2. Put on your rubber gloves and pour the disinfectant solution into the container.
- 1.3 3. Then, place the cloths into the solution and allow them to soak for five minutes.
- 1.4 4. Remove the clothes and place them on a towel to dry.
- 1.5 5. Store the clothes in an airtight container.
- 1.6 6. Make sure to leave enough room for the lid to close securely.
- 1.7 7. Seal the container and label it with the type of disinfectant solution used.
- 1.8 8. Store the container in a cool, dry place away from direct sunlight.
- 1.9 9. Dispose of used wipes in a trash
- 1.10 10. Wash and dry hands after using homemade disinfectant wipes.
- 1.11 Wrapping It Up
10 Easy Steps to Homemade Disinfectant Wipes
In this blog post, we will provide step-by-step instructions on how to create your own disinfectant wipes at home using simple, inexpensive materials and supplies. So, you’ll be able to make your own effective and affordable disinfectant wipes and keep germs and bacteria at bay and maintain your family’s health.
1. Gather all the necessary materials and supplies.
Before getting started on creating your own disinfectant wipes at home, it is important to first gather all of the necessary materials. Basically, you will need the following:
- Clean cloths (or towels)
- Disinfectant solution
- Sealable container
- Spoon or any stirring equipment
- Personal Protective Equipment (PPE) including rubber gloves and safety goggles
Before you start crafting your own disinfectant wipes at home, it’s time to arm yourself with the proper supplies. It’s a simple but important step to making sure your DIY wipes will be effective and usable.
For the solution, many prefer a mix of rubbing alcohol and water, but you can also use a store-bought cleaning solution to make disinfectant wipes at home if you like.
If you want to make your own disinfectant solution, here are the things to prepare:
- 16-ounce bottle
- 12 ounces of your favourite alcohol (preferably ethanol, but any will do).
- 3 ½ ounces distilled water
- ½ teaspoon hydrogen peroxide
- 30-45 drops of essential oil (optional, but highly recommended for scent and antiviral and cleaning properties).
For the procedure:
- Simply mix water and hydrogen peroxide in a 16-ounce bottle
- Add in the essential oils of your choice, and don’t forget the alcohol!
- Give it a good shake to combine everything, and you have a ready disinfectant solution.
Once you have all the materials and supplies ready, you can start your wipe-crafting adventure. Make sure that your container is airtight and large enough to hold the disinfectant wipes.
2. Put on your rubber gloves and pour the disinfectant solution into the container.
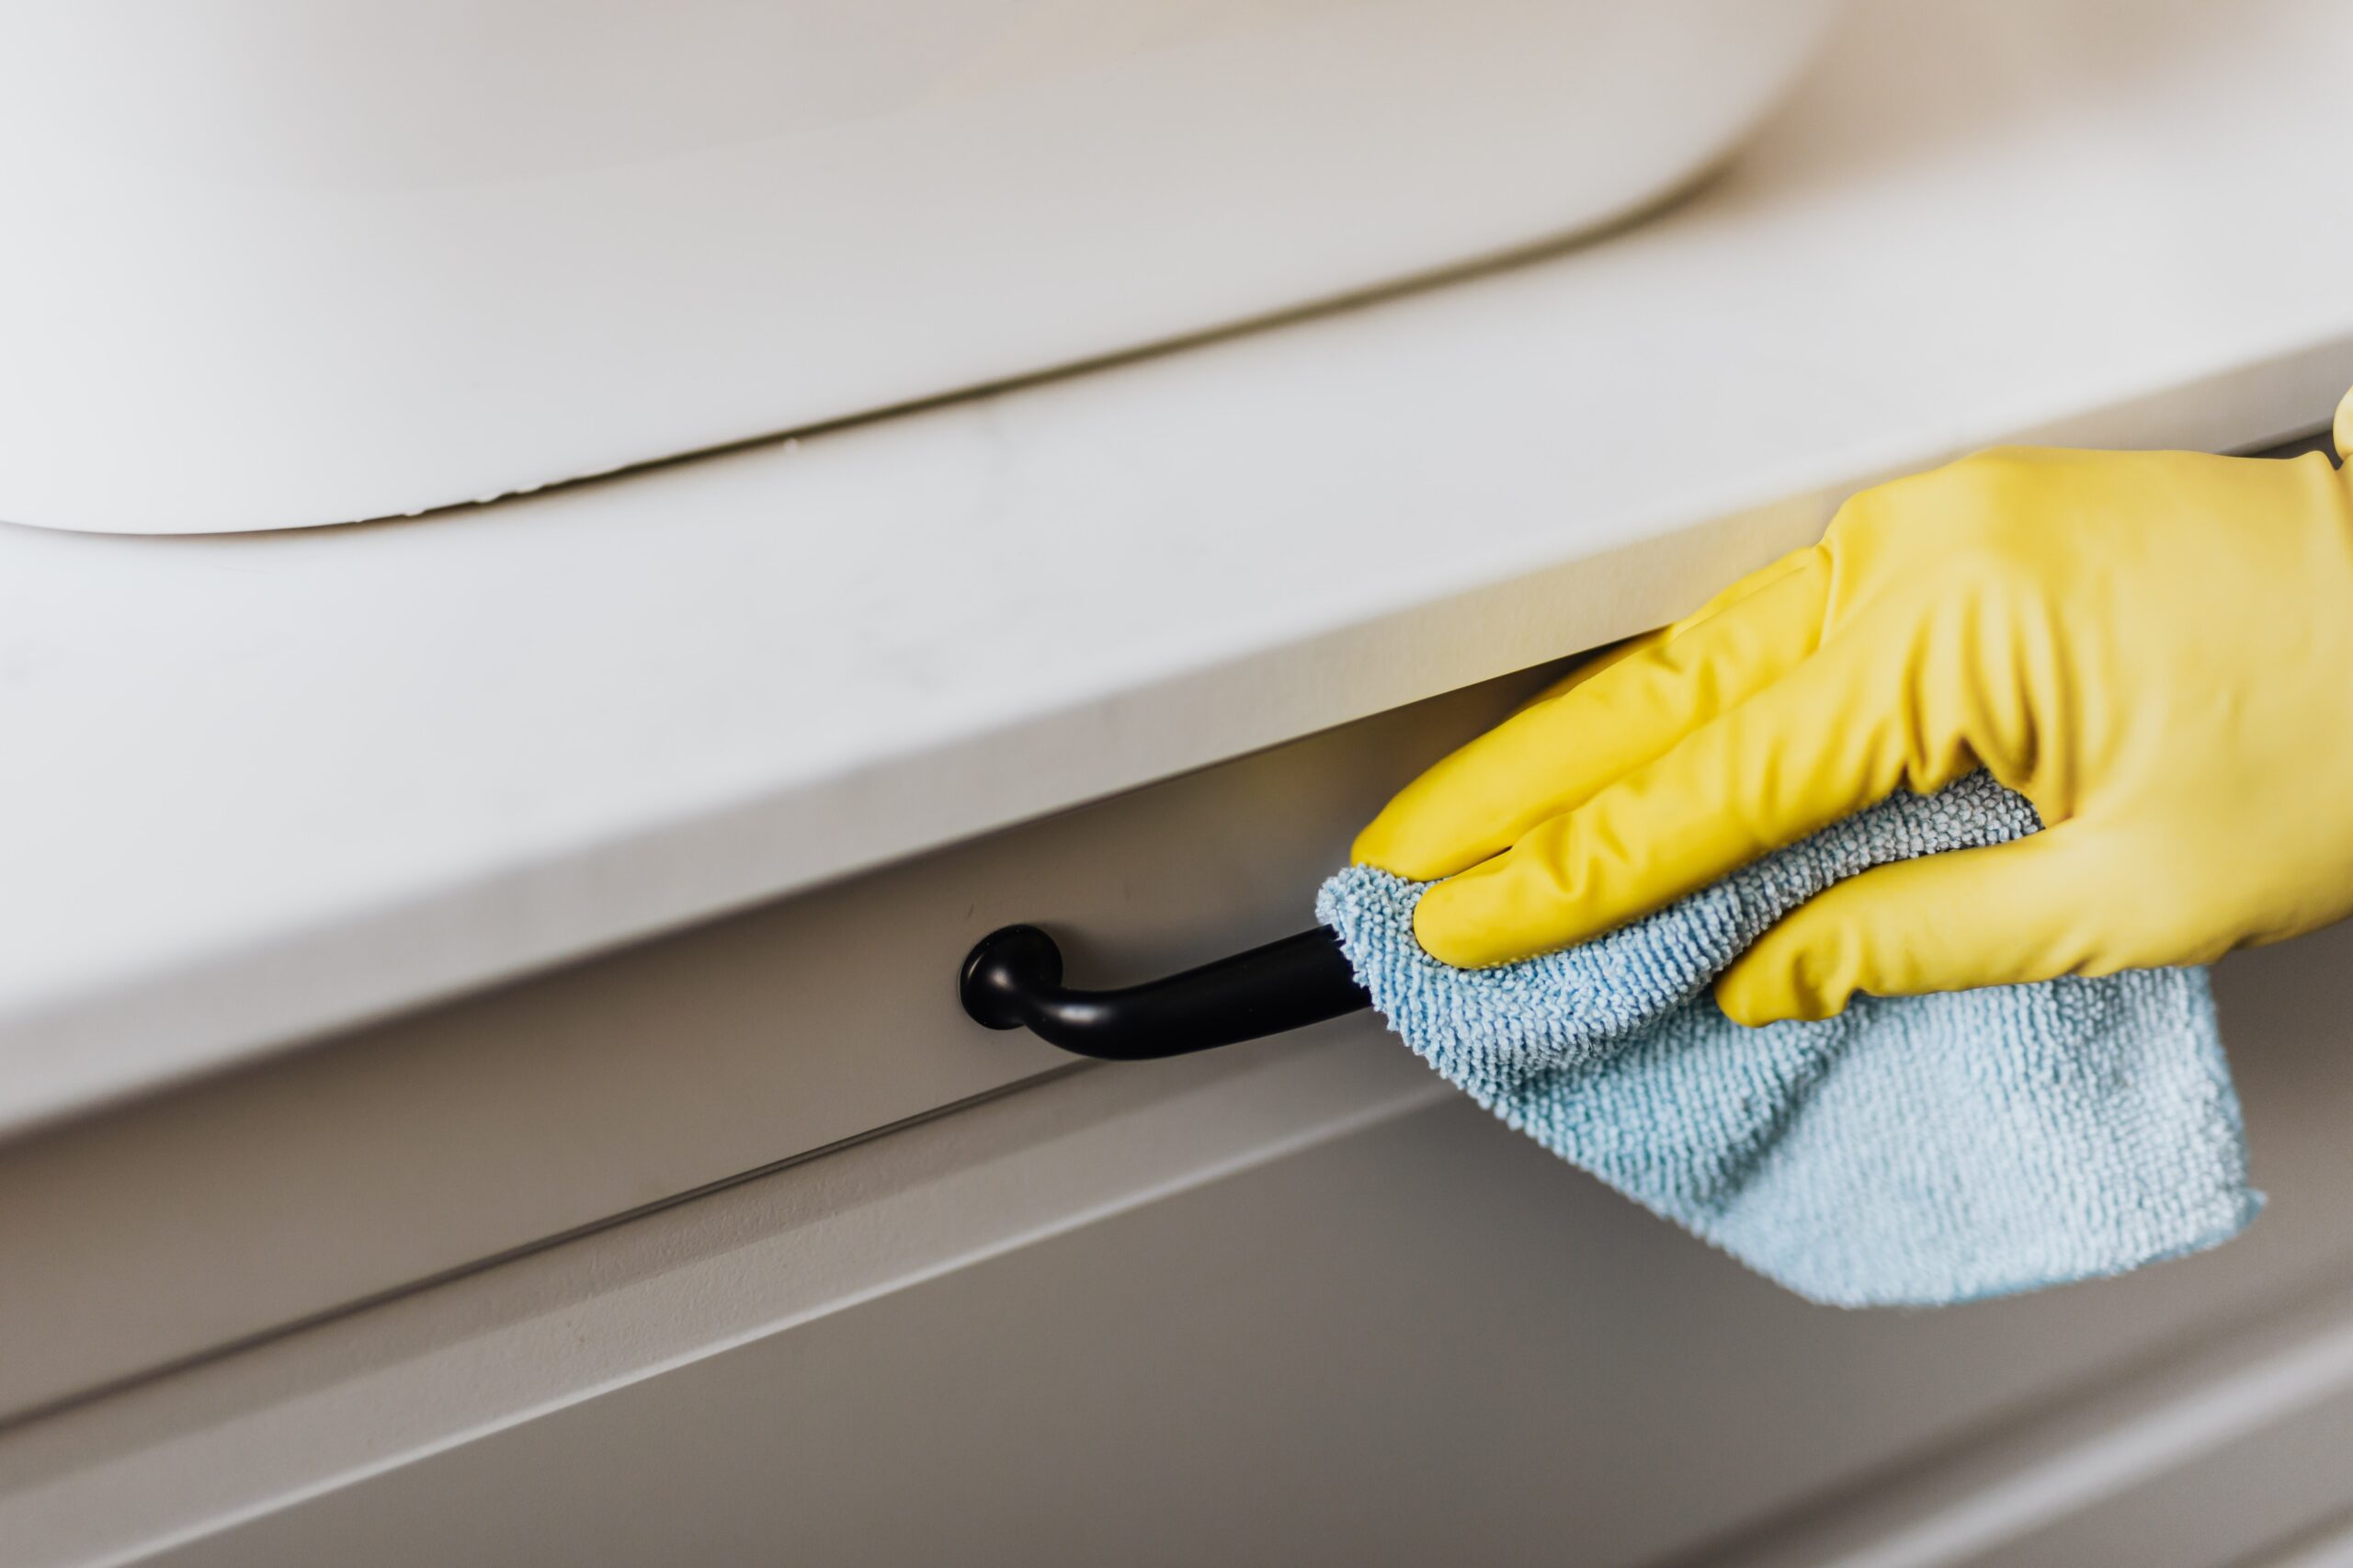
After obtaining the necessary supplies, it’s time to begin making your own disinfectant wipes. Start by putting on your rubber gloves and safety goggles to protect your hands and eyes from the disinfectant solution. Once the gloves are on, carefully pour the solution into the container.
Be sure to avoid splashing onto other surfaces. After the solution is in the container, use the spoon or other stirring instrument to mix it together. Now you are ready to add the clean cloths to start making your own disinfectant wipes.
You’ll soon realize how helpful it is for you and even to the environment to have handy disinfectant wipes at home. You can also get rid of plastic wrap and use beeswax wrap instead. You can also try it. It’s easy to make one too.
3. Then, place the cloths into the solution and allow them to soak for five minutes.
Once you have prepared your solution, place the clothes into the container. Allow them to soak for five minutes in the solution before taking them out. It is important to ensure that it is completely saturated with the solution.
After five minutes, remove them from the container and lay them on a clean surface. You’ll soon have DIY disinfectant wipes at home!
4. Remove the clothes and place them on a towel to dry.
After five minutes of soaking, carefully remove each cloth from the solution and allow them to drain over the kitchen sink. Place it on a towel to dry.
To ensure that your disinfectant wipes are always at their most effective, it is recommended that you replace them every two weeks. It seems like a lot of work, but it’s worth it for the peace of mind that comes from knowing you have a supply of disinfectant wipes at home.

5. Store the clothes in an airtight container.
Then, you can store the clothes in a container of your choice — an airtight plastic container, glass jar, or ceramic bowl. Whatever you choose, make sure it’s properly sealed to ensure your they are kept safe and secure. You can even pick out something special to match your decor. You’ll be able to store them with peace of mind, knowing they will be safe and secure and look stylish too.
And now, you can keep your family safe and feel extra loved as you’ve crafted your own disinfectant wipes at home.
6. Make sure to leave enough room for the lid to close securely.
You’ve taken all the necessary steps to prepare your project, now it’s time to secure the pieces of cloth into the container. When keeping them, be sure to make enough room for the lid of the container to close snugly and securely.
Gently ease the cloth into the container, taking care not to make too much of a crinkling sound. Then, place the lid on and pat yourself on the back for completing the task!
This is an important step since a secure lid will maintain the effectiveness of the disinfectant wipes.
7. Seal the container and label it with the type of disinfectant solution used.
It is important to seal the container and label it with the type of disinfectant used. This is especially true if the same container is used for multiple types of disinfectants.
When it comes to sanitizing, disinfecting and cleaning, make sure you’re using the right product for the job. Labelling the container can help you make sure you don’t mix up the types of wipes, and ensure you’re using the right one for the task.
It can make all the difference in the efficacy of your cleaning. Plus, it’ll save you from having to double-check the inside when you need to grab the right product — you can easily glance at the label and know exactly which wipes you should use.
So, make sure you label your containers and keep your cleaning materials organized — your future self will thank you! Additionally, it will prevent accidental ingestion of the disinfectant solution, as well as any possible cross-contamination between the different types of wipes.
8. Store the container in a cool, dry place away from direct sunlight.
It’s all about finding the perfect storage spot when it comes to keeping your freshly-crafted disinfectant wipes in tip-top condition. Make sure to keep them in a cool, dry place that is far away from direct sunlight.
This will help them stay in peak condition when you need them. This will help ensure that the disinfectant wipes maintain their potency and effectiveness. Also, make sure to check the expiration date on the container periodically to make sure that your disinfectant wipes at home are still safe to use.

9. Dispose of used wipes in a trash
After use, it is important to properly dispose of any used wipes. Do not flush them down the toilet. This can clog plumbing and cause damage. Instead of carelessly tossing away your used disinfectant wipes, take the extra step to properly dispose of them.
Place your used wipes in a trash can with a secure lid – this will help to prevent germs and bacteria from escaping. You should also be sure to empty the trash can regularly to avoid an accumulation of used wipes and other waste products. After all, we all want to do our part in keeping our environment clean and healthy!
10. Wash and dry hands after using homemade disinfectant wipes.
Make sure to wash and dry your hands thoroughly after using disinfectant wipes at home. Rub your hands with soap and scrub in between your fingers and around your nails. This is essential in removing any germs and preventing them from spreading.
Once you’ve washed your hands, don’t forget to dry them completely — leave no moisture behind! Use a towel to make sure your hands are completely dry and germ-free. This practice will help keep you and your family safe and healthy.
Wrapping It Up
To wrap up, making your own disinfectant wipes at home is an easy, cost-effective way to keep your environment clean. You can use any kind of cloth, as well as any disinfectant, to make wipes that are just as effective as store-bought brands.
Customize your own disinfectant wipes with ease! With the right materials and supplies and a few simple steps, you can easily create your own disinfectant wipes at home that are tailored to your specific needs. Not only can you customize the scent, but you can also adjust the strength of the wipes to your preference.
Whether you are looking for a stronger disinfectant or simply want a milder scent, you can easily make your own disinfectant wipes at home to suit your needs.
Using disinfectant wipes at home is a great way to ensure your home’s cleanliness and everyone’s health. You’ll have the satisfaction of knowing that you’ve made disinfectant wipes at home that are useful, even natural and free from harsh chemicals.
So, unlock the power of disinfectant wipes at home in just a few simple steps!


