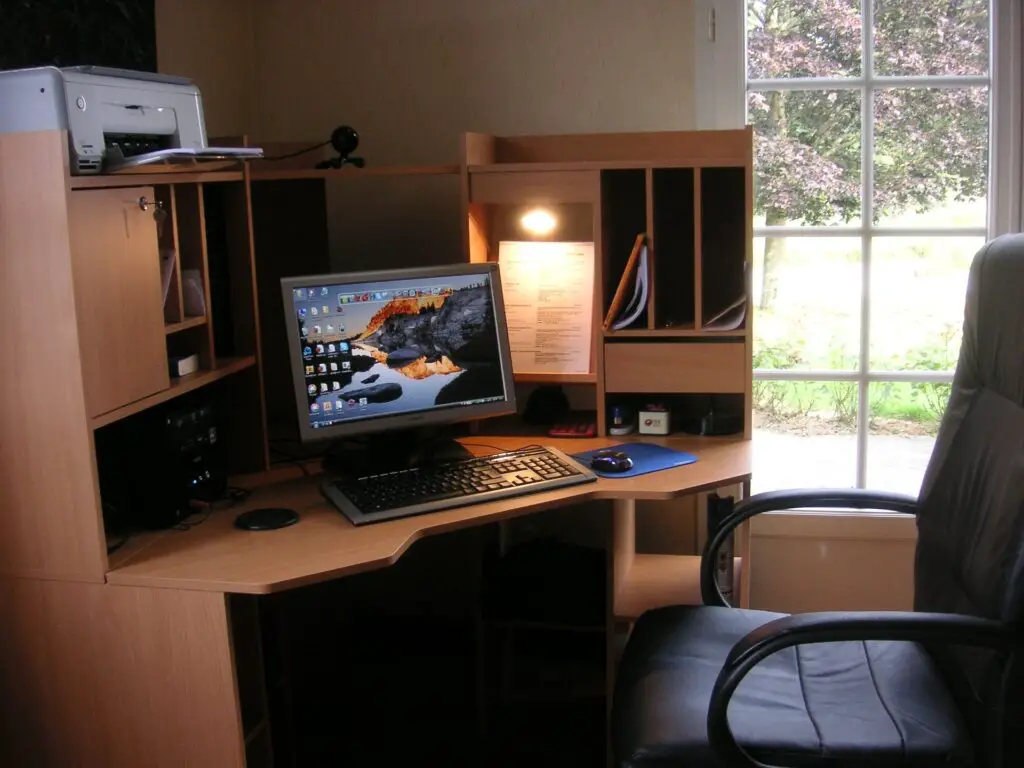
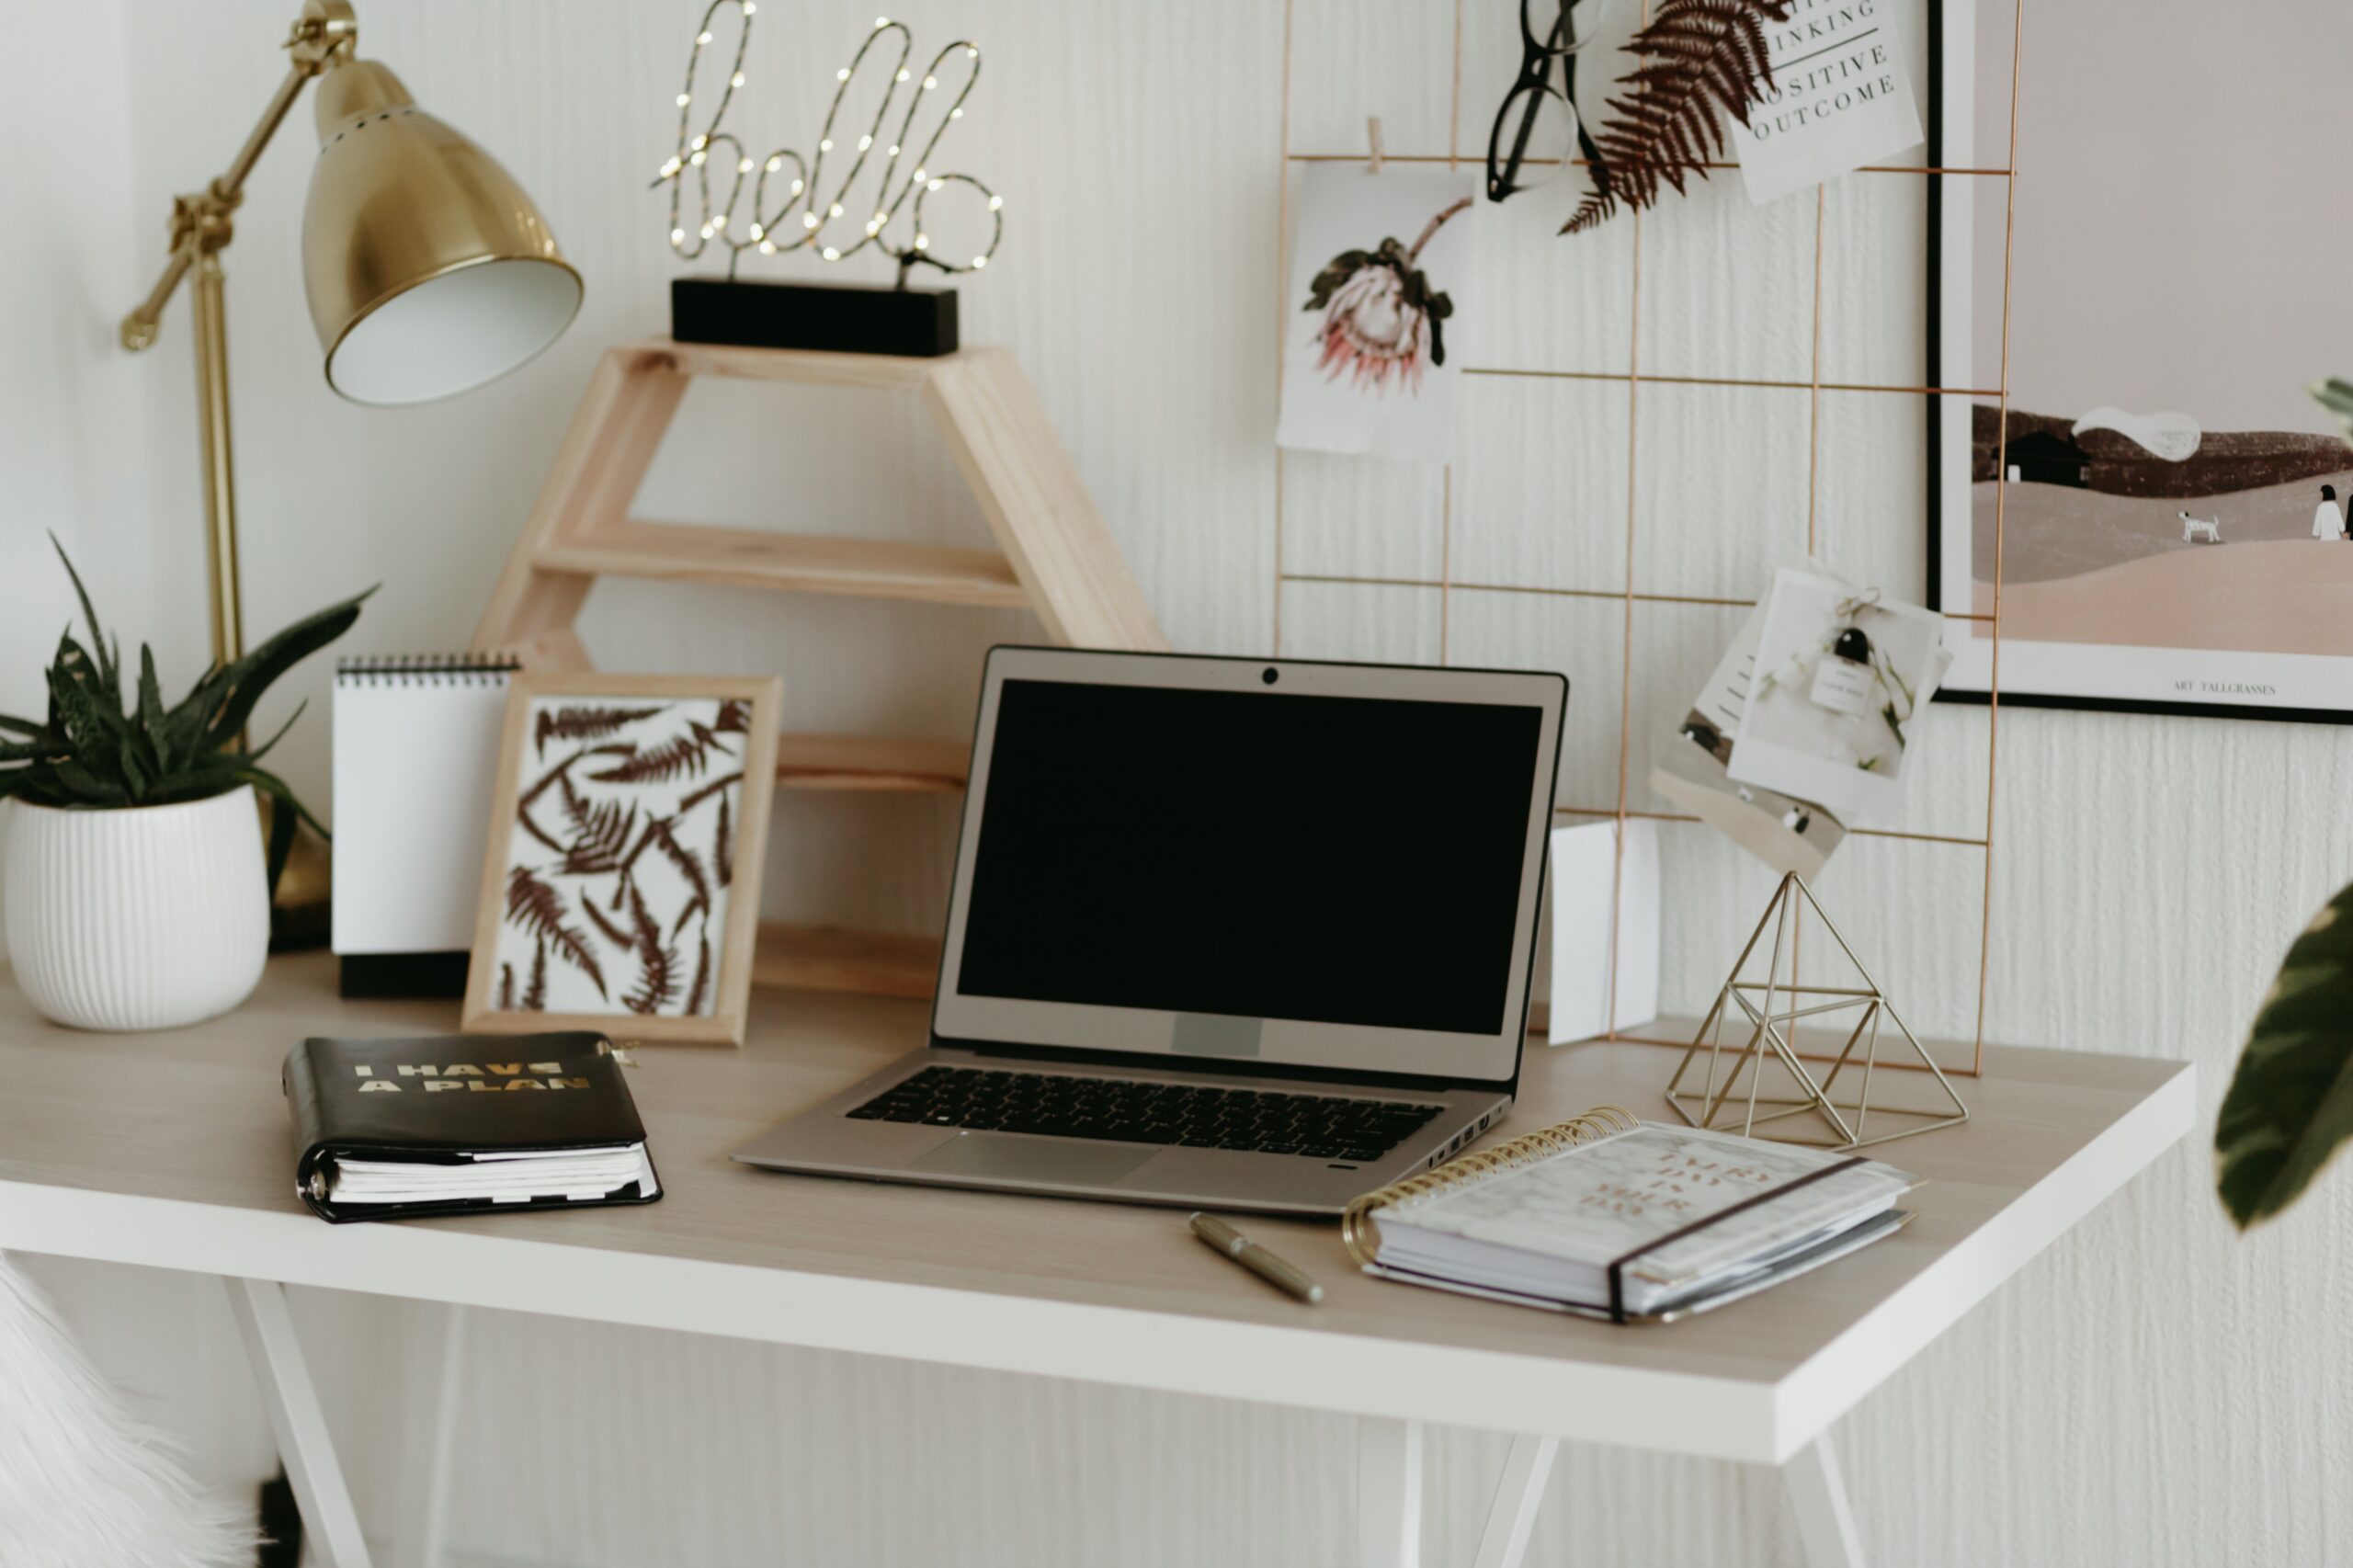
Take control of your workspace with the trendiest way to stay organized: DIY desk organizers! Whether it’s for a home office, student study area, or creative workplace, these organizers have what it takes to make sure your workspace is neat and tidy.
Make the most of your workspace by investing in the perfect DIY desk organizer. Also, get organized in style.
In this blog post, we will also look at different materials and methods that can be used to create a custom DIY desk organizer. So, if you’re looking for an affordable and time-saving way to stay organized, then this blog post is for you.
We will explore the different types of DIY desk organizers available, as well as tips and tricks on how to select the best one for your needs. From simple, affordable options to more complex, sophisticated designs, there are desk organizers to suit any budget and any type of workspace.
Contents
- 1 6 Ways to Build a DIY Wooden Desk Organizer
- 2 Wooden Desk Organizer
- 2.1 1. Gather all materials and tools before construction
- 2.2 2. Accurately measure, cut and smoothen pieces to perfection
- 2.3 3. Smoothen edges and assemble pieces together
- 2.4 4. Make a central divider
- 2.5 5. Paint or decorate the organizer as desired
- 2.6 6. Finalize the organizer by securing all components together
- 3 5 DIY Desk Organizer Ideas
- 4 Wrapping It Up
6 Ways to Build a DIY Wooden Desk Organizer
Wooden Desk Organizer
Wooden desk organizers are an ideal addition to any home office or study space! Not only do they provide an aesthetically pleasing look, but they also help keep your space organized and clutter-free.
From small desk organizers that are perfect for holding pencils and pens to larger organizers that can hold all of your important documents and paperwork, wooden desk organizers can help make your workspace more efficient and effective.
Here’s one you can build yourself.
1. Gather all materials and tools before construction
Before you begin constructing your DIY desk organizer, it is essential to gather all the necessary materials and tools. You will need the following:
- Pieces of wood (you can get pine wood)
- Pencil
- Ruler
- Sandpaper
- Hand saw
- Paint
- Painter’s tape
- Wood glue
2. Accurately measure, cut and smoothen pieces to perfection
Gather the wood you’ve purchased and sketch out the pieces for your DIY wooden desk organizer. Utilize a ruler and lead pencil for this task. It’s all up to you how you want your desk organizer to look! If you’re not sure what measurements to use, here’s a handy guide:
PIECE A: the pencil holder side should be 3 inches wide and 3.5 inches tall
PIECE B: the pencil holder side should be 3 inches wide and 3.5 inches tall
PIECE C: the pencil holder front should be 3.5 inches wide and 3.5 inches tall
PIECE D: base of the desk organizer should be 13 inches wide and 3.5 inches tall
PIECE E: back of the desk organizer should be 13 inches wide and 3.5 inches tall
PIECE F: make the central divider a 9.5-inch-wide and 2.5-inch-tall masterpiece!
PIECE G: the front of the desk organizer should be 9.5 inches wide and 1.5 inches high, an eye-catching combination.
PIECE H: the desk organizer side should be a pleasing 3.5 inches wide and 3.75 inches high.
Then, take a hand saw and cut the pieces into eight sections — the sides, base, back, and pencil divider.
3. Smoothen edges and assemble pieces together
Time to give your wood pieces a little buff! Grab your sandpaper and quickly smooth the edges. Now you’re ready to make the pencil holder portion of your awesome wooden table organizer. All you need to do is attach pieces A and B to either side of Piece C, and voila — you’ll have yourself a perfect ‘U’ shape.
Next, slather some glue onto the bottom of the holder, and secure it onto one corner of piece D. Make sure the front of the pencil holder is lined up with the front edge of piece D.
This includes connecting the pieces of wood, securing the hinges, and making sure all the pieces fit together properly.

4. Make a central divider
Now let’s get creative! Grab piece E, which will be the back of the desk organiser, and add a bit of glue to the bottom edge. Affix it to piece D, making sure the back of the pencil holder is also covered. Next, take piece F and put a dab of glue along one of its long edges. Place it in the centre of piece D, and voila!
You now have a central divider for your wooden desk organizer. Then, stick piece G onto the front of the desk organiser to keep it in line with the front of the pencil holder.
5. Paint or decorate the organizer as desired
After the wood is cut, sanded, and assembled, it is time to paint or decorate the DIY desk organizer. This step is relatively easy and is an excellent opportunity to get creative. Choose colours and designs that match the organizer’s purpose or the room it will be in.
Almost there! Securely attach piece H to the one remaining side of your desk organiser. If you’ve already affixed the pencil holder to the right side of piece D, place piece H to the left. Prep your masterpiece for painting with a few strips of painter’s tape.
Now, choose a colour of your preference and unleash your inner artist! Consider the materials of the desk organizer, too — a wooden one would look perfect in a classic, rustic office, while a metallic one can give a sleek, modern vibe
Paints, markers, stencils, and other materials are all useful for this step. If necessary, apply a protective coating to prevent wear and tear from use. After you’re done, let the paint dry and carefully peel off the tape. Congratulations! You’ve just created your very own desk organiser. It’s ready to be used!
6. Finalize the organizer by securing all components together
Once all components of the DIY desk organizer have been assembled, it is time to finalize it. Using a glue gun, secure all components together to ensure they remain firmly in place. This will also act as an additional measure of stability for the organizer.
Then, screws or nails can be used to further secure the components if desired. Once all components have been secured, you can enjoy your handmade desk organizer.
5 DIY Desk Organizer Ideas
1. Repurposed Box Organizers
One of the most popular DIY desk organizers is the repurposed box organizer. This type of desk organizer is great for those who have a limited budget and limited space. It involves repurposing any kind of box or container you have lying around the house, such as an old shoe box.
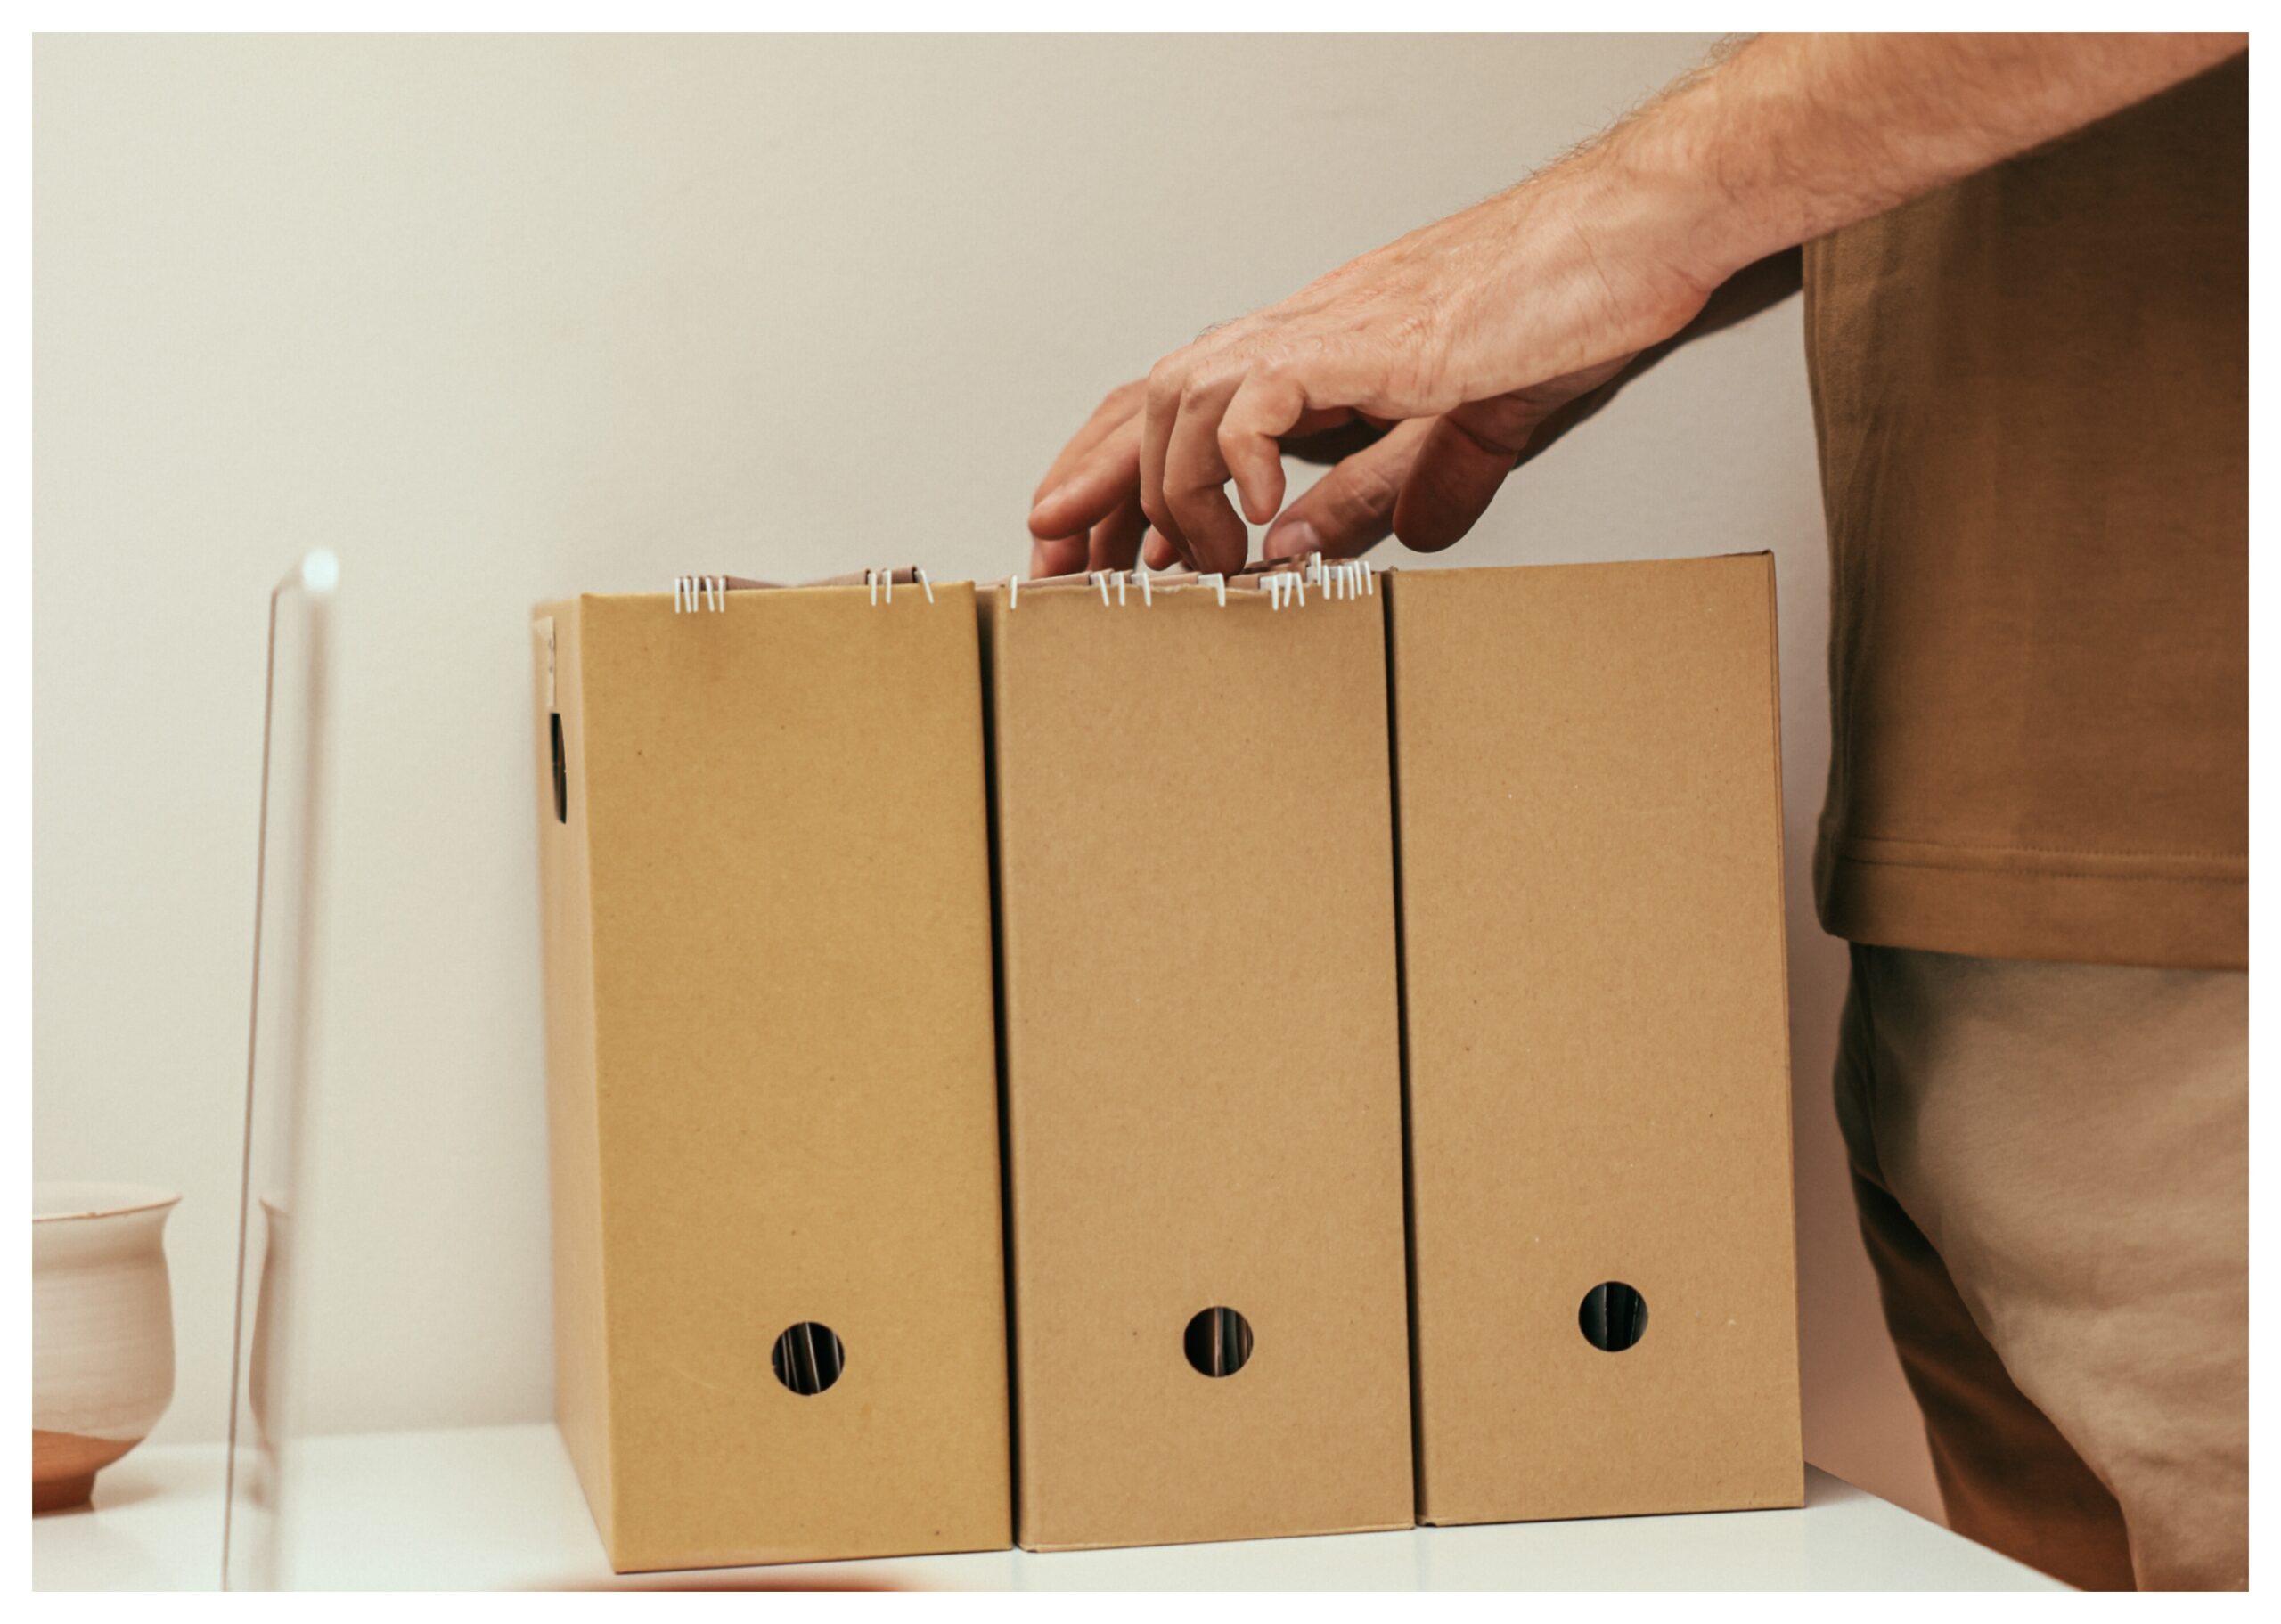
To make it more functional, you can add dividers to it, which will help you organize your desk supplies. This DIY desk organizer is affordable and easy to customize, making it a great option for busy professionals.
2. Glass Jars and Canisters
When you’re looking for a DIY desk organizer, glass jars and canisters are an easy-to-find, versatile option. They can be used singly or in groups to store and organize office supplies, such as pens and paperclips, as well as decoration items like succulents and picture frames.
Glass containers are great because they’re transparent, so you can easily see what’s inside them without having to open them up. Plus, they come in a variety of colours, shapes, and sizes, so you can find something that fits your own personal style.
3. Wall-Mounted Shelving
The DIY desk organizer can take many forms, but one of the most useful is wall-mounted shelving. Whether you’re looking to add more storage to a small desk or want to create a dedicated workspace, wall-mounted shelving is a great solution.
This type of DIY desk organizer is easy to install, and you can customize it to fit the size and shape of your desk. And, it can be a great way to add style and colour to your workspace. Wall-mounted shelving is a great way to keep all your office supplies, books, and documents organized and easily accessible.
4. Basket Holders
Basket holders are an excellent DIY desk organizer for increasing storage space in a small workspace. They can be hung on the wall, providing the user with quick access to items that will otherwise take up valuable desk space.
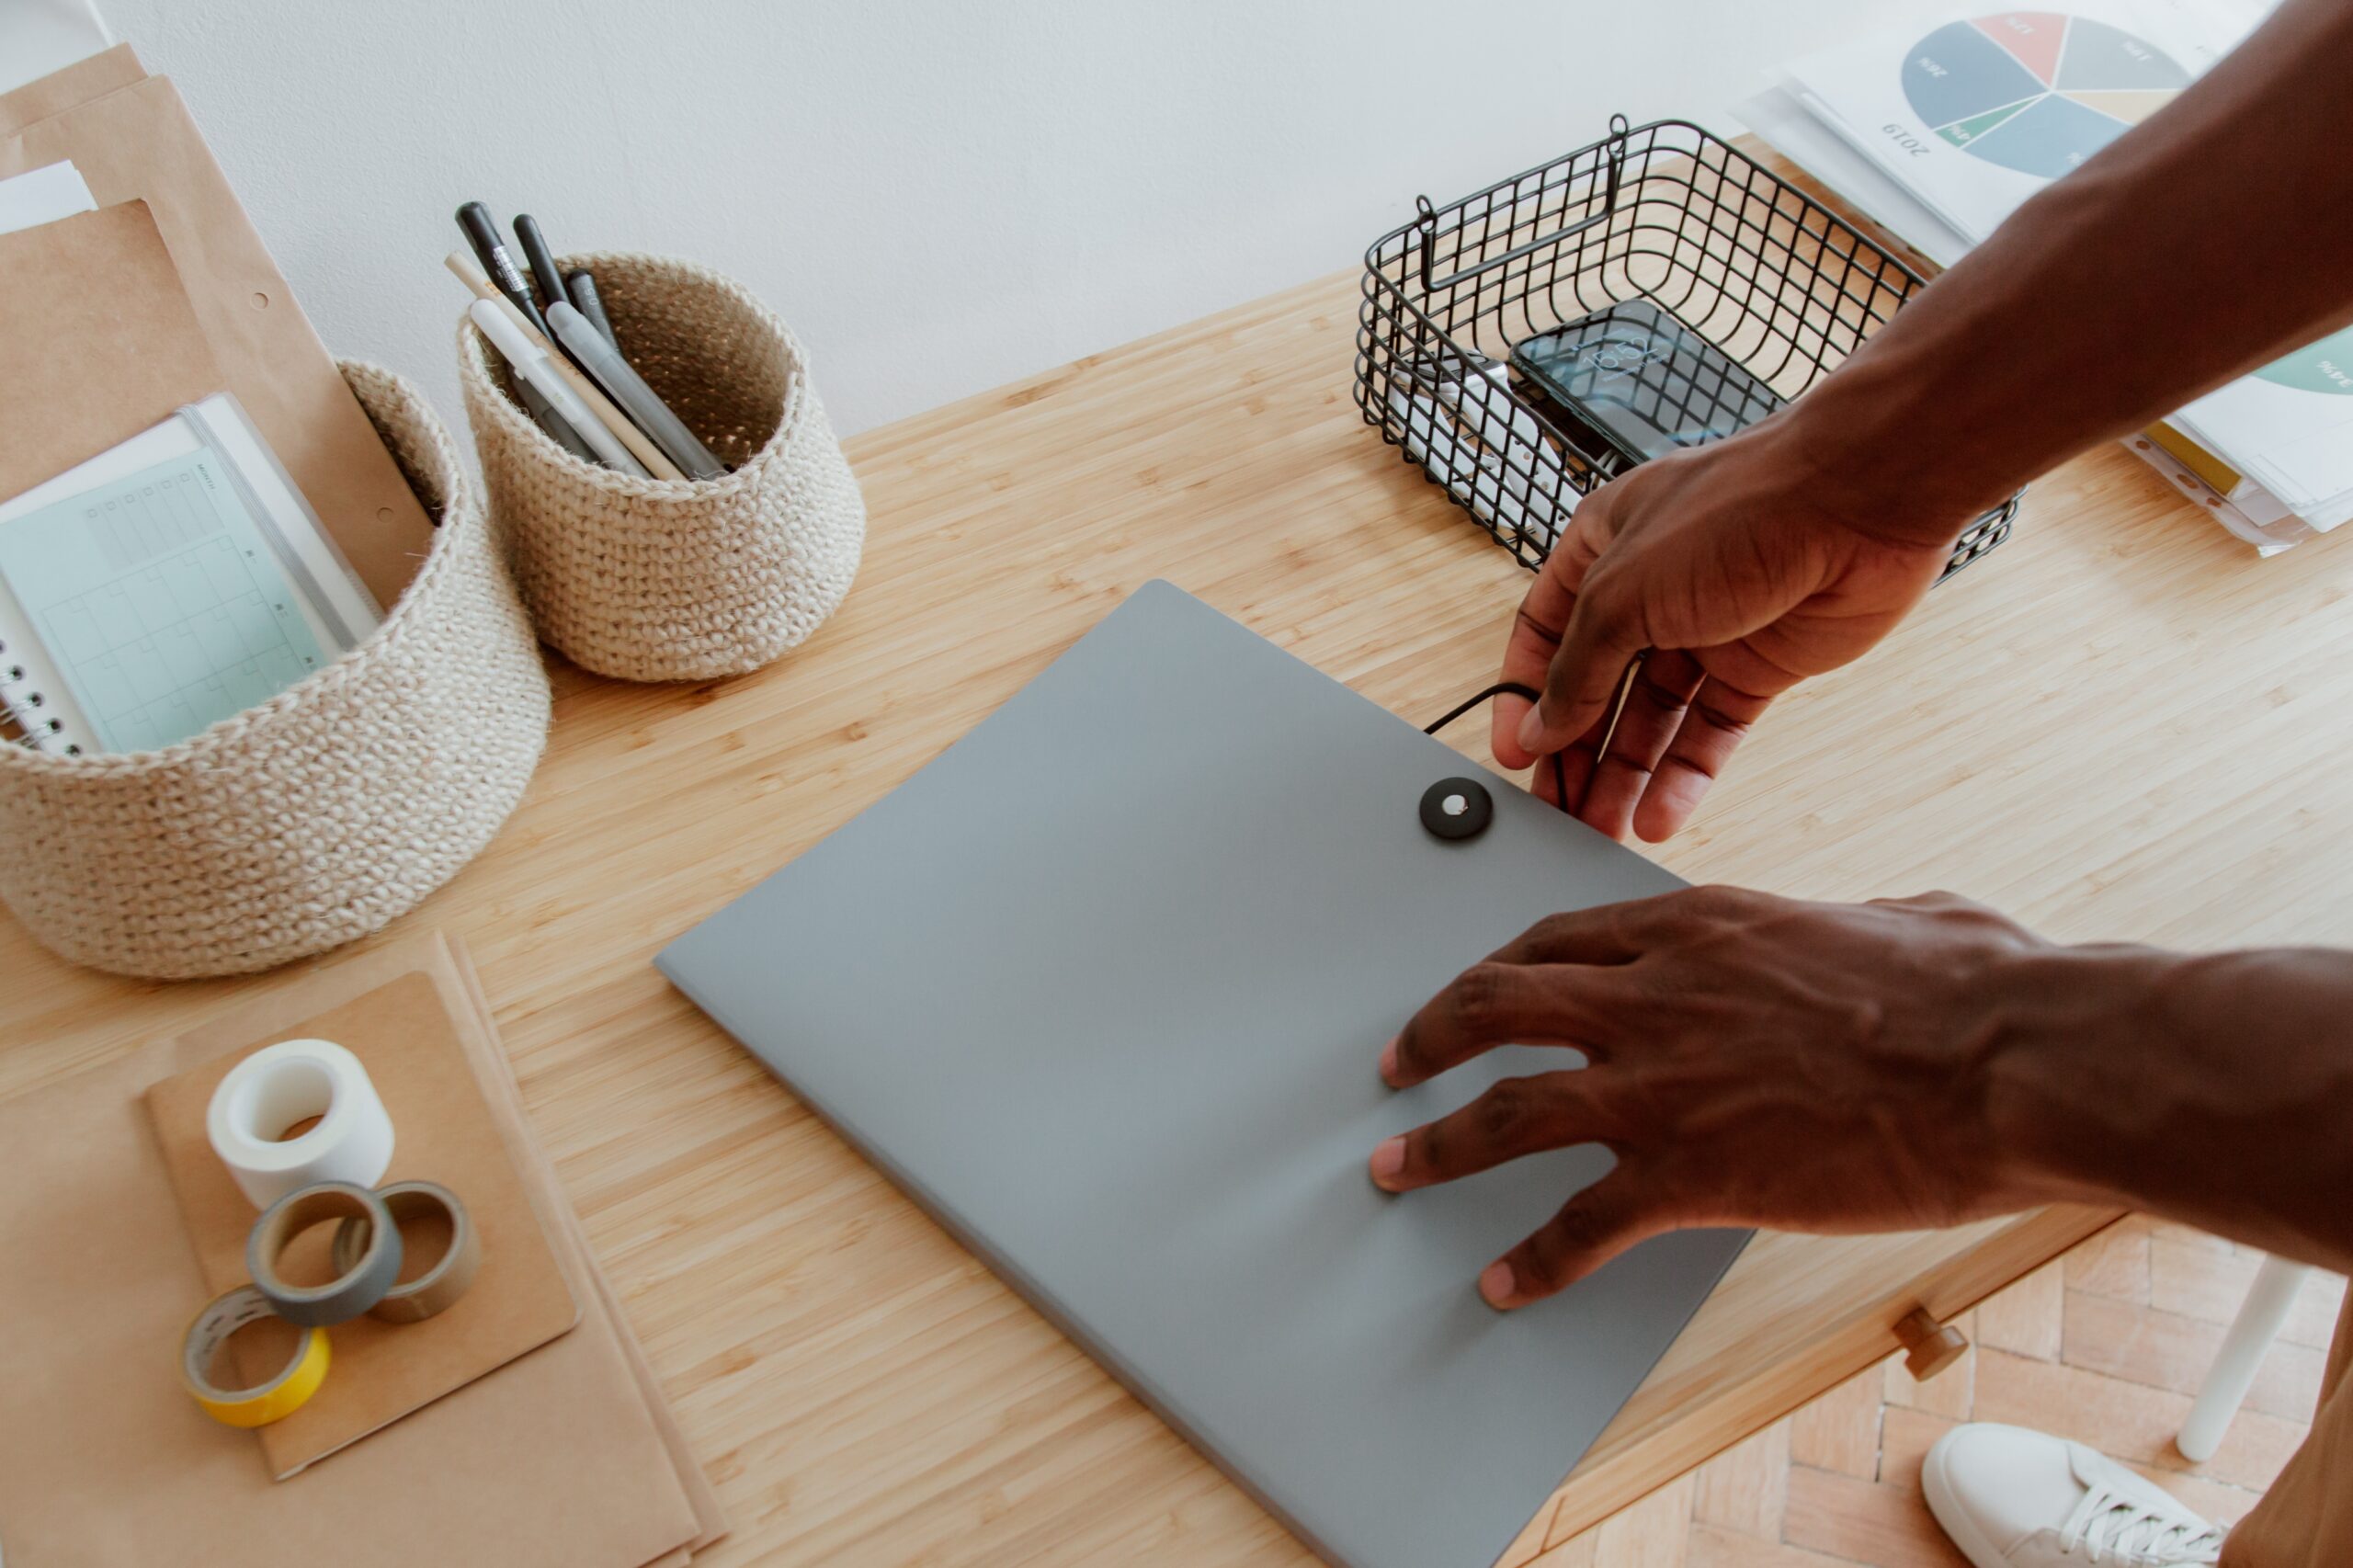
While these baskets are typically used for larger items, such as books and binders, they can also be used to store smaller items, such as pens and pencils. You can also make a portable DIY felt basket, which you can move to and from quickly. And place it on your table and will still provide a neat and organized solution for keeping items off the desk, while still remaining within easy reach.
5. Magnetic Organizers
DIY desk organizers come in many forms, but magnetic organizers are the ideal choice for those looking to keep their workspace clutter-free. Magnetic organizers are easy to assemble and customize — they come in a variety of shapes and sizes, so you can make the most of your small workspace.
With magnetic organizers, you can keep important items like documents, reminders and notes within reach, but at the same time, out of your way. With a few magnetic containers, you can easily store your everyday items and keep your desk area organized.
Wrapping It Up
To wrap up, creating your own desk organizers is an easy and fun way to stay organized and make your workspace look neat and stylish. Whether you choose to make a desk caddy, a drawer organizer, or a cable holder, you can design and create something that fits your style and needs.
In an effort to stay productive and organized, having a set place for everything is essential. Learning how to make a DIY desk organizer can help you create a place for all of your office supplies and documents.
DIY desk organizers are an affordable way to stay organized and can be personalized to fit any office style. With a few basic supplies and a bit of creativity, you can make your own customized desk organizers in no time.


