
Origami is an ancient form of paper-folding art that has been around for centuries. It is a popular form of creative expression that is enjoyed by people of all ages and abilities.
Whether you are an experienced or a novice just starting out, origami can be a fun and rewarding experience. It can also be a great way to relax and take a break from the stresses of daily life.
In this blog post, we will explore the basics of origami and offer some simple creations that are perfect for the novice folder. We will look at the different types of origami paper, discuss the different folding techniques, and provide step-by-step instructions for some simple origami for beginners. So if you’re still just learning the craft, grab your favourite paper and let’s get folding!
Contents
Get Folding with Fun and Easy Paper Projects
Origami is an easy, fun way to express your unique artistic style while also challenging your mind and keeping your hands busy. With a few simple tools and a little practice, you can create beautiful pieces of art out of just a few sheets of paper!

This is the right guide for origami for beginners. Learn how to create easy paper projects like origami animals, flowers, and even small models of famous buildings. All you need is a square sheet of paper, a few creases and folds, and a bit of imagination, and you’ll be on your way to creating masterpieces of your own design.
So get ready to get folding, and prepare to be amazed at what you can create with a little bit of paper and some careful folding! It can be enjoyable to have so much information on origami for beginners.
The Art of the Classic Crane
The crane is the most iconic origami creation, and mastering it is the first lesson for origami for beginners and the first step to becoming an origami expert. Before you begin, grab a 6″ square sheet of paper, and make sure the printed side is facing up. This size is perfect for origami, but you can also use 3″ and 10″ if you like. Now, let’s get into the detailed steps of making this highly-recommended origami for beginners.
- First, fold your paper diagonally, corner to corner, like you’re folding a triangle.
- Unfold the paper and there’ll be a noticeable crease in the middle. Rotate the paper and then fold it diagonally again to complete the triangle look.
- Create an impressive rectangle shape by folding your paper over twice. Begin by folding it horizontally, then unfold and fold it again in the other direction, vertically, to achieve the perfect rectangular form.
- Make an accordion fold. With the colourful side facing down and one corner pointed towards you, bring the top point down to meet the bottom one, the side points should fit perfectly into the centre. When flattened, it will turn into your perfect square base.
- Squish it. Grab the left side of your square base and give it a good squeeze so it meets the centre crease. Now do the same with the right side, and you have just completed the Squash fold.
- Take the top section and carefully fold it over your previous two folds, firmly creasing the layers together.
- Now, carefully unfold the three layers of paper left, and press down the top layer until it takes the shape of a squash fold.
- Go ahead and flip your paper over, and let’s make some magic happen with the same folds from before. Then, gently bring both edges together in a graceful embrace, until the centre crease is perfectly aligned.
- Gently fold the top portion of the paper over and press firmly. Undo the three previous folds and then grab the top layer of paper, giving it a gentle squash fold.
- Gently take the left flap and fold it towards the centre crease. Follow suit with the right flap, carefully tucking it in. Flip your origami crane over and repeat the same movements on each side. Now you should have something that looks like a dainty kite.
- To craft the graceful neck of your paper crane, tuck the bottom right flap beneath its body at a right angle. Then, bring the left flap down. You’ve created the tail of your origami crane.
- Begin by untying the knot of the neck and doing a flip-over fold. Gently tug the sides outward and tuck it away in between the wings. Do the same with the tail. Allow the head and tail to stick out a bit, and perform an inside-out fold to construct the head. Pull the wings out, and you have now an origami crane.
Crane origami for beginners is the ideal way to learn the craft and master the skills. With these easy steps, you’ll be an origami crane-making pro in no time!
The Imagination For Origami Animals
Origami animals are a great way to get started with origami. It’s one of the first activities when it comes to origami for beginners. Whether you’re a novice or an experienced one, this project is sure to be a fun and creative challenge.
With just a few simple folds, you’ll be able to create fantastic animals with nothing more than paper and your imagination.

When making animal origami for beginners, start off by folding some basic shapes, like a triangle or a square, and then use these shapes to build your animals.
- Visualize the origami animal you want to make, and imagine the process of folding and cutting the paper to make it come to life. As you do this, you’ll find that the steps to creating origami animals are becoming easier and easier. You’ll be able to take your ideas and transform them into physical objects.
- Craft your paper into a shapely masterpiece. This is when all of your careful sketches come together. Use your fold lines as a guide and be sure to be precise and methodical with your movement.
- With each fold, you’ll be one step closer to completing your origami animal. It’s easy origami for beginners, and there’s something incredibly satisfying about watching a paper figure come to life. Whether you’re a fan of cats or frogs, you’ll find something to make you smile when you try your hand at origami animals.
- Follow the crease for a curious critter. Gently pinch the paper along the crease that you created in the previous step. Don’t be afraid to be creative here — depending on the folds you make and how you shape them, you’ll get a totally different critter. Follow your instincts and see what kind of creature appears — it’s a great way to practice your origami skills and watch a curious animal come to life.
From origami for beginners to pros, you’ll be making that shift pretty fast.
The Flair with Paper Flowers
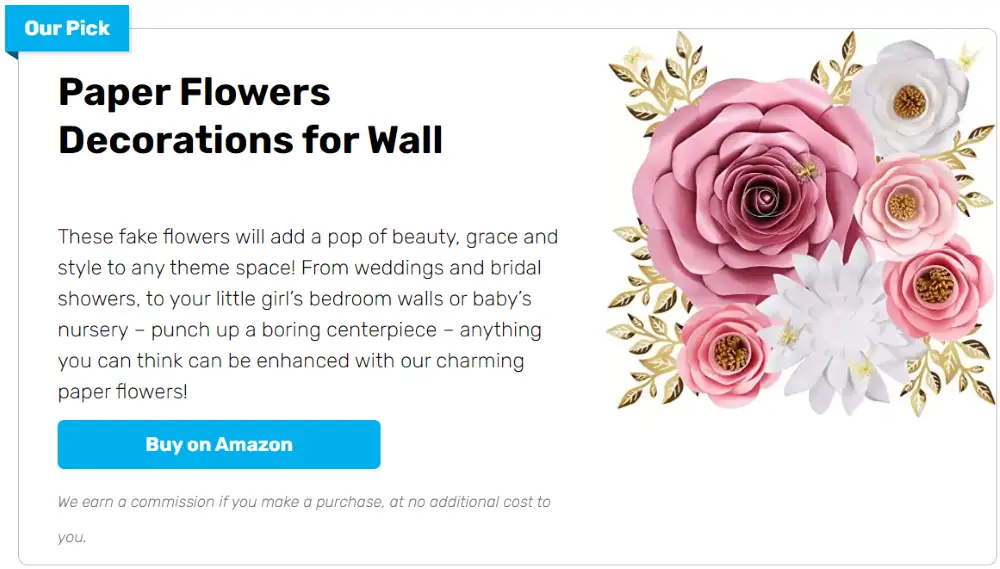
Paper flowers aren’t just for Valentine’s Day anymore! They’re the perfect way to add a bit of flair to your decorations, no matter what the occasion. And the best part? You don’t even have to be an origami master to make them. It’s origami for beginners.
Paper flower origami for beginners is a fun and creative way to start expressing your creativity! With just a few pieces of paper and some basic folding techniques, you can create beautiful, intricate flowers.

They are also a wonderful way to relax and unwind, and a great way to add a unique touch to any room. Paper decor ideas can also spruce up your walls.
Plus, you don’t need any special tools, so you can get creative with whatever paper you have laying around. Get started today and show off your paper flower origami masterpieces! This is origami for beginners. All you need is some colourful paper and a few simple steps, then, you’ll have a beautiful bouquet of paper flowers.
- Gently take that square and fold it in two, diagonally, to form a triangle. Then, give it a hug and fold it in half again!
- Now, open up your triangle and make sure the fold is facing up.
- Simply fold in the points at the base of the triangle and flip it over. After that, you can fold back the sides of the flower for a charming look.
- Then, give your origami creation a spin and admire your beautiful work!
Unlock the delightful world of origami for beginners with these incredibly easy paper flower decorations!
The Strikingly Simple Geometric Shapes
Geometric shapes are the cornerstone of origami and making them is a great place to start for novice artists. Creating simple geometric shapes with paper is surprisingly easy, satisfyingly rewarding, and a great way to relax. Origami for beginners offers a great way to explore the art of paper folding.
From squares to triangles to circles and beyond, you can use this origami for beginners to create stunning shapes with just a few simple folds. There’s something magical about being able to turn a simple piece of paper into an intricate and beautiful shape.
Whether you’re a beginner or an experienced origami artist, you’ll find a wealth of creative possibilities when you explore the art of origami. Discover the satisfaction of creating a beautiful geometric shape using just your hands and a single sheet of paper.
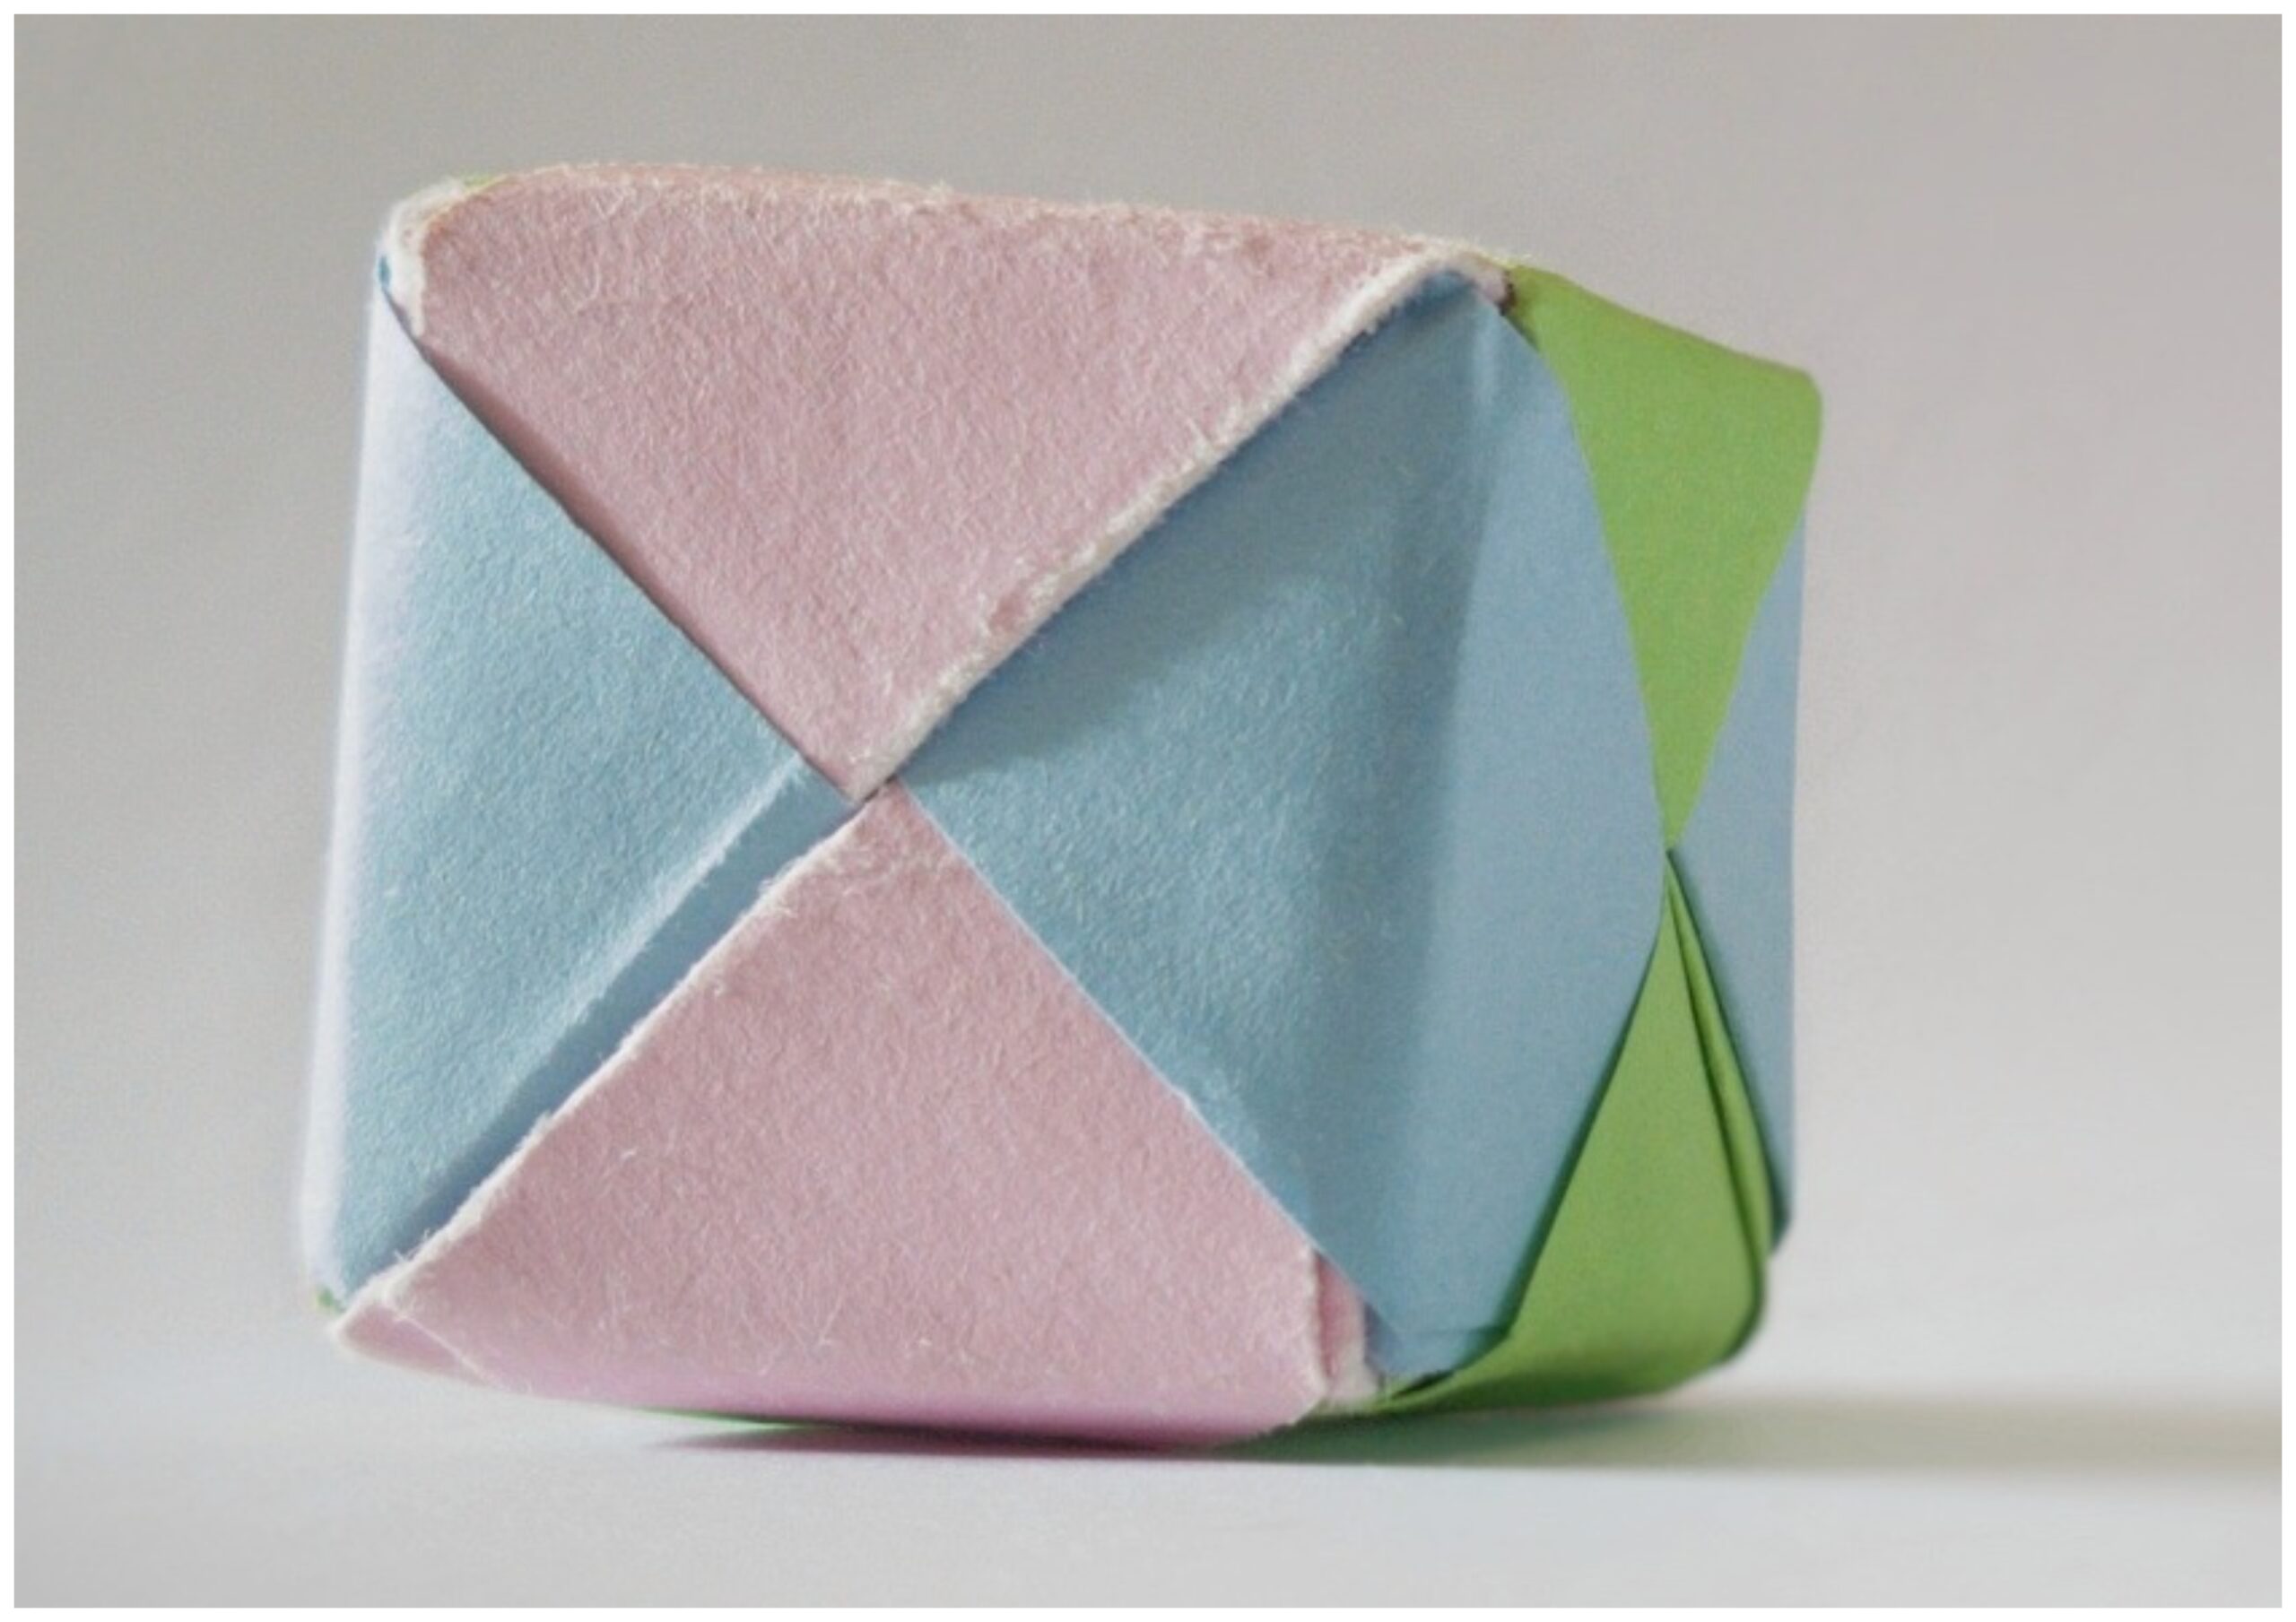
Make a few easy folds, and you can create make a striking piece of origami art. Here are the steps to make the popular cube origami for beginners:
- Draw a crease in the centre of your paper from left to right. Now, take each side and fold them to meet this crease. Unfold to reveal two additional creases! Fold the top left corner and bottom right corner towards the middle crease. Fold the left and right edges back to the middle crease.
- Take the lower-left corner and bring it up diagonally to the right, sliding it beneath the corresponding flap in the right section. After that, rotate the paper and repeat the same folding technique to form a snug fit.
- Slide the flap under the lower right edge and flip the model over, left to right. Then, bring the lower-left corner up to meet the right edge’s peak. After that, tuck the topmost point down and to the left. Now, you’ll need six of these Sonobe units, so start off with one and place it in the middle with its flaps at the top and bottom.
- Then, take two more and set them aside the first, with the flaps directed outwards to the left and right. You’ll need to tuck the bottom right point into the central unit’s bottom pocket for the left one. Now, the top left corner of the right one needs to fit snugly in the top pocket of the centre unit.
- Gather two more Sonobe units and place them above and below the central one. Fit the top flap of the main unit into the right pocket of the one above, then slide the bottom flap of the centre into the left pocket below. Now you’re ready to pick up the units, but be careful not to let them all come undone. Once you’ve got a good grip, shape the units into a box, fitting the flaps together.
The Possibilities of Origami Boxes and Containers
Origami boxes and containers are the perfect way to get creative and make something truly unique. With just a few folds, you can create beautiful and intricate designs – from basic cubes to complex pyramids. Not only are the designs a fun challenge for novice folders to try, but they also make great storage boxes for any items you probably have lying around! These are origami for beginners you should be trying.
Plus, the possibilities are endless: you can make containers in any shape or size you want, and you can use all kinds of different coloured paper to create attractive pieces. There are lots of possibilities when you let your creativity take flight with origami boxes and containers.
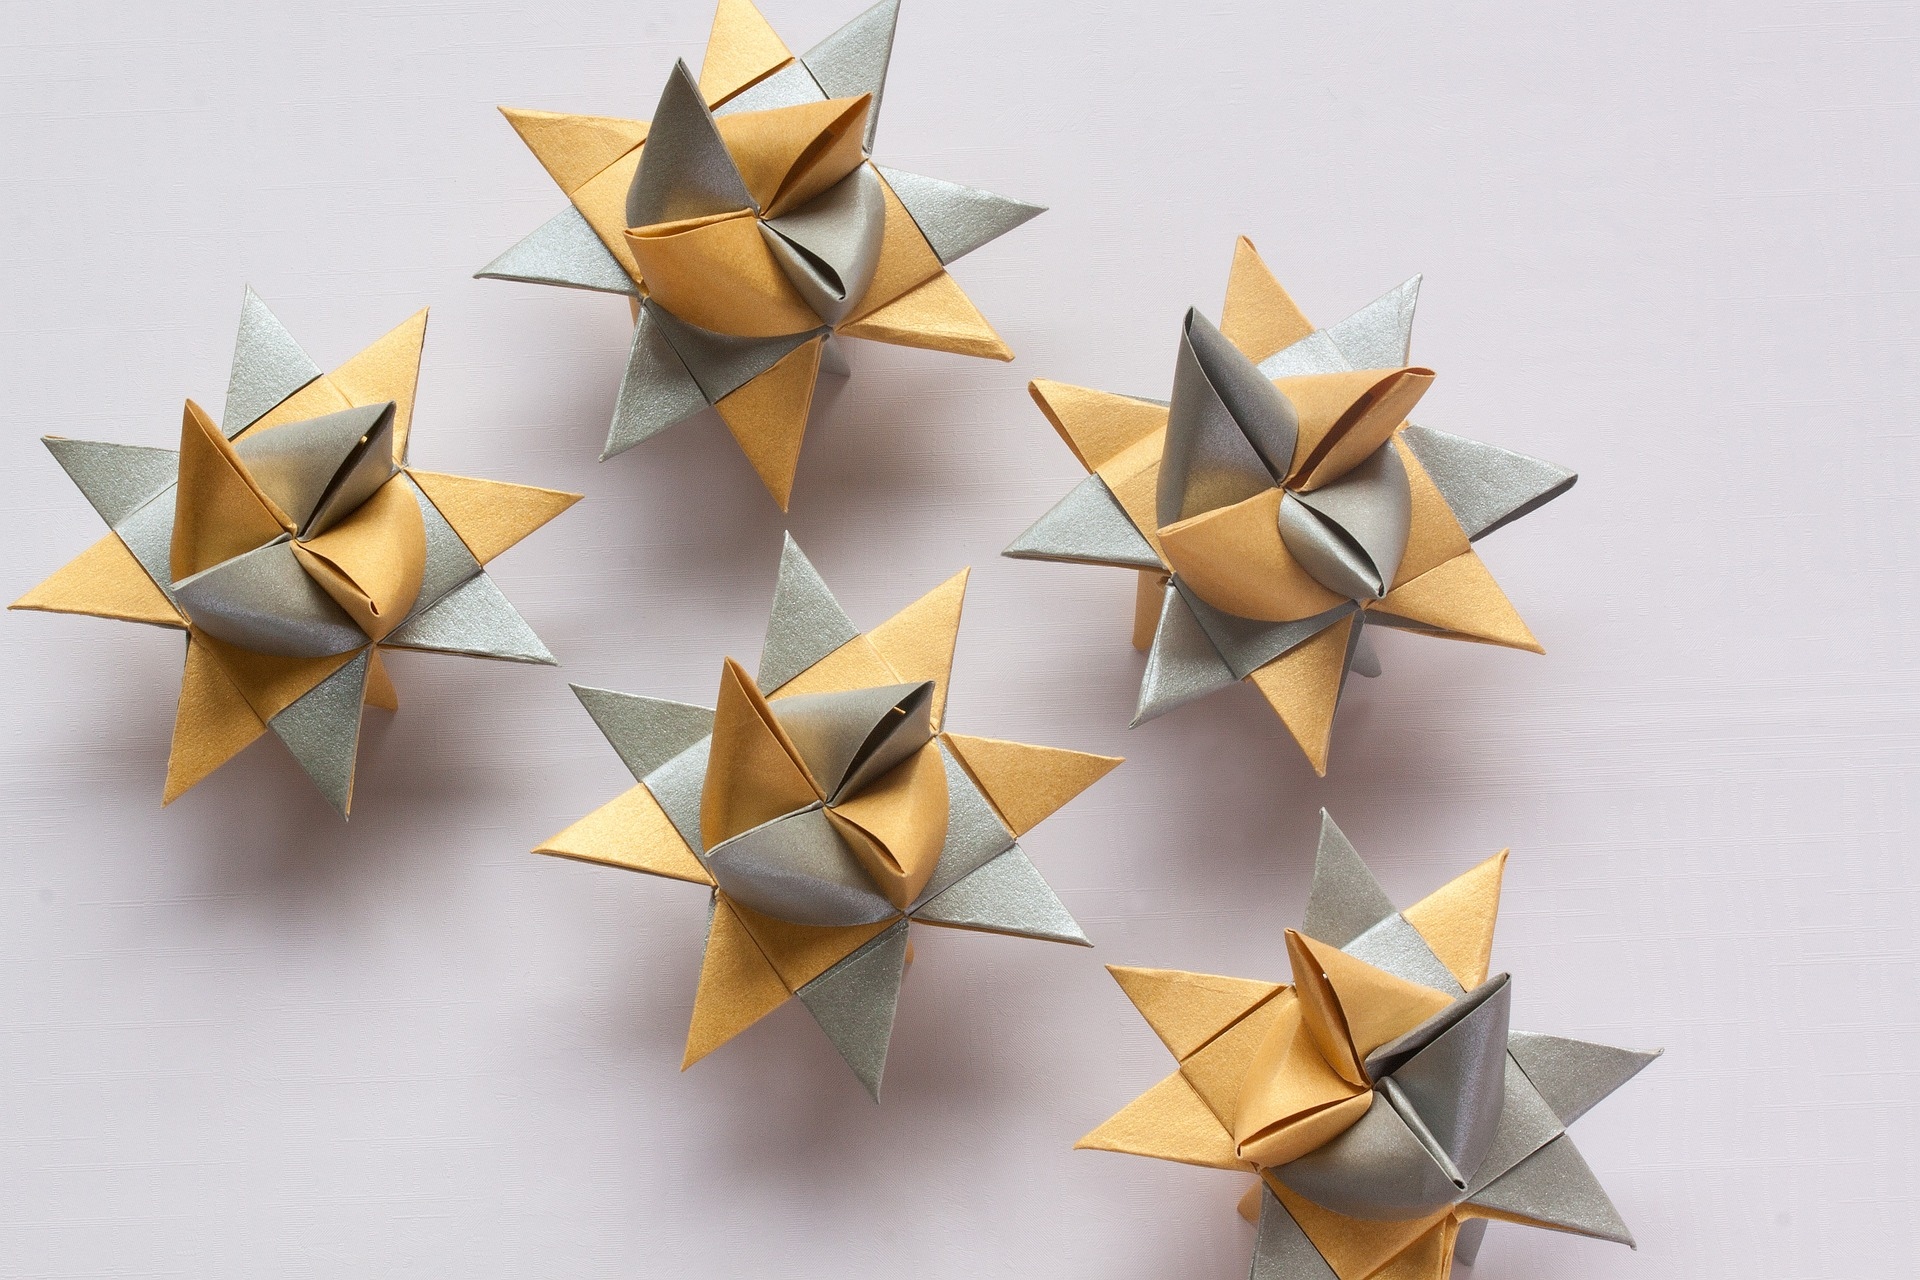
Make Something Unique with a Modular Origami Design
Origami isn’t just paper aeroplanes and cranes — it can also be used to make something truly unique. Modular origami designs are perfect for novice ones looking to create something special that’s easy to make.
Get a few sheets of paper, some patience, and a healthy dose of creativity. You can begin with origami for beginners, and work your way up to more complex pieces. Let your imagination soar and try your hand at creating something one-of-a-kind!
Get Ready for a Challenge with Traditional Japanese Origami
Embrace the challenge of traditional Japanese origami! Even though it seems difficult at first, with patience and practice you’ll find that you can create some pretty impressive origami creations.
Start with origami for beginners, with some simpler projects, like animals or birds, and gradually move on to more complicated ones. You’ll discover that the challenge can be incredibly rewarding, and you’ll gain a newfound appreciation for the skill of the origami masters of the past.
The Takeaway
Overall, origami is an accessible, fun, and creative way to occupy your time at home. With a few basic tools such as paper, scissors, and a ruler, anyone can create beautiful origami creations.
And, the novice can quickly become a skilled paper folder through practice and experimentation. Just be set to explore the wonderful world of origami and create some amazing three-dimensional shapes with your own hands.
So, dust off that sheet of paper and get your hands ready for some origami for beginners and get folding.


