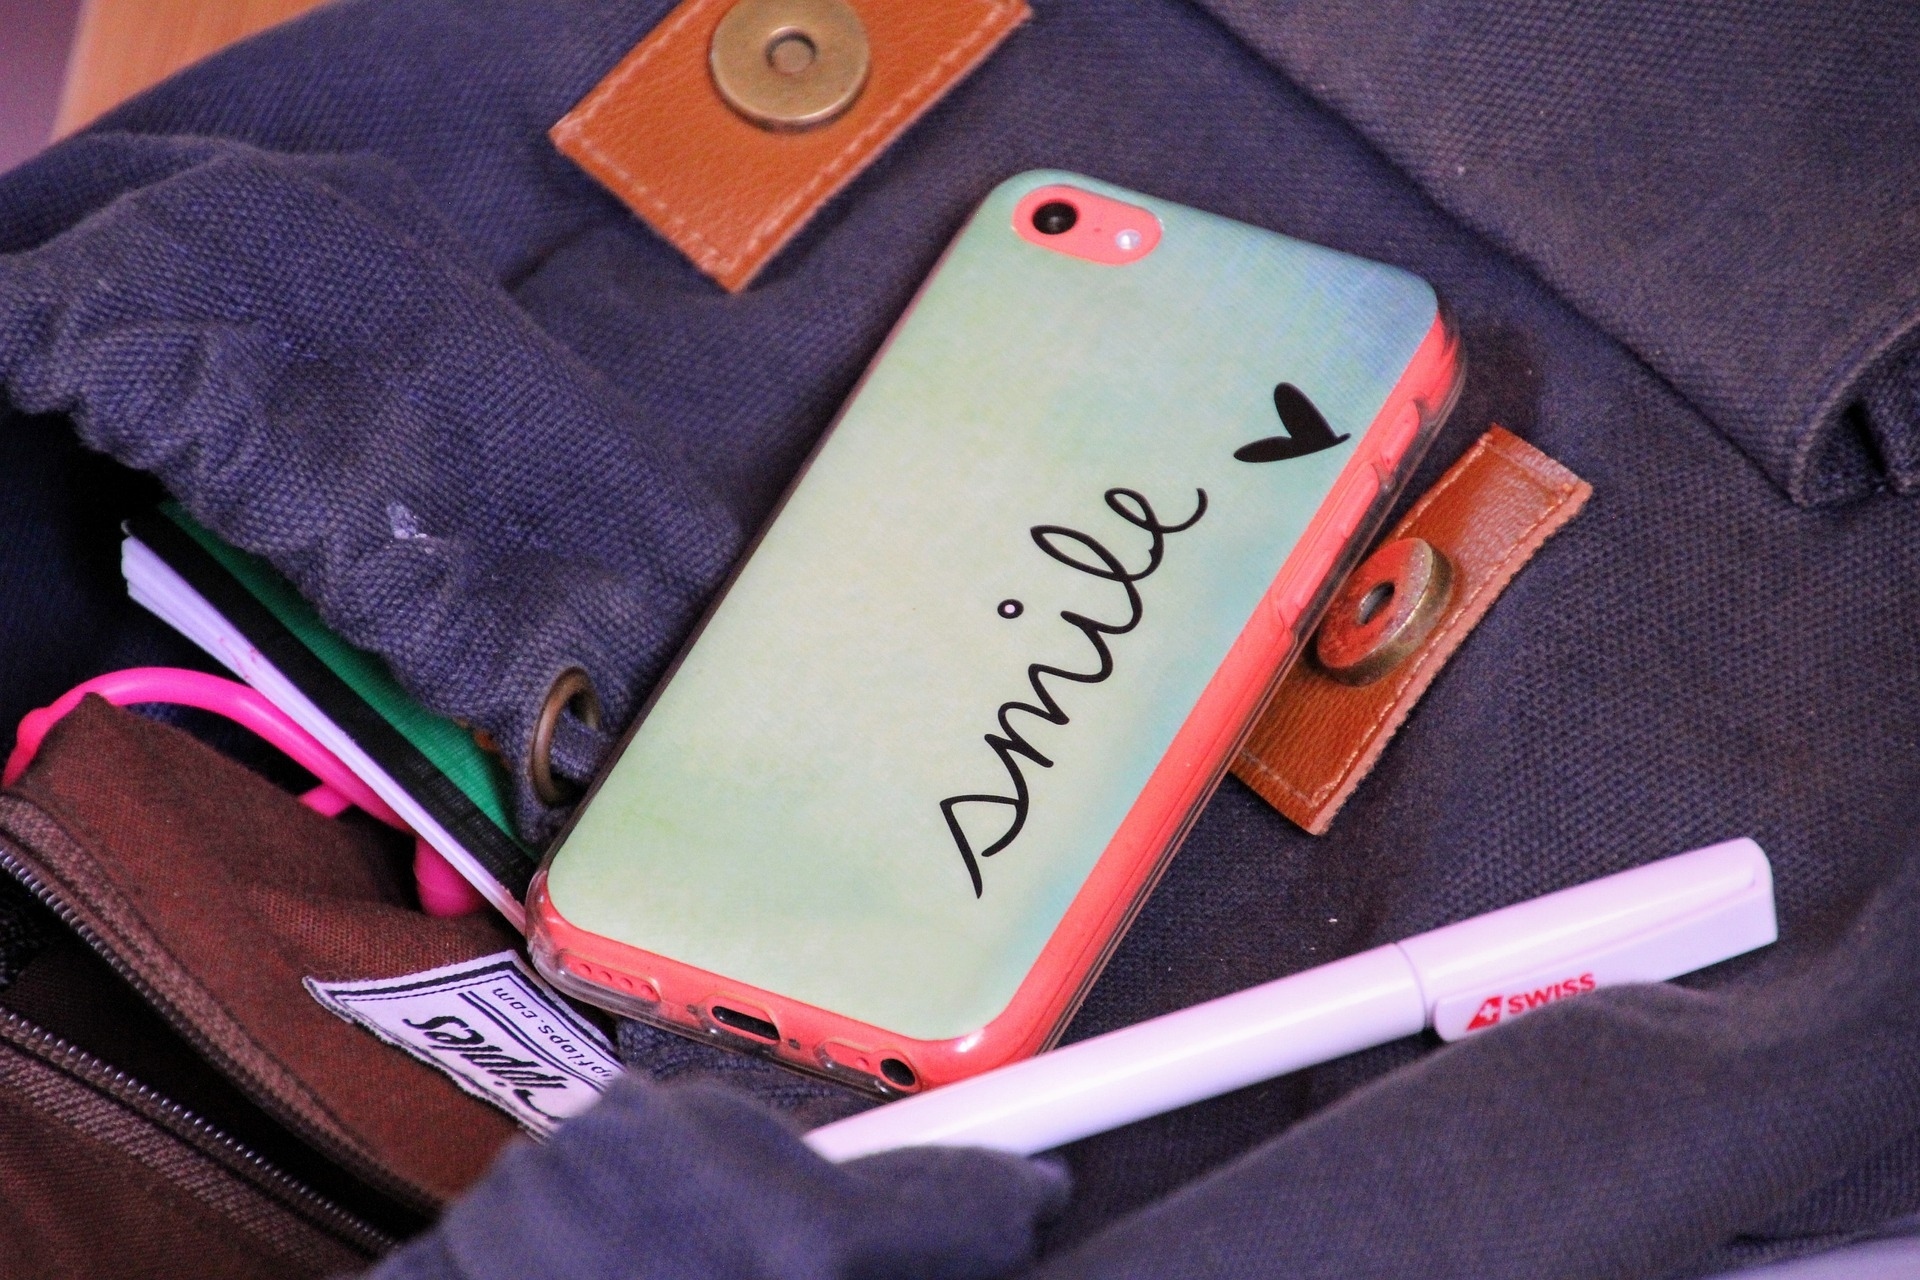
Our phones are like an extra limb, always at our sides, wherever we may go. Sure, we can customize our phones with colourful cases and wild wallpapers, but nothing stands out quite like having a phone case that truly reflects our personality. Make your phone truly yours with a one-of-a-kind DIY phone case!
Contents
How to make a DIY phone case?
Ready to give your phone a unique makeover? In this blog post, we’ll take a look at the best DIY phone case ideas, as well as offer up some helpful hints on creating the perfect case for your phone. All you need is a few basic supplies and a spark of creativity to make your phone look as fashionable and individual as you are!
So, let’s get started — it’s time to give your device a style upgrade!
1. Gather Materials
Before you begin, it’s important to make sure you have all the necessary materials for making your own DIY phone case. You’ll need the following:
- Phone case – a clear one that could show off your design.
- Craft glue or adhesive
- A pair of scissors or a utility knife – should be very sharp for high-precision cuttings, just be careful not to cut yourself.
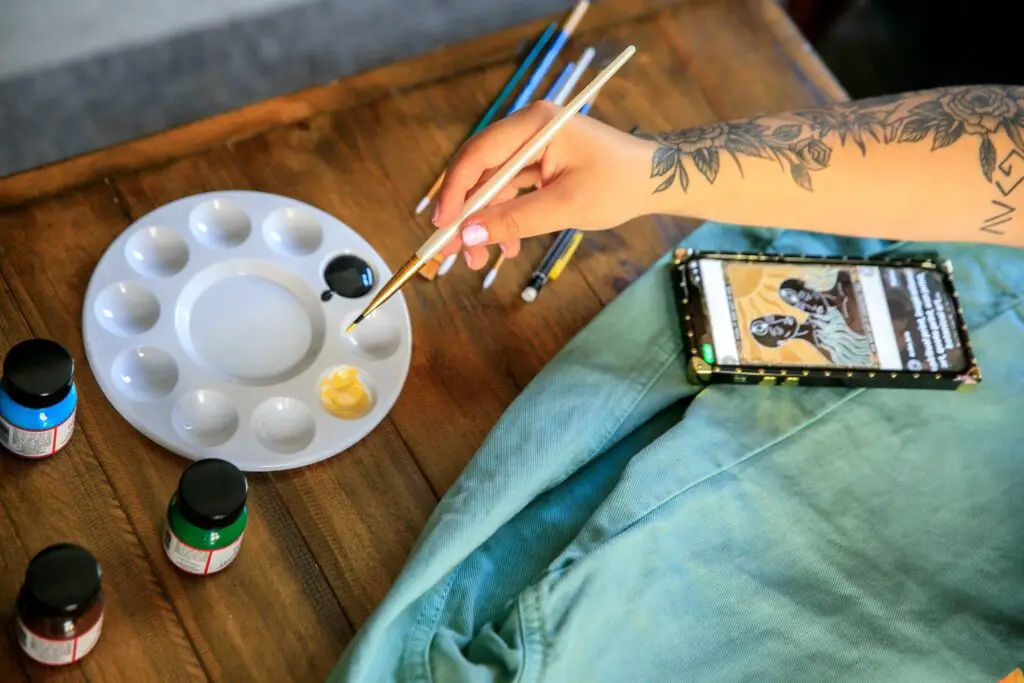
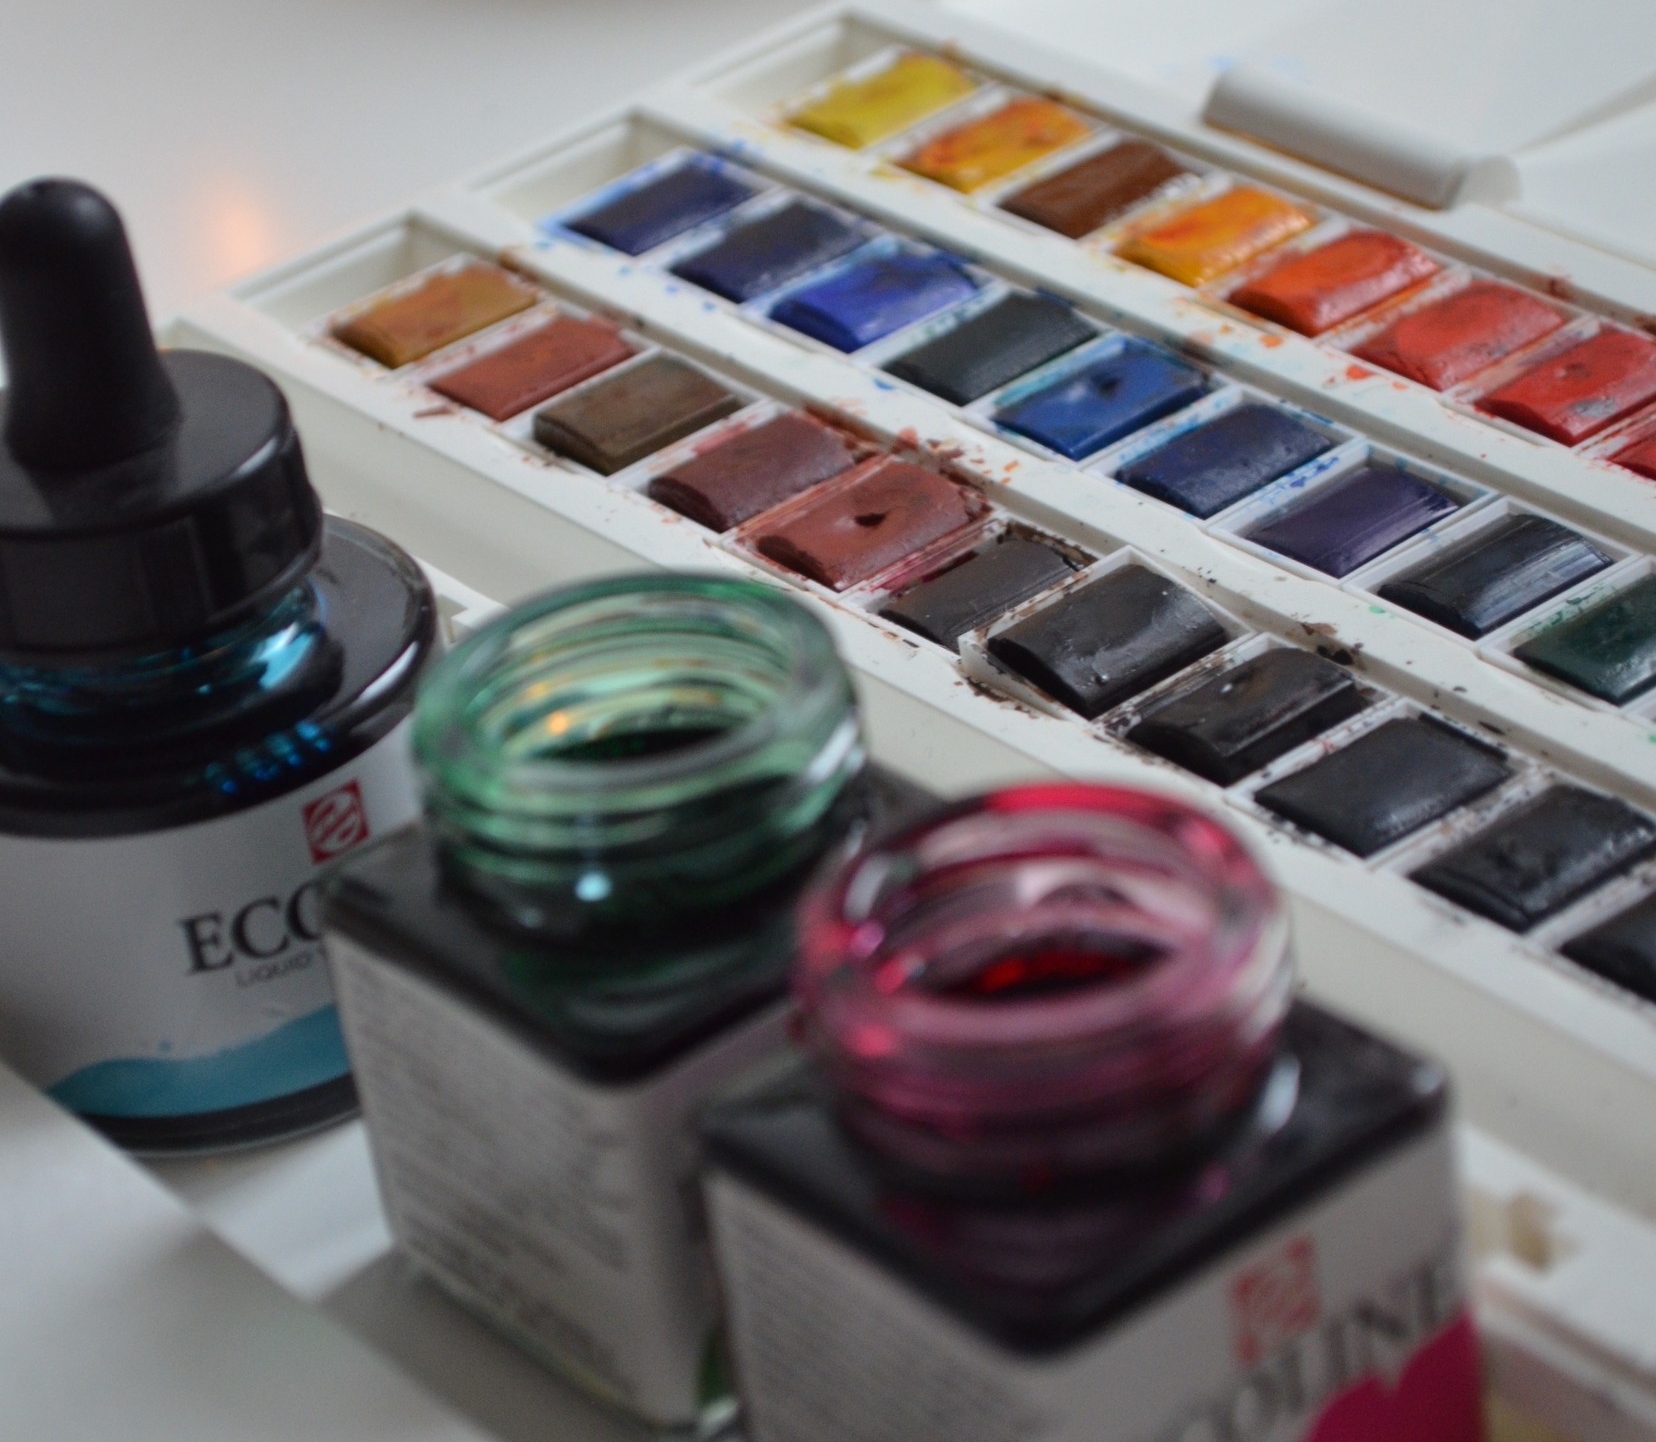
- Paint – acrylic paints are suggested
- Paintbrush
- Decorations – ribbons, lace, glitter, fabric paint, template paper, buttons, beads, charms rhinestones, gemstones
- Fabric
- Ruler
- Pencil
- Transparent Layers – the ultra-thin film is recommended.
- Heat gun (optional)
Once you have all the items you need, it’s time to get creative. Think about the design you want to achieve, and gather any additional items you’ll need to make it. For example, if you want to make a floral phone case, you might want to look for some artificial flowers.
Make sure you have a nice, flat surface to work on; it will help you get those clean lines and smooth edges. This is your chance to create something truly unique, so don’t be afraid to experiment with colour, texture, and design.
With a few simple tools, you can create something totally original that will be a source of joy and pride. Let your creative juices flow and get ready to craft your DIY phone case!
2. Measure and Cut the Template
The next step in making your own phone case is to measure and cut the template. To do this, you’ll need a sharp pair of scissors or a utility knife, as well as a ruler or measuring tape. It’s important to be precise when doing this, as any discrepancies will be visible once the case is finished.
Begin by measuring the phone case template – be sure to double-check the measurements before you cut. No matter what your plans are, don’t forget to take measurements of the phone case for your template! It’s where you’ll put the template to make sure your design looks perfect!
To ensure accuracy, mark the measurements on the template paper with a ruler and a pencil. Once you have the proper measurements, use your scissors or utility knife to cut the template. Be sure to take your time and make sure each cut is straight and even.
Once you have finished cutting your template, it should be ready to use in the next step.
3. Glue the Design to the Case
Once you’ve printed out your design on your template and it’s perfectly sized, it’s time to get gluing! You’ll want to use a thin layer of craft glue so that your design lays perfectly flat against the phone case and doesn’t bunch up in any areas. Take your time with this process and make sure that you are centring the design on the case.
You don’t want the final result to be lopsided, so take some time to double-check and adjust if needed. The feeling of satisfaction when you see the design placed perfectly on the case will be worth the extra effort of making sure it sticks.
Be sure to press it down firmly, so that it won’t come apart. Allow it to dry for a few hours before continuing with the next step.
4. Decorate the Template
Once you have chosen your template and design, it’s time to decorate it. Decorating your template is a fun way to make your DIY phone case truly unique. You can use a variety of materials to decorate your phone cases, such as ribbons, lace, glitter, fabric paint, and more.
Envision yourself creating a gorgeous mural to adorn your DIY phone case. It’s not impossible — a 91-year-old grandmother has created wonderful murals, and so can you! Unleash your inner artist and show the world what you can do!
Adding buttons, beads, and charms to your DIY phone case is also a great way to give it extra pizzazz. You can use any combination of these items, depending on your choice of colour and style. To get started, simply gather your materials and pick out a few items that you think will look great together.
For instance, if you’re going for a classic look, try using black, white, and silver buttons, beads, and charms. If you’re feeling creative, why not add a few accents around the design, like a few sparkles or sequins to jazz up your case and make it unique?
Or, if you’re looking for something more colourful and intricate, use items like colourful rhinestones, gemstones, and glitter. Once you’ve chosen your items, the next step is to start attaching them to the phone case. You can use hot glue, fabric glue, or any adhesive that would fit your project.
Once you are done decorating, let your phone case dry for an hour or so before applying a protective sealant or other finish, if desired. Now your DIY phone case will soon be complete!
You can even make a few more to give as gifts or to switch up the look of your phone every now and then. The possibilities are endless for your DIY phone case, so be sure to have fun and experiment!

5. Choose a Clear/Transparent Layer
Once you’ve chosen your design, it’s time to pick a clear/transparent layer as a cover. This is the thin plastic sheet that will hold your design and make it look glossy and professional. You can find clear layers in craft stores or online, and they come in a variety of thicknesses and sizes to fit any phone.
Make sure to choose a thickness that is appropriate for your device’s model so that the case fits snugly. When it comes to protecting your designs, clear layers are a great choice! They come in two types: adhesive and non-adhesive.
For those who need something faster and easier to apply, adhesive layers are the way to go. They come with a built-in adhesive that sticks right onto your designs, so you don’t have to worry about buying extra adhesive.
On the other hand, non-adhesive layers require an additional adhesive to stick to your design. No matter which you choose, clear layers offer superior protection and can help keep your designs in place.

After successfully choosing a transparent cover, the next step in making a DIY phone case is to attach it to your design. This is the most difficult part of the process and requires the most patience. Begin by thoroughly cleaning the surface of your phone case design. Make sure it’s free from any excess glitters, rhinestones or gems from your design.
Then, cut the clear layer to size and slowly attach it to the back of your phone. This can be tricky, so make sure you line up the edges of the clear layer with the edges of the phone. Once it’s in place, press down firmly to make sure the clear layer is firmly attached.
Sometimes, you may need to take a step up and use a heat gun to make your DIY Phone case successful. But don’t be intimidated – with a little bit of practice, you’ll get the hang of it in no time! Heat guns are great for more than just shrinking and bending plastic – they can also be used for stripping paint, softening adhesives, and more.
Plus, they make quick work of tasks that would take forever to do. So if you’re looking to take your DIY projects up a notch, be sure to give a heat gun a try – you won’t regret it! Once you are satisfied with the finished product, you can slip it on your device and enjoy your DIY phone case.
Wrapping It Up
To wrap up, it can be fun and rewarding to create your DIY phone case. It’s an easy way to add some personality and style to your device and to make sure that it’s truly one-of-a-kind.
DIY phone cases are all the rage, and they don’t have to be complicated to make. With a few simple materials and a spark of creativity, you can create a one-of-a-kind DIY phone case that will draw attention. Whether you decide to make a case out of wood, fabric, or even paper mache — the possibilities are endless.
You can use beads, glitter, or paint to add your own unique touch. With the right materials and a bit of creativity, you can have a beautiful DIY phone case that you can be proud of and show off to your friends. So don’t be afraid to get creative and show off your handmade style!


