
DIY Slime is a magical concoction of creativity and fun! From crunchy to fluffy, there are endless possibilities for what you can make with this gooey, slimy material. Enjoyed by children, teens, and adults alike, there’s something inexplicably delightful about the squishy, stretchy, gooey textures produced by homemade slime. What’s not to love about this popular craft?
From the rainbow-coloured slimes to the novelty slimes that light up and glow, there’s something for everyone to enjoy. The infinite options are part of what makes it so intriguing — you can create whatever your imagination can think of. Plus, it’s a great way to relax, have fun and get creative. Whether you’re making it for your kids or even gifting it to a friend, slime is always sure to put a smile on your face.
DIY slime is a fun and engaging activity that your kids can make at home. It is a great way to get your kids excited and involved in the creative process. It is a simple craft that can be made for a weekend get-together, a birthday party, a science experiment, or just for fun.

In this post, we’ll go over some ideas for making DIY slime for kids. We’ll go over what materials and tools you’ll need, how to mix the ingredients and ideas for slime decorations and accessories.
Allow our handy guide to be your go-to resource for creating the most amazing and safe slime for your kids to enjoy. Make slime that everyone will love!
Contents
1. Gather all the ingredients
The first step in your DIY slime-making is to gather all the necessary ingredients. You’ll need the following:
- Glue – Make sure to get enough glue for your desired slime quantity.
- Water
- Food Colouring – Depending on the colour of your choice.
- Mixing Bowl – You should also make sure to grab a bowl that is large enough to hold all your ingredients.
- Borax Powder
- Glitter – (optional)
If you have smaller children helping you create DIY Slime, be sure to check that the bowl or container you are using for the slime is not too deep for them to reach into. Be sure to supervise young children and take extra care when handling any ingredients that may be potentially hazardous, such as borax.
Keeping the environment safe for all participants is key, so be sure to adhere to all safety guidelines when making your DIY Slime with the family!
Once you have all the supplies required for the project, you can move on to the next step – mixing the ingredients together.

2. Mix the glue and water
Once you have collected all the necessary materials, the next step is to combine the glue and water to create the slime. Make sure to measure your glue and water carefully as this will affect the consistency of your slime.
Once you have the right quantities, mix the two ingredients together in a bowl and stir until it forms a sticky, gooey texture. Take the glue and pour it into a bowl. Then add some water and stir until the glue is completely dissolved. The amount of water you use will depend on how thick you want the slime to be.
If your slime is too runny, add a bit more glue until it reaches the desired consistency. If you find that your slime is too thick, simply add a bit more water until you get the desired texture. Keep stirring and playing with your slime until you have achieved the perfect texture and consistency.
Once the water and glue are completely mixed together, you are ready to move on to the next step!
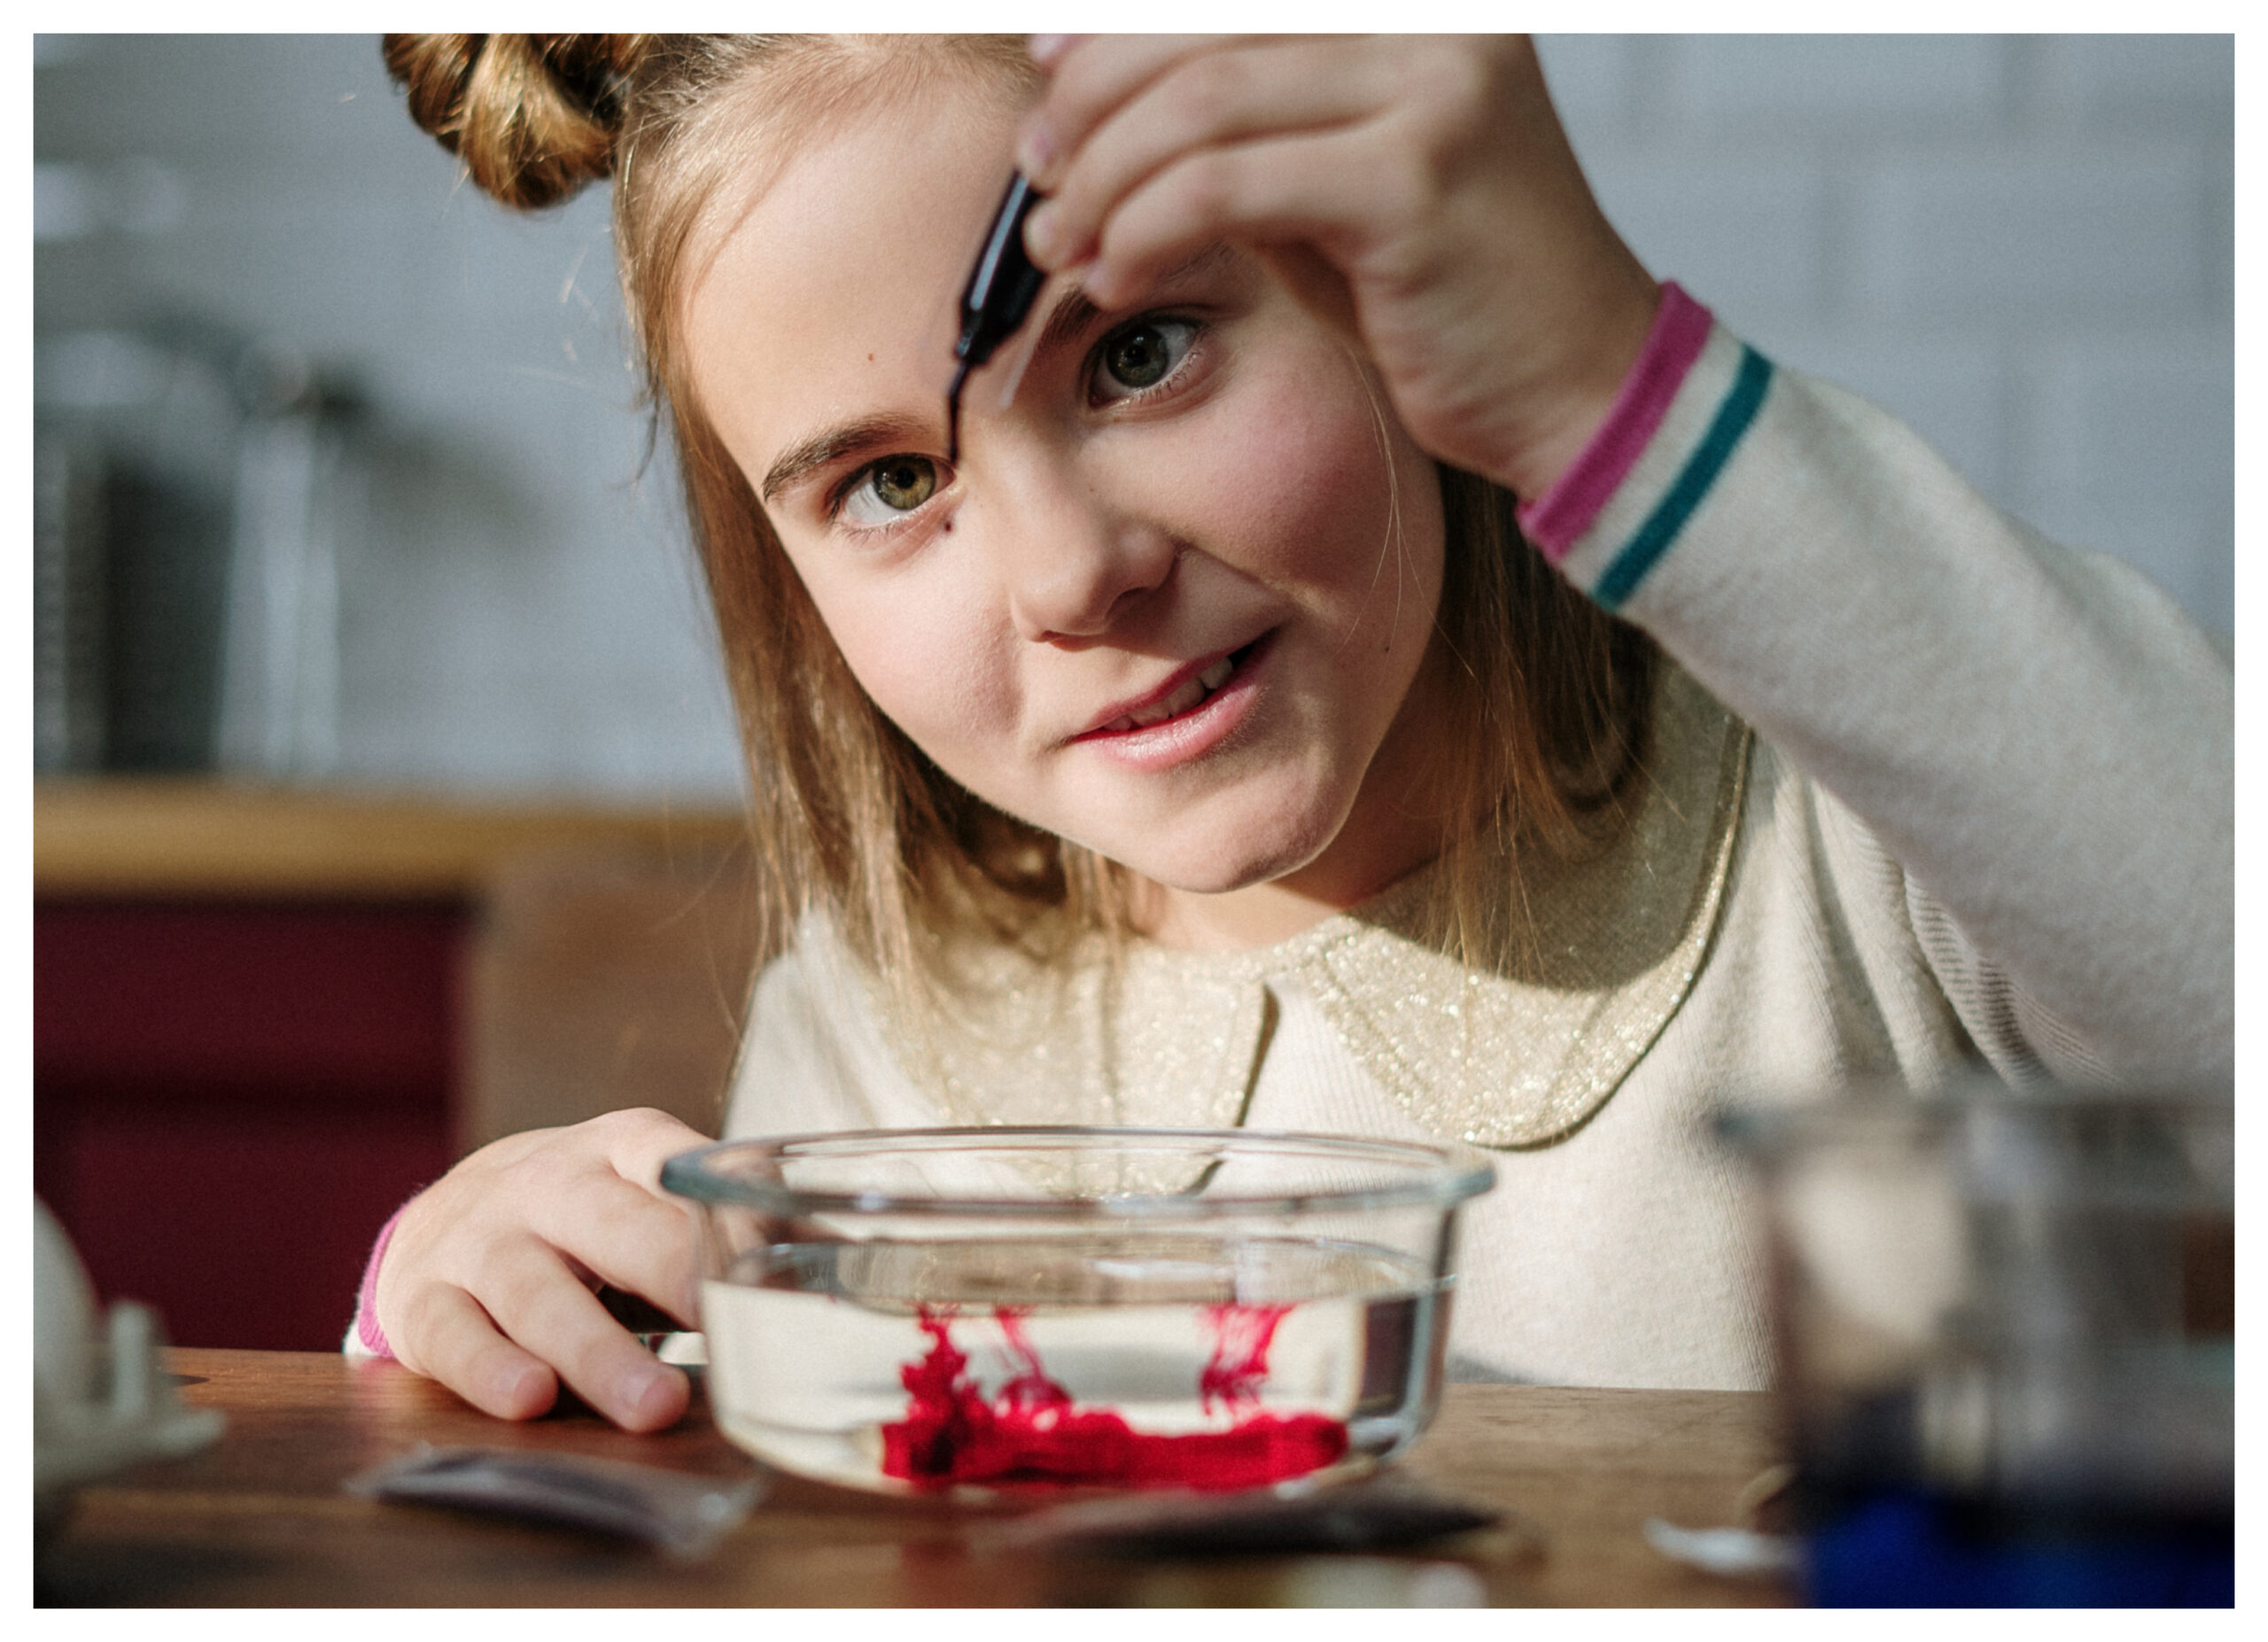
3. Add food colouring and mix
Once the slime ingredients have been thoroughly mixed, it is time to add a bit of colour. This can be a great way to make the slime more vibrant and eye-catching for kids, as well as to encourage them to take an interest in the activity.
Before adding the food colouring, it is important to give the mixture a final thorough mix. This will ensure that the colour is evenly distributed throughout the slime. Additionally, it is best to add small amounts of colouring at a time and gradually build until the desired colour is achieved.
The use of too much colouring in slime can have adverse effects on its appearance. Excessive colouring can make the slime appear darker than originally desired or even unappealing, reducing its overall aesthetic value. If a lighter colour is desired, it is recommended to use less colouring.
If the colouring is not properly distributed, it can cause uneven patches in the slime, making it look blotchy and unattractive. For optimal results, it is important to use the appropriate amount of colouring and mix it evenly into the slime.

4. Add Borax powder and stir
Next, add 3 tablespoons of Borax powder to the mixture. Stir it until the powder is completely dissolved and the slime starts to form. Be careful, as too much Borax powder will cause the dirt to become complex and difficult to work with.
Borax powder is an important ingredient in many DIY slime recipes. It is often used as a cross-linking agent, meaning that it helps to connect the other slime ingredients together and give the slime its desired consistency.
Borax powder is also responsible for making the slime ‘slippery’, which gives it its unique texture and makes it a lot of fun to play with. Moreover, the borax powder is known to have antibacterial and antifungal properties, making it a safe choice of ingredient for DIY slime.
You should also wear protective gear, such as gloves when handling Borax powder. Once everything is stirred together, your DIY slime is soon ready for use!
5. Knead the slime
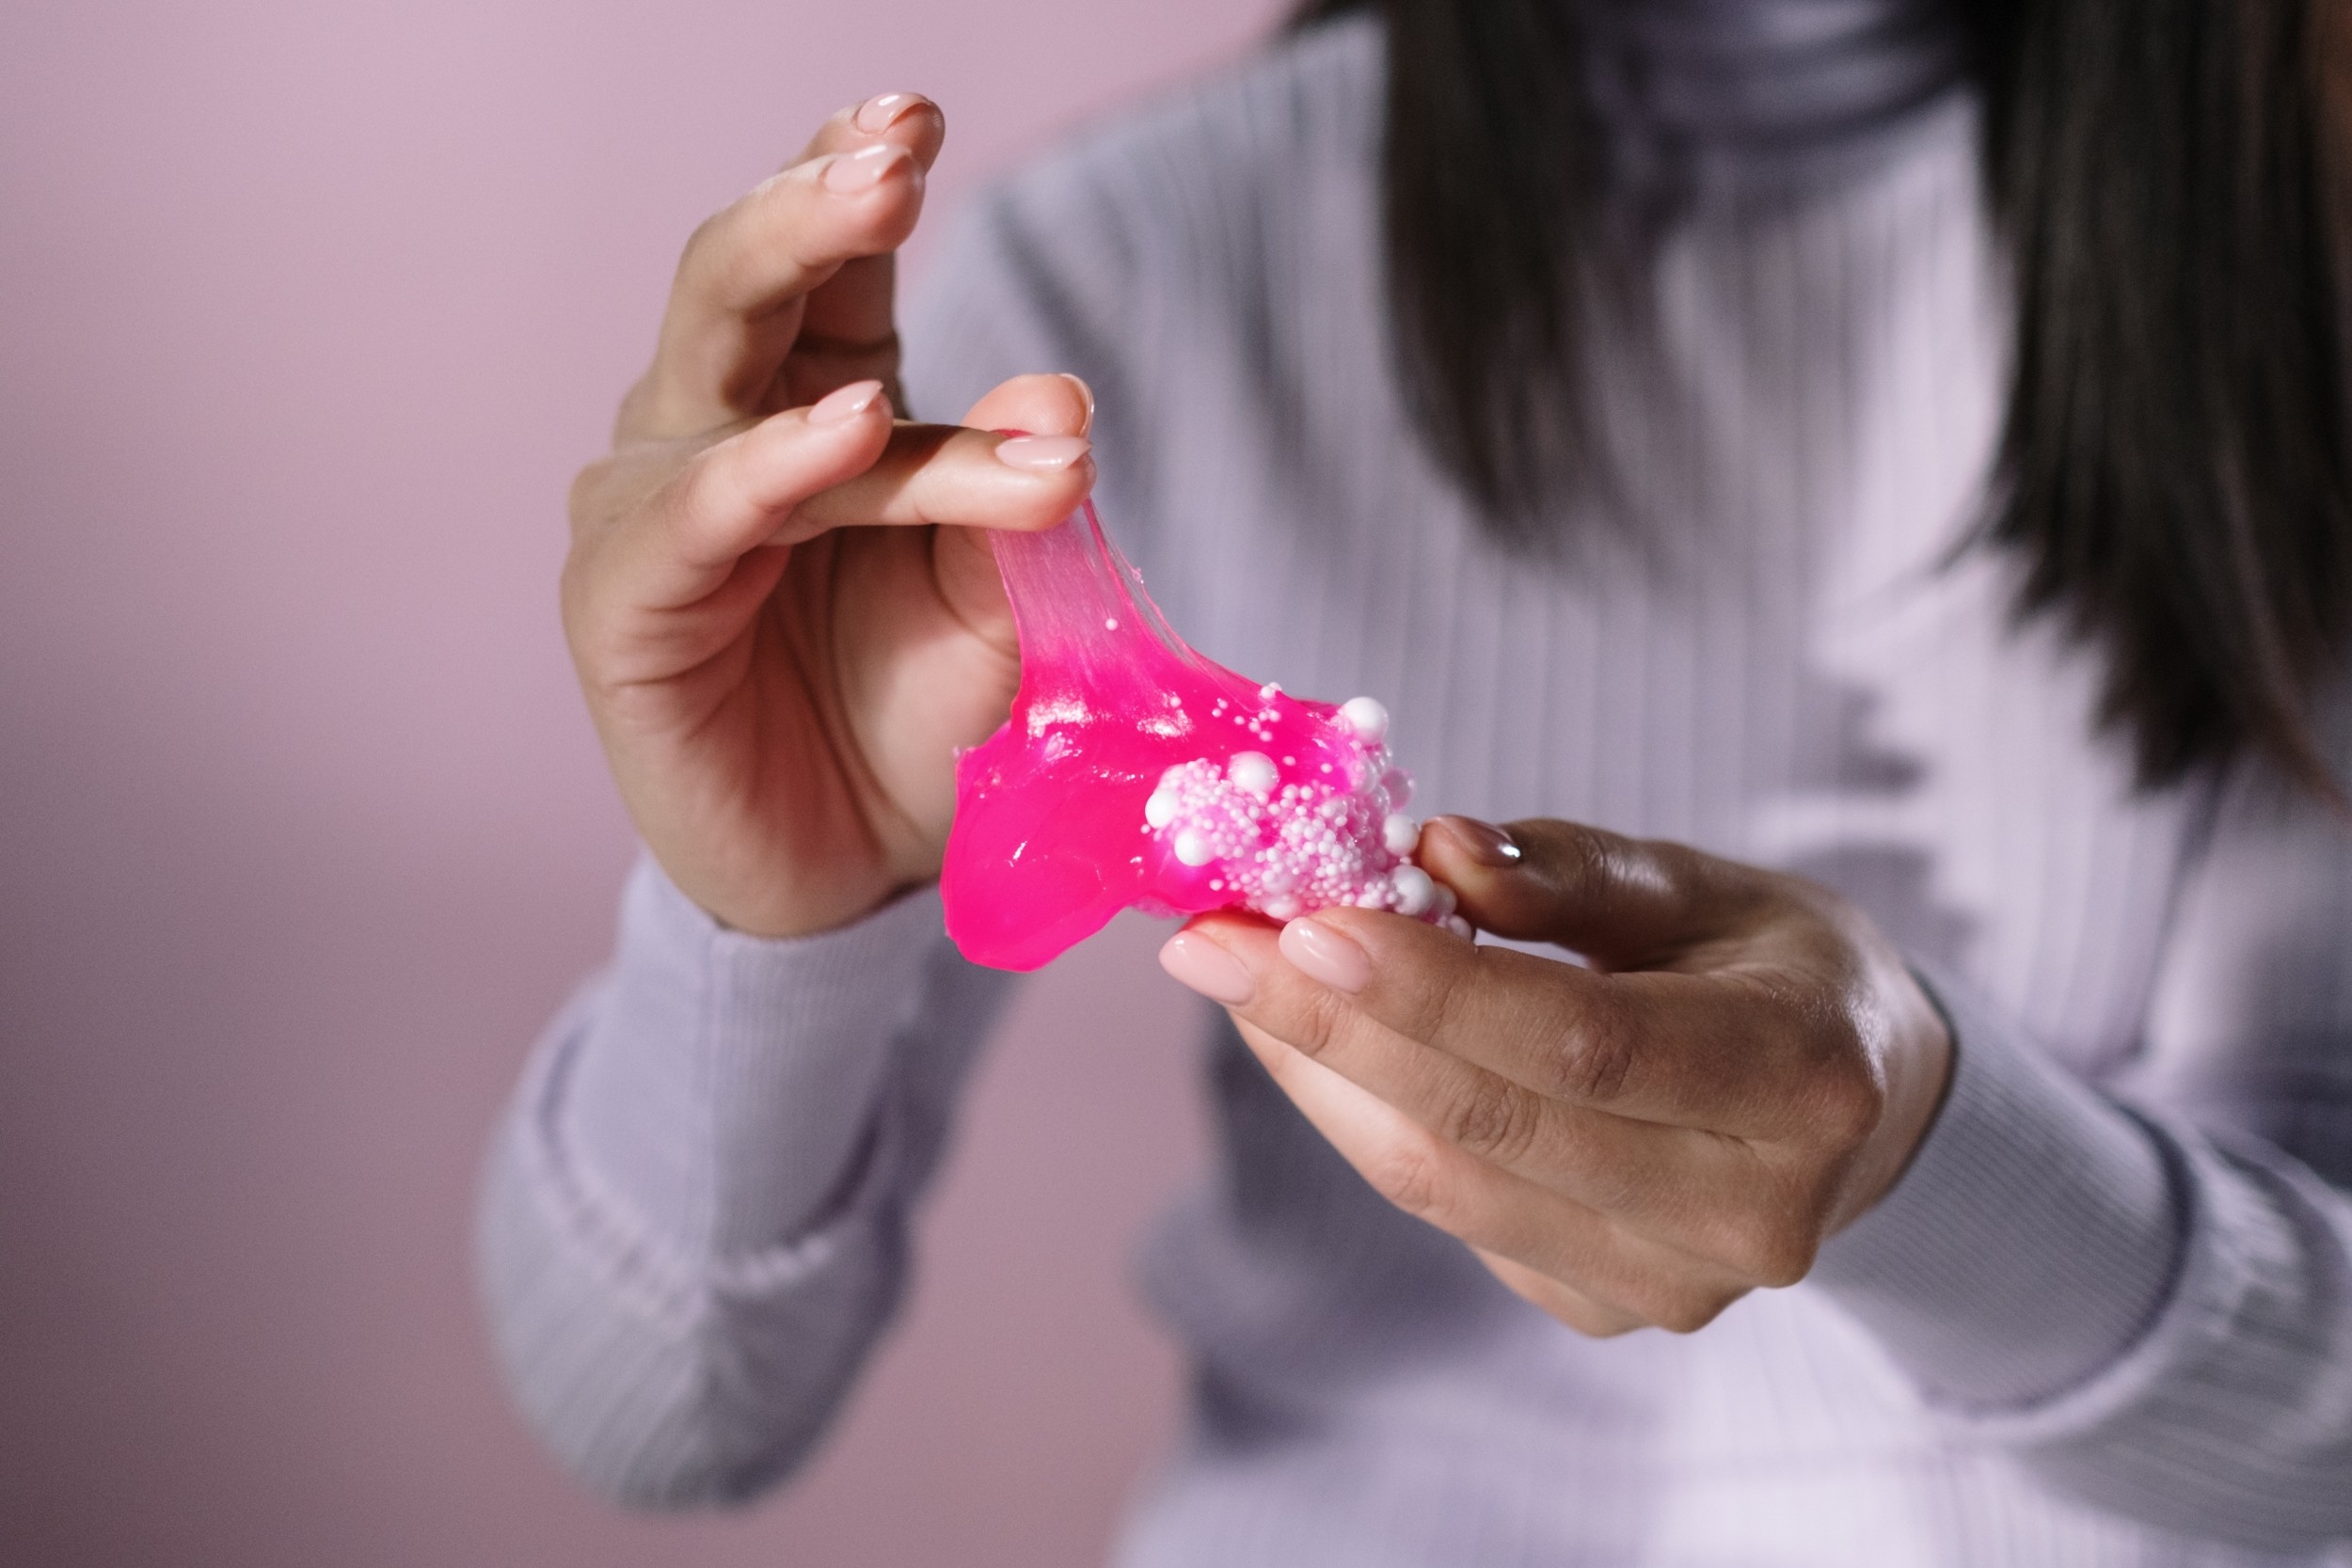
Once you have prepared your slime base and added your desired colour and glitter, it’s time to knead the slime. Stretch and fold the slime in your hands to achieve a perfectly smooth, glossy texture. Work out any air bubbles by applying plenty of pressure until they disperse and disappear.
If you want your slime to be extra fluffy and airy, you can even knead it like a loaf of bread. It’s also just like making DIY playdough for kids. Knead away at the slime with your hands, letting your stress and worries melt away with each movement. Keep going until the slime is no longer sticky and has a smooth and malleable texture that is a pleasure to touch.
It can take anywhere from 5 to 10 minutes for the DIY slime to reach its perfect state, but it’s worth the effort as it’s quite a therapeutic activity. Be sure to add more of the slime activator if you find that the slime is becoming too sticky, and keep kneading until it’s just right.
After a few minutes of folding, you’ll be rewarded with a stretchy, squishy masterpiece!
6. Store the slime
After your kids have created their DIY slime, it’s important to store it properly. Slime can last for months if it’s stored correctly. First, make sure to store your DIY slime in an airtight container. Plastic containers work well. You can also put the dirt in a resealable plastic bag to reduce air exposure. Always get as much air out of the container as possible.
It’s essential to ensure that slime is stored properly to maintain its texture and shine. Slime should be kept away from direct sunlight and heat, as these conditions can cause the slime to melt, lose its shape and become a gooey mess.
If you store your slime in a cool, dry place, it should maintain its texture and colour for much longer than if it were left in direct sunlight or heat. You can invest in an airtight container or resealable bag to keep your DIY slime in, as this will help to protect it from extreme temperatures and other environmental factors.
With the right care, your DIY slime will remain bouncy and enjoyable!
7. Add glitter or other decorations (optional)
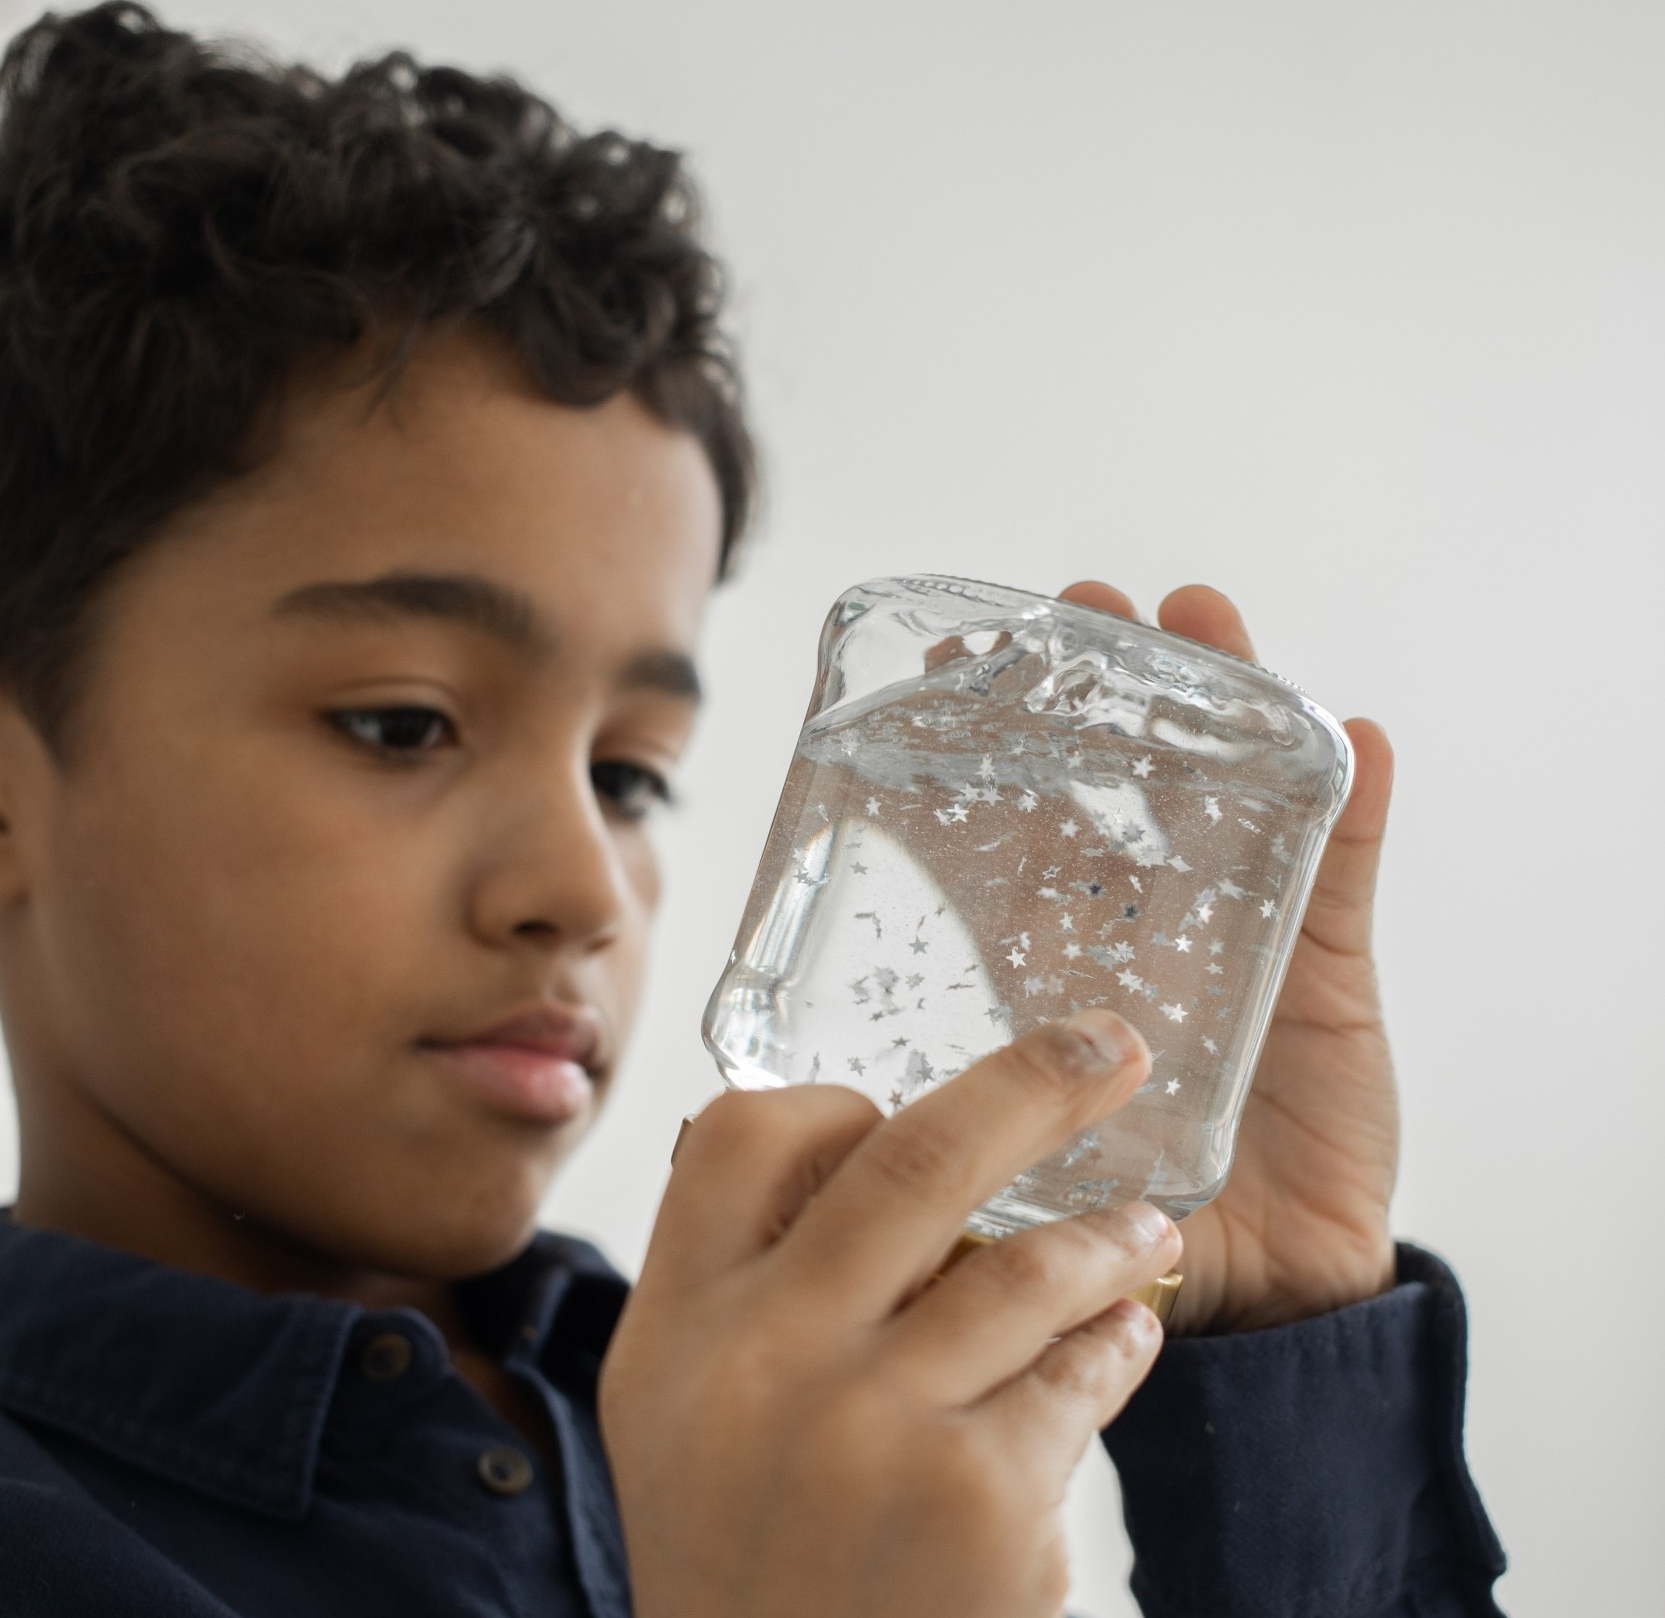
Once you’ve mixed your slime base, it’s time to add some glitter or other decorations. You can buy glitter in a variety of colours, and you can also use sequins, beads, or other small objects to make your slime look extra special.
You can also opt for scented glitter, which will add a delightful aroma to your DIY slime. Be it a fruity smell or a sweet and floral scent, scented glitter will give your slime a unique and pleasant personality.
Just be sure to supervise your kids when adding the decorations, as glitter can be quite messy. But with a bit of patience and some plastic sheeting to contain the sparkles, your kids can enjoy a fun, glittery slime-making session and create something fragrant and fun that they can enjoy playing with.
And don’t forget – you can also get creative with the colours! The possibilities are endless!
8. Place the slime in an airtight container
The last step to making your kid’s DIY slime is to place it in a place away from any pets or younger children who can be tempted to play with it.
A great option for keeping your kid’s homemade slime creations safe and organized is to use a plastic container with a tight-fitting lid. You can even get creative with the container and turn it into a special place to store their slime.
Paint the container with the kids’ favourite colours and decorate it with fun stickers. Not only will their slime stay safe, but they’ll have a unique container that fits their creative personality.
The Takeaway
Overall, making DIY slime at home is a fun and easy way to keep your kids entertained and teach them some basic chemistry principles. It can be a great bonding activity for you and your kids to enjoy together and is an easy way to make sure they’re having fun while learning.
Creating a science experiment is like a journey of discovery, and with just a few simple ingredients, you can transform ordinary materials into something extraordinary! From vivid hues and textures to bubbling reactions, the possibilities are limitless.
With these materials, you can form a rainbow, create an erupting volcano, and even explore the science of chromatography. Let your imagination carry you away and see what new and exciting discoveries await!
Your kids will love the fun-filled DIY slime experience! It’s a great activity for them to explore their creative side and have a blast. From mixing and matching colours to adding glitter or beads for extra sparkle, there’s no limit to the ways your kids can customize their slime.
It’s an activity the whole family can enjoy, and a great way to also foster a sense of collaboration. And, it’s a great way to stay busy and beat boredom on a rainy day!
So get ready to get your hands messy, and enjoy the DIY slime moment with your kids!


