
Contents
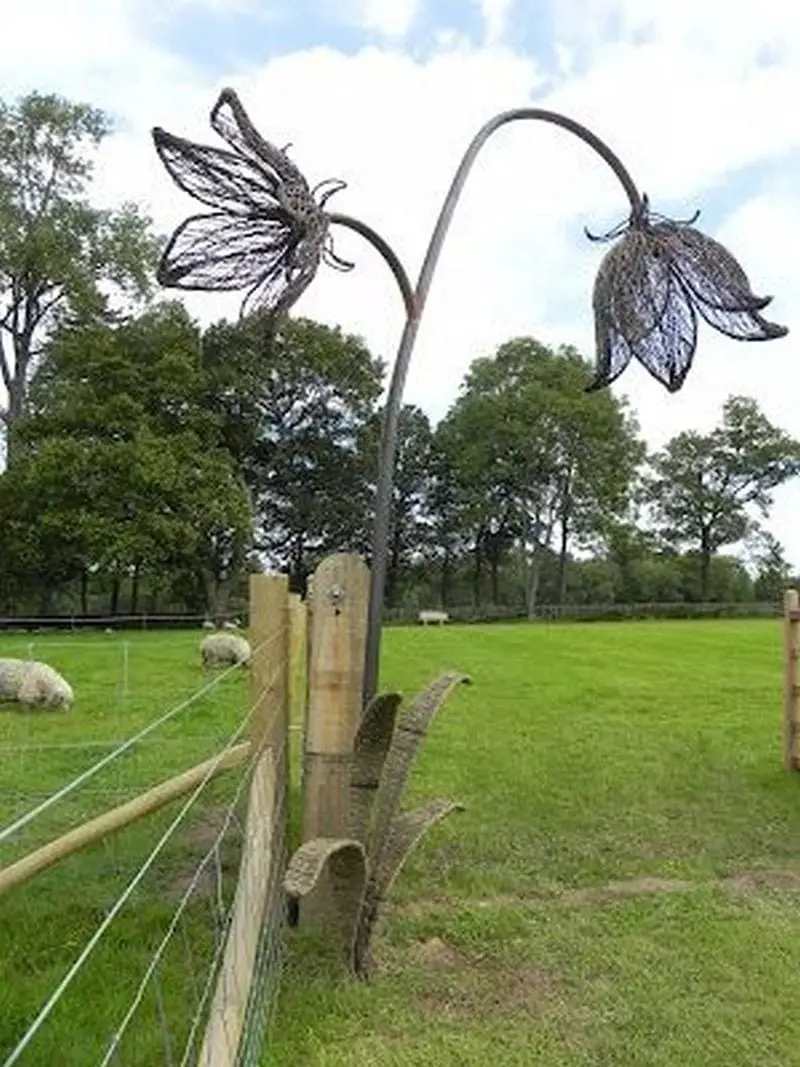
The Versatility of Chicken Wire in Arts and Crafts
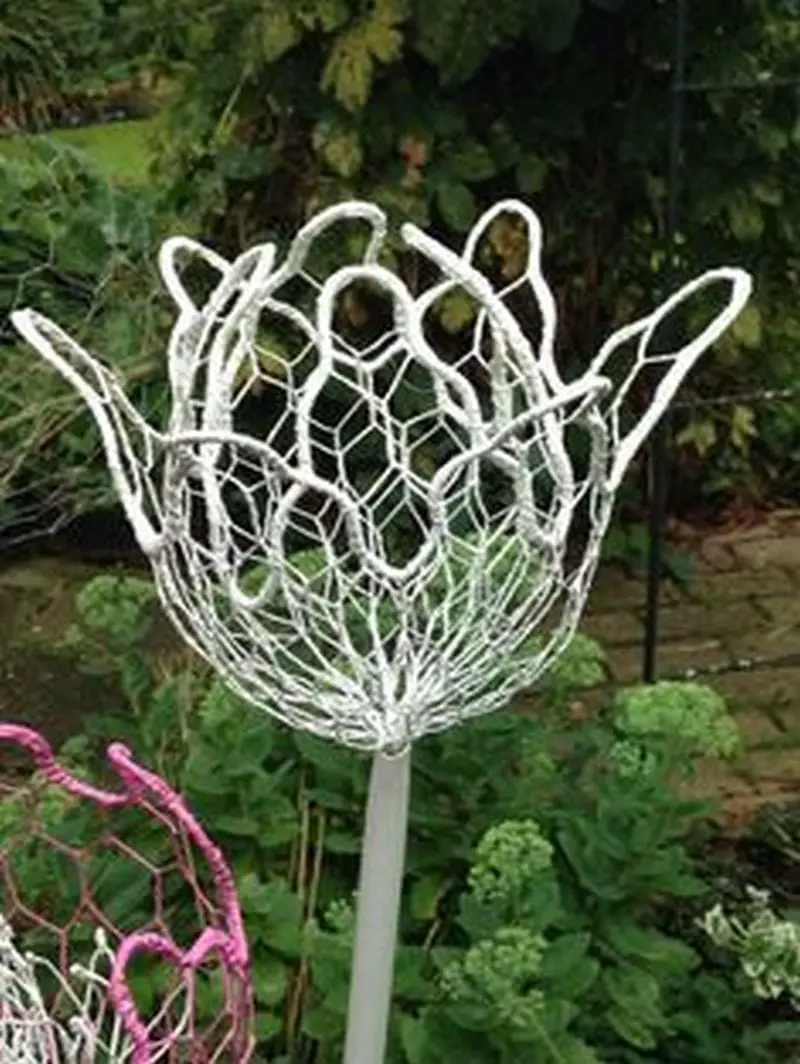
These chicken wire flowers show how versatile chicken wire is. Commonly used in fences to keep fowl in, it’s also used in arts and crafts projects. It has been made into a fruit holder, lampshade, pendant lights, animal sculptures, and many more. Even with basic tools, you can turn a simple chicken wire into a work of art.
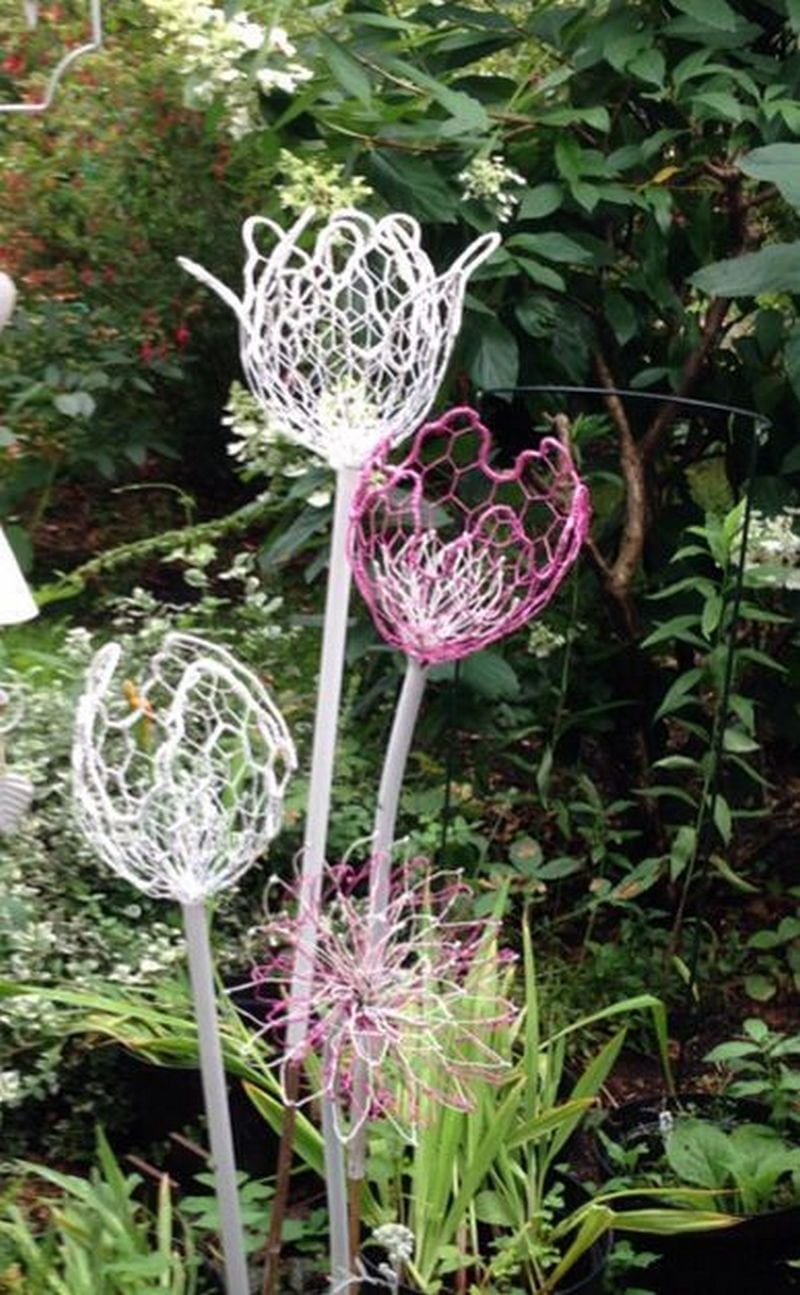
Giant Alliums: Captivating Garden Decorations
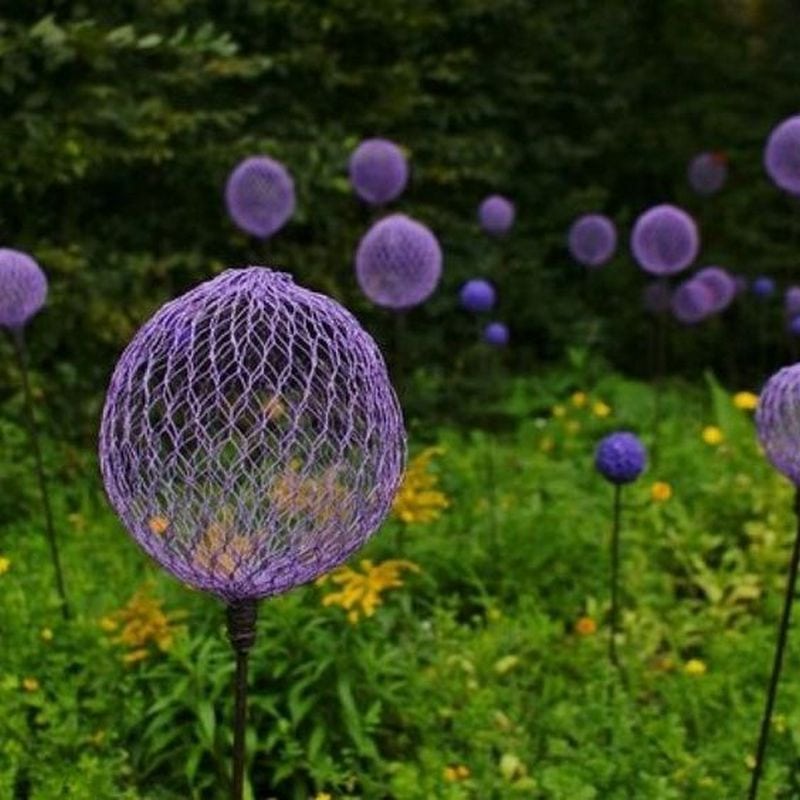
Create chicken wire flowers to adorn your garden with ease. With a multitude of floral options available, the possibilities are endless. For this project, the spotlight is on alliums. They do stand out well against the green backdrop.
Giant alliums made from chicken wire can serve as magnificent garden decorations. By utilizing the unique properties of chicken wire, you can create visually striking chicken wire flowers that will undoubtedly enhance the aesthetics of your outdoor space.
In this article, we will focus on the creation of alliums, which beautifully stand out against the lush green backdrop of any garden.
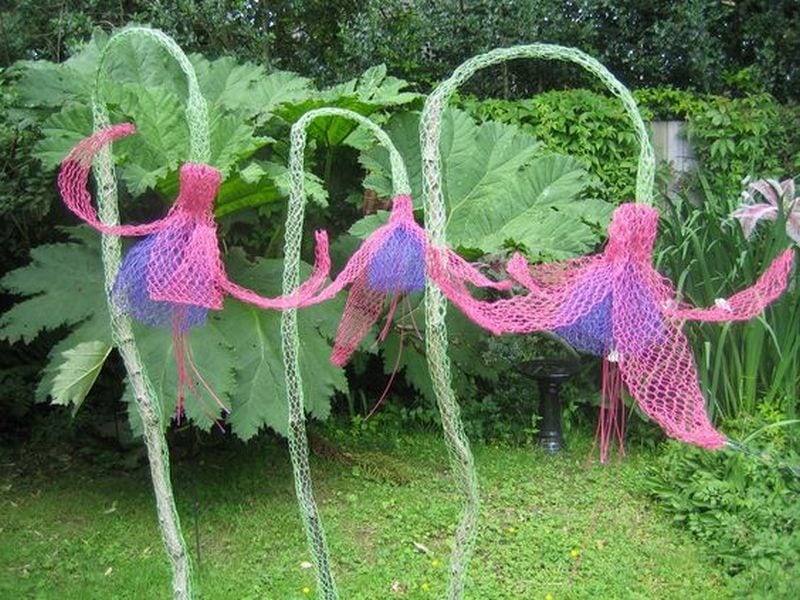
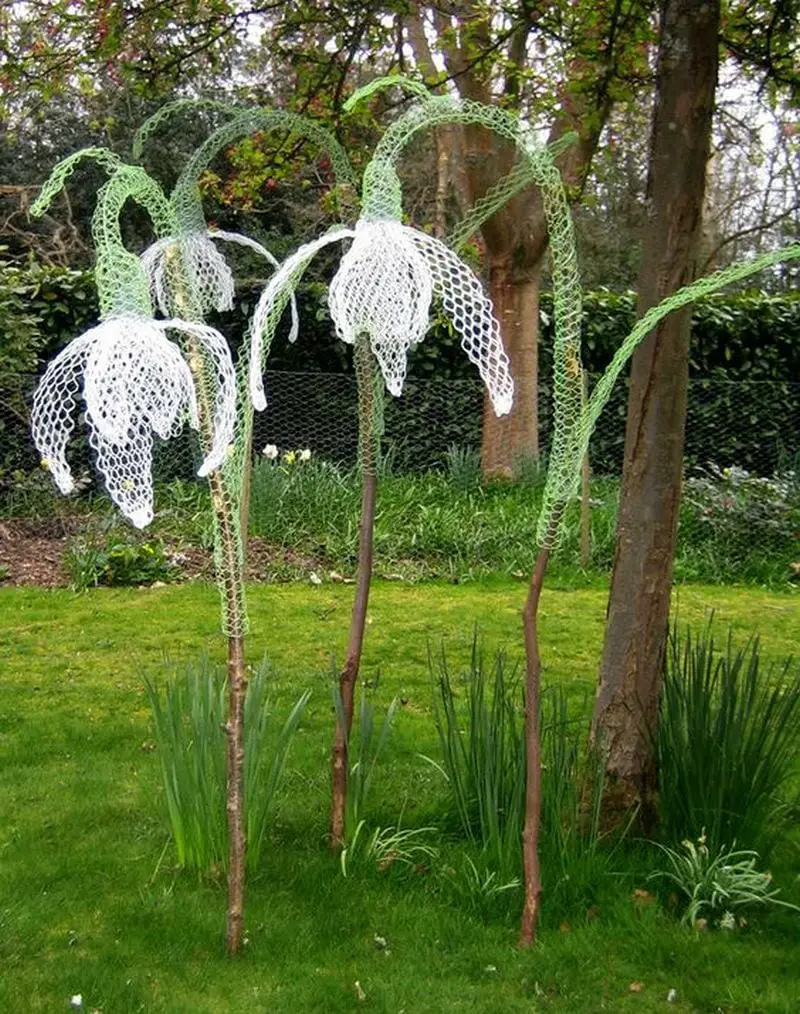
Looking for some fun and creative ways to spruce up your home or garden? Check out these awesome DIY chicken wire flower projects! With a little bit of time and effort, you can create some truly stunning floral displays that are sure to impress your friends and family.
Whether you want to make a statement with a big and bold arrangement or go for something a little more subdued, there’s a chicken wire flower project here for you. So get your creative juices flowing and get started on your own DIY chicken wire flowers today!
What you’ll need to make chicken wire flowers…
Materials
- Chicken wire
- Chicken wire is the primary material required for making flower sculptures. It is a mesh wire made from galvanized steel, commonly used in fencing.
- The thin and flexible nature of chicken wire allows for easy manipulation and shaping into various designed chicken wire flowers.
- Duct tape (preferably green)
- Green duct tape is essential for securing and finishing the edges of the chicken wire flowers. It provides a cohesive look to the structure, mimicking the appearance of stems and leaves.
- The green colour blends seamlessly with the natural elements, making it an ideal choice for this project.
- Paint (your colour of choice)
- Paint adds a touch of vibrancy and customization to the chicken wire flowers. You can choose any colour that suits your preference and complements your garden decor.
- Spray or acrylic paint can give the petals a light coating, enhancing their visual appeal.
- Consider selecting colours that harmonize with the surrounding foliage or create a striking contrast for an eye-catching effect.
Tools
- Side cutters
- Side cutters, also known as wire cutters, are essential for cutting and manipulating chicken wire.
- They have sharp, pointed blades that enable you to make precise cuts and trim the wire to the desired length.
- Side cutters make working with the chicken wire easier and ensure clean edges for a polished final result.
- Bamboo stakes or metal rods
- Bamboo stakes or metal rods are used to create stems for the chicken wire flowers.
- These stakes provide support and stability to the flower structure, allowing you to display them upright in your garden.
- Bamboo stakes are a popular choice due to their natural look and durability. Metal rods, such as steel or copper, offer strength and can be easily inserted into the ground.
- Choose the option that suits your aesthetic preference and functional requirements.
- Mould (something round and hard)
- A mould is required to shape the chicken wire into the desired flower form. It should be round and hard to provide a solid foundation for the wire structure.
- You can use various objects as moulds, such as a toy ball, basketball, or any other round item that is sturdy enough to maintain its shape.
- The mould helps in achieving consistent and symmetrical flower designs, ensuring a professional-looking outcome.
How to Make DIY Chicken Wire Flowers
Collecting chicken wire from scraps in the backyard is a great way to upcycle and add some personal touches to your home.
It’s a simple process that doesn’t require much in the way of materials. Just collect some chicken wire from your scrap pile in the backyard, and you’re ready to get started. Just follow these simple steps:
Prepare a Jig
To begin creating chicken wire flowers, you’ll need a jig to assist in securing the wire in place while you work. A jig acts as a support structure and helps maintain the shape and stability of the chicken wire during the construction process. One excellent option for a jig is a toy ball or a basketball, both of which are readily available and provide a suitable round shape.
Using a toy ball or basketball as a jig offers several advantages. Firstly, their round shape mimics that of a flower, facilitating the creation of symmetrical and aesthetically pleasing designs. Secondly, their size enables you to work on multiple wire sections at once, saving time and effort. Furthermore, their lightweight nature ensures ease of maneuverability as you wrap and shape the chicken wire.
Shape Your Chicken Wire
To utilize the toy ball or basketball as a jig, simply place it at the centre of the chicken wire loop. As you wrap the wire around the jig, it will hold the wire securely in place, preventing it from unravelling or losing its shape. This technique ensures that your chicken wire flowers maintain their intended form and structure.
To begin creating your chicken wire flowers, start by cutting a length of chicken wire that is approximately twice as long as the jig you have chosen. This extra length will provide ample material to work with during the shaping process. Once you have the desired length, fold the chicken wire in half, bringing the two ends together to form a loop.
With the loop formed, it’s time to bring in the jig. Take the chosen jig, whether it’s a toy ball or a basketball, and position it in the centre of the loop you created. The jig will act as a support and guide for shaping the chicken wire into the desired flower form. It should fit snugly within the loop, providing stability throughout the wrapping process.
Now, you’re ready to start wrapping the chicken wire around the jig. Begin by securing one end of the wire to the loop, making sure it is tightly held in place. As you progress, maintain a firm grip on the wire and wrap it around the jig in a controlled manner.
Keep the wire tight as you go, ensuring that each wrap is snug against the previous one. This tightness is crucial to achieving a well-defined and sturdy structure for your chicken wire flowers.
Continue wrapping the chicken wire until you have covered the entire jig, making sure to overlap the wire to create a solid and cohesive flower shape. Pay attention to the tension of the wire, ensuring it remains taut throughout the process. Once you have reached the end of the wire, secure it to the loop, making sure it is tightly fastened.
Remove the Jig
Once you have wrapped the chicken wire around the jig a few times, it’s time to move on to the next step. Carefully remove the jig from the centre of the wire loop, ensuring that you maintain the shape and integrity of the wrapped wire. Gently slide the jig out, taking care not to disturb the wire structure you have created.
With the jig successfully removed, you can now focus on shaping the chicken wire into the desired flower form. Using your hands, carefully manipulate the wire, bending and shaping it to resemble the petals of a flower. This step requires a gentle touch and attention to detail to achieve a realistic and aesthetically pleasing flower shape.
To ensure the durability and neatness of the chicken wire flowers, it is recommended to seal the wire structure with duct tape. Opting for green duct tape is preferable as it blends well with the natural appearance of the flower and provides a seamless finish. Carefully wrap the duct tape around the base of the flower, securing the wire ends and ensuring that the shape remains intact.
By removing the jig, shaping the chicken wire, and sealing it with duct tape, you transform the initial wire loop into a captivating and recognizable flower structure. This crucial step brings your chicken wire flower to life, ready to be embellished and displayed as a unique piece of garden art.
Attach a Stem
To complete your chicken wire flower, it’s time to add a stem for a more realistic and functional design. To achieve this, you will need a bamboo stake and duct tape. Begin by positioning the bamboo stake at the base of the chicken wire ball, ensuring that it aligns with the centre and extends downward to the desired length of the stem.
Secure the bamboo stake to the wire structure by tightly wrapping it with duct tape. This ensures a strong and stable attachment, preventing the stem from detaching or wobbling.
After securing the stem, you may notice that there is an excess chicken wire extending beyond the desired size of the flower. To remove this excess, carefully cut off the extra wire using side cutters or wire cutters. Set aside the excess chicken wire as it may come in handy for future projects. Remember to dispose of the discarded wire responsibly.
Spray Paint
Once you have completed the construction of your chicken wire flower, it’s time to add a touch of colour. Grab the spray paint in your chosen shade (purple for giant Alliums) and apply a light coating to the petals of the flower. Allow the paint to dry completely, ensuring a flawless and vibrant finish.
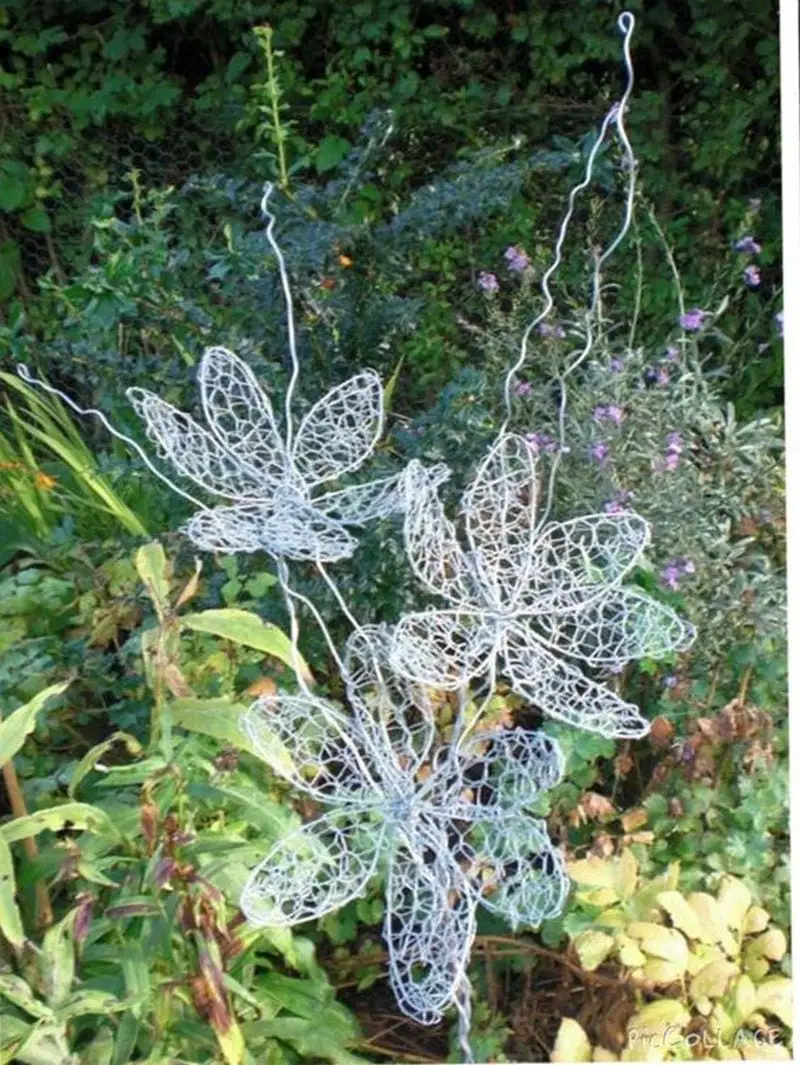
You can make some leaf-shaped chicken wires too! And voila! You’ve got yourself a stunning chicken wire flower to display in your garden.
So simple and so pretty! Enjoy your new decoration!
Embrace the Beauty of Chicken Wire Flowers
In conclusion, the versatility of chicken wire is truly remarkable. It goes beyond its traditional use as fencing and proves to be an excellent medium for creating stunning art pieces. Through DIY projects, you have the opportunity to explore your creativity and produce unique chicken wire flowers that add a personal touch to your surroundings.
By gathering the necessary materials and unleashing your imagination, you can embark on a fulfilling journey of artistic expression and create beautiful floral sculptures that will be admired by all who see them.
So, let your creativity flourish and embrace the endless possibilities that chicken wire offers in the realm of art and crafts.
Click on any image to start the lightbox display. Use your Esc key to close the lightbox.

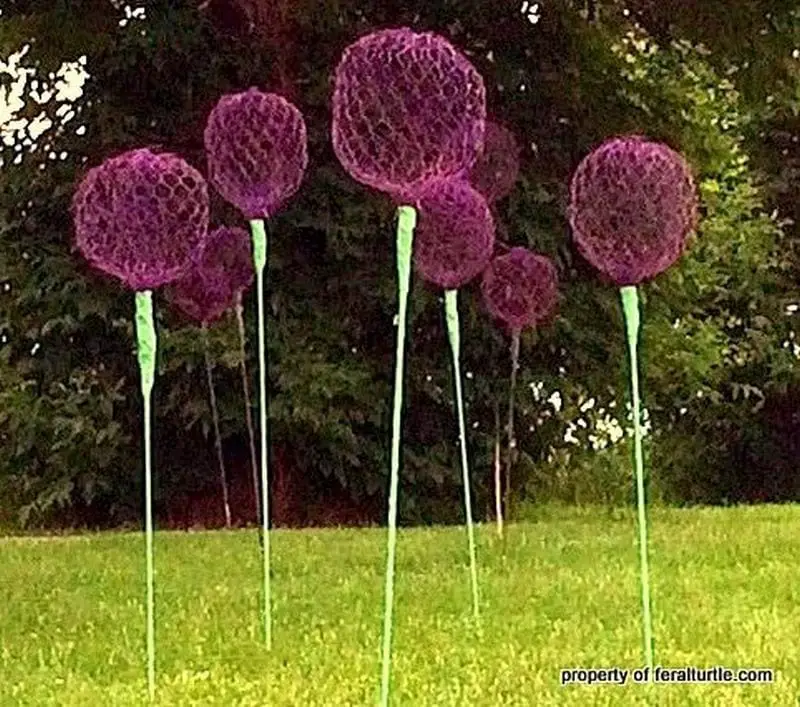
Thanks to The Feral Turtle for this great project. If you liked this project, you might also like to view 9 Best Chicken Wire Craft Ideas


