Pregnancy can be a tough cookie for some of us. After all, we want it to be as comfortable for us and the baby as possible. And with everything you already have to go through, I’m sure you want to be at your best. This is where your comfort miracle comes in – the DIY contoured maternity pillow!
A contoured maternity pillow can go a long way toward easing those pesky body aches, discomfort, and pains that come when carrying our baby. A maternity pillow will help you position yourself more comfortably. It will support your belly and hips as well as your back while sleeping.

Not pregnant? You don’t need to be to benefit from these wonderful pillows! They help take away the pressure on your neck, shoulders, and knees while you’re sleeping too.

So, let’s get that sewing machine up and running to create this DIY-contoured maternity pillow!

Interested in other forms or designs of this pillow? Check out these ideas you could use to start creating your DIY maternity pillow.
Contents
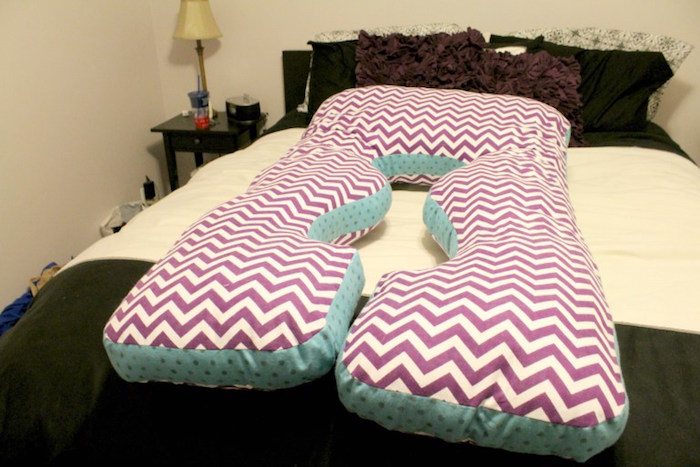
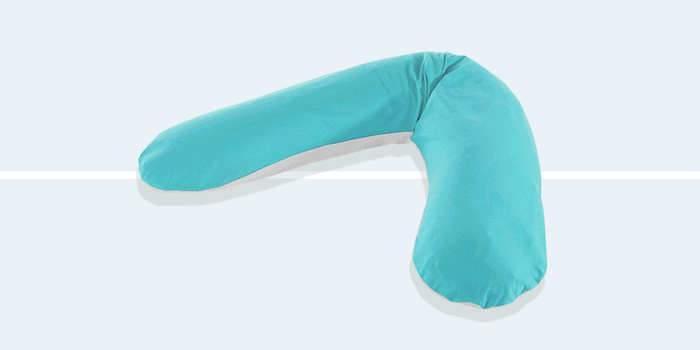
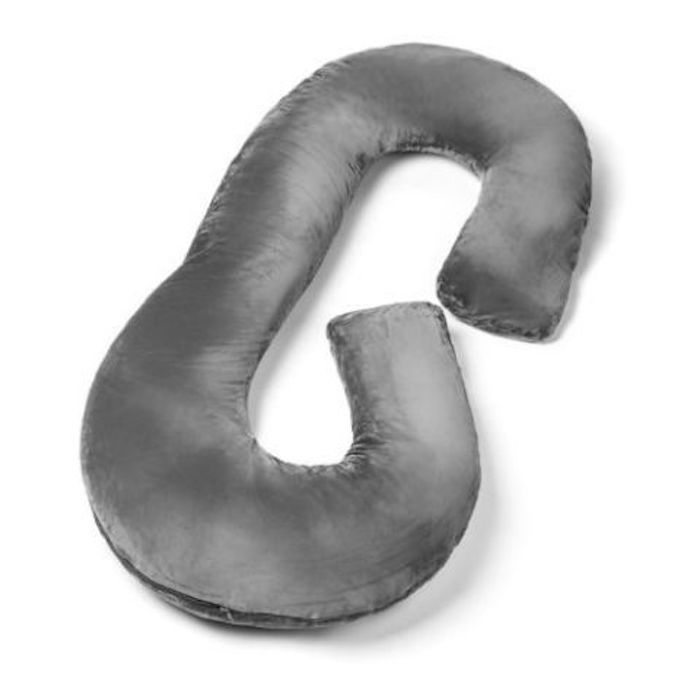
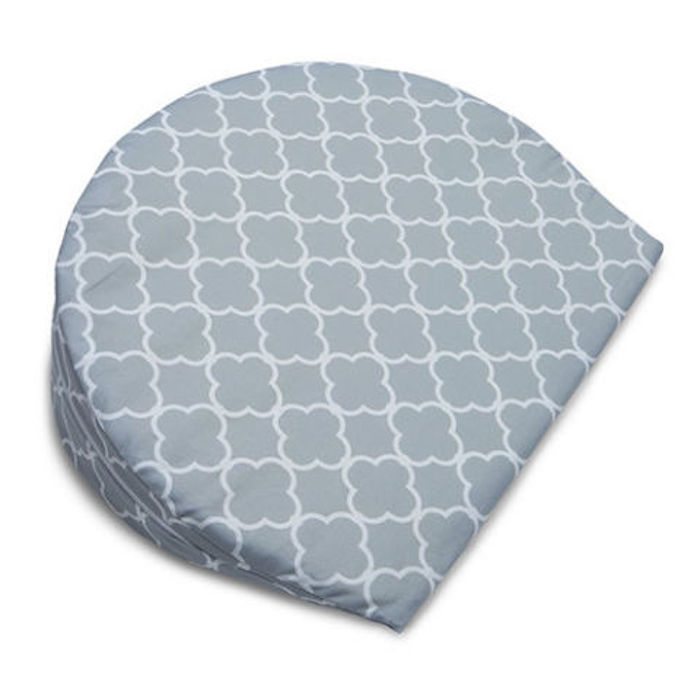
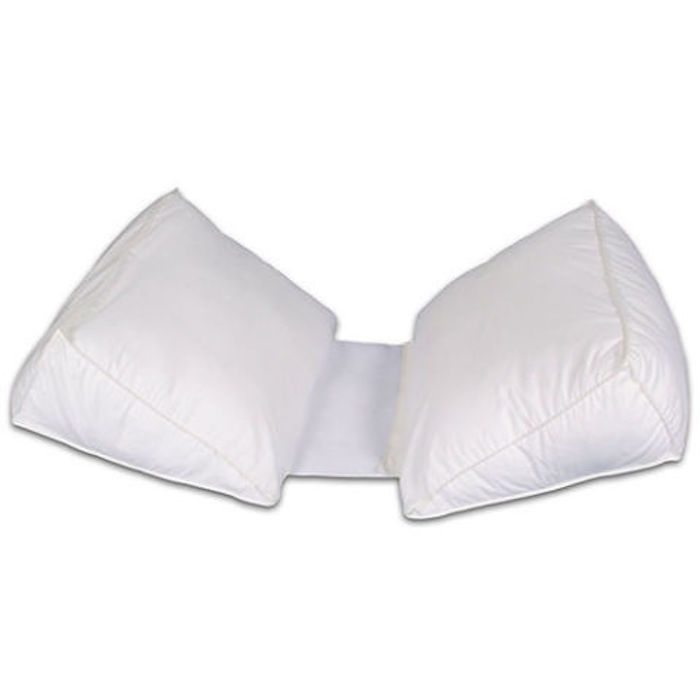
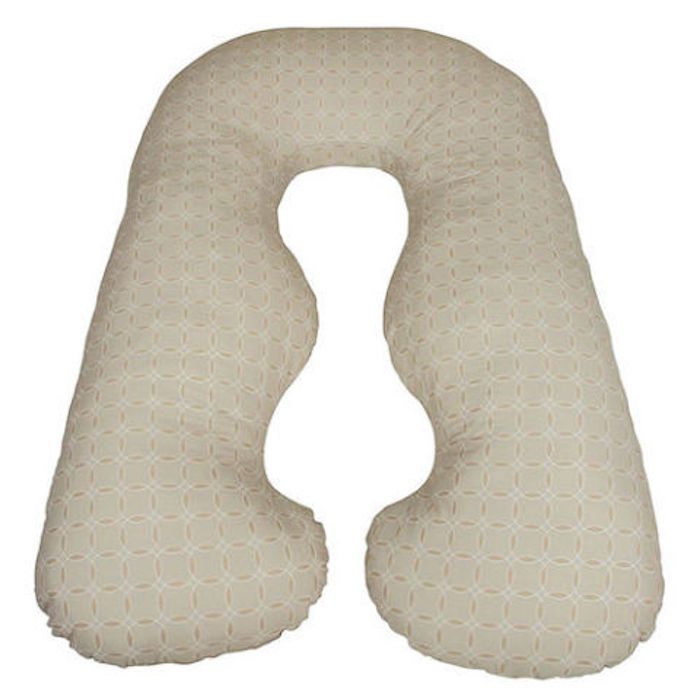
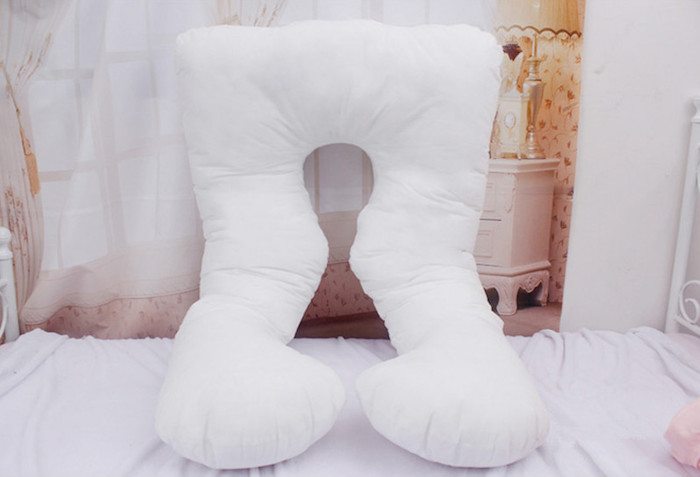
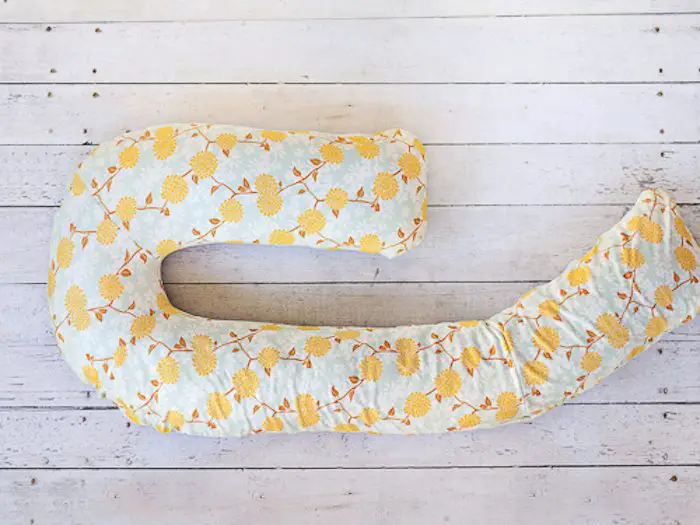
Contoured Maternity Pillow Designs
‘Click on any image to start the lightbox display. Use your Esc key to close the lightbox. ?’


Customization is a key aspect when it comes to crafting a comfortable DIY contoured maternity pillow. Expecting mothers often find themselves struggling to find the perfect pillow to support their changing bodies and provide relief from the discomforts of pregnancy.
By embarking on the journey of creating a custom maternity pillow, you not only address these challenges but also have the opportunity to infuse your unique style and preferences into the design. In this exploration of customization, we’ll delve into six creative steps to tailor your DIY contoured maternity pillow to your specific needs.
Design Inspiration
The first step in customizing your DIY contoured maternity pillow is finding design inspiration. Browse through magazines, websites, or social media platforms for ideas on different shapes, sizes, and features that you find appealing. Consider factors such as pillow shape, filling materials, and fabric patterns to determine the overall look and feel you want to achieve.
Choosing Your Materials
Once you have a design concept in mind, it’s time to choose the materials for your maternity pillow. Select high-quality, supportive filling materials such as memory foam, shredded foam, or polyester fiberfill to provide optimal comfort and support. Additionally, choose a soft and breathable fabric for the pillowcase to ensure maximum comfort during use.
Measuring and Cutting
Measure and cut the materials according to your chosen design. Use a ruler or measuring tape to determine the dimensions of the pillow, ensuring that it provides adequate support for your body. If you’re creating a contoured pillow, use a pattern or template to outline the shape on the fabric before cutting.
Sewing and Assembly
Once the materials are cut to size, it’s time to sew and assemble the pillow. If you’re using a sewing machine, carefully stitch the fabric pieces together, leaving an opening for inserting the filling. If you’re hand-sewing, use a strong and durable thread to ensure the seams are secure. Once the pillowcase is sewn, insert the filling and stitch the opening closed.
Customizing with Accessories
To add a personal touch to your maternity pillow, consider customizing it with accessories such as decorative buttons, ribbons, or embroidery. These embellishments not only enhance the visual appeal of the pillow but also make it uniquely yours. Be creative and experiment with different designs and placement options to achieve the desired look.
Testing and Adjusting
After completing the customization process, it’s essential to test the pillow to ensure it meets your comfort and support needs. Lie down on the pillow and adjust the positioning as necessary to achieve optimal alignment and pressure relief. If you find that certain areas need additional support, consider adding extra filling or adjusting the pillow’s shape accordingly.
Customizing a DIY contoured maternity pillow is a creative and rewarding process that allows you to tailor the pillow to your specific needs and preferences. By following these six creative steps, you can create a comfortable and supportive pillow that not only relieves the discomforts of pregnancy but also reflects your unique style and personality.
With a little creativity and attention to detail, you can craft a maternity pillow that provides the perfect blend of comfort, support, and customization for your journey through pregnancy.
How to Make a Contoured DIY Maternity Pillow
You’ll need the following materials to make a maternity pillow.
- Printed, cut out, and pieced together Contoured Maternity Pillow PDF Pattern
- 2 50-inch (or 54-inch for tall) x 30-inch pieces of fabric A
- stuffing
- 6 3-inch x 40-inch (or 44-inch for tall) strips of coordinating fabric B (optional – to give it a little more height)
- 2 2-inch x 25-inch strips of fabric B (optional)
- 24-inch (+/-) zipper (optional)
1. Start with the measurements
Be sure to measure how large you want the gap in your pillow to be. The best way to do this is to lie in bed and place a pillow in front and behind you. Once you have them in a comfortable position, carefully get up and measure the distance between them.
I highly suggest you measure, or at least do this step, to ensure that your pillows are the perfect size for you. By taking the time to do this, you’ll be able to sleep more comfortably and wake up feeling refreshed.
2. Rip the pillow’s seam and gut it
Start opening up the pillow’s seam on one of its long sides with your seam ripper.
Make a hole large enough for your hands to fit inside, approximately where the flat section will be on the final product. Separate the stuffing into two halves, pushing it roughly into the pillow’s final position.
Remove the two pieces of stuffing by opening up the seam along the long side.
The stuffing could probably be removed as one piece, and then cut in half. It might be easier to re-stuff later if I push the stuffing to approximately the right size with the rest of the seam still present to keep it in place.
The goal is to keep the stuffing as unchanged as much as possible, to avoid bumps and uneven shape later.
3. Mark the pattern and pin
Determine the centre of your pillow’s “skin.” If it measured 35″, it indicated the flat part of my pillow was between 14″ and 20″.
Using a pencil and a straight edge, mark a line on either side of your pillow’s flat part. Having the lines as a guide, pin your “skin” halves concurrently.
4. Sew along the two lines
The lines should be sewn along. Because I was sewing on the machine, I chose a triple stitch for strength.
Instead of sewing right to the end of your seams, leave a gap at the end if you have not reattached the trim yet.
It’s okay to sew straight to the end of the pillow “skin” if you’re removing the trim, or if you’ve already re-sewed the trim to one side. Just be sure that the unfinished edges are folded in).
5. Fill your pillow with stuffing
Load your pillow with some stuffing.
Re-stuff your pillow. If you’re picky (like I am!), you might want to reverse your stuffing (so the side you pulled apart is towards the outside edge of the pillow).
Using one hand, I gathered one end of the stuffing and pushed it in as far as I could. The rest of the stuffing was relatively easy to place once it was started.
6. Pin the edges then sew to close
Be sure to pin the unfinished edges of the pillow “skin” back together as you pin the long side.
You should pin the trim to one side first, then pin the other side to the trim (make sure all three layers are pinned together with the new pins if you have not already cut off or sewn back the trim on one side). Trying to pin all three layers together at once is difficult due to the tension from the stuffing.
Sew the seam back jointly. Although I used my machine, hand sewing might be easier. You can sew over the pins with your machine and remove them afterwards if you’re brave enough. When you remove the pins, the stuffing tends to push the layers out of alignment (this might not be an issue if you’re not trying to sew the trim back in!).
Now you can enjoy the comfort and support of your maternity pillow while you hug it! This pillow is perfect for pregnant women who want to enjoy the benefits of a body pillow without having to deal with the bulkiness of a standard pillow. The maternity pillow is also great for nursing mothers who want to be able to feed their babies in comfort and without having to worry about their babies getting too close to their bodies.
Thank you so much for reading this article! We would love to know your feedback by writing comments below. We’re always striving to improve our content and would appreciate your input. Thanks again for taking the time to read and engage with our work!
Thanks to Cassiadawn for sharing strategies on how to make a maternity pillow.
The Wrap Up
Crafting a comfortable DIY contoured maternity pillow through six creative steps is a gratifying and empowering journey for expecting mothers. As we reflect on the process, it becomes evident that the benefits extend far beyond the physical comfort provided by the pillow itself.
First and foremost, creating a DIY contoured maternity pillow allows mothers-to-be to take control of their comfort and well-being during pregnancy. By customizing the pillow’s size, shape, and materials, women can tailor it to their unique needs and preferences, ensuring optimal support and relaxation throughout this transformative time. This level of personalization fosters a sense of empowerment and self-care, which are essential components of a healthy pregnancy experience.
The DIY aspect of crafting a contoured maternity pillow fosters creativity and resourcefulness. From designing the pillow to selecting materials and embellishments, mothers-to-be have the opportunity to express their style and personality through the creation process. This creative outlet can serve as a welcome distraction from the physical discomforts of pregnancy and provide a sense of accomplishment as the project comes to fruition.
Additionally, the act of crafting a DIY contoured maternity pillow fosters a deeper connection between mother and baby. As women invest time and energy into creating a comfortable space for themselves during pregnancy, they are also indirectly nurturing their bond with their unborn child. Each stitch and seam represents a gesture of love and care, laying the foundation for the nurturing relationship that will continue to grow after birth.
The DIY contoured maternity pillow serves as a tangible symbol of preparation and anticipation for the arrival of a new family member. As mothers-to-be sew, stuff, and assemble the pillow, they are reminded of the joy and excitement that comes with impending motherhood. This sense of readiness and readiness can help alleviate anxiety and uncertainty, allowing women to embrace the journey ahead with confidence and optimism.
Crafting a comfortable DIY contoured maternity pillow is more than just a practical endeavour; it is a transformative experience that encompasses empowerment, creativity, and connection. As women embark on this journey, they not only create a physical object that provides comfort and support but also nurture their relationship with themselves and their unborn child.
Through the act of crafting, mothers-to-be affirm their readiness to embrace the challenges and joys of pregnancy and motherhood with grace and resilience.
Frequently Asked Questions
1. What is a DIY contoured maternity pillow, and how does it differ from regular pillows?
A DIY contoured maternity pillow is specially designed to provide support to pregnant women by conforming to the natural curves of their bodies. Unlike regular pillows, which may not offer adequate support, a contoured maternity pillow is shaped to support the belly, back, and hips simultaneously, promoting better alignment and reducing discomfort during sleep.
2. Do you need sewing skills to make a DIY contoured maternity pillow?
While sewing skills can be helpful, they are not always necessary to create a DIY contoured maternity pillow. There are various tutorials available online that offer step-by-step instructions for both sewing and no-sew options. Additionally, you can enlist the help of friends or family members with sewing experience or explore alternative construction methods such as knotting or tying.
3. What materials are commonly used to make a DIY contoured maternity pillow?
DIY contoured maternity pillows can be made from a variety of materials, depending on personal preference and availability. Common fill materials include memory foam, polyester fiberfill, and shredded foam, each offering different levels of support and comfort. The pillowcase is typically made from soft, breathable fabric like cotton or jersey knit to ensure comfort during sleep.
4. How do you determine the right size and shape for your DIY contoured maternity pillow?
The size and shape of the pillow depend on individual comfort needs and sleeping preferences. Factors such as height, weight, and preferred sleeping position should be considered when choosing dimensions. Experimenting with different shapes, such as C-shape or U-shape, can help find the most supportive design for your body.
5. Is it safe to use a DIY contoured maternity pillow during pregnancy?
When constructed with high-quality materials and designed for proper support, a DIY contoured maternity pillow is generally safe for use during pregnancy. However, it’s essential to consult with a healthcare provider before using any new sleep aids, especially if you have underlying medical conditions or concerns.
6. How do you clean and maintain your DIY contoured maternity pillow?
Keeping the pillow clean is essential for hygiene and longevity. Most DIY contoured maternity pillows come with a removable and washable pillowcase, making it easy to maintain cleanliness. Spot cleaning the pillow itself with a mild detergent and water can help remove any stains or odours. Ensure thorough drying to prevent mildew or mould growth.
Sunlight can be an effective natural disinfectant and deodorizer. If possible, place the pillowcase in direct sunlight for a few hours after washing to help kill bacteria and eliminate odours. However, avoid prolonged exposure to sunlight, as it may cause fading or damage to the fabric over time.
7. Can you use your DIY contoured maternity pillow after pregnancy?
Yes, many women find that their contoured maternity pillow remains comfortable and useful even after pregnancy. It can provide support while breastfeeding or simply serve as a comfortable pillow for lounging. However, individual preferences may vary, so it’s essential to assess your comfort needs post-pregnancy.
8. Are there any risks associated with using a DIY contoured maternity pillow?
While DIY contoured maternity pillows are generally safe to use, it’s essential to ensure they are constructed with high-quality materials and designed with proper support in mind. Using a poorly made pillow could potentially lead to discomfort or even injury, so it’s crucial to follow instructions carefully and consult with a healthcare provider if you have any concerns.


