Gone are the days when sewing ruled the arts and crafts world. Okay, maybe not totally gone since we still need to sew things together sometimes. But in recent years, increasing numbers of us, DIYers, have taken to our trusty glue gun to do many of those same projects! Glue guns are easy to use and very efficient, but they do have one drawback…
Heat! Yes, the very thing that makes a glue gun so good is also its worst feature because it can leave a hot, sticky mess all over your work area. If you know exactly what I’m talking about, here’s a neat idea to keep that mess at bay!
Hot glue dripping from your glue gun is sometimes unavoidable. Let’s face it – the whole idea of a glue gun is to melt the glue stick. But you want that glue on the right pieces, not dripping onto your work area.
Enter the DIY hot glue gun holder! It’s your solution to keeping your glue gun and workstation clean, organized, and ready to go. Did I mention the best part? It’s so easy to clean up when you’re finished!
You’ll be working with wood, so be careful of splinters! Make sure you work that sandpaper to get the wood as smooth as possible. Ready to get started on this? Read on to find out what you need and how to make this DIY glue gun holder.
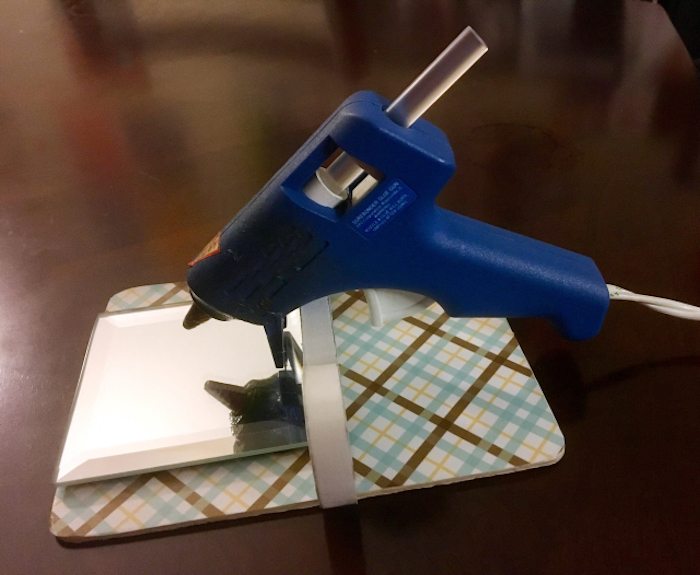
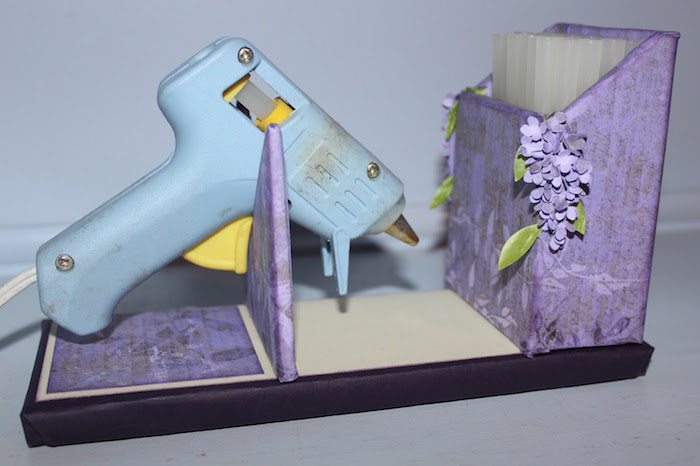
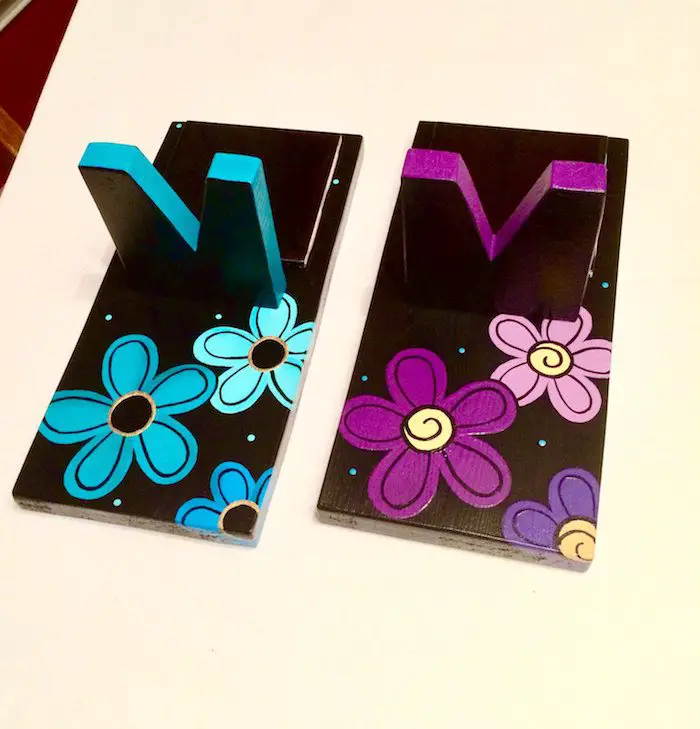
Need some inspiration? Here are a few more ideas you can use to create your personalized DIY hot glue gun holder.
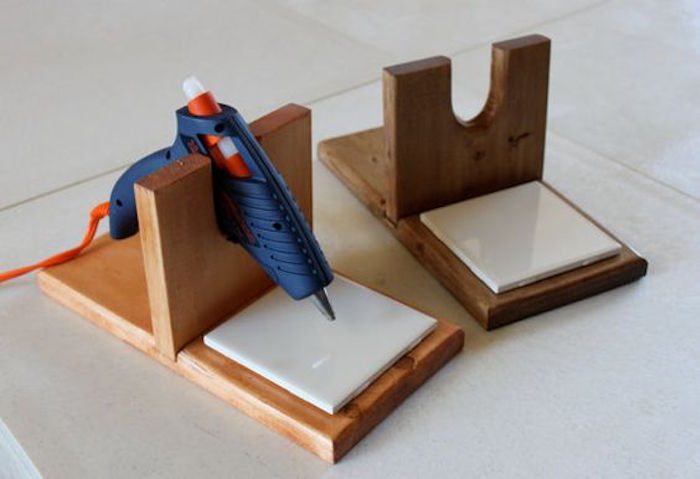
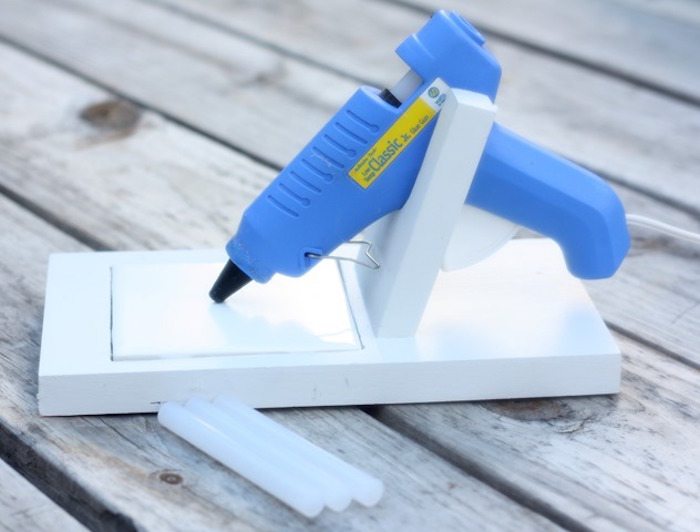
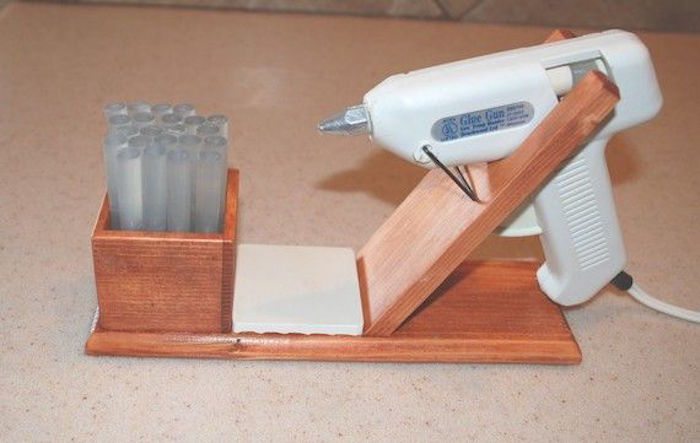
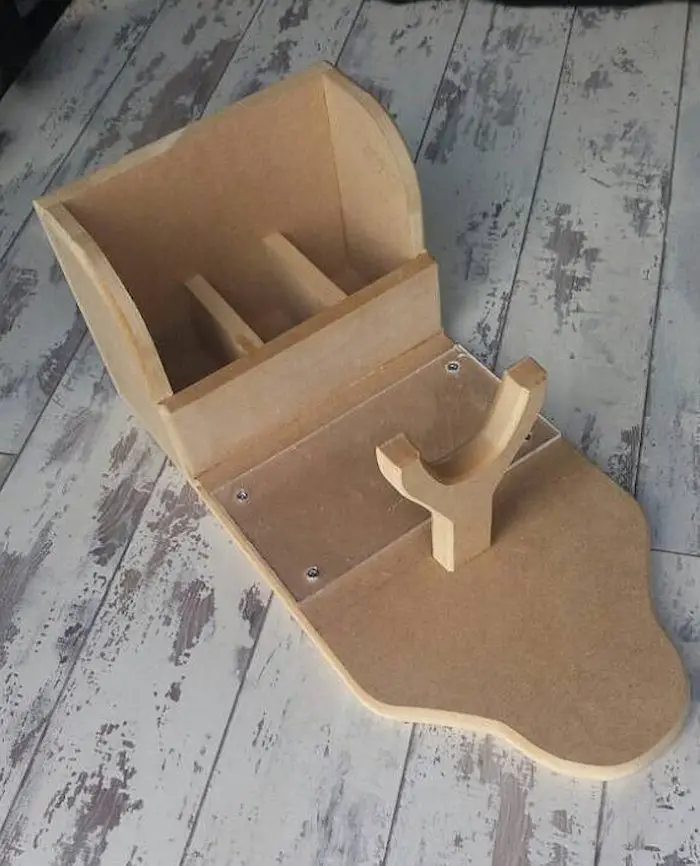
Awesome DIY Glue Gun Holder Design Ideas
Click on any image to start the lightbox display. Use your Esc key to close the lightbox.


You’ll need the following materials to create this project.
Materials
- Glass Tile Square
- A 4 x 4-inch glass tile is required to create the top of the glue gun holder. The glass tile provides a heat-resistant surface for the glue gun to rest on while it’s hot.
- Wood Plaque
- A 5 x 7-inch wood plaque is needed as the base of the glue gun holder. This plaque will provide stability and a flat surface for the glass tile to sit on.
- ½” Plywood
- You will need a sheet of ½” plywood to cut out the sides of the glue gun holder. This plywood will be used to create a box-like structure around the glass tile.
- Wood Glue
- Wood glue is used to attach the plywood sides to the wood plaque base. It creates a strong bond between the materials.
- Nails
- Nails are also used to secure the plywood sides to the wood plaque base. They provide additional strength and stability to the glue gun holder.
- Spray Paint
- Select your preferred spray paint hue to provide a sleek finish to your glue gun holder. The spray paint will furnish an additional layer of safeguard to the wood and bestow it with a refined appearance.
Sandpaper smooths wood by removing rough patches, splinters and edges, as well as providing a polished finish for a professional look.
Tools
- Router (Optional)
- A router is a tool that can create decorative edges on the wood pieces of the glue gun holder. It can cut a groove or channel to securely hold the glue gun and create a unique design on the holder.
- Jig Saw
- A jigsaw is a crucial tool for cutting wood into desired shapes and sizes, including the main body of the holder, base, or stand. Additionally, it can be utilized to craft intricate curves and shapes.
- Wood Carving Tool Set
- A wood carving toolkit is essential for crafting a DIY glue gun holder, as it allows for the removal of excess wood, the creation of intricate designs and patterns, and the smoothing of rough edges. It can also be used to add decorative touches to the holder and achieve a polished and refined appearance.
- Sandpaper
- Sandpaper smooths wood by removing rough patches, splinters and edges, as well as providing a polished finish for a professional look.
How to Make a DIY Glue Gun Holder
Craft enthusiasts and DIY enthusiasts alike understand the importance of a glue gun as an essential tool. However, keeping your glue gun and cords neat and organised can be difficult. Therefore, I am sharing a simple DIY glue gun holder that can be created in minutes.
Trace and Cut a Box Shape on Plywood
To craft a DIY glue gun holder, start by using a router to extract a plywood section that can accommodate a glass tile. Preceded by cautiously running the router along the perimeters of the designated space until the desired dimensions are reached.
The next step involves outlining a box on the plywood that can accommodate the glass tile. A pencil or similar tool can accurately measure the box to ensure an ideal tile fit.
After tracing the box, cut it out precisely with a saw or other cutting tool to maintain its straightness and evenness. Once done, the DIY glue gun holder is now prepared for subsequent construction phases.
Make the Glue Gun Holder
To create the foundation of the DIY glue gun holder, cut a 1/2″ plywood sheet into a “U” shape using a jigsaw tool, adjusting the size according to your glue gun.
Start by tracing the “U” shape on the plywood sheet, ensuring precise measurements. A ruler or measuring tape can help in achieving accuracy. Using a jigsaw tool, meticulously cut out the “U” shape from the plywood sheet. Exercise caution and cut at a steady pace to avoid any mistakes or errors in the shape.
Smooth out any rough edges or splinters on the plywood base of your glue gun holder using sandpaper after cutting out the “U” shape for a polished finish. It’s important to have a smooth base to provide stable and sturdy support for your glue gun.
Attach All Together
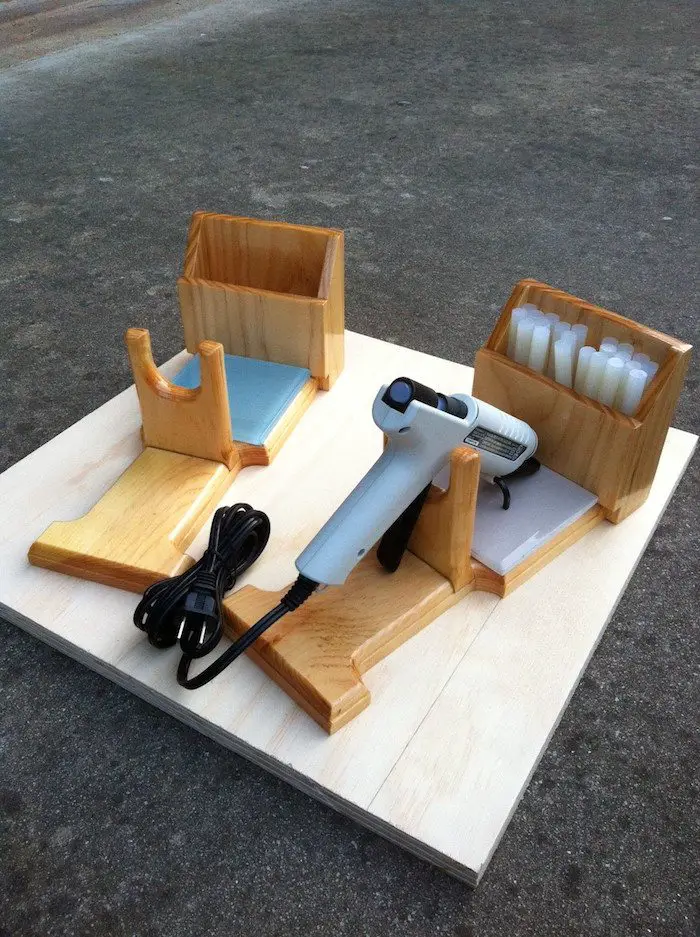
Once you have completed the prior steps of cutting the plywood and drilling the necessary holes, it is imperative to dry-fit the pieces to confirm proper alignment.
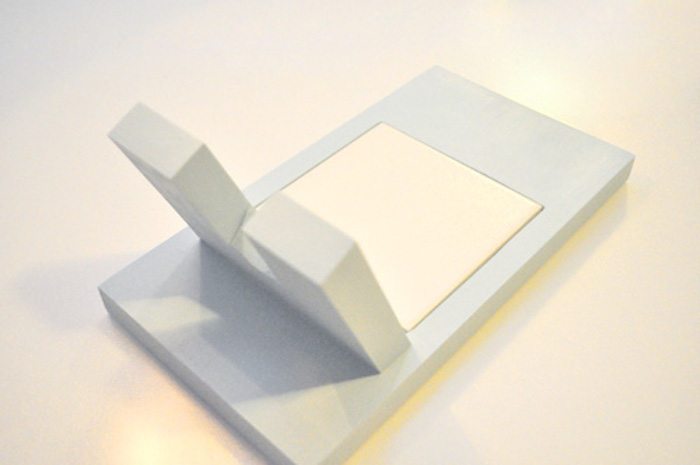
After dry-fitting the components, the resulting structure should reflect the provided image. This will furnish a notion of how the pieces ought to be assembled and aid in determining the dimensions of the “U” shaped component in the holster phase.
Before moving on to the next step, it’s crucial to dry-fit all the components together to confirm their proper fit. In case of any misalignments, you can correct them at this stage, thereby saving valuable time and avoiding potential frustration in the future.
Secure the Piece Permanently
After dry-fitting the pieces of your glue gun holder and confirming its appearance, it is time to permanently attach them. One method is to use wood glue, a type of adhesive specially created for use with wood to establish a durable bond capable of enduring the weight and pressure of your glue gun.
Apply wood glue by dispensing a small amount onto one of the pieces to be joined. Evenly spread the glue over the surface using a brush or your finger, ensuring complete coverage with a thin layer.
Place the second piece onto the adhesive-covered surface, ensuring precise alignment of the edges. Apply firm pressure and maintain it for a few minutes, allowing the glue to adhere.
Screws can be utilized to secure the pieces along with wood glue. Prior to inserting screws, drill small holes in the wood to avoid splitting. Finally, use a power drill or screwdriver to insert the screws into the pre-drilled holes.
Ensure the screws are level with the surface of the wood to avoid any obstructions that may hinder the use of the glue gun.
Paint your glue gun holder
After finishing the construction of your DIY hot glue gun holder and ensuring that the glue and screws have dried adequately, it’s time to paint the holder. Before starting the painting, ensure the holder is free of any dust or debris by cleaning it.
Begin painting your glue gun holder by applying a base coat of paint with either a paintbrush or spray can. Wait for the paint to dry thoroughly before applying an additional coat if required. Ensure that the paint is distributed evenly, covering all areas of the holder.
After painting the holder, wait for it to fully dry. The drying period will vary based on the paint type and environmental factors. When the paint is entirely dry, utilise your newly painted glue gun holder for your crafting or DIY endeavours.
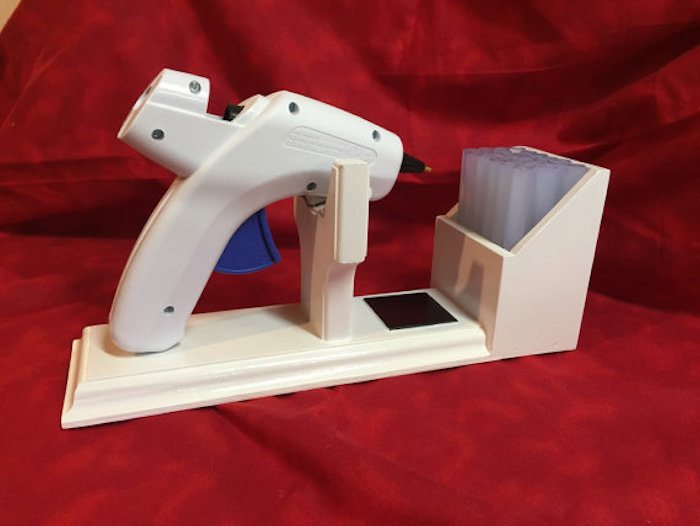
Add the Glass Tile
After applying multiple layers of paint and allowing ample time for drying, the holder for the hot glue gun will be ready for use. After the paint has fully dried, attach the glass tile to the holder’s front with a durable and transparent adhesive.
Adding glass tiles to the glue gun holder will enhance its aesthetic appeal and safeguard it from the heat generated by the gun. Glass tiles possess heat-resistant properties, thereby protecting the wood from scorching or heat-related harm.
After adding the glass tile, the DIY hot glue gun holder is complete and ready for use in your craft room. You can now safely store your hot glue gun and keep it accessible during your crafting sessions. This holder will save you from the annoyance of searching for or losing your glue gun.
The Take Away
And that’s it! You now have your very own glue gun holder! Isn’t it great to be able to have all of your tools in one place and within easy reach? This holder is perfect for any workspace, whether it’s in your home or in your office. Plus, it makes a great gift for any crafters or DIYers in your life!
Thanks to The country chic cottage for this project. Thanks to Angie Holden for this creative project.
If you liked this project, you might also like to view Turn a Stool into a Craft Supplies Storage…


