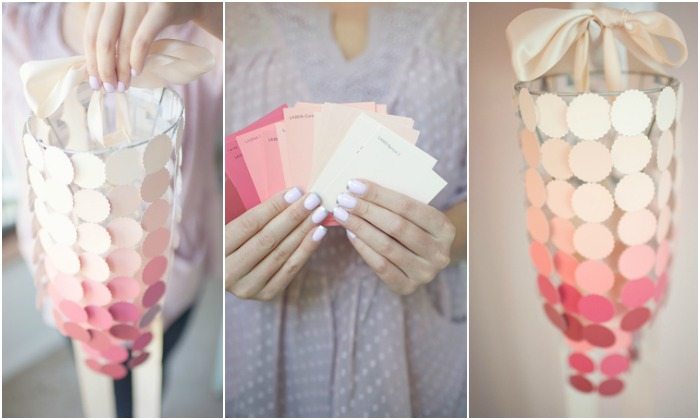
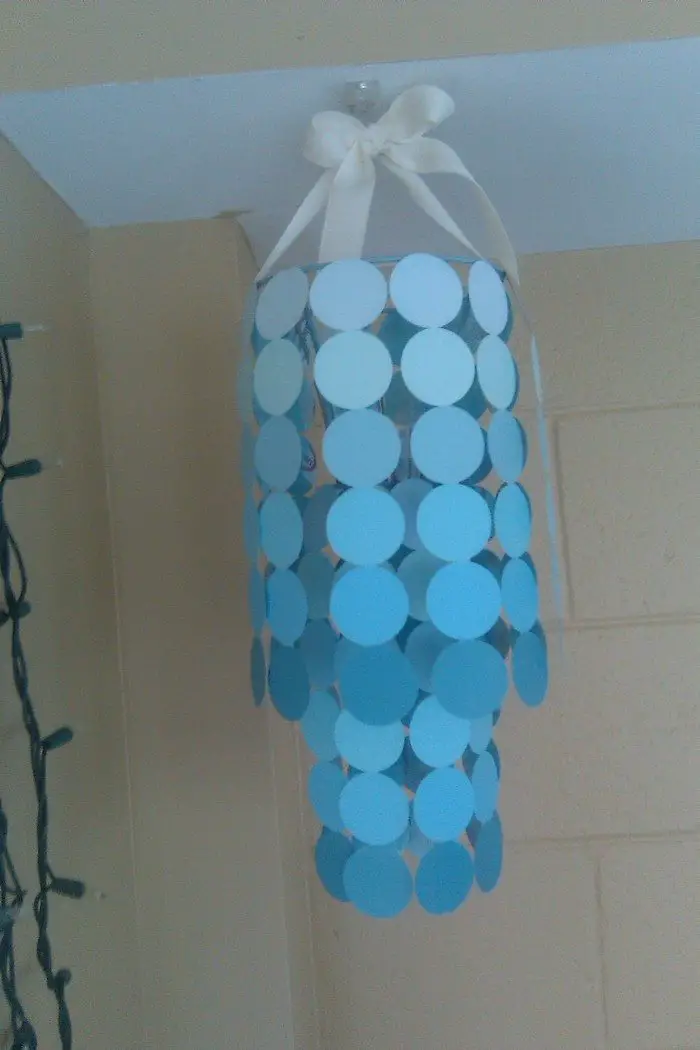
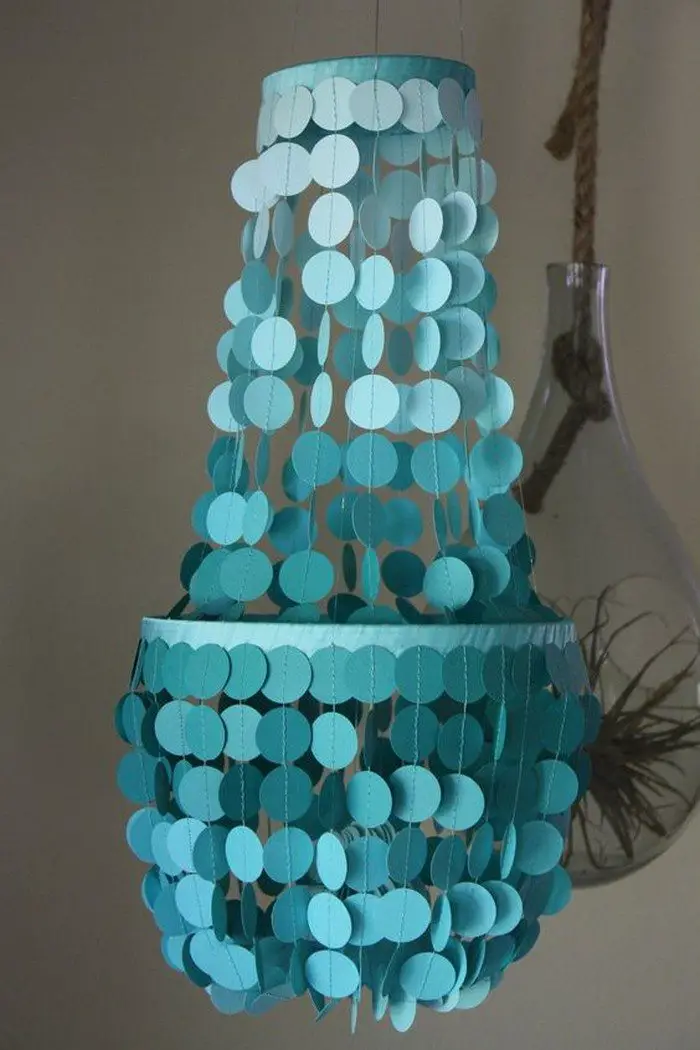
Looking for adorable decor you can add to a boring spot in your home? How about this colourful paint swatch chandelier!
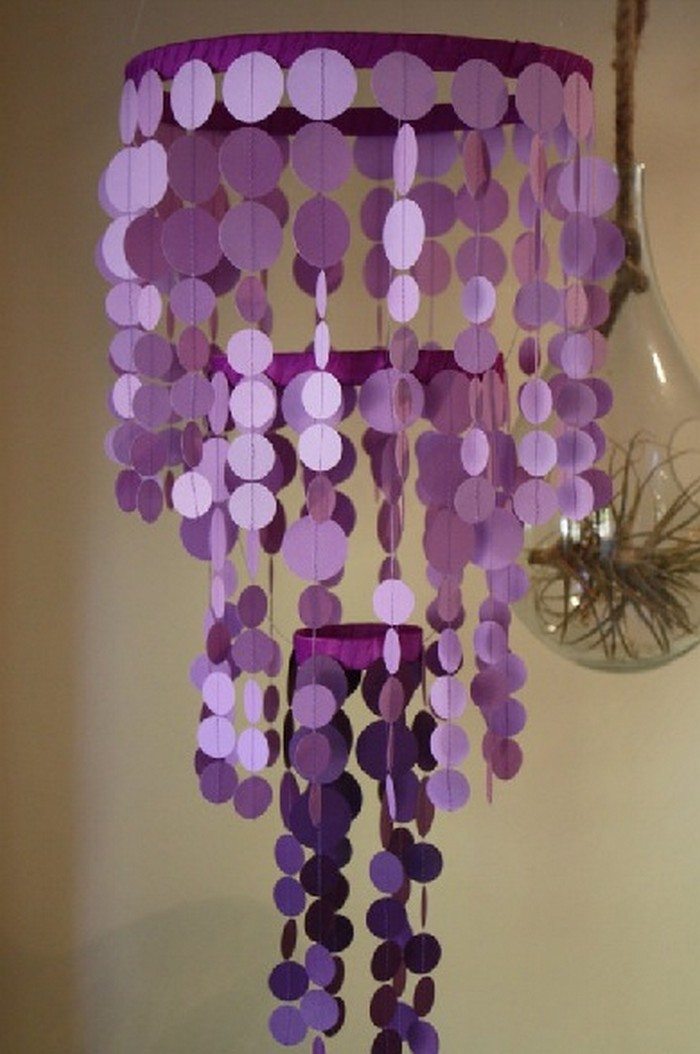
Many of you DIY-ers out there probably have some paint swatches hidden in your storage. And if you don’t have use for them anymore, this creative project is a great way to give them a new purpose!

It’s a great decor for the kid’s bedroom, for the kitchen, for an arts and crafts studio – anywhere in your home that needs a bit of colour or cheer. Some parents even make a paint swatch chandelier to use as a crib mobile!
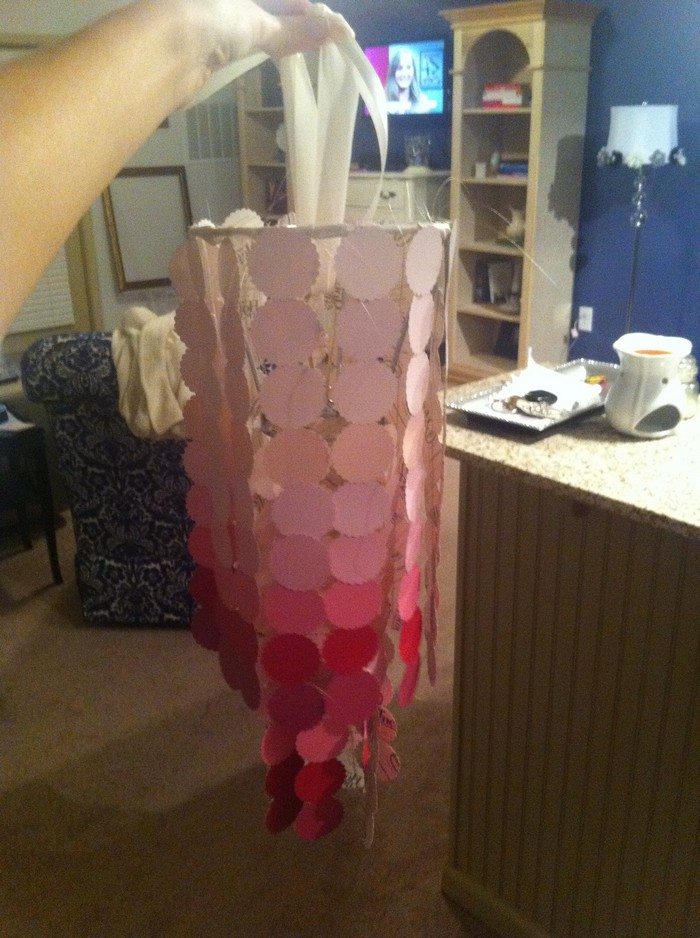
These paint swatch chandeliers are the perfect way to add a touch of whimsy to your home. They’re easy to make, and they’re a great way to upcycle those old paint swatches that you have laying around.
Contents
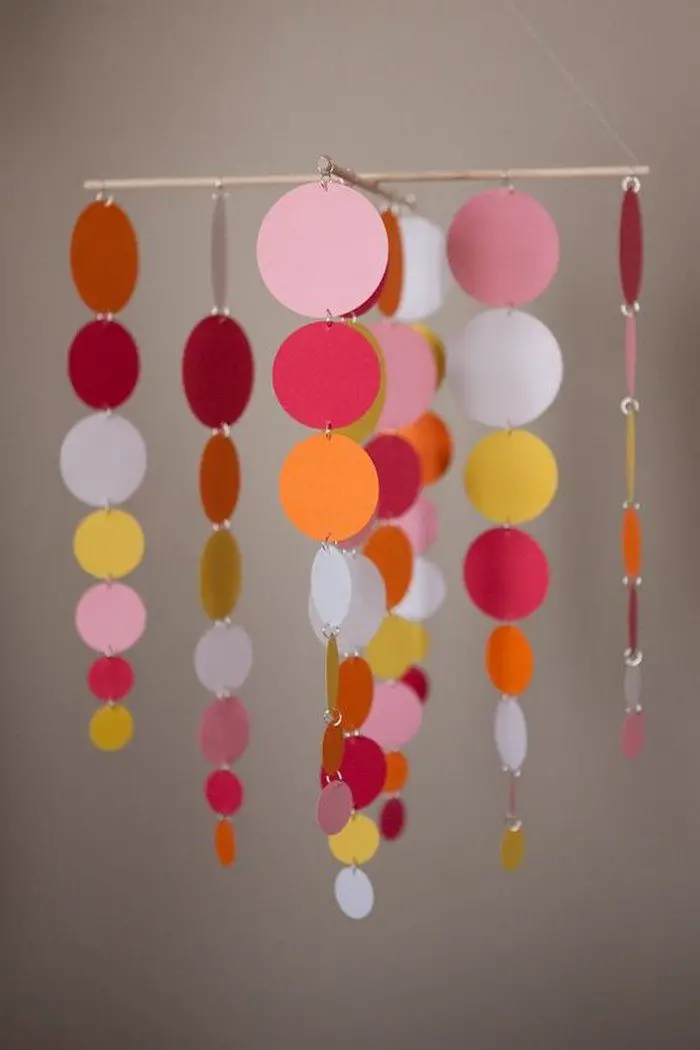
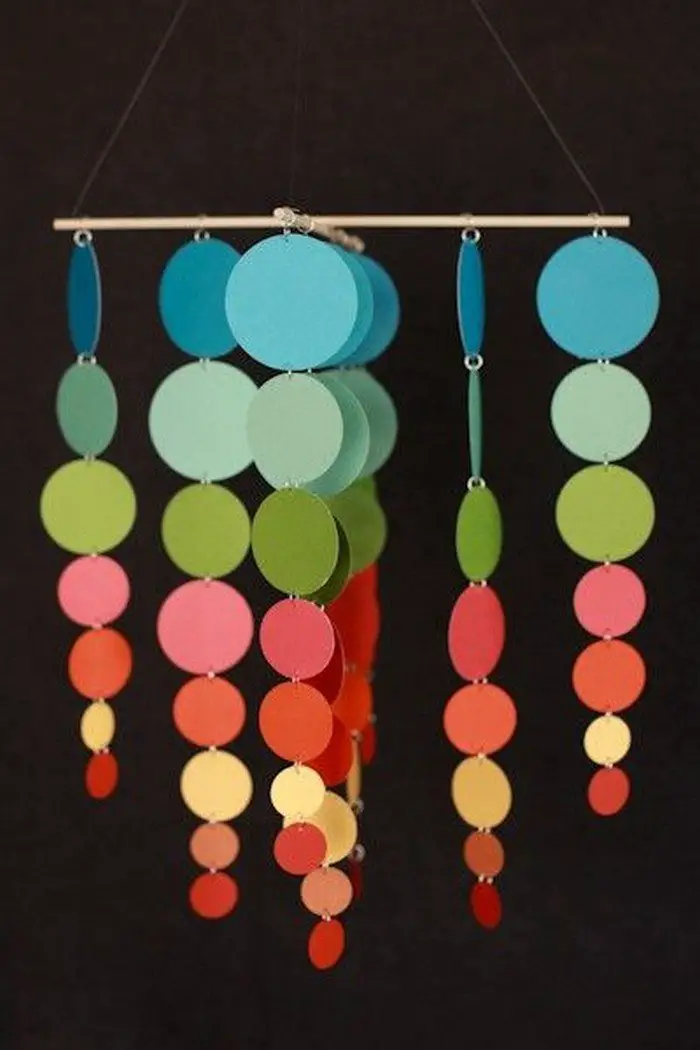
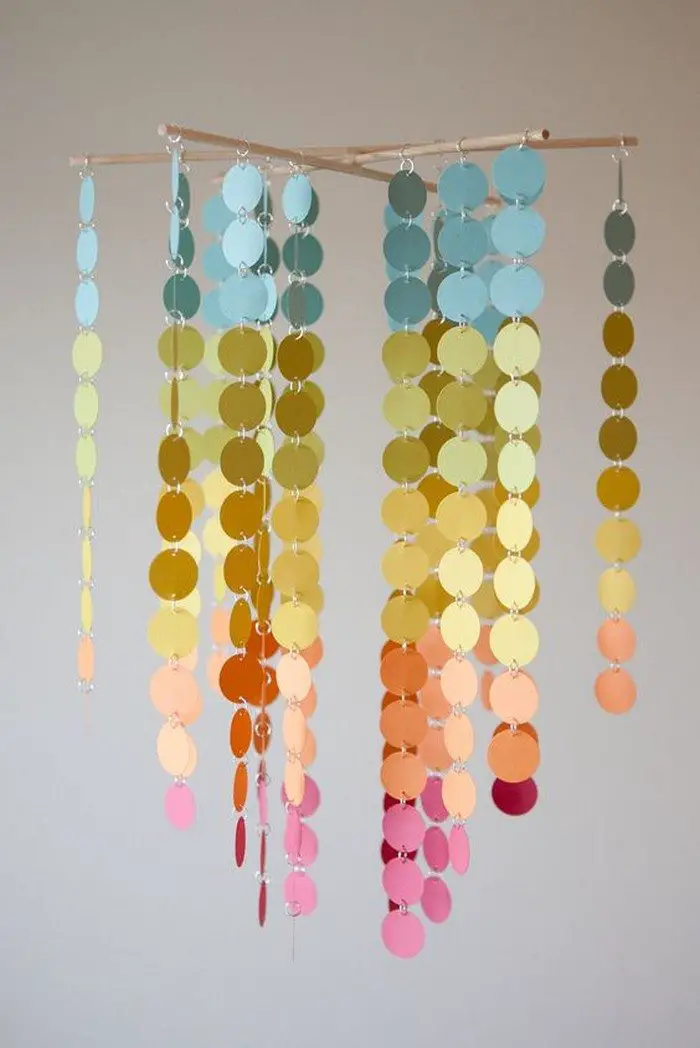
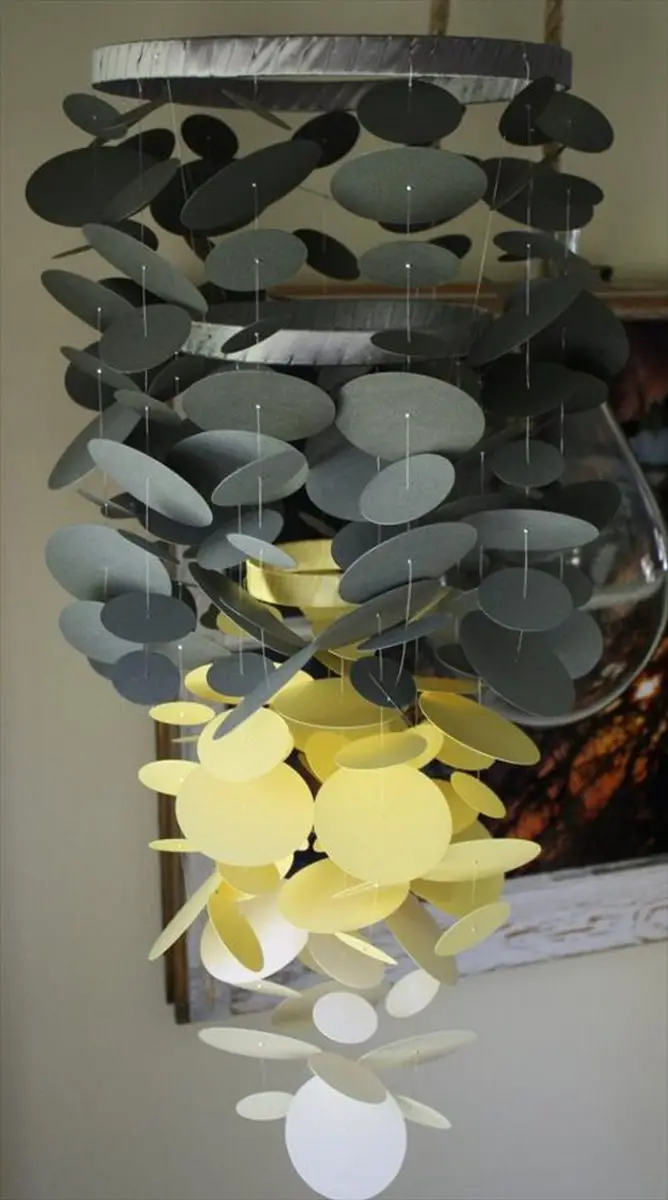
Adorable paint swatch chandelier designs
Click on any image to start the lightbox display. Use your Esc key to close the lightbox. ?
It’s very easy to make as well as a fun project you can do together with the kids.
Making a beautiful DIY chandelier is a fun and easy project that you can do together with the kids. It’s a great way to spend some quality time together while also getting a little messy and creative. Plus, seeing this DIY chandelier hanging up on your ceiling is a lot of fun, too!
Is this going to be your next craft project?
You’ll need the following tools and materials for this decor.
- Paint Swatches
- Chandelier Base (such as lamp shade frame)
- Tape
- Thread
- Ribbon
- Paper Punch
- Scissors
How to make an adorable DIY paint swatch chandelier
Here’s a quick and easy guide for a paint swatch chandelier that you can make at home:
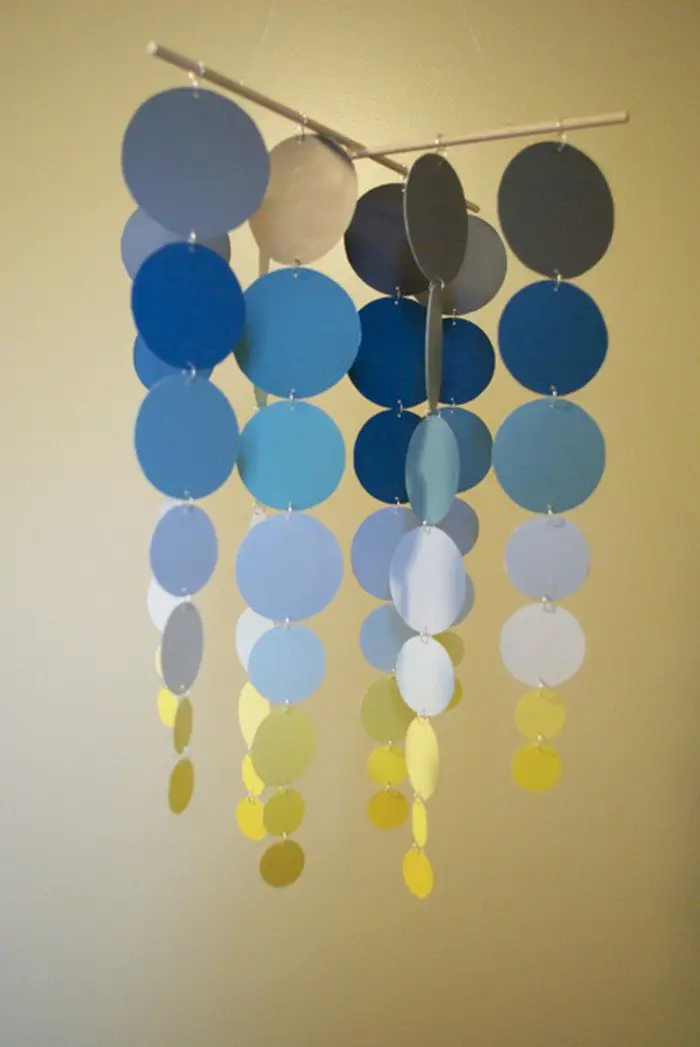
1. Cut several circles
In order to make one mobile like in the picture above, you will need ten circles of 2″ diameter and four circles of 1″ diameter.
2. Connect the circles with a transparent thread
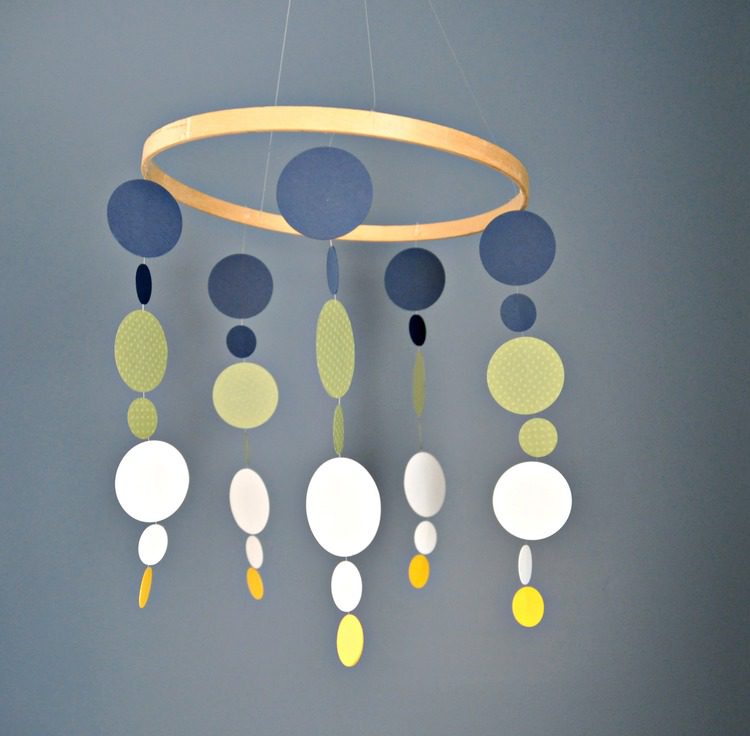
Hold one end of the transparent thread. Start with yellow (or anything you prefer), this will be your bottom colour. Tape one of the circles with double-sided tape. The thread should be placed on top of the tape. Then seal the circle with a second circle. You will need to repeat this step for each dangly piece. The spacing was just an eyeball calculation. Small gaps between circles look best to me. The clear thread should be left at the top of the embroidery hoop so that you can attach it there.
3. Apply glue
Hold your hoop. Glue the embroidery hoop with a small dab of hot glue. Use hot glue to attach the clear thread. Let it cool down for a few minutes. Ensure that each strand is spaced evenly apart.
4. Hang it on
You can now hang your decor using a hook on your ceiling. This is a great way to add a bit of personality to your home. Plus, it’s super easy to do! Just find a hook that works for your needs, screw it into the ceiling, and voila! You’re ready to start hanging things up!
You’ll be surprised at how easy it is to make these nursery mobiles! 😉
We hope everything goes well with your project! Let us know how it turns out – we’d love to hear about your experience.
Thanks to Decorandthedog for this great project. You can get step-by-step instructions here…
If you liked this project, you might also like to view How to Turn Test Tubes Into a Chandelier…


