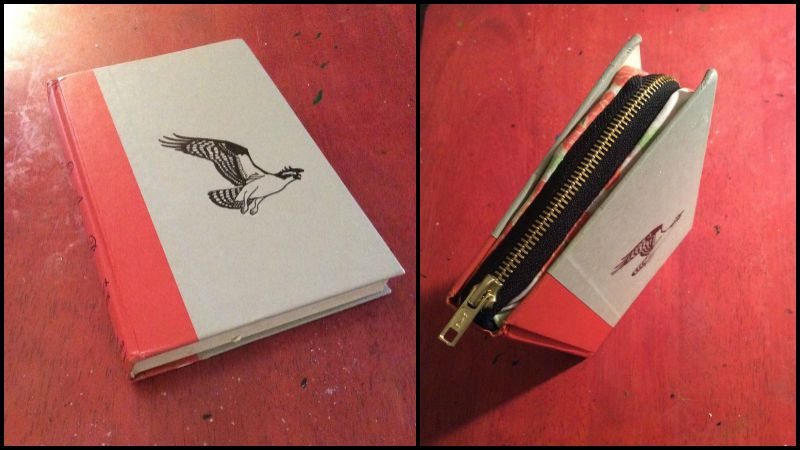
Contents
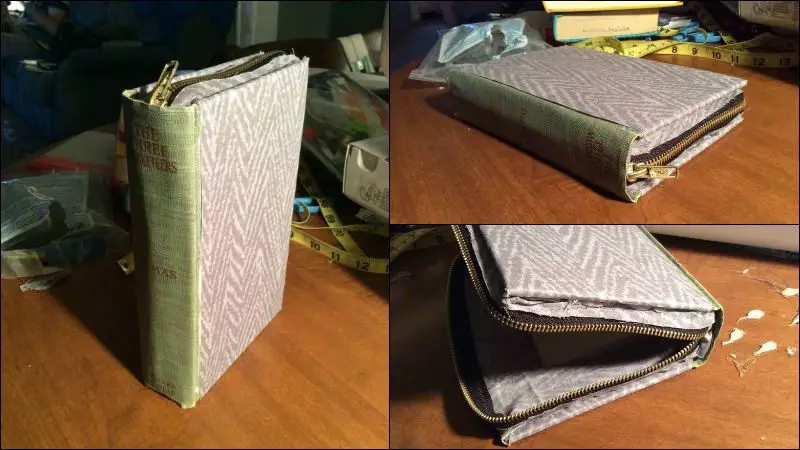
5. Attach the zipper to the book’s rear cover
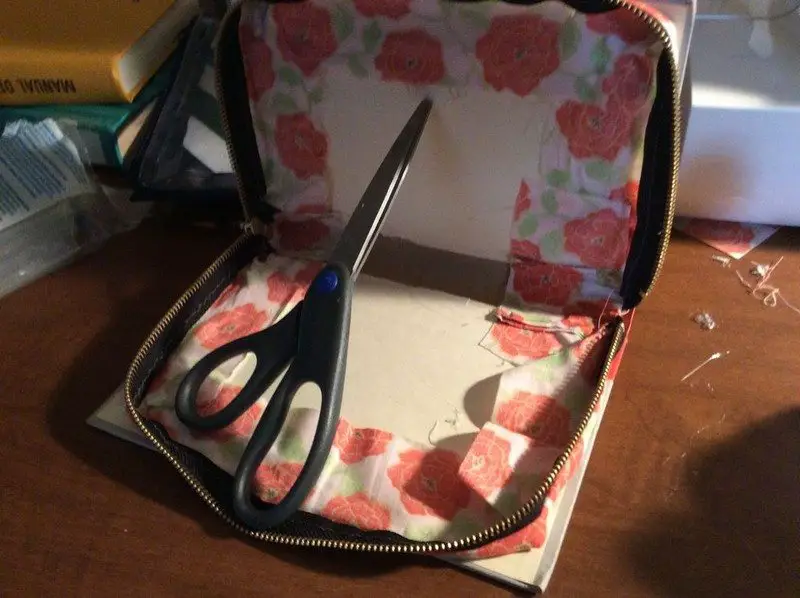
Go ahead and zip the zipper back up for the next part- attaching the other side of the zipper to the book.
This next part can also be tricky. You want to glue the other side of the zipper with the zipper closed. I tried to open the zipper and measure out/label points to match up, but it just didn’t seem to work for me. If you glue it down with the zipper open and don’t get the zipper sides matched up just right, then you won’t be able to get the zipper to work.
So I close the zipper and then position the zipper and practice closing the book on the zipper to get it lined up. Then I simply put glue on the material and close the book to get an initial stick. I examine the edges and see which spots need fixed or reglued and work from there. Usually, if you are careful enough, only minor gluing on the outside while zipped will fix most imperfections. It is also easy to pull up a section of hot glue and reglue.
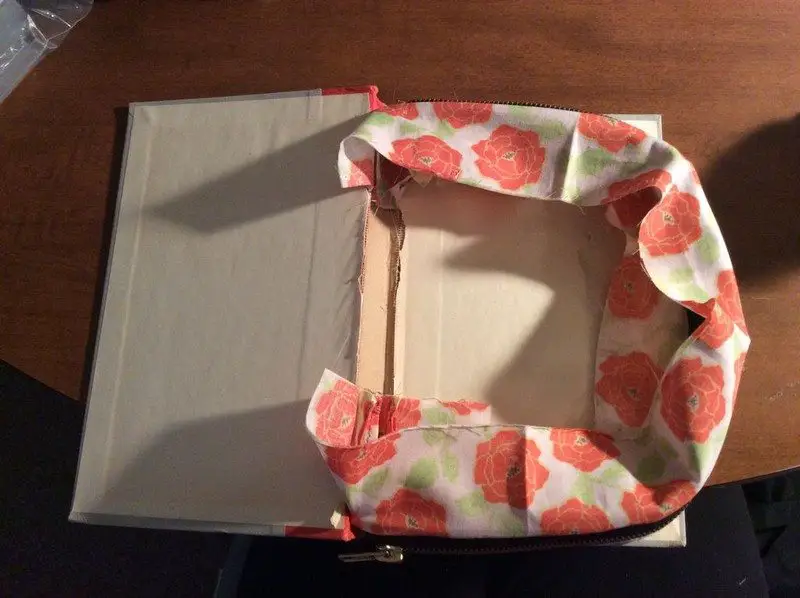
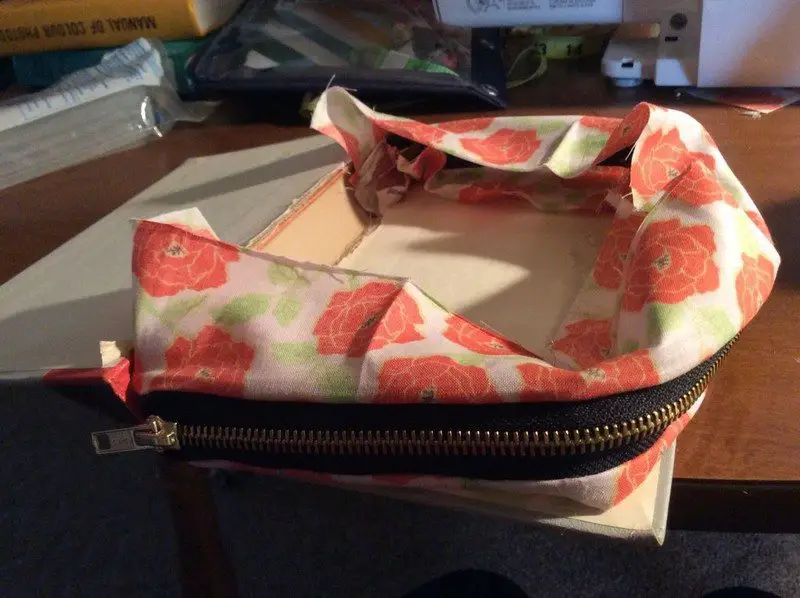
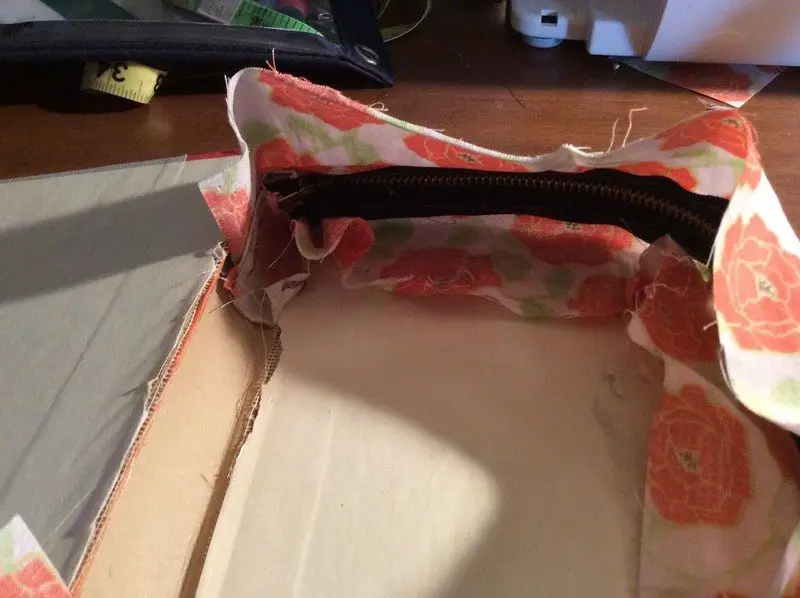
Once it is glued where you want it from the outside, unzip and glue down all the material from the inside like on the other half; folding down corners to lay flat.
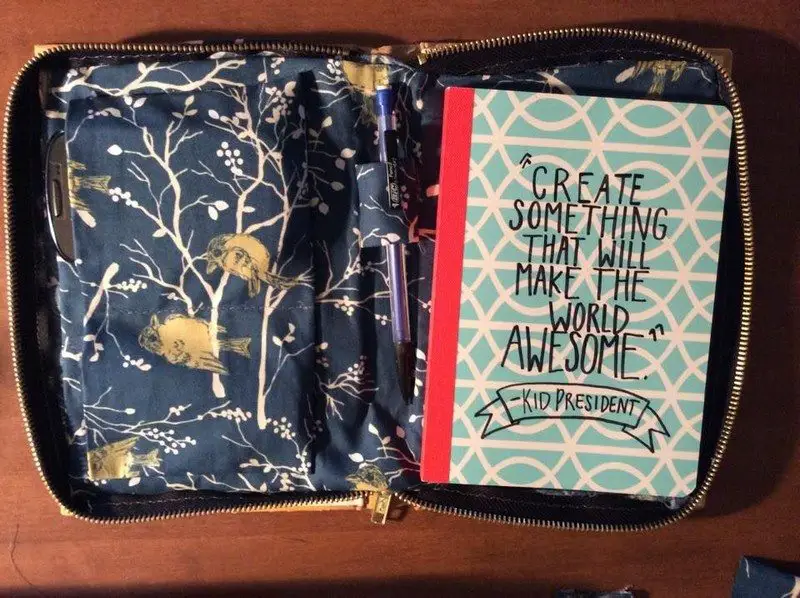
6. Make an inside liner
Next, I make an inside liner to cover all the gluing and make it look nice. I had enough material left to make one solid piece. I cut it a little bigger than the size of the inside and then hemmed it. You can also just fold down the edges. If you don’t have a big enough piece, you can have two pieces on each side and center them covering the book cover and edges of the material from the zipper.
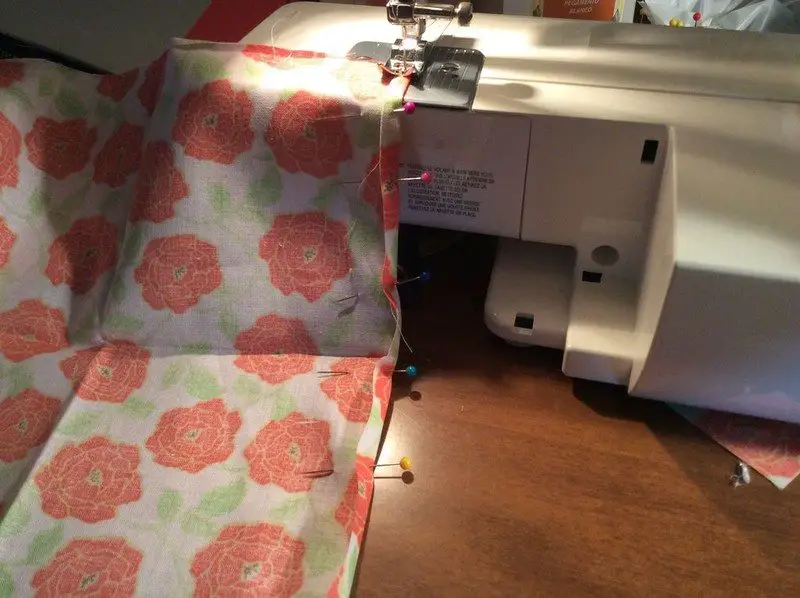
I then glued it down and pulled tight as I went, trying to go to the very edges.

To make it look nicer, you can put heat n bond on the back to make it smoother! Just iron the material to the heat n bond and then leave the paper backing on it for the glue to stick to.
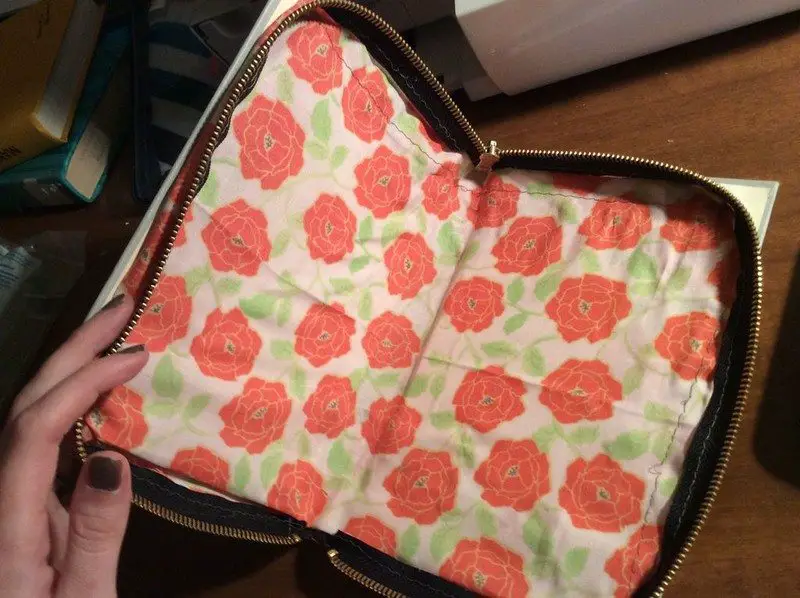
7. Clean it up
Clean it up, cut loose threads, pull away hot glue cobwebs, and test the zipper out…you are good to go!
8. Add a different cover (Optional)
If you have a book that you don’t care for the cover, you can also cover it with material!
You will do this after cutting the pages out of the book and before gluing in the zipper. Cut two pieces slightly larger than the covers so that the excess can be glued over the edge of the inside covers. I used heat n bond on the material to make it smooth, but you don’t have to. I used the red package of heat n bond, ironed the material onto the glue side, and then used the paper backing to make the glue stick better to the book cover.
After that, you just continue the rest of the instructions- adding the zipper and the inner liner.
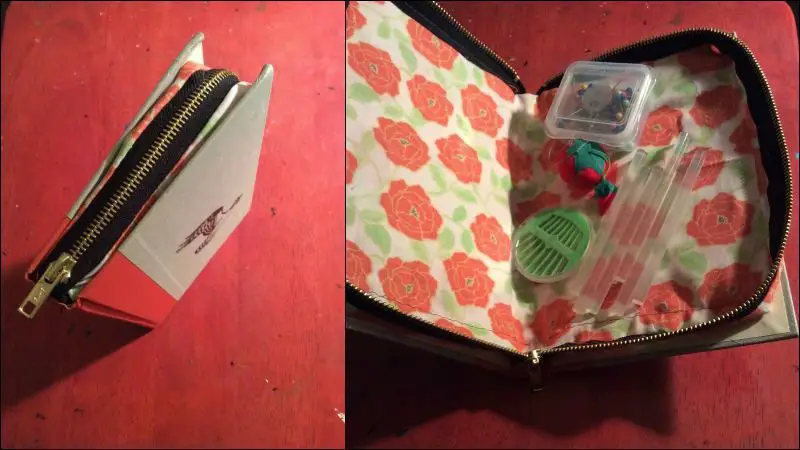
9. Add some pockets (Optional)
Enjoy! Add pockets and pen slots to make it even better. Use it for a wallet, clutch, secret storage on your bookshelf, sketching kit, tool kit, iPad holder, or just about anything you can think of!!
Thanks to
If you liked this project, you might also like to view Make an art decor from old book pages…


