Last Updated on June 17, 2024 by Team Ideas24
Do you have a wall in your home that could use a few more decorations? Now before you look into some DIY projects that would probably cost you a good amount of money, why not use scrap papers, old newspapers, or pages from magazines stocked in your storage?
Here, we feature some of the most beautiful DIY paper wall decorations you can find. These examples prove that impressive doesn’t have to be costly and difficult. Most are quick and very easy to do, you might just get addicted to doing them and crowd your wall with all these decorations!
Which part of your home could use one of these paper wall decorations?
9 Easy Paper Decor Ideas
These paper decor projects would be perfect for minimalists who want to keep their homes simple yet lively. :)
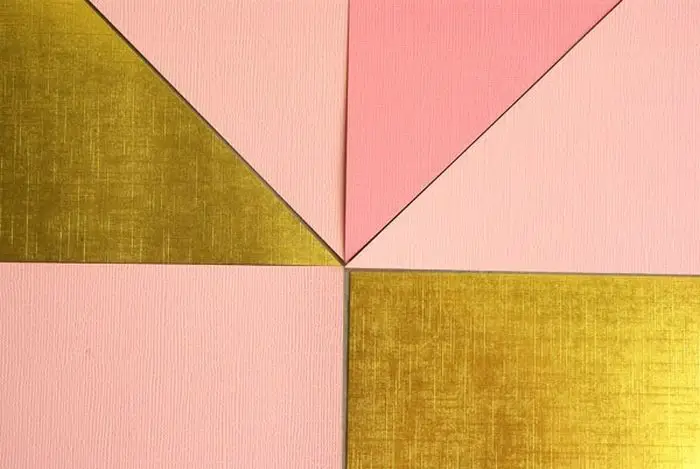
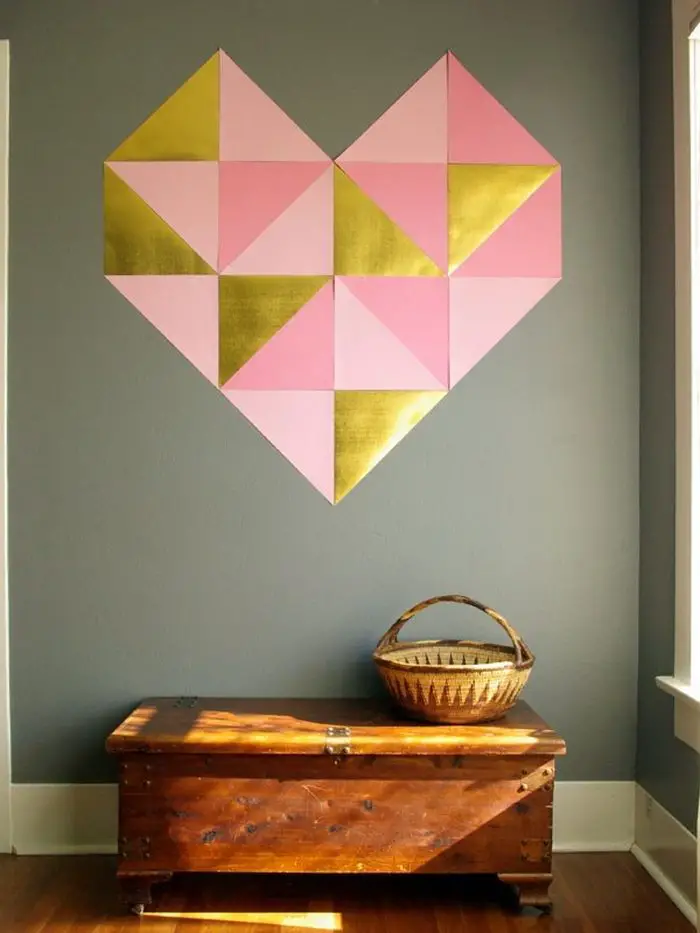
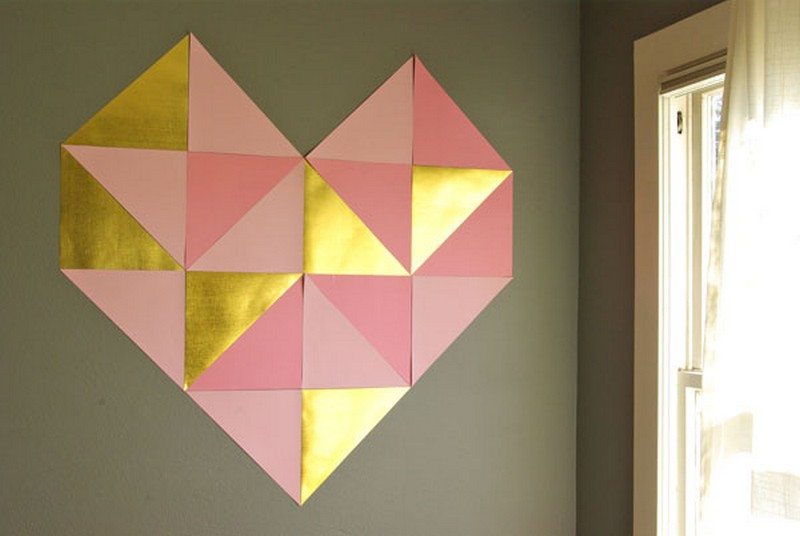
Creating a giant geometric wall heart is a fantastic way to incorporate paper decor into your home. This bold and modern piece serves as a focal point, adding color and dimension to any room. Begin by cutting equilateral triangles from thick paper or cardstock and painting them in white and vibrant hues. Include a few triangles with gold vinyl for a touch of elegance. Arrange these triangles on the floor to experiment with patterns, forming a heart shape that suits your style.
Once you’ve settled on a design, attach the triangles to your wall using hanging strips or double-sided adhesive tape, starting from the top and working your way down. Ensure each piece is level for a clean, geometric look. This paper decor project allows for flexibility—adjust the triangles as needed or even change the design entirely. With just paper and a bit of creativity, you can transform any space into a lively and personalized haven.
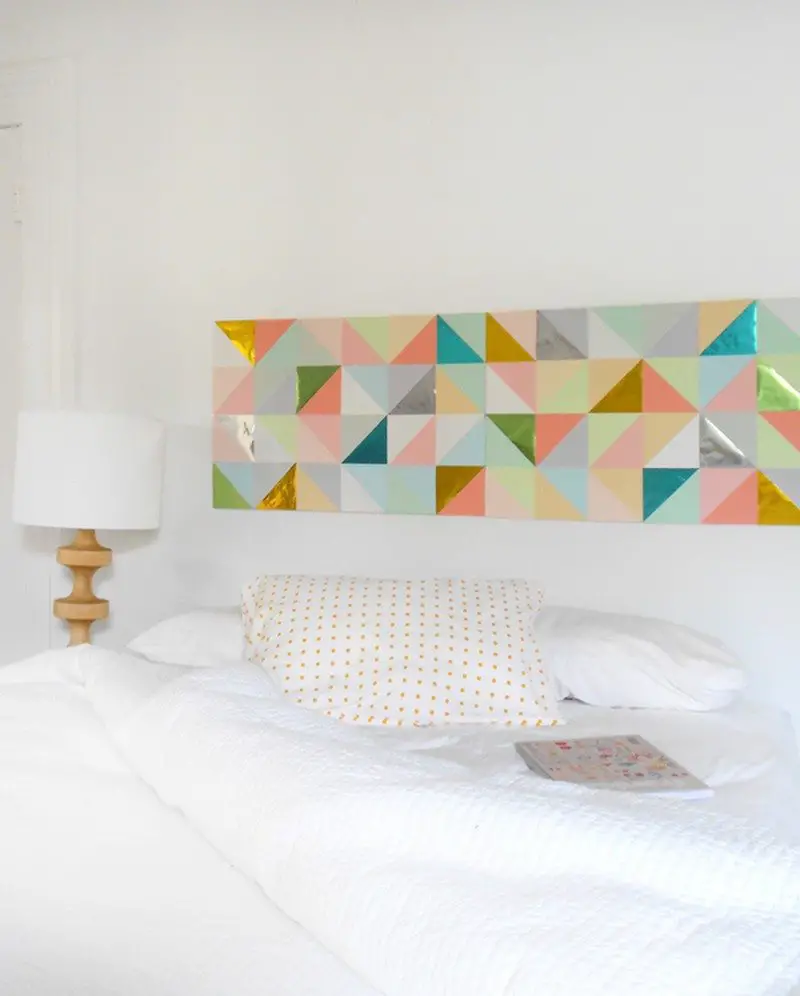
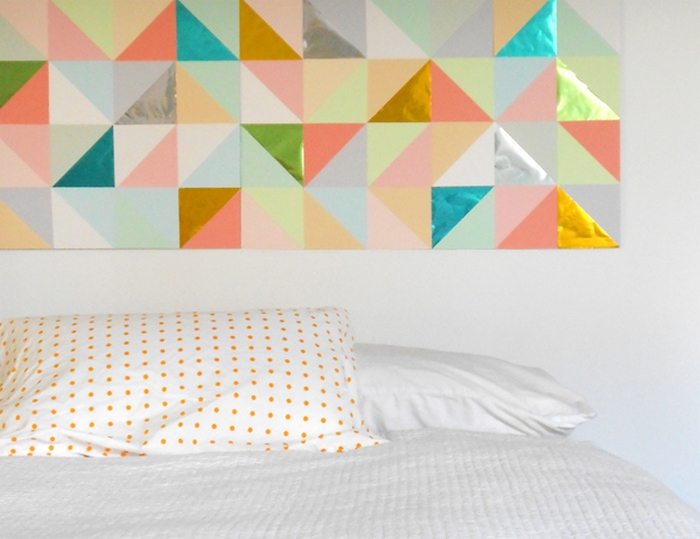
To create a striking geometric paper patchwork, start with a variety of 5-inch colored square papers. Cut each square in half diagonally to form triangles. Arrange these triangles on a whiteboard to experiment with different color patterns and shapes. Once you’re satisfied with the layout, secure the triangles to the board. This simple yet creative approach to paper decor adds a vibrant and artistic touch to any wall.
With the triangles firmly in place, hang your finished artwork on the wall. This paper decor piece not only brightens up your space but also allows you to showcase your personal style. The versatility of the geometric patterns means you can update or rearrange the design whenever you feel like refreshing your decor. It’s a perfect project for adding color and modern flair to your home.

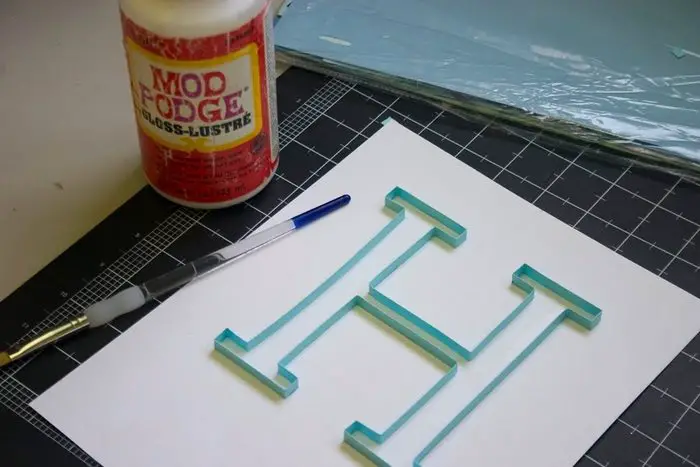
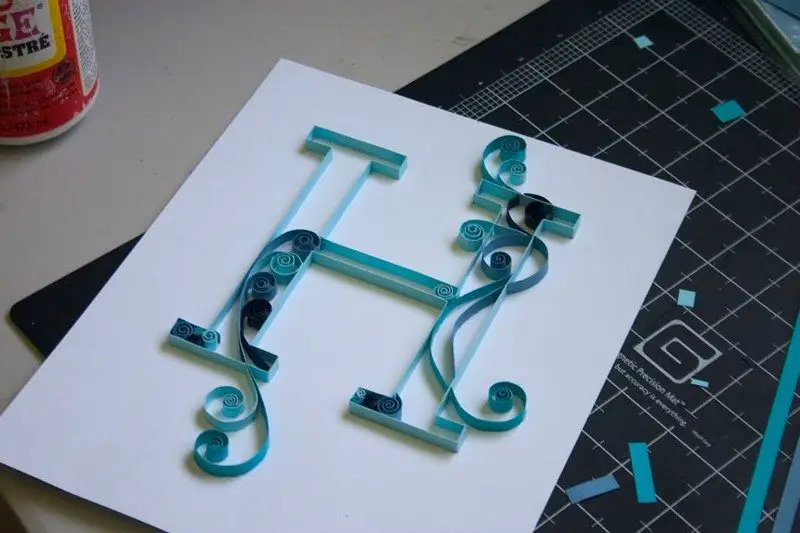
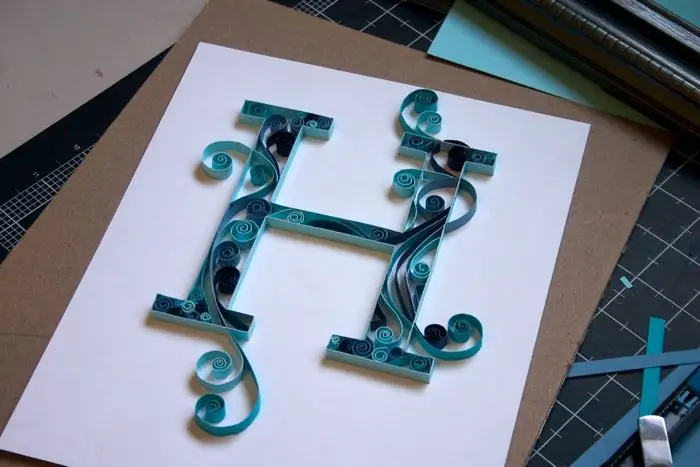
A quilled monogram letter is a charming way to personalize your home with paper decor. Select the first letter of your family name and use paper quilling techniques to create a 3D swirl design. This intricate art form involves rolling and shaping strips of paper to form elegant patterns and details. Once complete, frame the monogram or mount it on a backing board for easy hanging.
Display your quilled letter in your living room or any space where you want to add a touch of sophistication. This project combines the timeless appeal of monogramming with the delicate beauty of quilled paper decor. It’s an elegant way to introduce customized art into your home, celebrating your family’s initial with style and creativity.
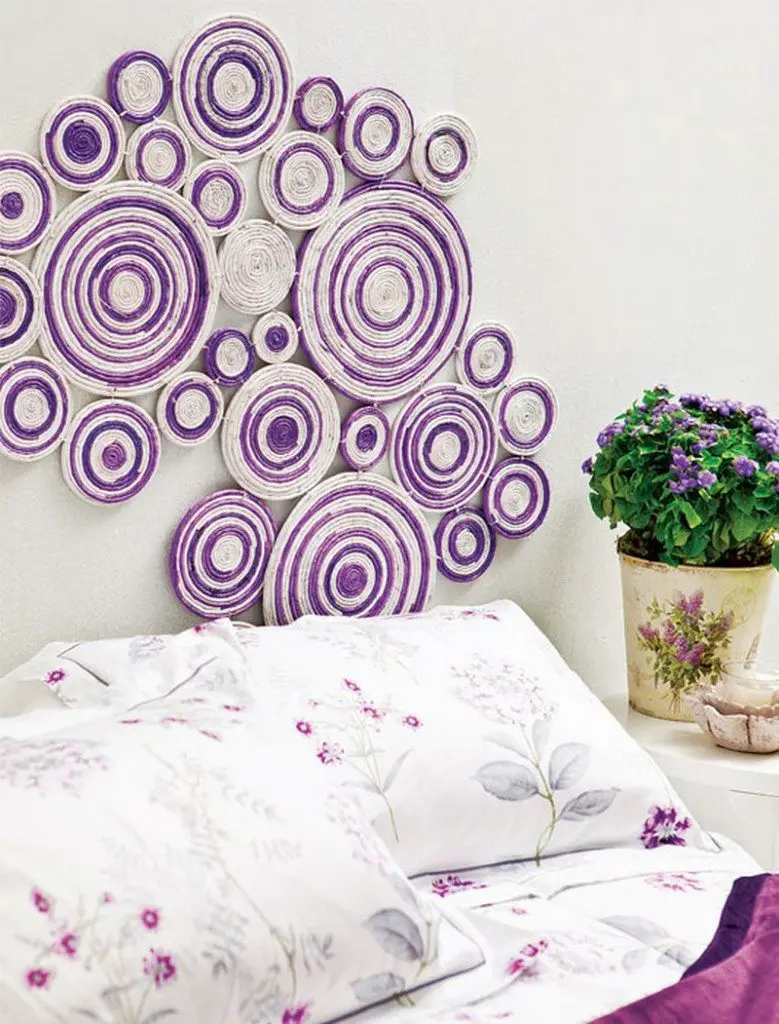
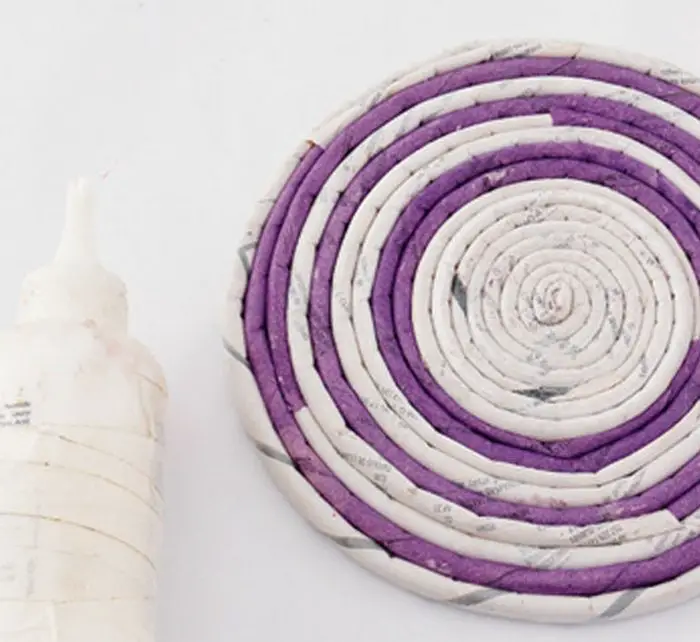
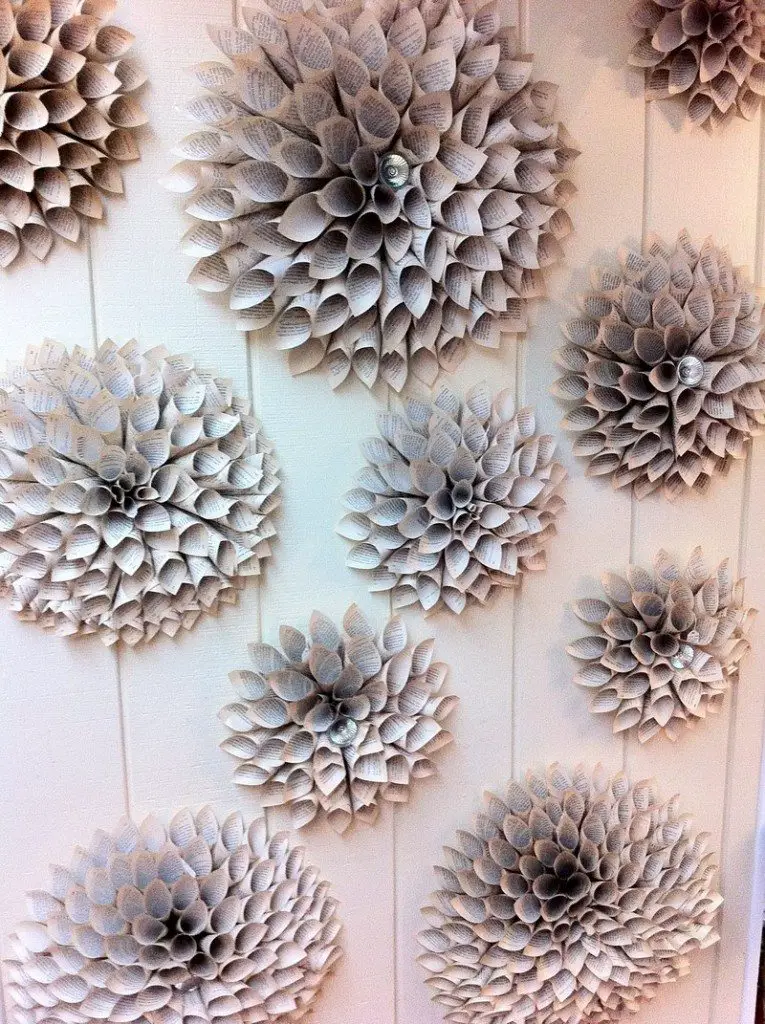
4. Upcycled Newspaper Wall Decor
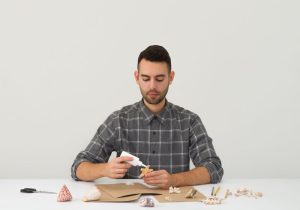
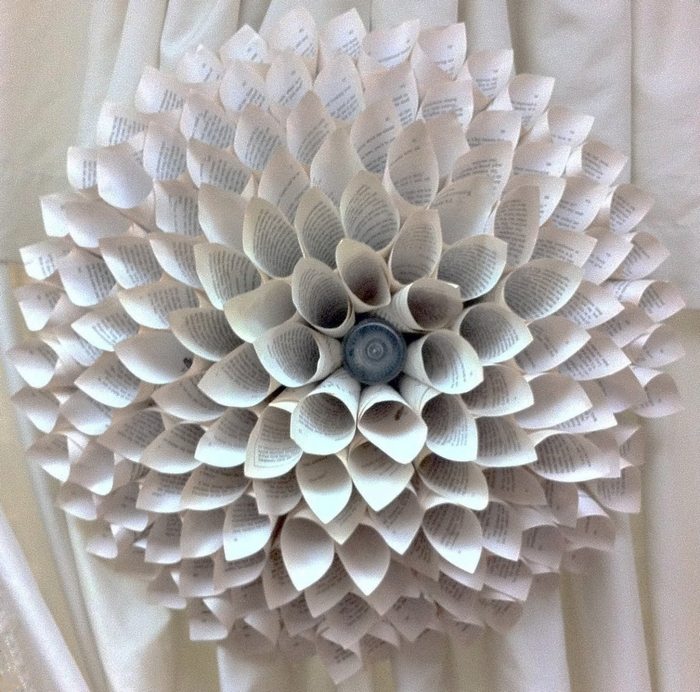
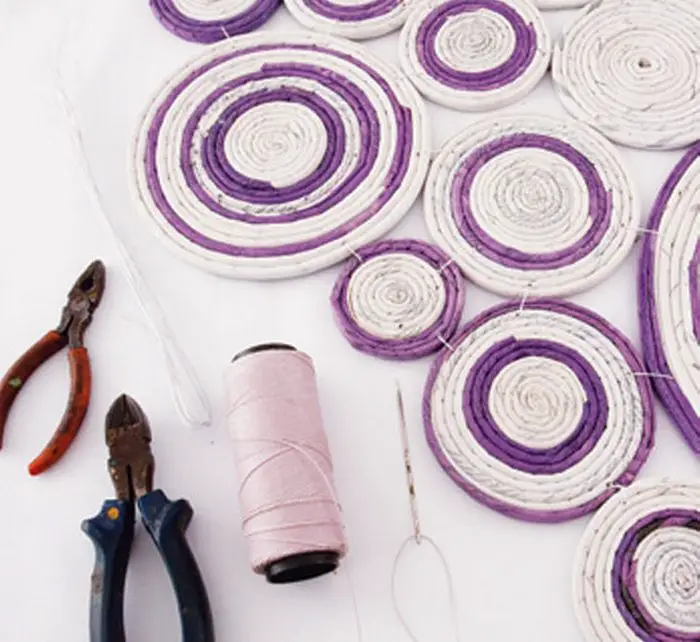
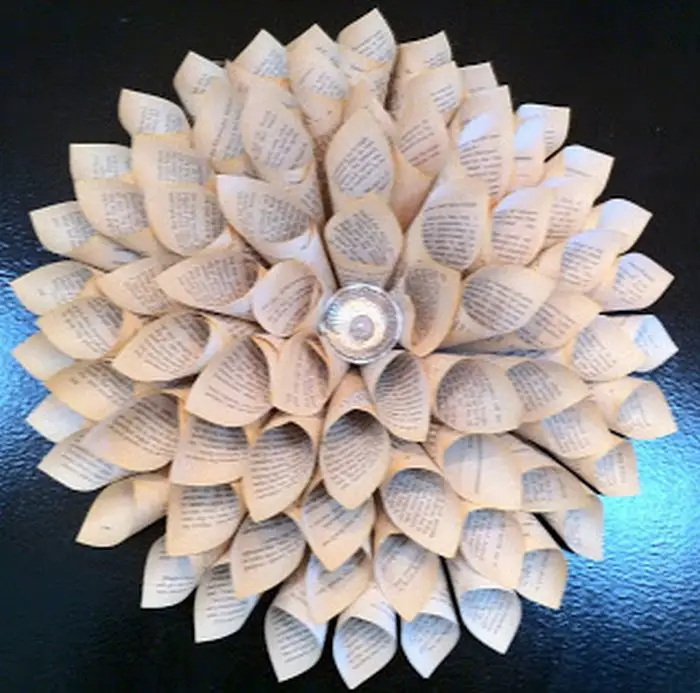
Transforming old newspapers into stylish wall decor is an eco-friendly way to add a unique touch to your space. Start by cutting newspapers into strips and rolling them tightly around barbeque sticks to form thin tubes. Secure these tubes with wood glue, allowing them to dry completely. Once dry, paint the tubes with acrylic paint in your chosen color and let them set for about 30 minutes. Next, gently bend and twist the tubes into circular shapes, creating intricate swirls and patterns.
To assemble your wall art, use a thick thread to stitch the swirled pieces together, forming a cohesive design. Alternatively, you can glue the pieces directly onto a backing board for a more structured look. This upcycled newspaper project not only showcases your creativity but also emphasizes the importance of recycling and sustainability in home decor. It’s a fantastic way to breathe new life into old materials and craft beautiful paper decor that’s both stylish and environmentally friendly.
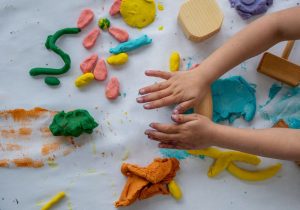
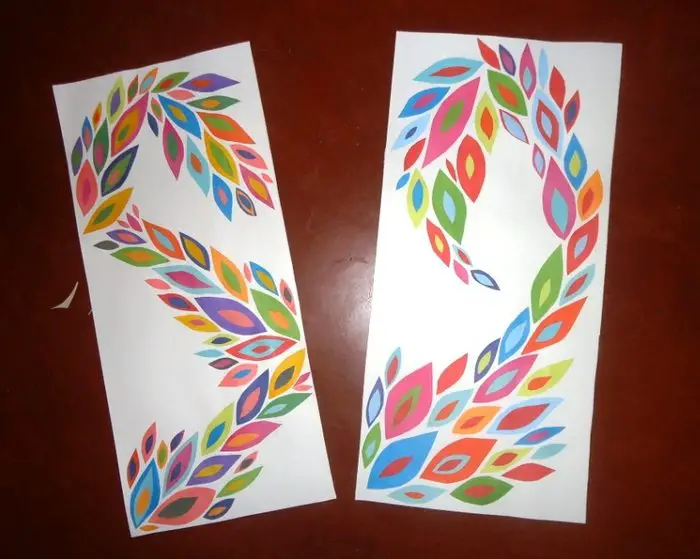
Adding vibrant leafy designs to your walls is a fun and engaging project, perfect for involving the whole family. Begin by drawing a variety of leaf shapes on colored paper. Encourage your kids to participate in coloring the leaves with different shades and patterns. Once the leaves are decorated, carefully cut them out. Arrange the colorful leaves on a board frame, experimenting with different layouts until you find a composition you love.
Secure the leaves to the board with glue, creating a lively, textured piece of art. Hang the finished piece on your wall to bring a touch of nature indoors. This DIY paper cut wall art not only brightens up your space but also provides a wonderful opportunity for creative expression and family bonding. It’s a simple yet impactful way to incorporate paper decor into your home, adding a burst of color and a personalized touch to your living environment.


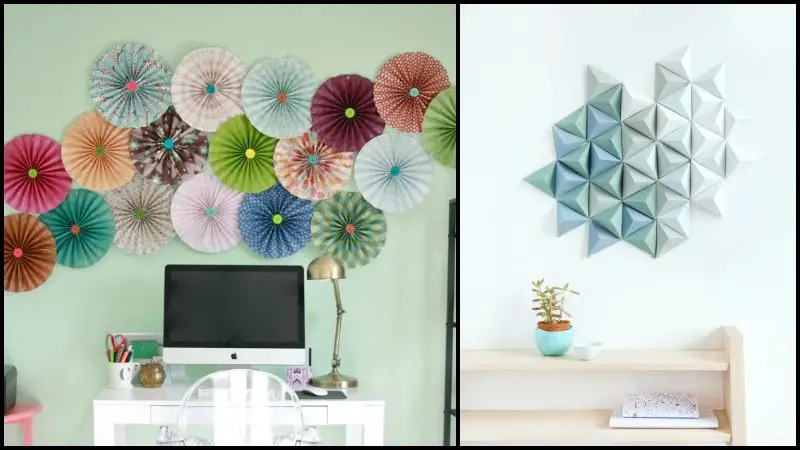
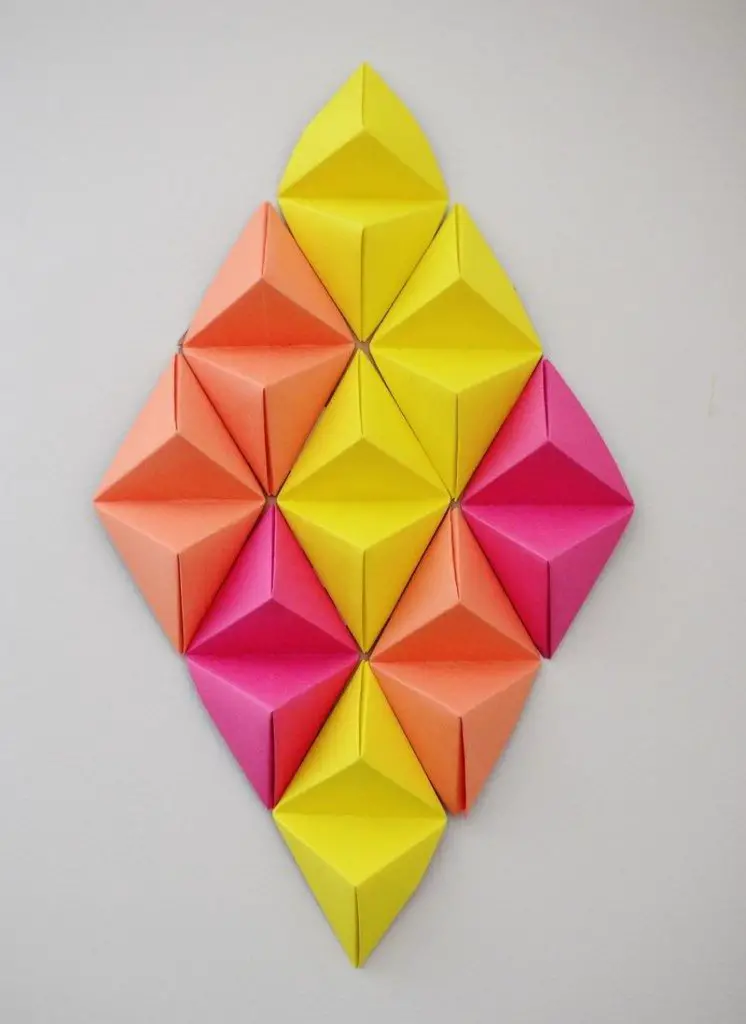
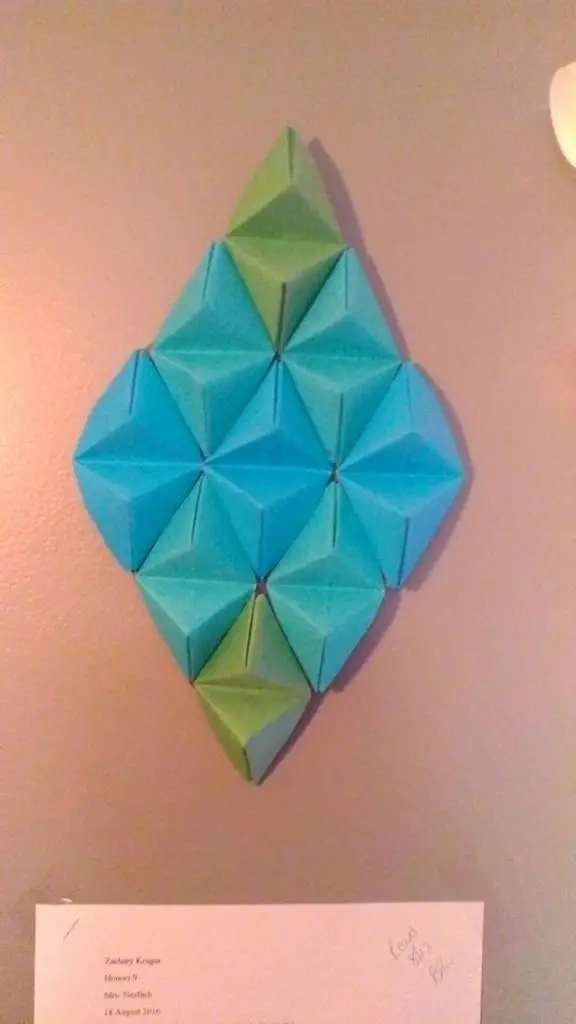
6. Wall Art 3D
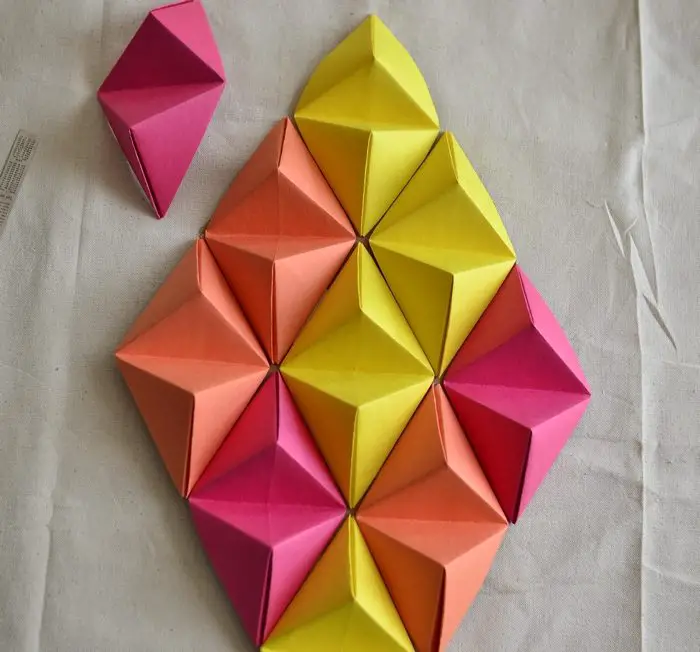
Creating 3D wall art is an excellent way to add depth and a splash of color to any room. To achieve this effect, use thick, colorful paper to cut out diamond shapes. You can experiment with different sizes and colors to create a vibrant, layered look. Fold each diamond along its centerline to give it a three-dimensional appearance. Arrange these folded diamonds on your wall in a pattern that appeals to you, whether it’s symmetrical or random.
Attach the diamonds to the wall using adhesive strips or small pieces of double-sided tape. This ensures they stay in place while maintaining their three-dimensional form. This paper decor project is not only simple and cost-effective but also highly customizable. You can easily change the colors and arrangement to match the season or your mood, making it a versatile addition to your home decor. The 3D effect adds an intriguing visual element, transforming a plain wall into a dynamic and engaging focal point.
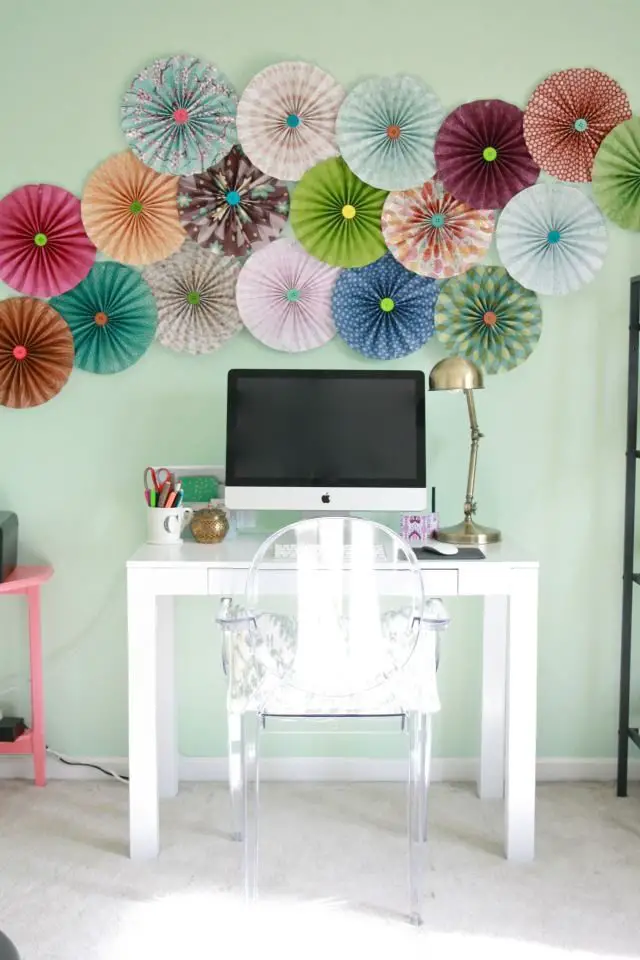
Creating a DIY paper pinwheel wall is a delightful way to add movement and whimsy to your space. Start by choosing sturdy paper in a variety of colors and patterns; scrapbook or craft paper works well for this project. Cut the paper into squares, and then fold each square diagonally to create creases. Unfold and fold again in the opposite direction to form an ‘X’ with the creases. These folds will guide you in shaping the pinwheels.
Next, cut along the creases from each corner towards the center, stopping about an inch from the middle. Fold every other point towards the center and secure with a dab of glue or a decorative pin. Once you have a collection of pinwheels, arrange them on your wall in a pattern or cluster that suits your style. This paper decor idea brings a playful and energetic vibe to any room, and the pinwheels can be easily adjusted or replaced to keep your decor fresh and lively.
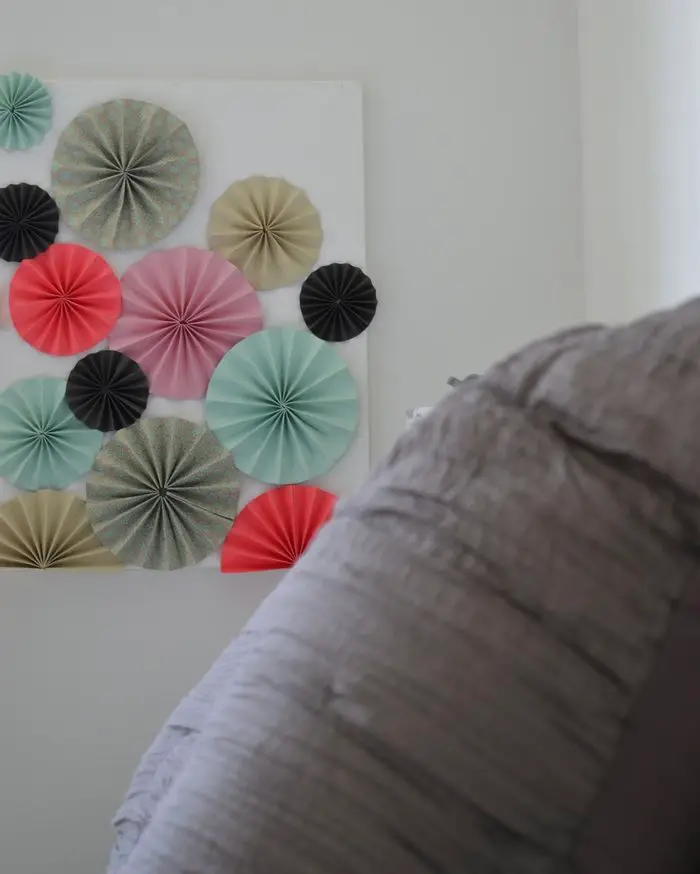
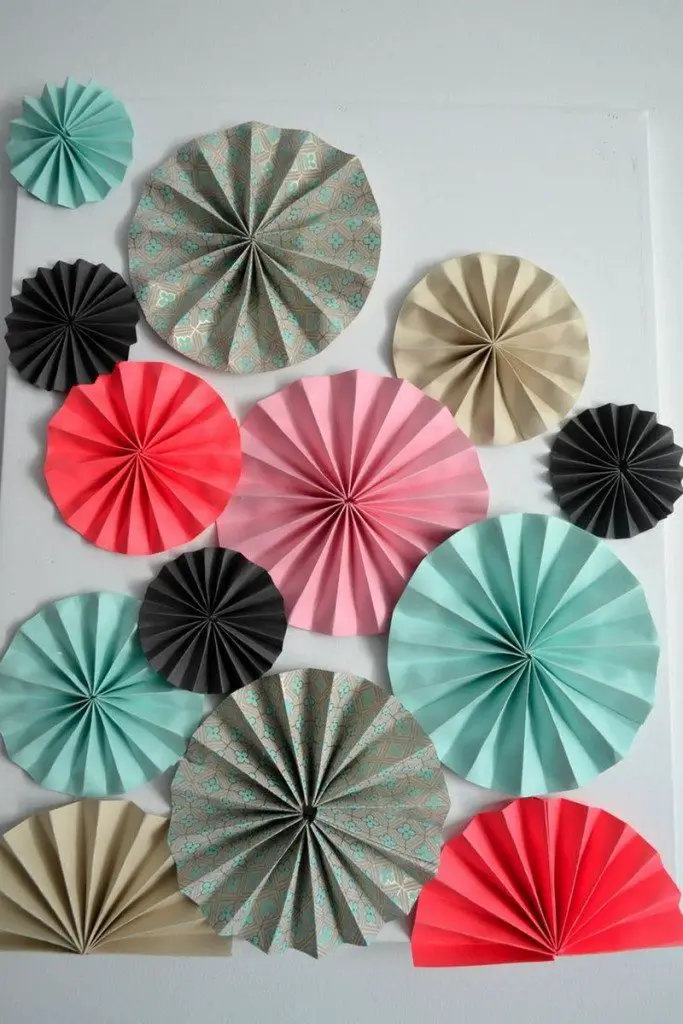

This piece of art gives boosts your creativity by choosing various colors and sizes to make this beautiful pinwheel more eye-catching. You can have it in a monochromatic design, make a mixed pattern or use every color of the rainbow.
Just simply, fold the strip of paper like an accordion, into equal portions. Some are big folds, and some are small folds, depending on the pattern you made. Once your accordion art is done, secure the edges with tape. Finally, use hot glue to stick the pinwheel to the canvas, or directly to your wall, it’s up to you. Have fun creating!
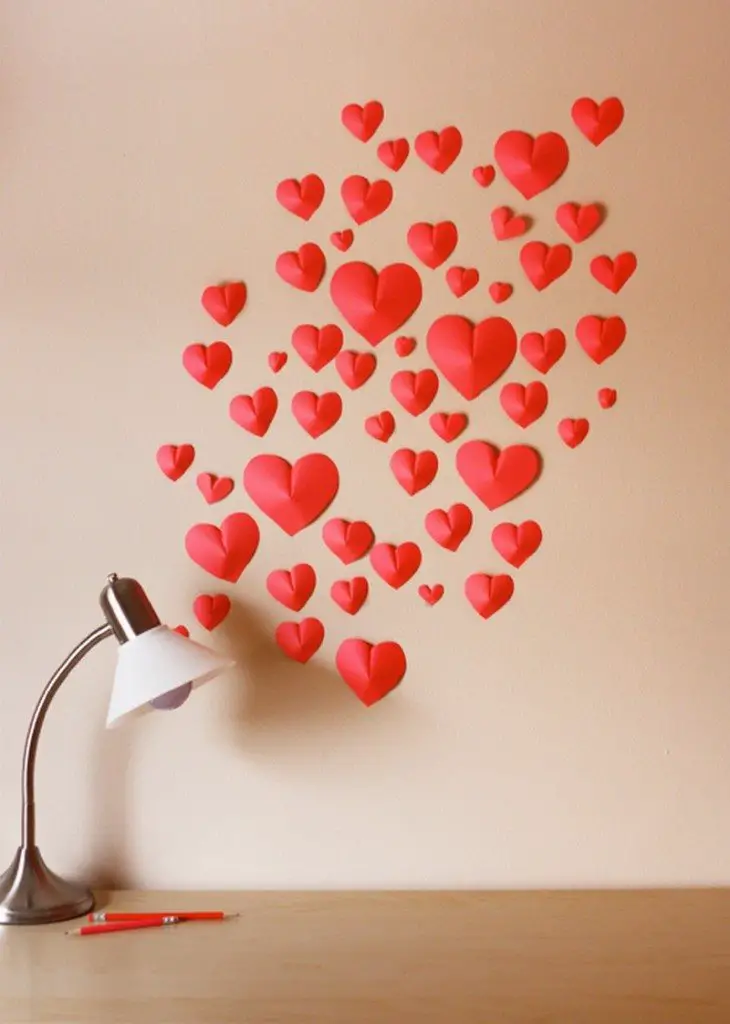
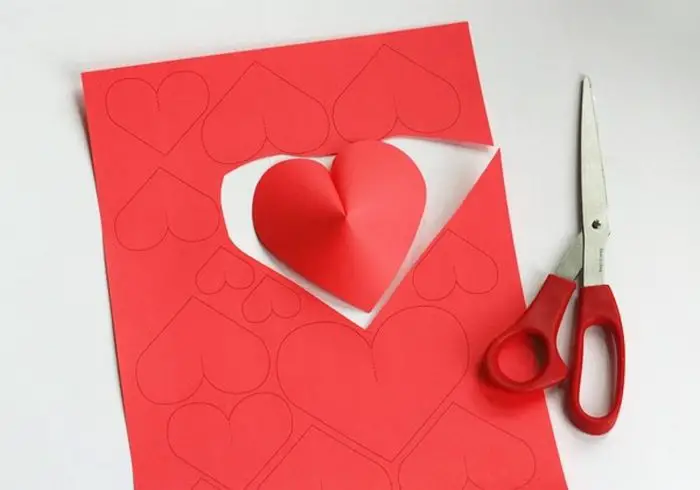
Transforming your wall into a display of paper hearts is a charming way to celebrate love every day, not just on Valentine’s Day. This easy and versatile project can be placed in your living room, bedroom, or any space where you want to add a touch of warmth and affection. Start by selecting colored paper in hues that complement your decor or choose shades of red and pink for a classic romantic look. Draw heart shapes in various sizes and cut them out carefully. The diversity in size adds visual interest and depth to your design.
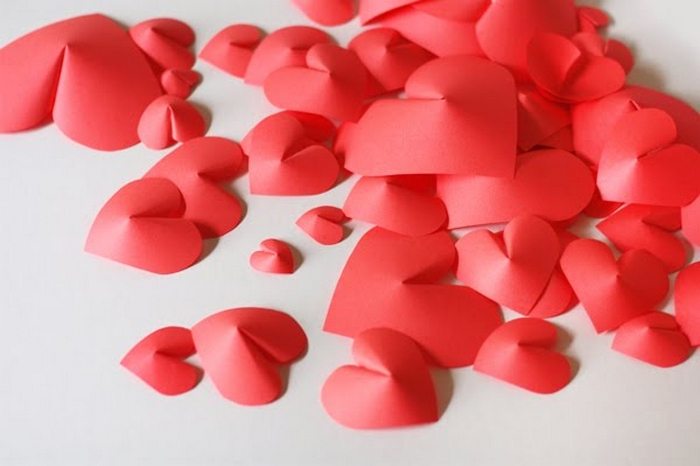
To create a 3D effect, gently fold each heart along its vertical centerline without creating a hard crease. Then, pinch and glue the top middle part of the heart to form a slight curve, giving it a three-dimensional appearance.
This simple technique makes the hearts appear as if they’re gently fluttering off the wall. Arrange the hearts on the wall in a pattern that suits your style—whether it’s a neat grid, a random scattering, or a large heart shape made of smaller hearts. Attach them using double-sided tape or small dots of glue, ensuring they stay securely in place while maintaining their 3D effect.
This paper decor project not only personalizes your space but also infuses it with an ongoing sense of love and positivity. You can easily update the display with seasonal colors or patterns, making it a dynamic and adaptable addition to your home. It’s a delightful way to bring a bit of handmade charm and heartfelt sentiment into your everyday environment.
If you liked this project, you might also like to view How to Make Paper Wisteria and Transform a Bare Wall Into a Feature Wall…