DIY Mug Art! The gallery you see below features mugs decorated with Sharpie/porcelain pens. It’s pretty exciting to think that you could design mugs with just a pen. Just think of the endless design possibilities – no limitations, especially if you have the talent!
Designing mugs with a pen is a great way to show off your personality and style. Whether you’re designing a mug for yourself or for a gift, the sky’s the limit when it comes to creativity. So go ahead and get started – your perfect mug is waiting to be designed!

But as some of you might have guessed or already know, decorating mugs with pens is not as easy as we hoped it would be. Several DIYers have shared their experiences and there seems to be no one sure-fire way to successfully do it – meaning making designs that are guaranteed dishwasher safe. One method produced varying results for different people. :(
Effective steps on how to create a DIY mug art with great results.
We’ve read and compared the different techniques for DIY mug art and below are the steps that produced great results for most, if not all, attempts:
- Choose a cheap, oven-safe porcelain mug – you don’t want the mug with expensive, high-quality glaze.
- Clean and wipe the mug with rubbing alcohol to get rid of residue/oil on the surface. Be careful not to touch your drawing surface at this point.
- Draw your design using a regular Sharpie or porcelain paint pen, then let the design air-dry for at least 24 hours.
- Place the mug in a cool oven. Turn on the oven to around 400 degrees F and bake for 30 minutes. Turn off the oven, but leave the mug in a slightly opened oven until it has cooled. Air-dry for another hour.
- You can choose to re-glaze your mug with Krylon spray to protect your design.
- It is recommended to just hand wash these mugs, but of course, you can always try it in the dishwasher.
Again, this particular method is only a compilation of steps that produced mostly positive results. Situations may still vary and this is simply a suggestion to minimize the risk of your design disappearing in the wash. It doesn’t guarantee success. But if you’re in to try it, we’re hoping it will turn out perfectly for you :)
What we can guarantee though, is that these photos below would inspire you to create your own masterpiece!
Inspiring DIY mug art designs
Click on any image to start the lightbox display. Use your Esc key to close the lightbox.![]()
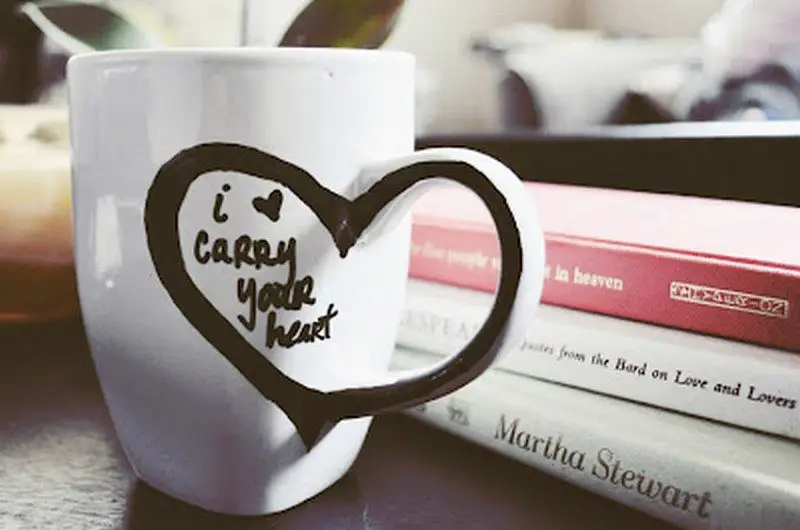
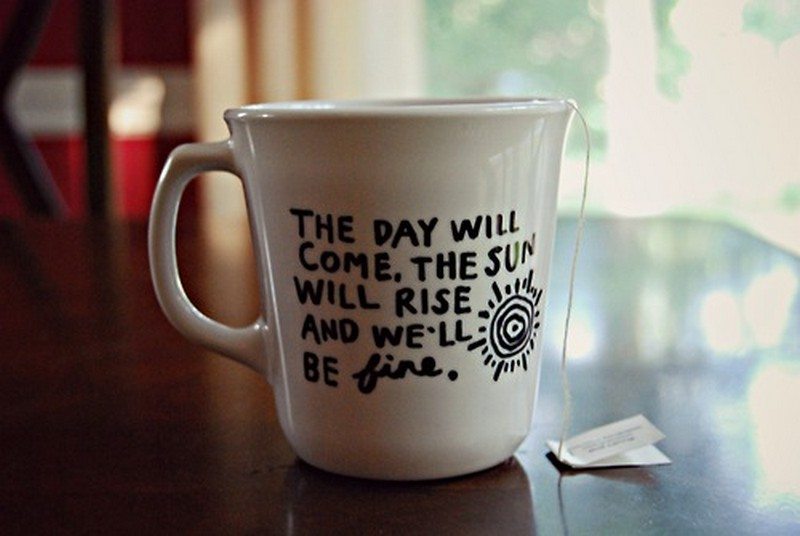
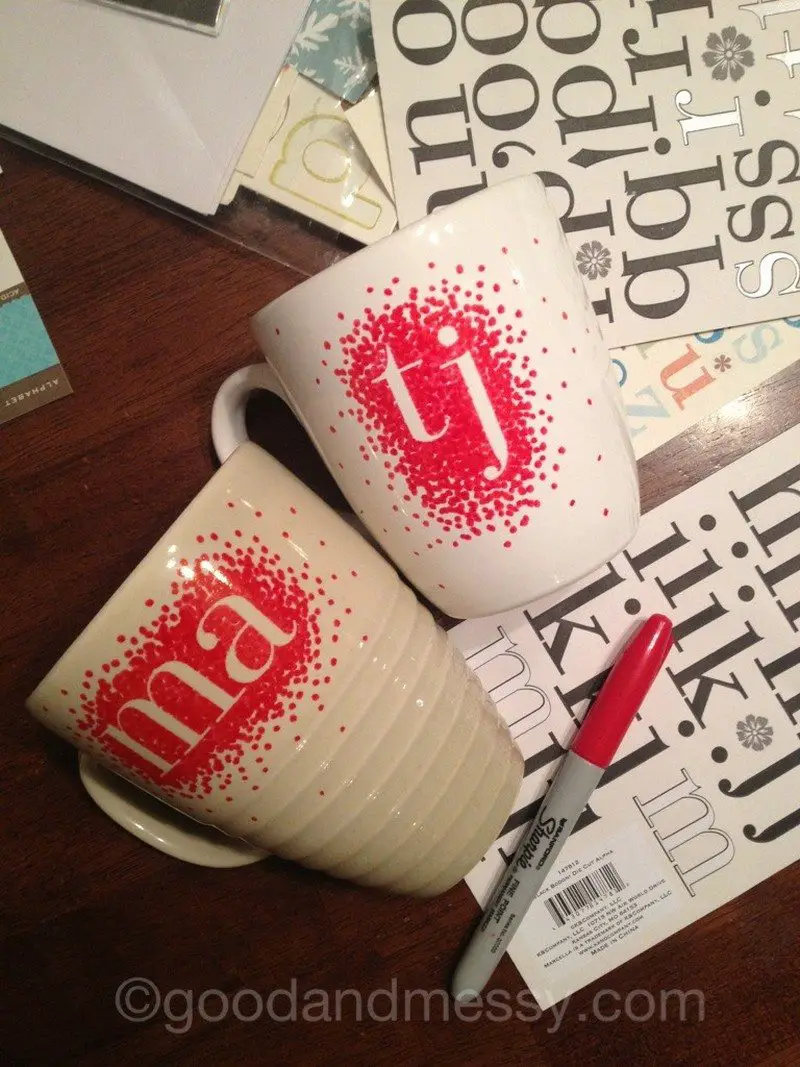
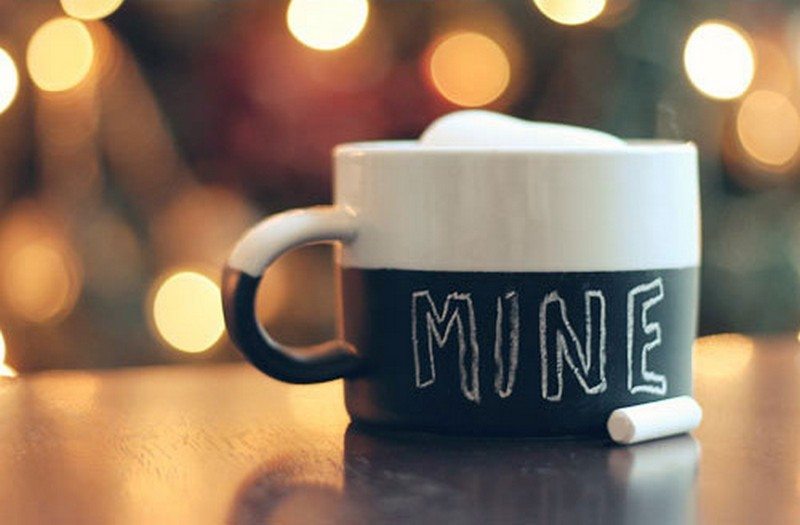
1. Message art on a mug
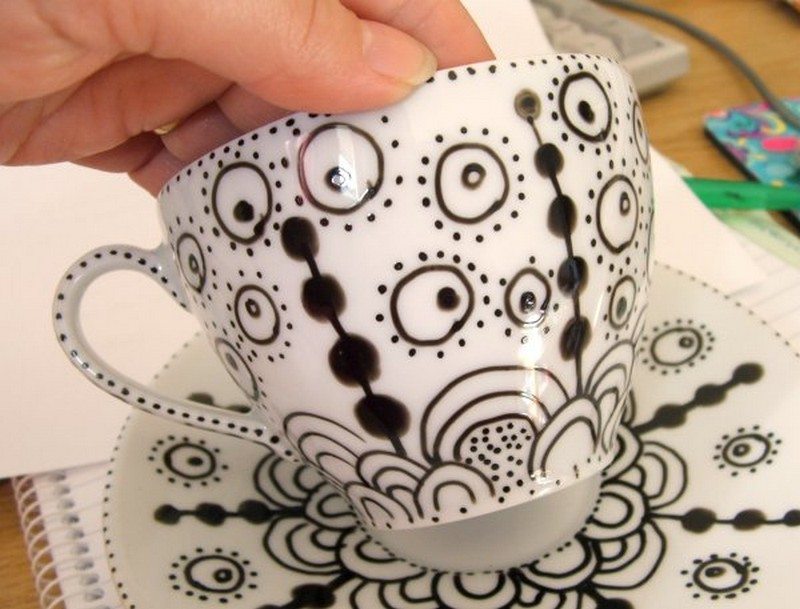
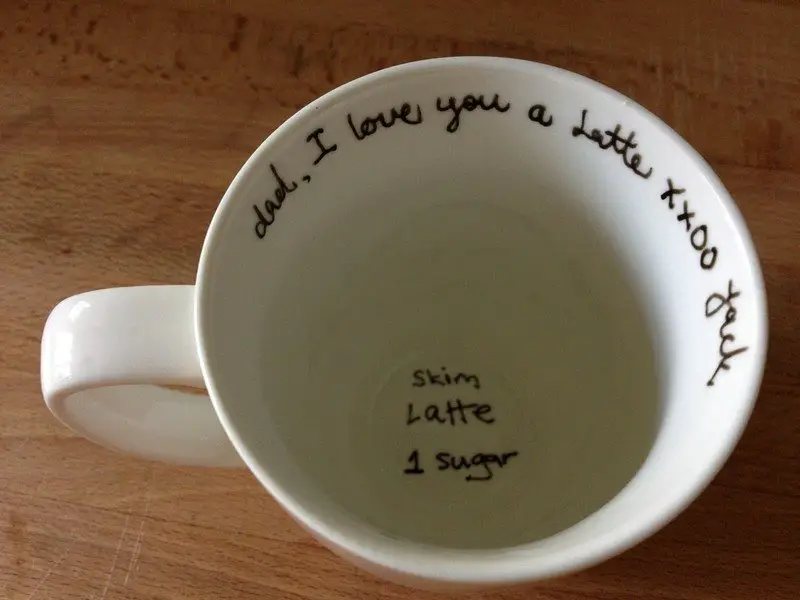
Creating message art on mugs allows for a personal touch in every sip. Whether it’s intricate patterns, inspirational quotes, or heartfelt messages, the versatility of pen and mug design unlocks endless creative possibilities. This type of mug art is perfect for expressing individuality or conveying a message to someone special. Here are some ideas to enhance your message art:
- Choose the Right Pen: For fine details and durability, select a high-quality porcelain pen or an oil-based marker that promises permanence even after washing.
- Layout and Design: Plan your message or design on paper before starting. Consider the placement of words or patterns to ensure they are both aesthetically pleasing and impactful.
- Technique Tips: Practice different font styles and decorative elements like borders or small icons that complement your message. Layering colors can also add depth to your design.

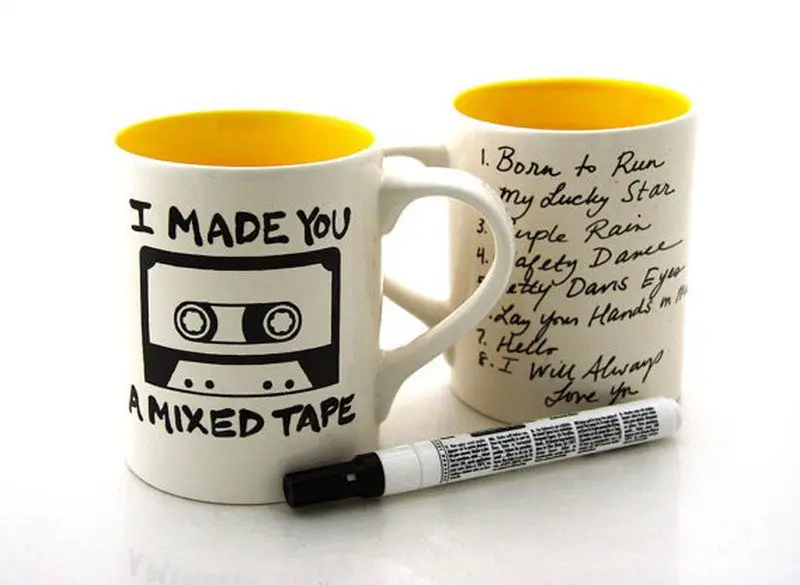

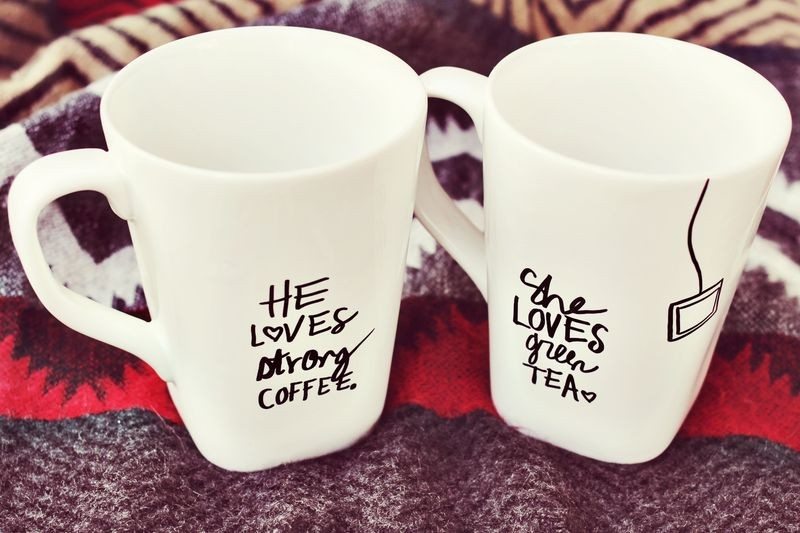
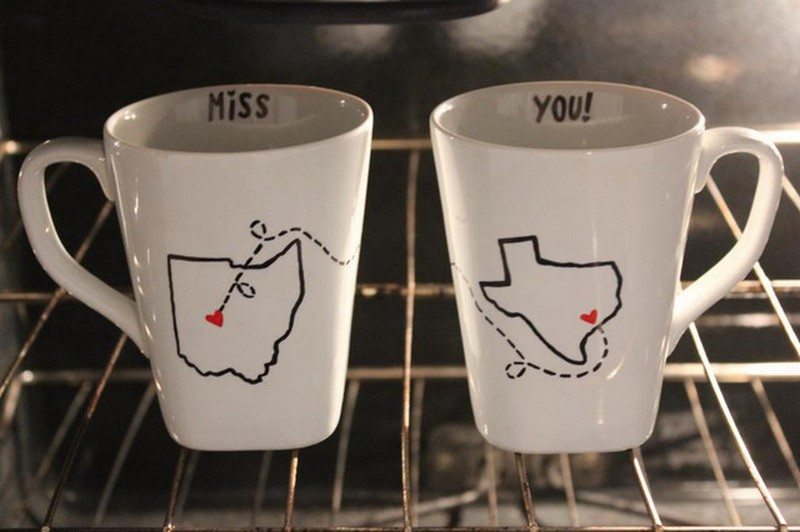
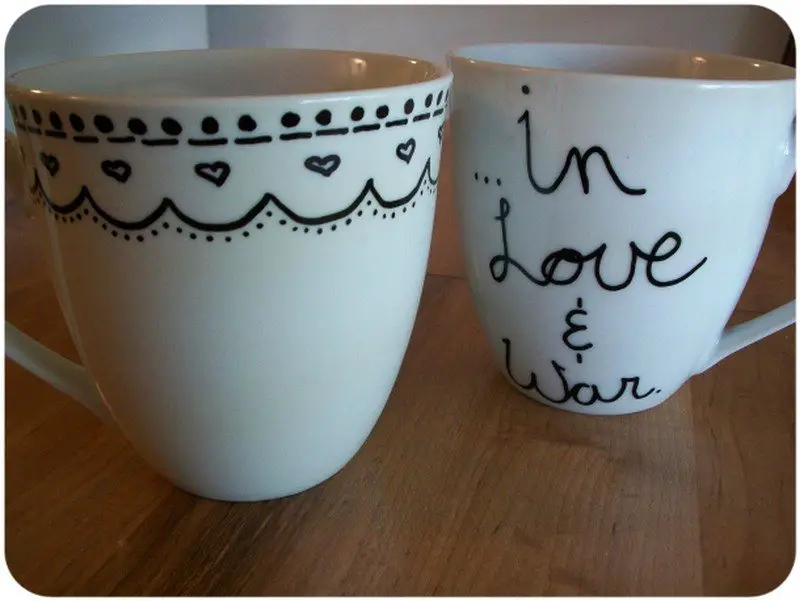
2. Couple Mugs
Couple mugs serve as a charming way to celebrate relationships, making them great gifts for anniversaries, Valentine’s Day, or as wedding presents. Designing these mugs can be as simple as personalizing with names, dates, or matching designs that come together as one. Here’s how to make couple mugs more special:
- Symmetrical Designs: Create designs that are halves of a whole. When placed together, the mugs complete the picture or message.
- Personal Touch: Include significant dates or inside jokes that only the couple would appreciate. This personalization turns a simple mug into a treasured keepsake.
- Color Coordination: Use colors that represent the couple’s personalities or preferences. Contrasting colors for each mug that blend when placed together can visually symbolize unity and harmony.
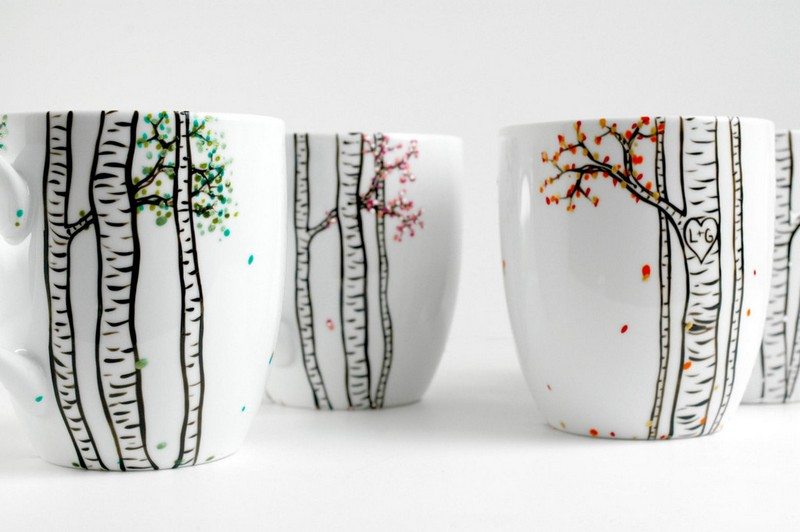
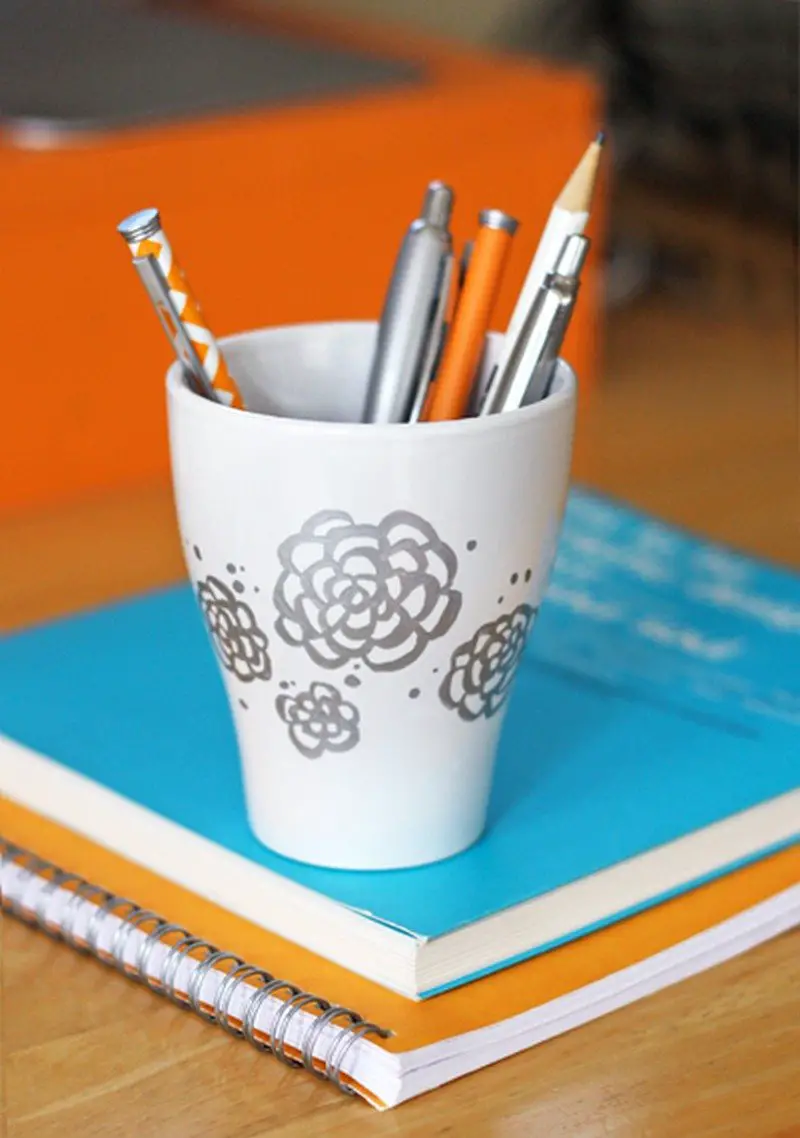
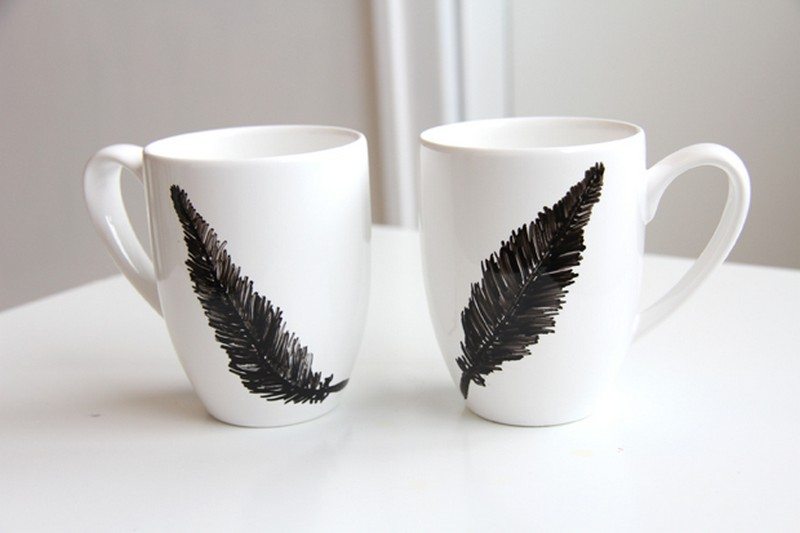
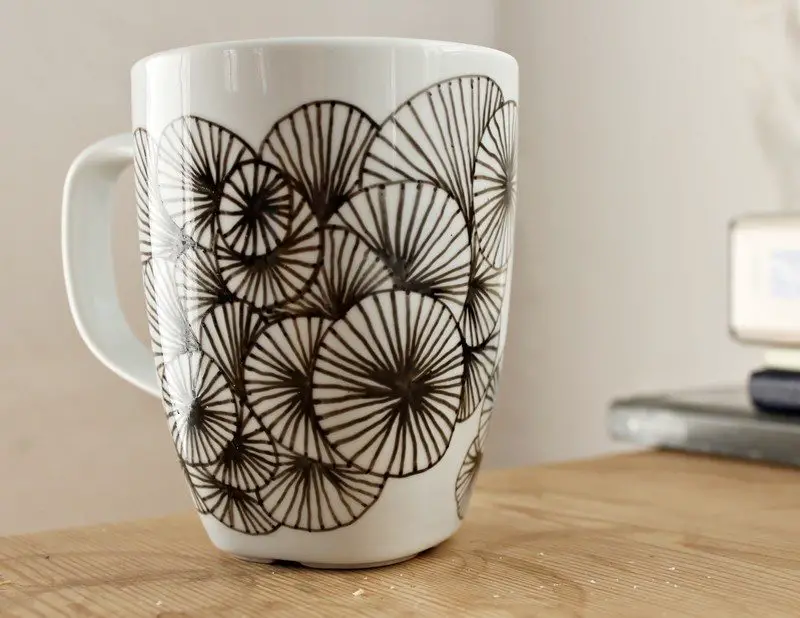
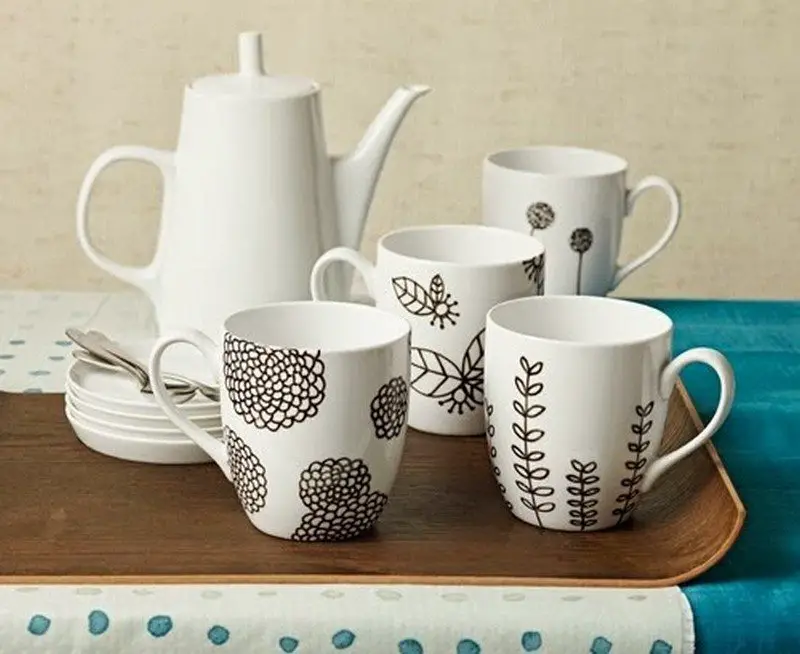
3. Floral & leafy art mug design
Floral and leafy designs bring a touch of nature to your mug art, making everyday coffee or tea rituals more delightful. These designs range from simple leaf outlines to complex floral patterns that wrap around the mug. To elevate your floral and leafy mug designs, consider these tips:
- Nature Inspiration: Draw inspiration from real flowers and leaves. Observing their natural shapes, colors, and patterns can help in creating more realistic or stylistically unique designs.
- Techniques for Detail: Use fine-tip pens for detailed work, such as veining in leaves or petal details in flowers. Experiment with shading and gradients for a more three-dimensional look.
- Seasonal Themes: Adapt your designs to the seasons—bright flowers for spring, lush greenery for summer, or dried leaves and berries for autumn. This not only diversifies your portfolio but also caters to seasonal marketing opportunities.

Having second thoughts about using a pen? Here are a few other ways to decorate your mugs!
Advance Mug Art Design Techniques
Creating permanent mug designs that withstand the test of time and use involves advanced techniques beyond simple pen drawings. These methods require a bit more skill and specific materials but result in beautifully durable artworks. Here’s how you can elevate your DIY mug art to a more professional level.
Enamel Paints for Long-Lasting Color
Materials Needed:
- Enamel paints specifically made for glass and ceramics
- Fine brushes or sponges
- Oven to cure the paint
Procedure:
- Preparation: Clean the mug thoroughly with alcohol to remove any grease or residues.
- Painting: Use fine brushes to apply enamel paint. You can layer colors or blend them for artistic effects.
- Curing: Allow the paint to dry for 24 hours. Then, place the mug in a cold oven. Set the temperature to 350 degrees F and bake for about 30 minutes. Slowly cool in the oven to avoid cracking.
Etching Techniques for a Frosted Look
Materials Needed:
- Etching cream (suitable for glass and ceramic surfaces)
- Stencils or masking tape for designs
- Protective gloves and eyewear
Procedure:
- Design Application: Apply your stencil or tape to the clean mug surface. Ensure all edges are sealed tightly.
- Applying Etching Cream: With gloves and eyewear on, apply a thick layer of etching cream over the exposed areas. Follow the manufacturer’s instructions for application time.
- Finishing: Rinse off the cream thoroughly under running water. Remove the stencil to reveal the etched design.
Using Permanent Markers for Detailed Artwork
Materials Needed:
- Oil-based permanent markers
- Oven
Procedure:
- Drawing: Use oil-based markers to create your design on the mug. These markers come in various tips for fine or broad lines.
- Setting the Ink: Similar to the enamel paint process, allow the design to dry. Then bake the mug in the oven at 250 degrees F for 2 hours to set the ink permanently.
Tips for Advanced Mug Art
- Test First: Before starting on your final piece, practice and test your technique on a similar but less valuable mug.
- Layer Creatively: Combine these techniques to add depth and complexity to your designs. For example, etch a base layer and add colored details with enamel paint.
- Maintenance: Even with advanced techniques, hand washing is recommended to preserve the integrity of your designs.
By mastering these advanced techniques, you can transform ordinary mugs into enduring works of art that resist fading and wear, making them perfect for everyday use or as thoughtful, personalized gifts.
Selecting the Right Mugs and Materials
Selecting the right mugs and materials is crucial for achieving successful results in mug art projects. The choice of mug can affect how well the designs apply and hold up over time, while the right materials ensure that your artwork remains vibrant and durable. Here’s a comprehensive guide to help you make informed decisions for your mug art endeavors.
Choosing the Right Mug
- Ceramic Mugs: Ideal for most mug art, ceramic provides a smooth surface that holds paint and marker well. Ensure the glaze is oven-safe if you plan to bake the mug for setting the design.
- Porcelain Mugs: Porcelain has a finer texture than ceramic and is excellent for detailed work. However, it requires a gentle touch and specific paints designed for porcelain.
- Stainless Steel Mugs: Not typically used for traditional mug art due to its non-porous surface, but special etching methods or adhesives can be applied for art purposes.
Selecting Art Materials
Permanent Markers:
- Opt for oil-based markers as they adhere better and are more durable on slick surfaces. These are perfect for mug art that requires detailed linework.
Paints:
- Enamel Paints: Best for both ceramic and porcelain, these paints are designed for durability and can withstand high temperatures, making them ideal for mug art that needs to be dishwasher-safe.
- Acrylic Paints with Medium: For a more budget-friendly option, use acrylic paints mixed with a medium that helps the paint adhere to ceramic surfaces.
Adhesives and Sealants:
- Epoxy or Mod Podge: Use these for adding decorations like glitter or attaching small objects to your mug art.
- Clear Acrylic Sealer: This is essential to protect painted mug art from water and wear. It provides a protective coating that extends the life of the design.
Testing and Compatibility
Always test your materials on the bottom or a hidden area of the mug to ensure compatibility and desired appearance. This step is crucial for avoiding any surprises with the final appearance of your mug art.
Maintenance Tips
For longevity, hand wash your finished mug art pieces gently, even if the materials are labeled dishwasher-safe. Avoid abrasive sponges and harsh chemicals to maintain the integrity of your designs.
By choosing the right mugs and materials, you can enhance the durability and appearance of your mug art, ensuring that each piece not only looks fantastic but also stands the test of time.
Feeling inspired? Don’t forget to share with us your attempt at designing your own mug!
If you liked this project, you might also like to view Design your own tote bags…


