Last Updated on October 22, 2024 by Team Ideas24
Woodworking has long been celebrated as an art form, and the resurgence of interest in handmade crafts has brought wood burning designs to the forefront of creative expression. This article delves into the captivating world of wood burning designs, exploring the techniques, versatility, and joy of crafting personalized wooden artworks.
Whether you’re a seasoned artisan or a budding hobbyist, woodburning offers a unique and satisfying way to transform plain wood into intricate, customized pieces.
Contents [show]
Understanding the Beauty of Wood Burning Designs
Wood burning, or pyrography involves using a heated tool to burn images, patterns, or text onto wooden surfaces. This ancient technique has evolved from simple markings to intricate artistry, allowing craftsmen to create personalized masterpieces.
The technique involves controlled burning, where the artist precisely applies heat to create varying shades and depths on the wood.
Creating Unique Patterns with Wood-Burning Techniques
Wood-burning, also known as pyrography, allows you to express your creativity through various patterns and designs. Here are some expert tips to elevate your wood-burning projects with unique patterns:
- Vertical Stroke Technique
- Start with a vertical stroke to craft a distinct star-in-circle design. By carefully applying this method, you’ll create a pattern that’s both eye-catching and intricate, ideal for those looking to add a focal point to their work.
- Striped Circle Approach
- For an innovative appearance, use the tip to form striped circles. This technique is versatile; by rotating the tool 90 degrees and applying again, you can achieve appealing crisscross patterns, adding layers of complexity to your design.
- Geometric Patterns
- To make squares or diamonds within circles, employ a steady, consistent pressure. By grouping these geometric shapes, you can form a lattice-style pattern, which is perfect for creating a sophisticated and visually engaging piece.
Incorporating these techniques allows you to explore a variety of designs, each bringing a unique style to your wood-burning art. With a bit of practice, these methods can help transform simple projects into works of art.
The Tools of the Trade
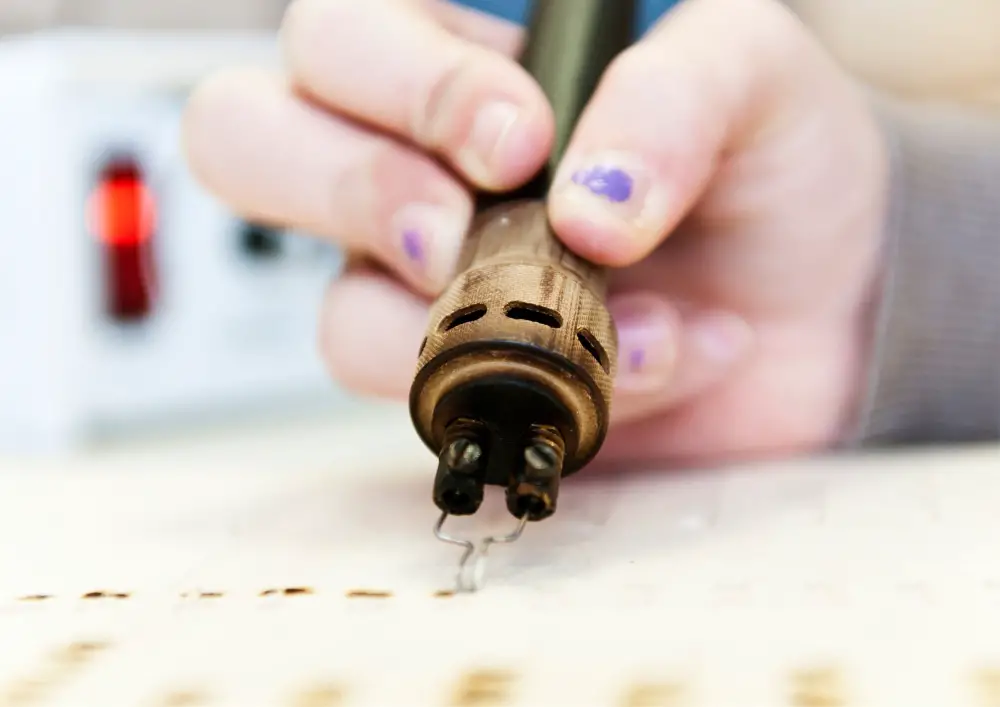
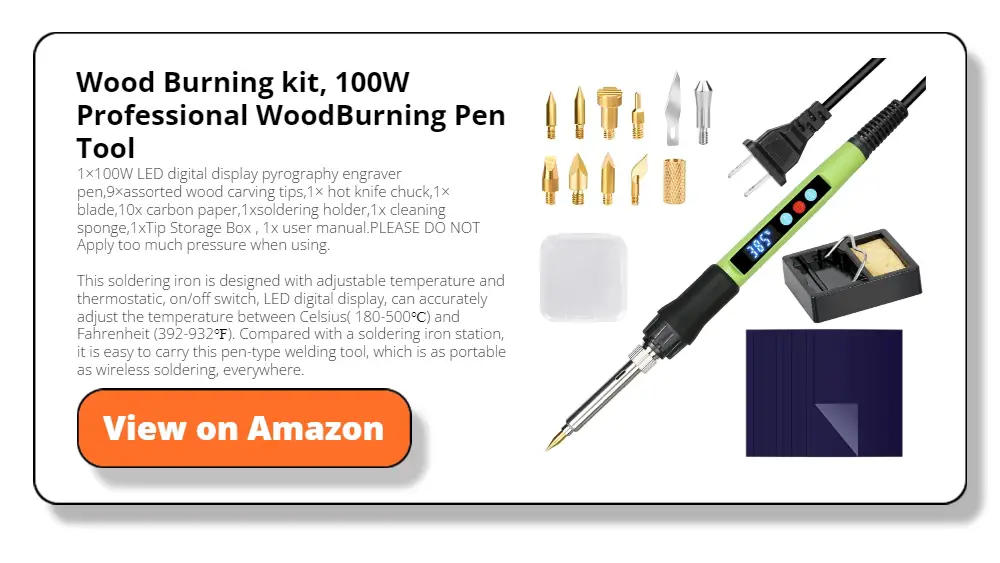
Before delving into the creative process, it’s essential to understand the tools needed to create intricate wood burning designs. The primary tool is a pyrography pen or wood burner with interchangeable tips for different effects. Temperature control is crucial, as it allows artists to adjust the heat intensity for varying shades and detailing.
When using your pyrography pen, maintain its functionality by lightly brushing away any residue from the tip with 320-grit sandpaper on a solid block. Always do this carefully, especially when the tip is hot, to avoid burns. Utilize a small pair of pliers to remove and replace hot tips safely, placing them in a heat-resistant dish to cool.
Additionally, a variety of wooden canvases, from softwoods like pine to hardwoods like oak, can be chosen based on the desired outcome. Exotic woods, such as mahogany, offer artists the opportunity to work with unique colours and grain patterns.
Mahogany’s reddish-brown hue adds warmth to wood burning designs, and its fine grain allows for precise detailing. While exotic woods may be pricier, they provide a distinctive canvas for creating one-of-a-kind masterpieces.
Teak is revered for its natural oils, making it resistant to decay and insects. This hardwood’s golden-brown colour deepens over time, creating a rich patina. Artists appreciate teak for outdoor projects, where its resilience enhances the longevity of wood burning designs.
Understanding the Purpose of a Groove Tip in Wood-Burning
A groove tip is an essential tool in the art of wood-burning, also known as pyrography. Its primary function is to create distinct, textured lines and patterns on wood surfaces. But what makes it so valuable in your wood-burning toolkit?
Key Benefits of Using a Groove Tip:
- Precision
- The groove tip allows for precise control, enabling you to carve intricate designs and details into the wood without compromising the quality of the art.
- Depth Variety
- Working slowly with a groove tip gives you the flexibility to adjust the depth of the grooves. This means you can create shallow lines for subtle effects or deeper ones for more pronounced textures.
- Texture Enhancemen By burning grooves into the wood, you add dimension and character to the piece. This is particularly useful in bringing life to patterns and making your projects stand out.
Tips for Effective Use:
- Control Your Speed
- Move the tip at a steady pace to achieve uniform grooves. Slower movements often result in deeper, more defined burns.
- Experiment
- Before starting on your main piece, practice on scrap wood to get a feel for how different speeds affect the burn.
- Vary Your Pressure
- Adjust the pressure you apply to see how it changes the texture and depth of your work.
Using a groove tip effectively opens up a realm of creative possibilities, enhancing your wood-burning projects with unique textures and elegant lines. Whether you’re a beginner or an experienced pyrography artist, mastering the use of this tool can elevate your craft to new heights.
Inspiration in Nature
Wood burning designs often draw inspiration from the beauty of nature. Artists find endless possibilities in recreating flora, fauna, landscapes, and intricate patterns found in the natural world.
The natural hues and grain patterns of wood become a canvas for the artist to express emotions, stories, and intricate details. Each burn mark becomes a testament to the organic beauty of wood, radiating a warmth that transcends the visual.
Crafting Personalized Artworks
One of the most appealing aspects of the woodburning technique is the ability to craft personalized artwork. From personalized wooden signs to bespoke wall art, this technique resonates with the idea of creating unique pieces that tell a story.
Consider crafting a family name sign for a cozy, homey touch or a personalized wooden gift for a special occasion. Using the wood burner, engrave patterns, symbols, or even a depiction of cherished family activities.
Transform the sign into a personalized narrative that reflects the uniqueness of your family. Every stroke becomes a brushstroke on the canvas of your shared history.
Wood Burning Techniques
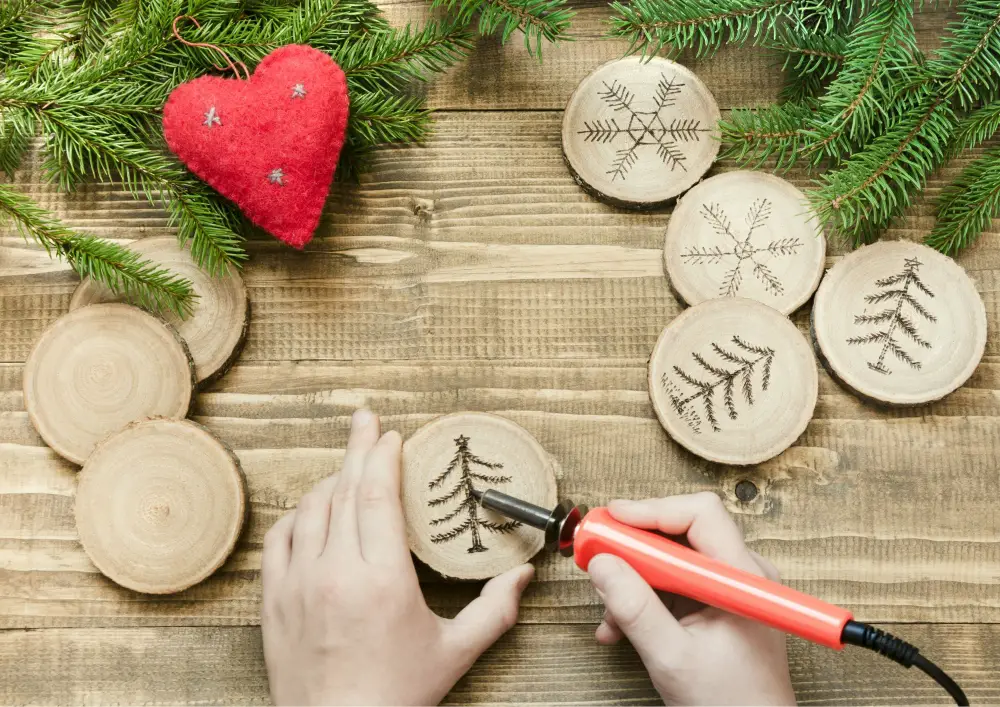
The inherent variations in wood grain, texture, and colour ensure that each piece possesses a unique foundation.
- Fine Lines and Detailing
- Achieve precision and finesse by using fine tips on the wood burner pen. This technique is perfect for intricate details, creating delicate patterns, or outlining elements within the design.
- Shading and Gradation
- Experiment with shading techniques to add depth and dimension to wood burning designs. Varying the pressure and speed of the wood burner pen allows artists to create gradients, giving the design a three-dimensional quality.
- Cross-Hatching and Textures
- Create visual interest and textures through cross-hatching, a technique involving intersecting lines. This method is versatile, allowing artists to convey different surfaces, from the smoothness of silk to the roughness of tree bark.
Before embarking on your main project, practice these techniques on a sample board cut from the same material. This practice will help you understand how different tips burn and what types of lines and patterns they create.
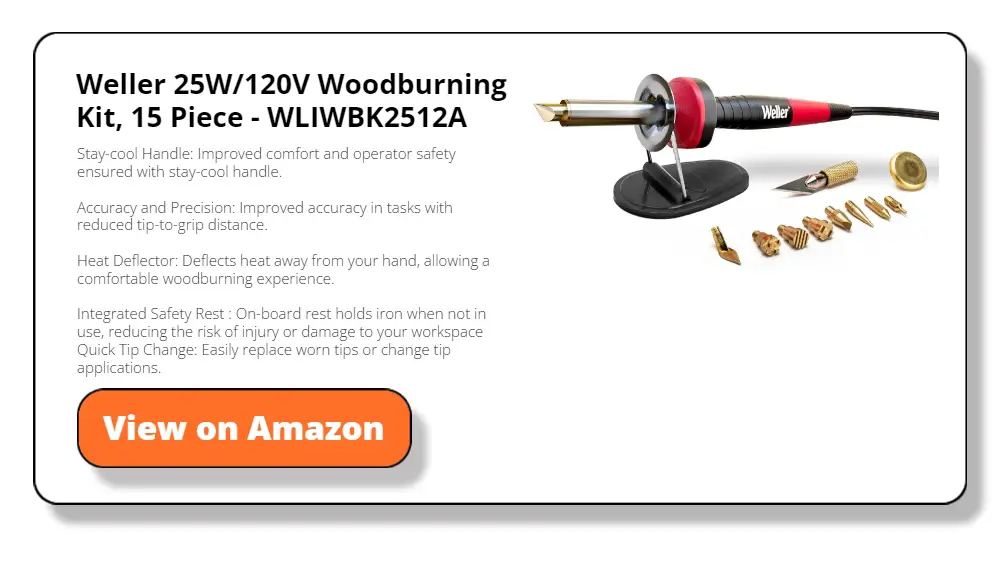
Remember to let the wood burning pen do the work; applying too much pressure can bend the tips. Always keep your wood-burning equipment out of reach from children and away from flammable materials for safety.
Versatility in Design
Wood-burning designs are incredibly versatile, accommodating a myriad of styles and themes. From intricate line drawings to bold, expressive strokes, the technique allows for diverse design choices. Whether you’re drawn to geometric patterns or abstract art, wood-burning designs provide a platform for endless creativity.
Limitless Possibilities
Functional Art: Extend the application of wood burning designs beyond decorative pieces. Incorporate the technique into items like wooden utensils, coasters, or even furniture to create functional art. These pieces not only showcase artistic prowess but also serve practical purposes.
Combining Mediums: Experiment with mixed media by combining wood burning designs with other artistic techniques. Incorporate painting, staining, or even collage elements to create multidimensional and visually captivating artworks.
Wood burning designs embody a timeless fusion of craftsmanship and creativity. From intricate detailing to bold expressions, the artistry of pyrography allows artists to explore the limitless possibilities within the natural beauty of wood.
Whether telling personal stories, capturing the essence of nature, or creating functional masterpieces, wood burning designs offer a medium where the artist’s imagination takes flight, leaving behind a trail of beautifully burned impressions on the canvas of wood.
Steps to Achieving Stunning Wood Burning Designs
Achieving stunning wood burning designs requires patience, practice, and a systematic approach. Here is a step-by-step guide to creating personalized wooden artworks:
- Prepare Your Workspace and Materials
- Safety first! Ensure your workspace is well-ventilated and clear of any flammable materials. Gather your wood-burning tool, transfer paper, and pencil. Follow all safety instructions provided with your kit to prevent fire or injury.
- Transfer Your Design
- Begin by printing and assembling your paper pattern, if necessary. Place transfer paper between the pattern and the wood, then trace the lines with a pencil or ballpoint pen. This creates a clear design on the wood, serving as a roadmap for your wood burn project.
- Choose the Right Tip
- Select a wood burner tip that suits your design needs. Different tips provide varying textures, lines, and shading effects, allowing for more creative expression.
- Adjust Heat Settings
- Experiment with the heat settings on your wood burner to achieve the desired effects. Lower heat settings are suitable for lighter shades, while higher temperatures create darker burns, providing depth and contrast.
- Start With Outline
- Begin by outlining your design. This establishes the basic structure and ensures a cohesive composition, making it easier to follow your traced pattern.
- Shading and Detailing
- Gradually move on to shading and detailing. Use a combination of light and dark burns to create depth and dimension, enhancing the overall appearance of your wood burning design.
- Refine and Evaluate
- Regularly step back to evaluate your progress. Refine areas that may need more attention, ensuring a polished and balanced final product. This step helps in maintaining the quality and precision of your work.
- Seal the Artwork
- Once satisfied with your wood burning design, consider sealing the artwork with a clear finish. This not only protects your masterpiece but also enhances the wood’s natural beauty.
By following these steps, you can safely and effectively create intricate wood burning designs while ensuring your creative process is both enjoyable and secure.
Unlocking the Potential of the Universal Tip in Wood-Burning Projects
The universal tip is a versatile tool that opens up a world of possibilities for wood-burning enthusiasts. Here’s how it can enhance your projects:
- Line Variation
- By adjusting the angle at which you hold the universal tip, you can create lines of different thicknesses. This allows for intricate details and bold outlines, giving your artwork depth and dimension.
- Shading Techniques
- This tip is adept at shading, enabling smooth gradients and realistic textures. Whether you’re aiming for subtle shadows or dramatic contrasts, the universal tip is an excellent choice.
- Detail Work
- Perfect for precision, it excels in creating delicate patterns and fine details that require control and finesse.
- Versatility in Patterns: From curved lines to crosshatching, the universal tip can execute a variety of patterns, making it an essential tool for both beginner and advanced wood-burners alike.
By mastering the universal tip, you can significantly expand your creative range, bringing your wood-burning projects to life with a professional touch.
Applications of Wood Burning Designs
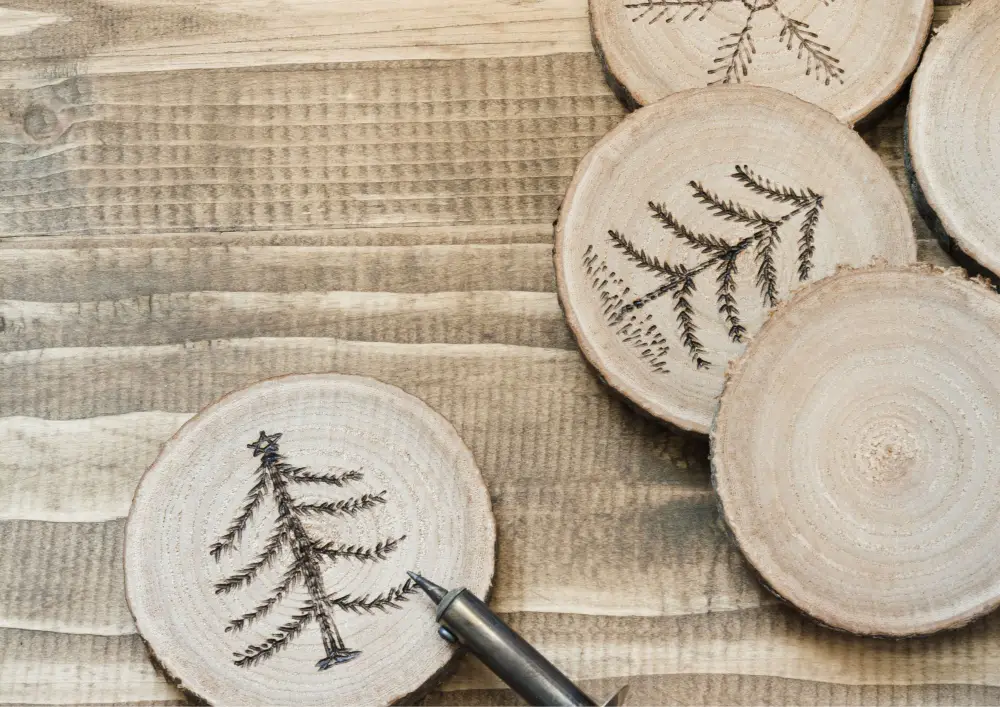
The beauty of wood burning designs lies in their versatility and applicability across various items. Explore some popular applications:
1. Wooden Signs and Plaques
Create personalised wooden signs with meaningful quotes, family names, or house numbers with extraordinary wood burning designs. Embrace the natural beauty of wood by opting for finishes that complement the chosen wood species. A clear sealant or a subtle stain enhances the wood’s grain, providing a backdrop that allows the design to stand out while maintaining an organic and rustic charm.
Personalized wooden signs are versatile enough to adorn both interior and exterior spaces. From living room walls to garden gates, the wood burning designs withstand the elements when appropriately sealed, ensuring longevity and continued visual impact.
2. Home Decor
Craft wooden coasters, wall art, or decorative trays with intricate wood burning designs to enhance your home’s aesthetic. Explore various themes, from abstract patterns to nature-inspired scenes, to showcase your creative expression on your walls.
Use the controlled burn of the wood burner to add distinctive details, shading, and dimension to your chosen design, turning a simple wooden panel into a gallery-worthy piece.
3. Personalized Gifts
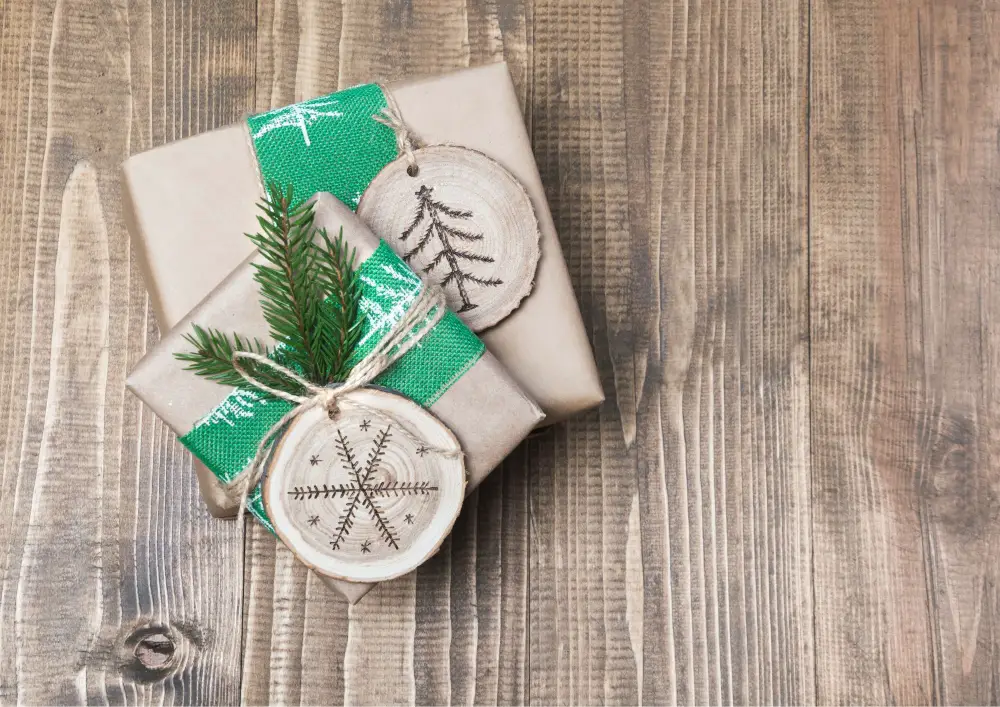
Give the gift of personalized wooden artwork for birthdays, weddings, or anniversaries. A custom wood burning design adds a unique touch to any special occasion. Choose a design that reflects the personality, interests, or passions of the celebrant.
Whether it’s a favourite quote, a symbolic image, or a representation of a cherished memory, the wood burned piece becomes a thoughtful and meaningful gift.
4. Wooden Utensils
Elevate kitchen decor by incorporating wood burning designs on wooden utensils, cutting boards, or recipe boxes.
Spatulas are versatile kitchen tools, and when adorned with wood burning designs, they become both functional and visually appealing. Common designs include geometric patterns, personalized initials, or whimsical images.
Wood burn designs on spoons and coasters add a touch of artistry to these kitchen essentials. Artisans may create intricate patterns along the handles or incorporate personalized details, making each spoon a unique and stylish tool.
5. Nature-Inspired Art
Create stunning wood burn designs inspired by nature, incorporating landscapes and botanical elements. Experiment with perspective to give depth to your artwork, playing with spatial relationships like foreground trees or distant mountains. Focus on harmonious composition to enhance the visual impact of your designs.
6. Jewelry and Accessories
Infuse creativity into jewellery and accessories by incorporating wood burn designs on wooden pendants or earrings.
Embrace the freedom of abstract expressions in your wood burn designs. Let go of structured patterns and allow your wood burner to dance freely on the wooden surface. Abstract designs add an element of unpredictability and intrigue to your accessories, making each piece a captivating work of art.
Add a touch of intimacy to your accessories by featuring wood burn designs of initials. Personalize pendants or earrings with the initials of loved ones, creating a meaningful connection that goes beyond mere adornment. The simplicity of initials adds a touch of elegance to your accessories.
Perfecting Your Craft
As you embark on your wood burn design journey, consider these tips for perfecting your craft:
1. Practice on Scrap Wood
Before working on your main project, practice on scrap wood to familiarize yourself with the burner and develop your technique.
2. Experiment With Different Tips
Explore the range of tips available with your wood burner to discover the effects each can achieve. This experimentation enhances your versatility as an artist.
3. Protective Measures
Always use appropriate safety gear, such as gloves and safety glasses, when working with wood burners. Work in a well-ventilated area to avoid inhaling fumes.
4. Controlled Movements
Maintain controlled and steady movements when using the wood burner. Consistency in your strokes contributes to a polished and professional-looking design.
5. Layering Techniques
Experiment with layering techniques to create intricate details and shading effects. Layering allows you to build up complexity in your wood burn designs.
6. Choose Quality Materials
Select high-quality wood for your projects. The type of wood can impact the burn outcome, so choose a wood species that complements your design.
7. Join Online Communities
Connect with fellow wood burn artists by joining online communities or forums. Sharing experiences and learning from others can be invaluable in refining your capabilities.
The Wrap Up
In the realm of artistic expression, wood burn designs stand out as a captivating and personalized form of craftsmanship. The keyword “wood burn designs” encapsulates the essence of creating unique, meaningful artworks on wooden canvases.
Whether you’re a seasoned pyrography artist or a novice looking to explore this ancient art form, the world of wood burn designs invites you to transform simple wood into timeless, personalized masterpieces.
Embrace the warmth, versatility, and satisfaction that comes with crafting your personalized wooden artworks through the artful technique of wood burning.
Frequently Asked Questions
1. What types of wood are suitable for pyrography?
Both softwoods and hardwoods can be used for wood burn designs. Softwoods like pine are ideal for detailed work, while hardwoods like oak provide a sturdy surface for more substantial designs. Plywood, with its multiple layers, offers unique possibilities for varied textures.
For beginners, softwoods with minimal grain, such as pine or aspen, are easier to burn. These types of wood offer less resistance and allow for smoother lines and more precise detailing. This makes them excellent choices for those just starting their pyrography journey, as they can focus on refining their technique without the challenge of working with denser materials.
2. How can you add colour to your wood burn designs?
Colour can be added to wood burn designs using water-based paints or coloured pencils. Carefully applied colour accents can enhance specific elements of the design, creating visual interest and contrast against the natural tones of the wood.
3. Can you use your wood burn designs on functional items?
Absolutely! Wood burn designs can be applied to functional items like wooden utensils, coasters, or furniture. This not only showcases artistic prowess but also adds a personalized and decorative touch to everyday items.


