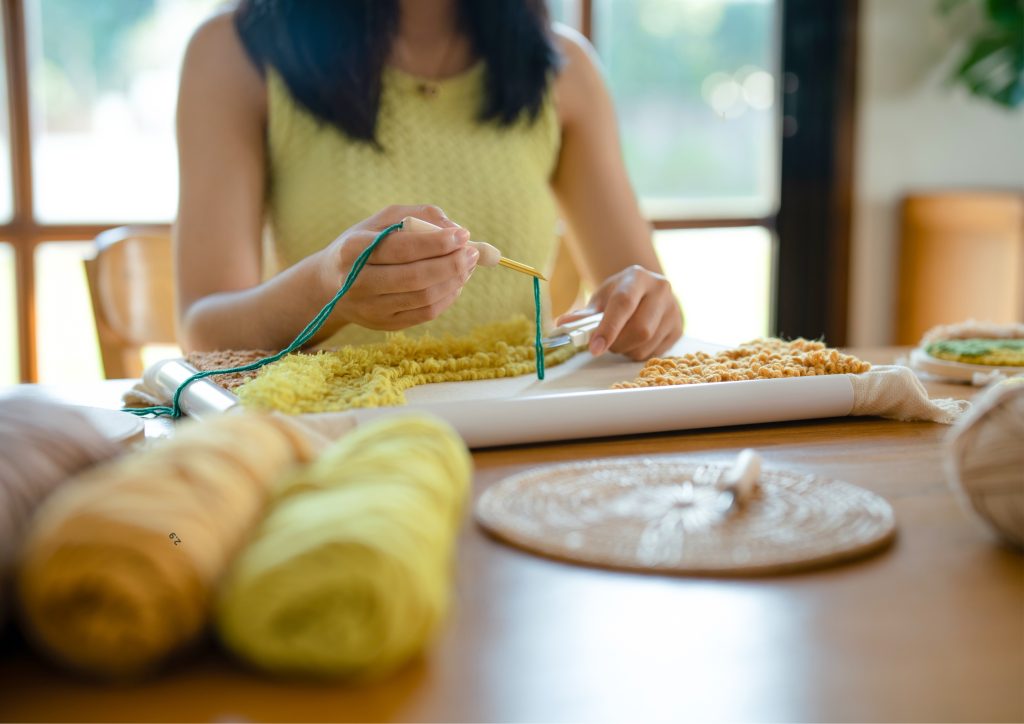
Punch needle embroidery is a fun and easy way to create beautiful designs with yarn. This guide will show you everything you need to get started, including the tools you’ll need, basic techniques, and some helpful tips. Let’s dive into the world of punch needle embroidery!
Materials Needed
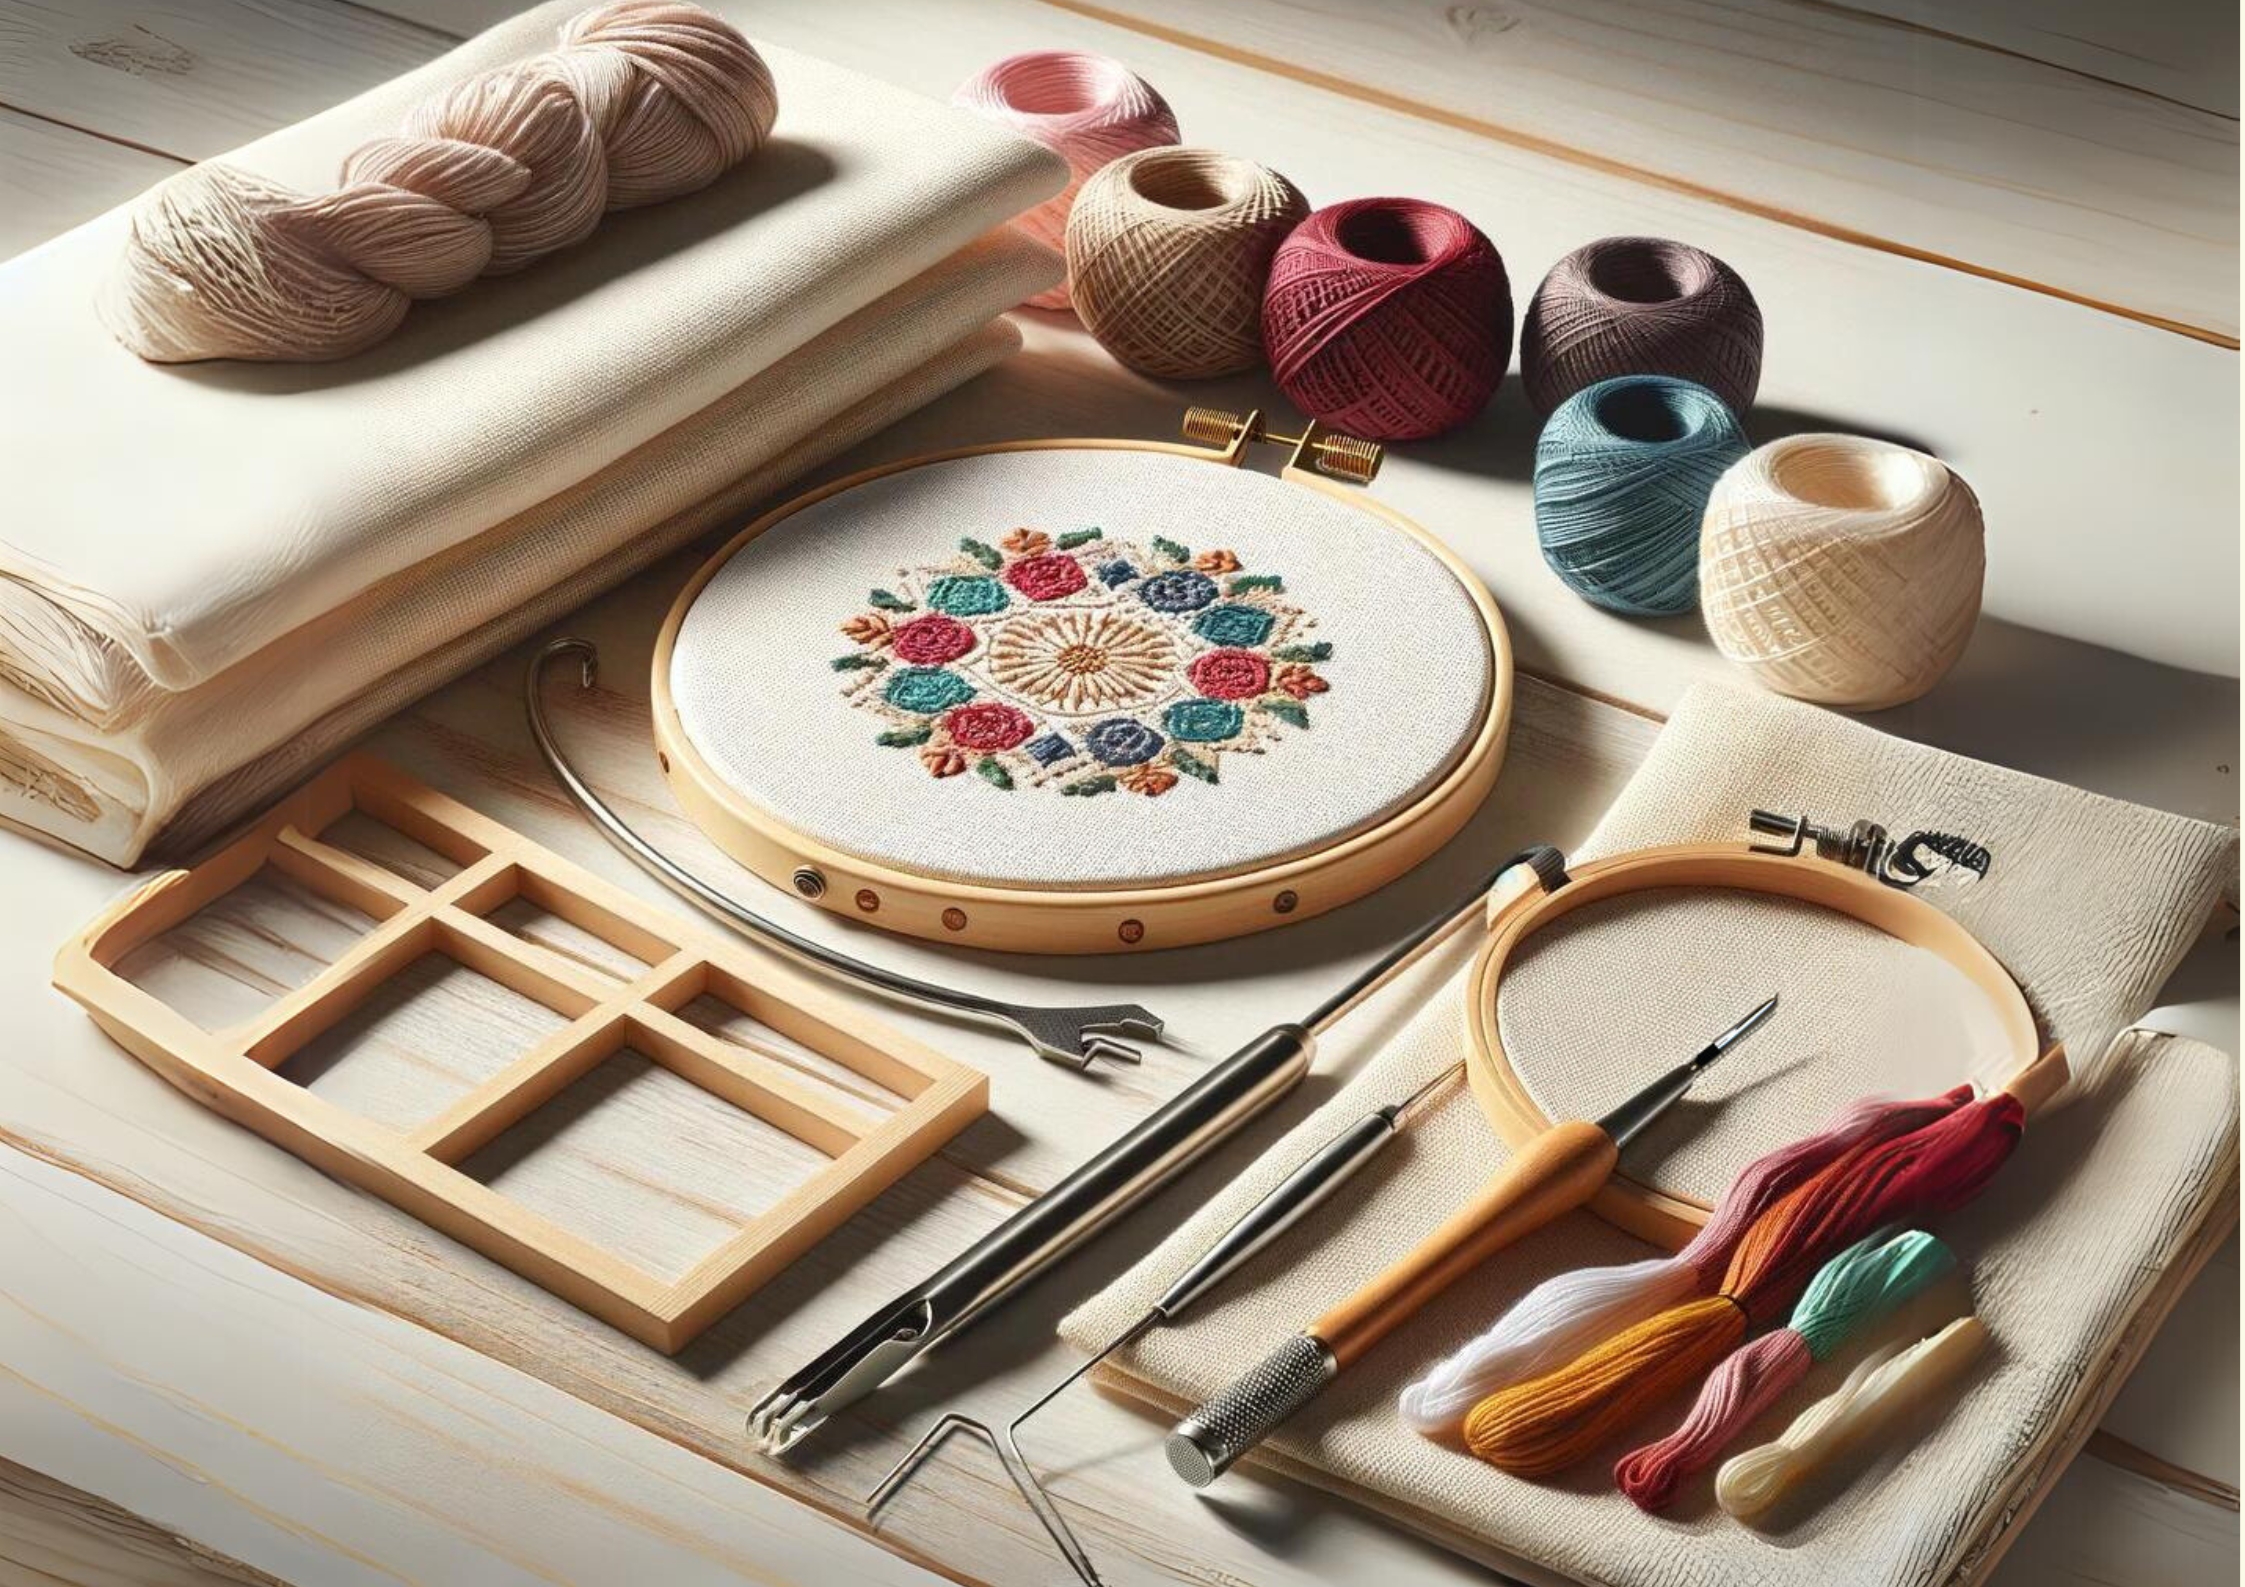
Before you start your punch needle embroidery project, gather these materials:
- Punch Needle: The main tool you’ll need. It’s a hollow needle that lets you punch yarn through fabric.
- Embroidery Hoop: Keeps your fabric tight and helps you make neat stitches.
- Monk’s Cloth: A type of fabric that’s perfect for punch needle embroidery.
- Yarn: Choose colors you like. Make sure the yarn matches the size of your punch needle.
- Scissors: For cutting yarn and trimming loose ends.
- Marker or Pencil: To draw your design on the fabric.
- Threader: Helps you thread the yarn through the punch needle.
Punch Needle
The punch needle is the star of the show in punch needle embroidery. It’s a specialized tool designed to create loops of yarn on fabric, forming a textured, raised surface.
Punch needles come in various sizes, each suited for different types of yarn and desired effects. For beginners, a medium-sized punch needle is often recommended as it is versatile and easy to handle.
When choosing a punch needle, consider the handle as well. Some handles are ergonomic, and designed to reduce hand fatigue during long crafting sessions. Additionally, adjustable punch needles are available, allowing you to change the length of the needle to create loops of different heights. This versatility can add depth and dimension to your projects.
Embroidery Hoop
An embroidery hoop is crucial for maintaining the tension and stability of your fabric as you stitch. It is composed of two rings: the inner ring, which lies beneath the fabric, and the outer ring, which goes over it. The fabric is placed between these rings and secured by tightening a screw or clasp.
Embroidery enthusiasts have a variety of hoop sizes and materials to choose from, including wood, plastic, and metal. Among these, wooden hoops are often favored for their light weight and sturdy grip. It’s crucial to select a hoop that is appropriately sized for your project.
A hoop should be large enough to hold your design comfortably, yet small enough to be maneuverable if your design extends beyond the hoop’s circumference.
Monk’s Cloth
Monk’s cloth is a type of fabric commonly used in punch needle embroidery due to its loose weave. The open weave allows the punch needle to pass through easily, creating consistent loops. Monk’s cloth is typically made from cotton and has a grid-like appearance, making it ideal for detailed designs.
When selecting monk’s cloth, look for a high-quality fabric with evenly spaced threads. This will ensure that your stitches are even and that the fabric can withstand the tension of the embroidery process. Pre-washing the fabric is also recommended to prevent any shrinkage after you’ve completed your project.
Yarn
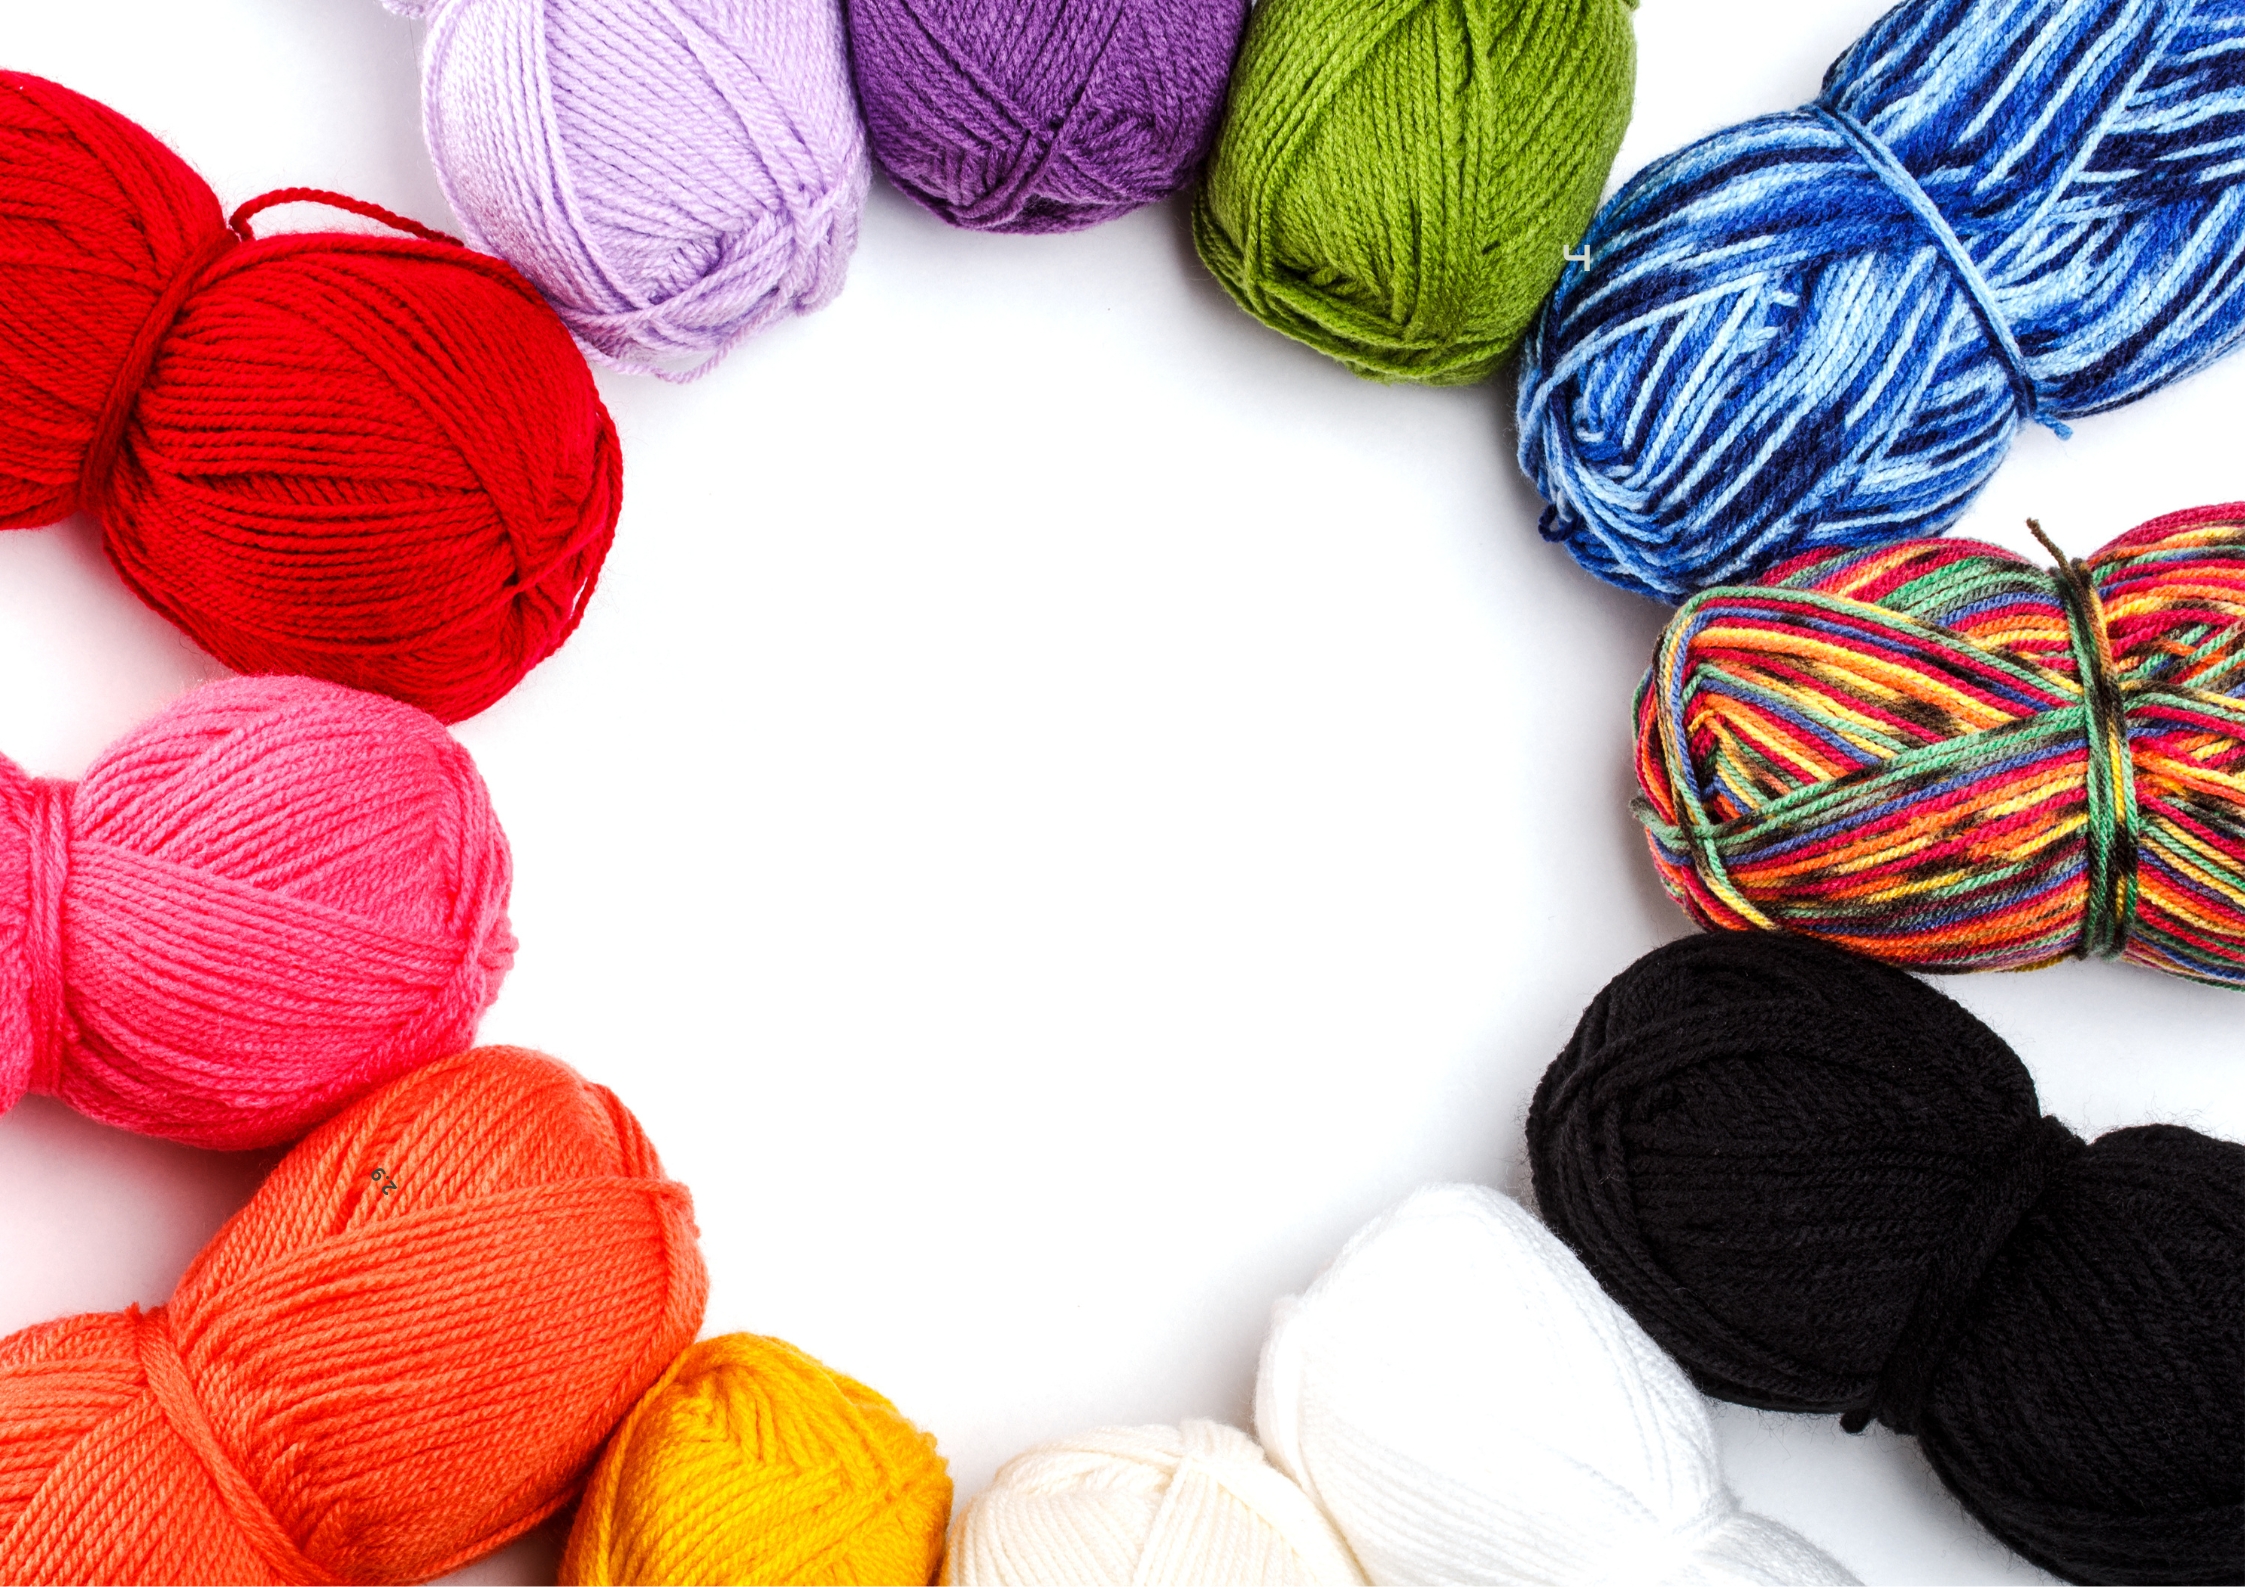
The type of yarn you choose can greatly affect the look and feel of your punch needle embroidery. Wool, cotton, and acrylic yarns are all suitable options, each offering different textures and finishes.
Wool yarns create a soft, plush texture, while cotton yarns provide a more defined and sturdy finish. Acrylic yarns are budget-friendly and come in a wide range of colors.
It’s important to match the yarn thickness to your punch needle size. Using a yarn that is too thick or too thin can cause issues with the needle and affect the overall appearance of your work. For beginners, medium-weight yarn is a good starting point, as it is easy to work with and provides a balanced look.
Threader
A threader is a handy tool that helps you pull the yarn through the punch needle’s hollow shaft. Threaders are usually made of thin wire or plastic and are essential for threading yarn through needles with small openings.
Without a threader, it can be challenging to get the yarn through the needle, especially for beginners.
Step-by-Step Guide
Step 1: Prepare Your Fabric
Preparing your fabric correctly is the foundation of a successful punch needle embroidery project. Here’s how to do it:
- Cutting the Fabric: Start by cutting a piece of monk’s cloth that is slightly larger than your embroidery hoop. This extra fabric will give you more flexibility to adjust the tension and keep your work area manageable. For example, if you have an 8-inch hoop, cut a piece of fabric that is about 10 inches in diameter.
- Securing the Fabric: Place the inner ring of the embroidery hoop on a flat surface. Lay the fabric over the ring, then place the outer ring on top. Press down to sandwich the fabric between the two rings. Tighten the screw or clasp on the outer ring to secure the fabric. Make sure the fabric is taut like a drum; this tension is crucial for creating even stitches.
- Adjusting the Tension: After securing the fabric, check the tension by pressing your finger lightly on the surface. The fabric should not sag or move significantly. If it does, tighten the hoop further. Consistent tension will help you make smooth, even stitches and prevent the fabric from shifting during your work.

Step 2: Draw Your Design
Drawing your design on the fabric is a fun and creative part of the process of punch needle embroidery. Here’s how to do it:
- Choosing a Design: Start with simple designs if you’re new to punch needle embroidery. Basic shapes like circles, squares, and flowers are great for beginners. As you gain confidence, you can try more intricate patterns. You can find design inspiration from books, online resources, or create your own.
- Transferring the Design: Use a water-soluble fabric marker or a pencil to draw your design on the monk’s cloth. Lightly sketch the outline of your design, ensuring it’s clear enough to guide your stitches. If you’re using a marker, test it on a small piece of fabric first to ensure it can be easily removed later.
- Keeping It Simple: Don’t worry about making the design too detailed at first. Punch needle embroidery is all about creating texture and layers, so simple outlines are often the best starting point. As you get more comfortable, you can add more details and complexity to your designs.
Step 3: Thread the Punch Needle
Threading the punch needle can be tricky at first, but with a little practice, it becomes second nature. Follow these steps:
- Cutting the Yarn: Cut a piece of yarn about 18 inches long. This length is manageable and reduces the risk of tangling.
- Using the Threader: Insert the threader through the hollow shaft of the punch needle from the needle’s point to the handle. Place the end of the yarn through the loop of the threader. Gently pull the threader back through the needle, bringing the yarn with it.
- Setting the Yarn: Once the yarn is through the needle, pull a few inches out of the needle’s tip. This tail will prevent the yarn from slipping out while you work. Ensure the yarn moves freely through the needle without resistance. If it feels tight, check for any snags or knots.
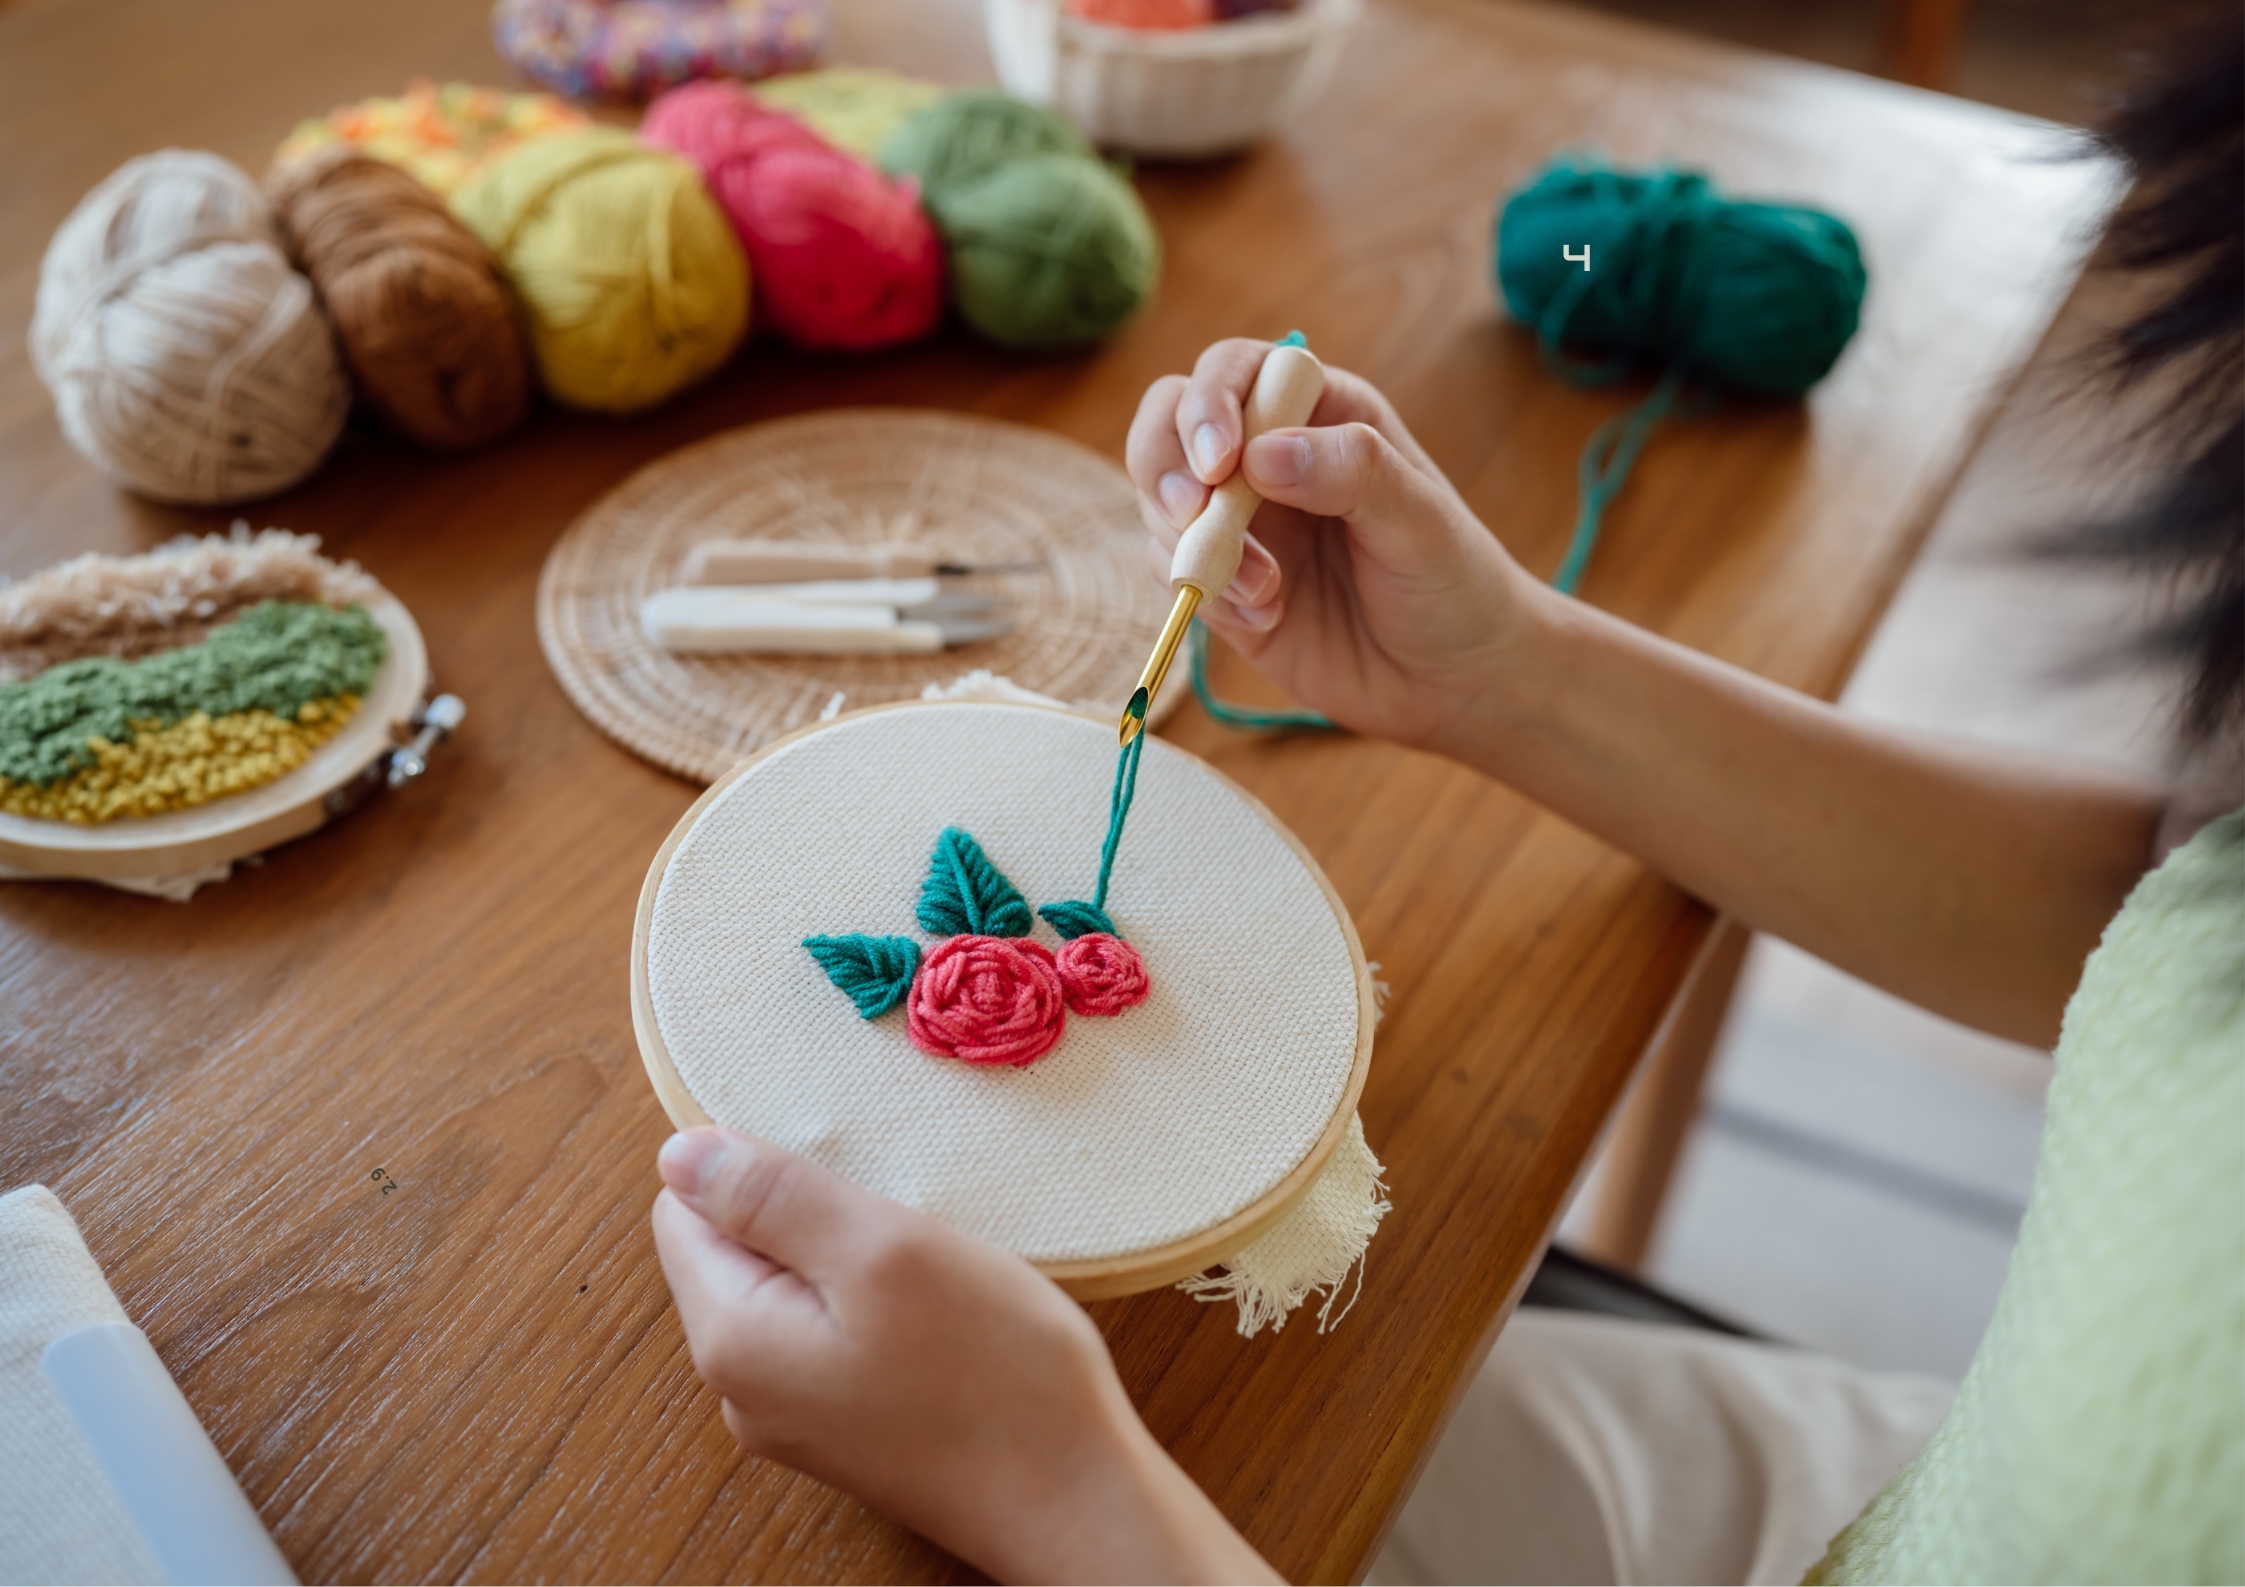
Step 4: Start Punching
Now comes the exciting part – punching! Here’s how to get started:
- Holding the Needle: Hold the punch needle like a pencil, with your thumb and forefinger near the handle. The needle’s beveled side should face the direction you’re punching.
- Making the First Stitch: Push the needle through the fabric until the handle touches the surface. The yarn should stay on the surface while the needle passes through.
- Pulling Back: Pull the needle back just enough to move to the next stitch. Don’t lift the needle too high, or the yarn may come out of the fabric.
- Moving Along: Move the needle along the drawn design, making small, even stitches. Keep the needle close to the fabric for consistent loops.
Step 5: Fill in Your Design
Filling in your design is where your project comes to life. Here’s how to do it:
- Following the Outline: Start by punching along the outline of your design. This will create a defined border for your work.
- Filling Large Areas: For larger areas, use a back-and-forth motion to fill in the space. Work in small sections to maintain even tension.
- Creating Texture: Experiment with different stitch lengths and directions to add texture and depth. For example, shorter stitches create a dense, plush texture, while longer stitches give a looser, more open look.
- Changing Colors: To change colors, cut the current yarn close to the fabric and thread the new yarn through the needle. Continue stitching where you left off, overlapping a few stitches to secure the yarn.
Step 6: Finish Your Project
Finishing your project ensures it looks polished and professional. Here’s how to do it:
- Removing the Fabric: Once your punch needle embroidery design is complete, carefully remove the fabric from the hoop. Be gentle to avoid distorting the stitches.
- Trimming Loose Ends: Use scissors to trim any loose yarn ends. Ensure the ends are cut close to the fabric without cutting the loops themselves. This will give your piece a neat and tidy appearance.
- Securing the Stitches: To keep your stitches in place, you can use a few methods. One option is to iron the back of the fabric on a low setting. Place a piece of parchment paper over the fabric to protect it, and press lightly with the iron. The heat will help set the stitches. Alternatively, you can use a fabric glue on the back of the fabric to secure the stitches. Apply a thin layer of glue and let it dry completely before handling the fabric.
- Framing or Displaying Your Work: If you plan to frame your punch needle embroidery, make sure it is completely flat and secure. You can stretch the fabric over a wooden frame or place it back in the embroidery hoop for a rustic look. If you prefer, you can also sew the edges of the fabric to create a clean border for hanging.
Tips for Success
Embarking on a punch needle embroidery project can be both exciting and challenging. Here are some tips to help you succeed and enjoy the process:
- Practice Makes Perfect: Like any craft, practice is key to improving your punch needle embroidery skills. Don’t be discouraged if your first few projects aren’t perfect. The more you practice, the better you’ll get at controlling the needle and creating consistent stitches.
- Keep It Tight: Maintaining tight tension in your fabric is crucial. If your fabric is too loose, your stitches may not hold well, and your design could become distorted. Always check the tension before you start and readjust if needed.
- Experiment with Yarn: Don’t be afraid to try different types of yarn. Each type of yarn can create a unique texture and look. Mix and match colors and textures to find combinations that you love. Experimenting with different yarns can also help you discover new techniques and styles.
- Use Simple Designs: When starting, stick to simple designs. Basic shapes and patterns are easier to manage and will help you build confidence. As you gain experience, you can move on to more complex designs with intricate details.
- Watch Tutorials: There are many video tutorials available online that can provide visual guidance and tips. Watching experienced crafters can give you a better understanding of the techniques and inspire you with new ideas.
- Take Breaks: Punch needle embroidery can be a relaxing activity, but it can also strain your hands and eyes if you work for long periods. Take regular breaks to stretch your hands and rest your eyes. This will help prevent fatigue and keep you motivated.
- Join a Community: Joining a community of fellow punch needle enthusiasts can be a great source of support and inspiration. Look for online forums, social media groups, or local craft clubs where you can share your work, ask questions, and get feedback.
Conclusion
Punch needle embroidery is a wonderful craft that’s easy to learn and fun to do. With the right tools and a bit of practice, you can create beautiful pieces of art. Remember, the key to mastering punch needle embroidery is to enjoy the process and keep practicing. Happy stitching!
By following these steps and tips, you’ll be well on your way to becoming a punch needle embroidery pro. The more you practice, the more you’ll improve, and soon you’ll be creating intricate and beautiful designs with ease.
Enjoy your crafting journey and let your creativity shine through your punch needle embroidery projects.


