Nail art is no longer just a trend – it’s a fashion statement. Thanks to their quirky patterns and vivid colours, your nails can now convey your sense of style.
Trying nail art seems daunting. But don’t worry, this guide is your secret weapon for producing fierce and glamorous designs that will have everyone asking, “Who did your nails?!”
This blog post will discuss the fundamental aspects of maintaining healthy and robust nails. The topics range from the trimming of nails to their nourishment, all aimed at promoting optimal growth. It will delve into the vast realm of nail polish, where we will provide guidance on selecting the most suitable shade to achieve your desired look.
Additionally, it will elaborate on the most innovative nail tools and techniques, including dotting, freehand painting, and stencil application. With this information, you will possess the knowledge and skills to achieve professional-level nail care.
Contents
Everything You Need to Know About Nail Art
Delve into the different styles of nail art, including French tips, ombre designs, and floral patterns. Get ready to become a nail care pro! Get ready to master nail care! Learn the techniques for creating stunning and one-of-a-kind nail art!
Gathering the Tools You’ll Need
A few tools are essential to have on hand if you want to start doing simple nail art. To make the process simpler, you can also buy pre-made nail art kits or tools.
Base Coat and Topcoat
A base coat is applied before any nail polish to help protect your nails and ensure the colour adheres properly. A topcoat is applied after the nail polish and designs to help protect the design and the coloured polish from chipping, fading, or smudging.
Nail Polish
You’ll need a variety of nail polish colours to create different designs. Look for high-quality nail polishes that are easy to apply.
High-quality nail polish should have a smooth and even consistency. It should also not require too many coats to achieve a solid colour. It should have a brush that is easy to use and allows for precise application. It should dry relatively quickly, which is important if you want to create multiple designs in one sitting.
Do you know that you can also create home decor using nail polish? You can use it to make DIY nail polish-marbled flower pots! With a swish and a swirl, you can turn ordinary flower pots into fabulously marbled masterpieces. So it’s another interesting project, isn’t it?
Nail Art Brushes
Nail art brushes come in various sizes and shapes and are used to create intricate designs. You’ll need a set of brushes with different tips, such as fine-tipped brushes for detailed work and angled brushes for creating lines.
Dotting Tools
A dotting tool is the most effective and straightforward method for adding dots to your nails. This nifty tool comes in both plastic and metal and has a small, round tip that’s perfect for nail art. If you don’t have one – you can always use stuff lying around the house. Think bobby pins or toothpicks! They make great substitutes for dotting tools.
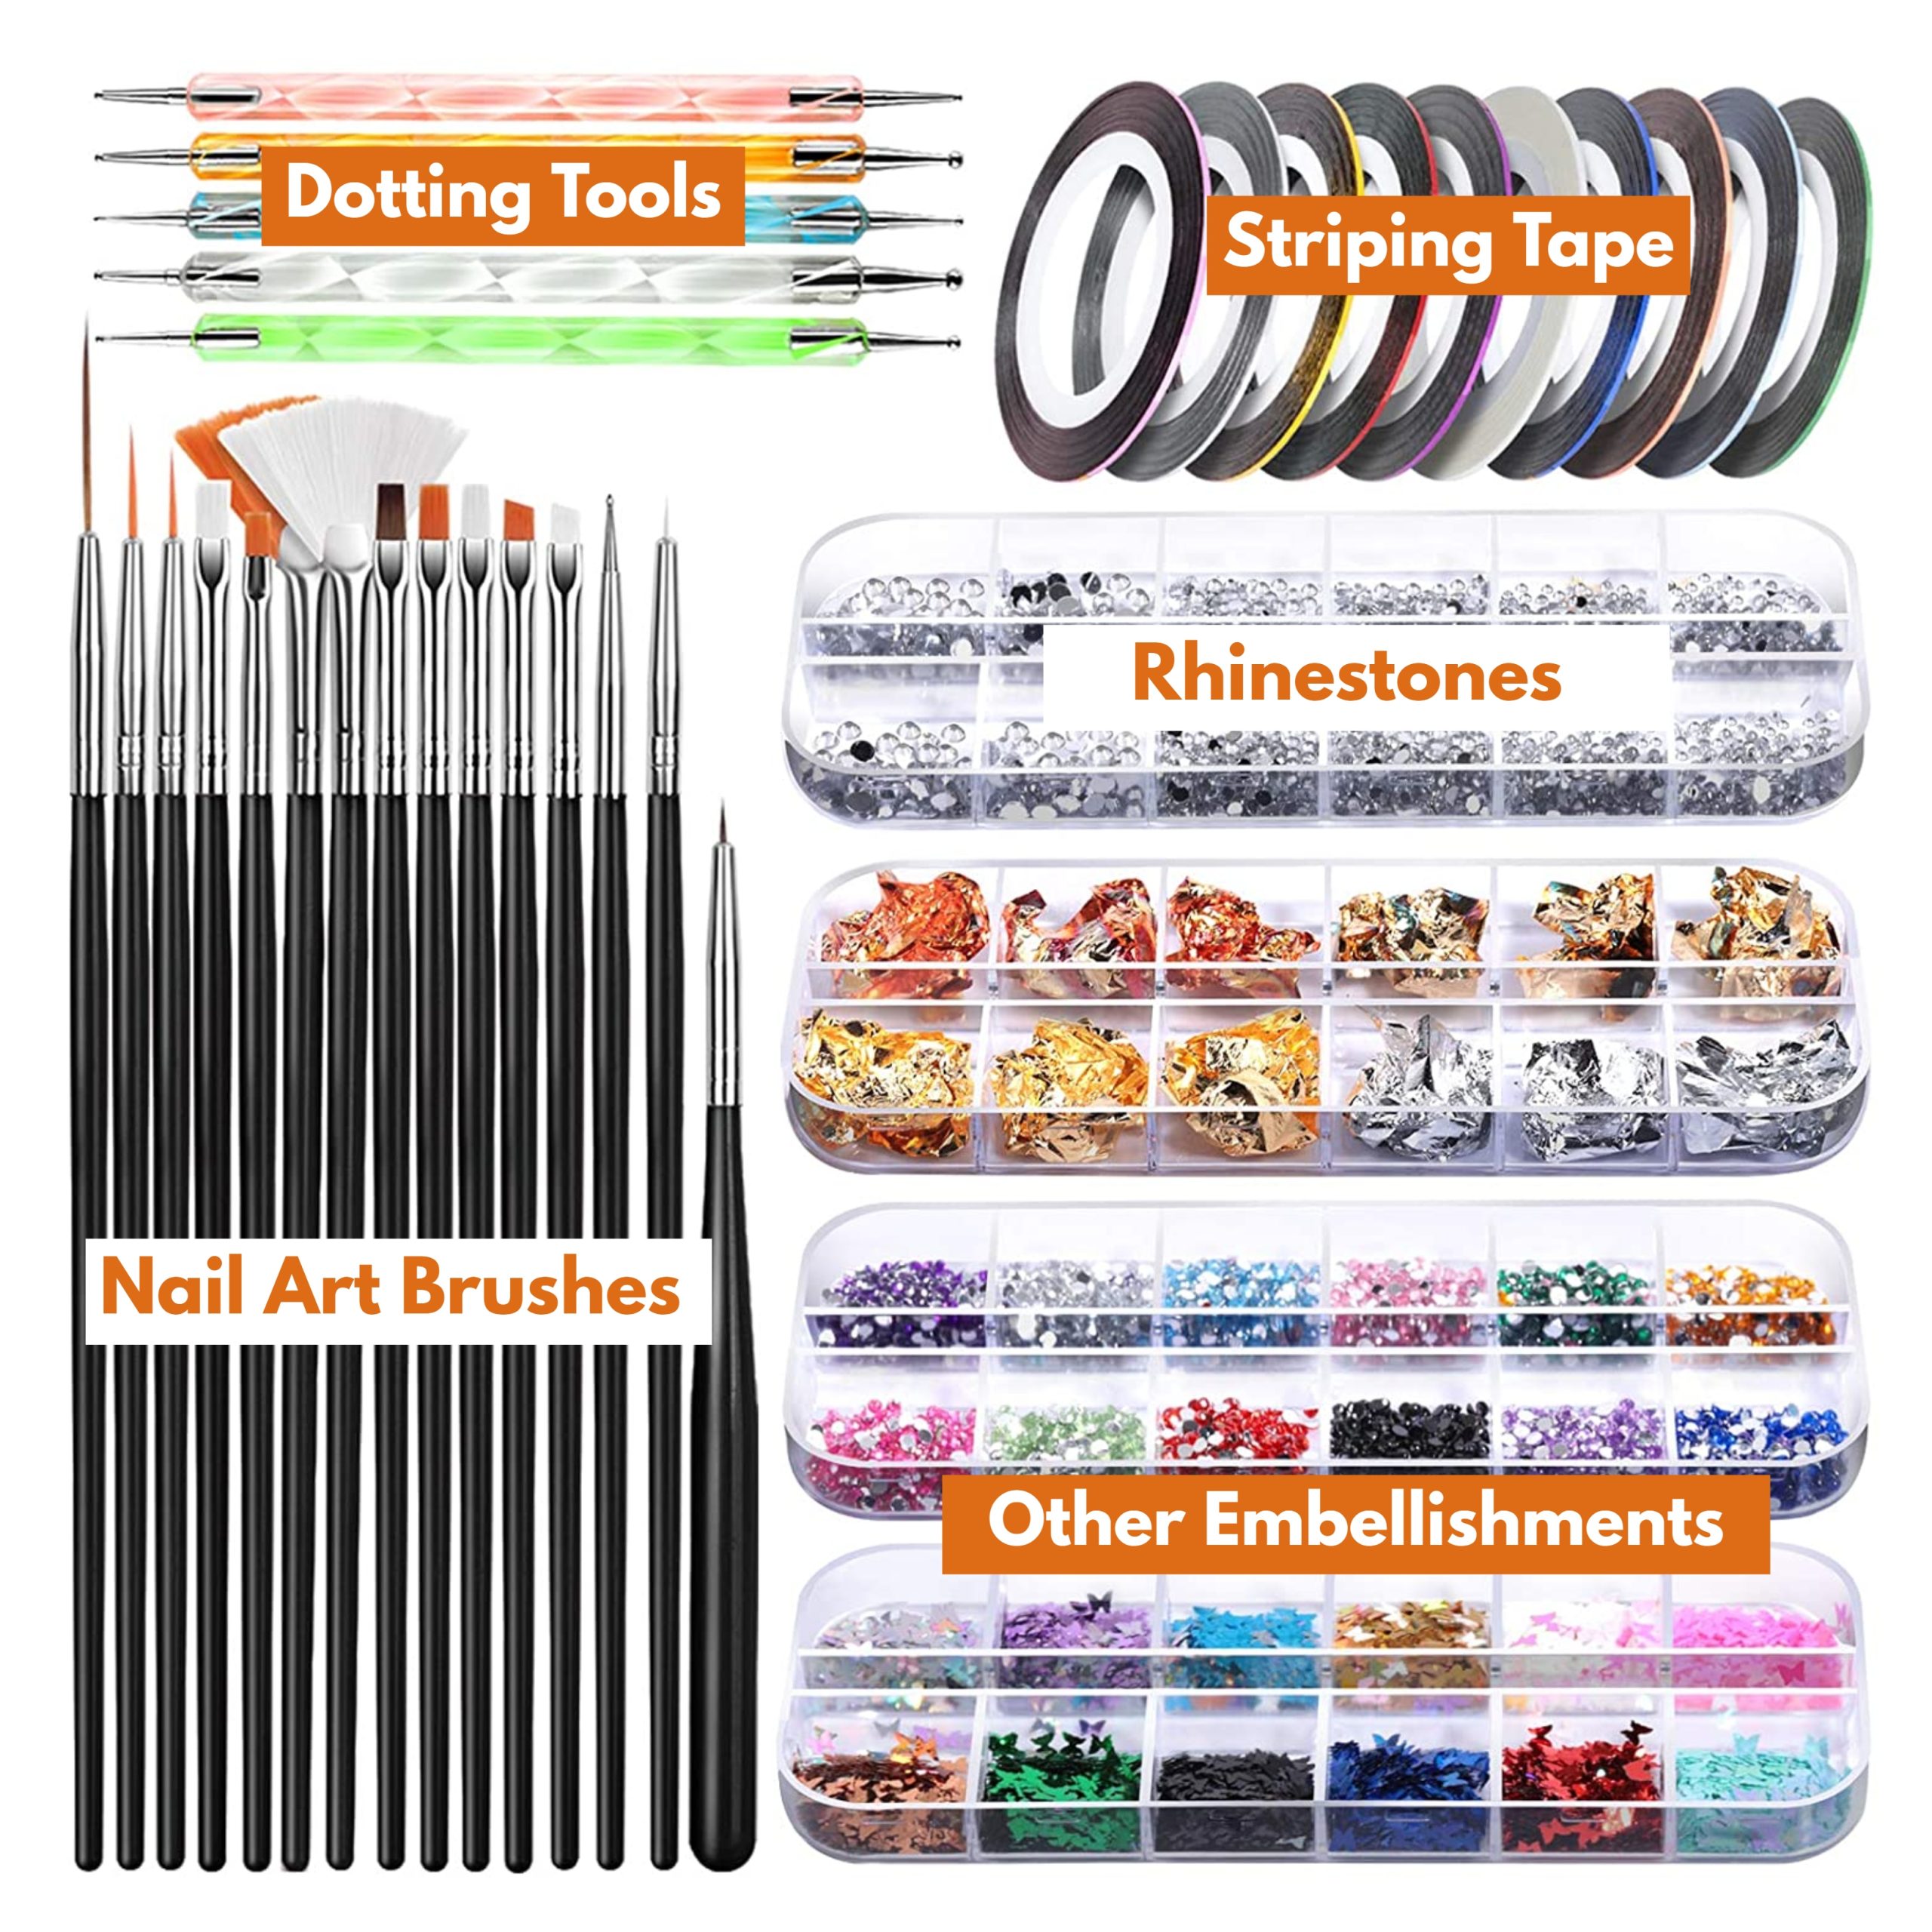
Striping Tape
A striping tape is a thin tape that people use in nail art to make these sick straight lines and geometric shapes on their nails. And the best part? It comes in all sorts of widths and colours and is usually made of vinyl or plastic. It’s like the ultimate tool for nailing (pun intended) those intricate designs.
Rhinestones and Other Embellishments
Rhinestones, studs, and other embellishments can be used to add a bit of sparkle and dimension to your designs.
Rhinestones and studs are great options for adding dimension to your nail art. You can stick ’em on with some nail glue or embed ’em in wet polish for some extra dimension. Rhinestones come in all sorts of shapes and colours, so you’ll definitely find some that vibe with your design. And studs? They’re usually metal and come in sick shapes like stars, hearts, and squares.
Nail Polish Remover
You’ll need a good quality nail polish remover to remove any mistakes. Don’t even try to use any watery remover that you found at the dollar store. It will only make things worse. You gotta invest in a quality remover that’s got either acetone or non-acetone, depending on what you like.
Just a couple of swipes with a cotton pad soaked in this magical liquid and BAM! All your mistakes, smudges, and chipped spots disappear like magic. Trust me, your nails will thank you.
With these tools, you can create a wide range of nail art designs, from simple polka dots to intricate patterns and designs.
Selecting a Design
When it comes to nail art, selecting a design can seem intimidating at first, but it doesn’t have to be. Start by browsing inspiration online or flipping through magazines to find designs that catch your eye.
Consider your personal style and what will complement your wardrobe best. If you’re unsure where to begin, start with a simple design such as a French tip or a solid colour.
Here are the most common nail art designs:
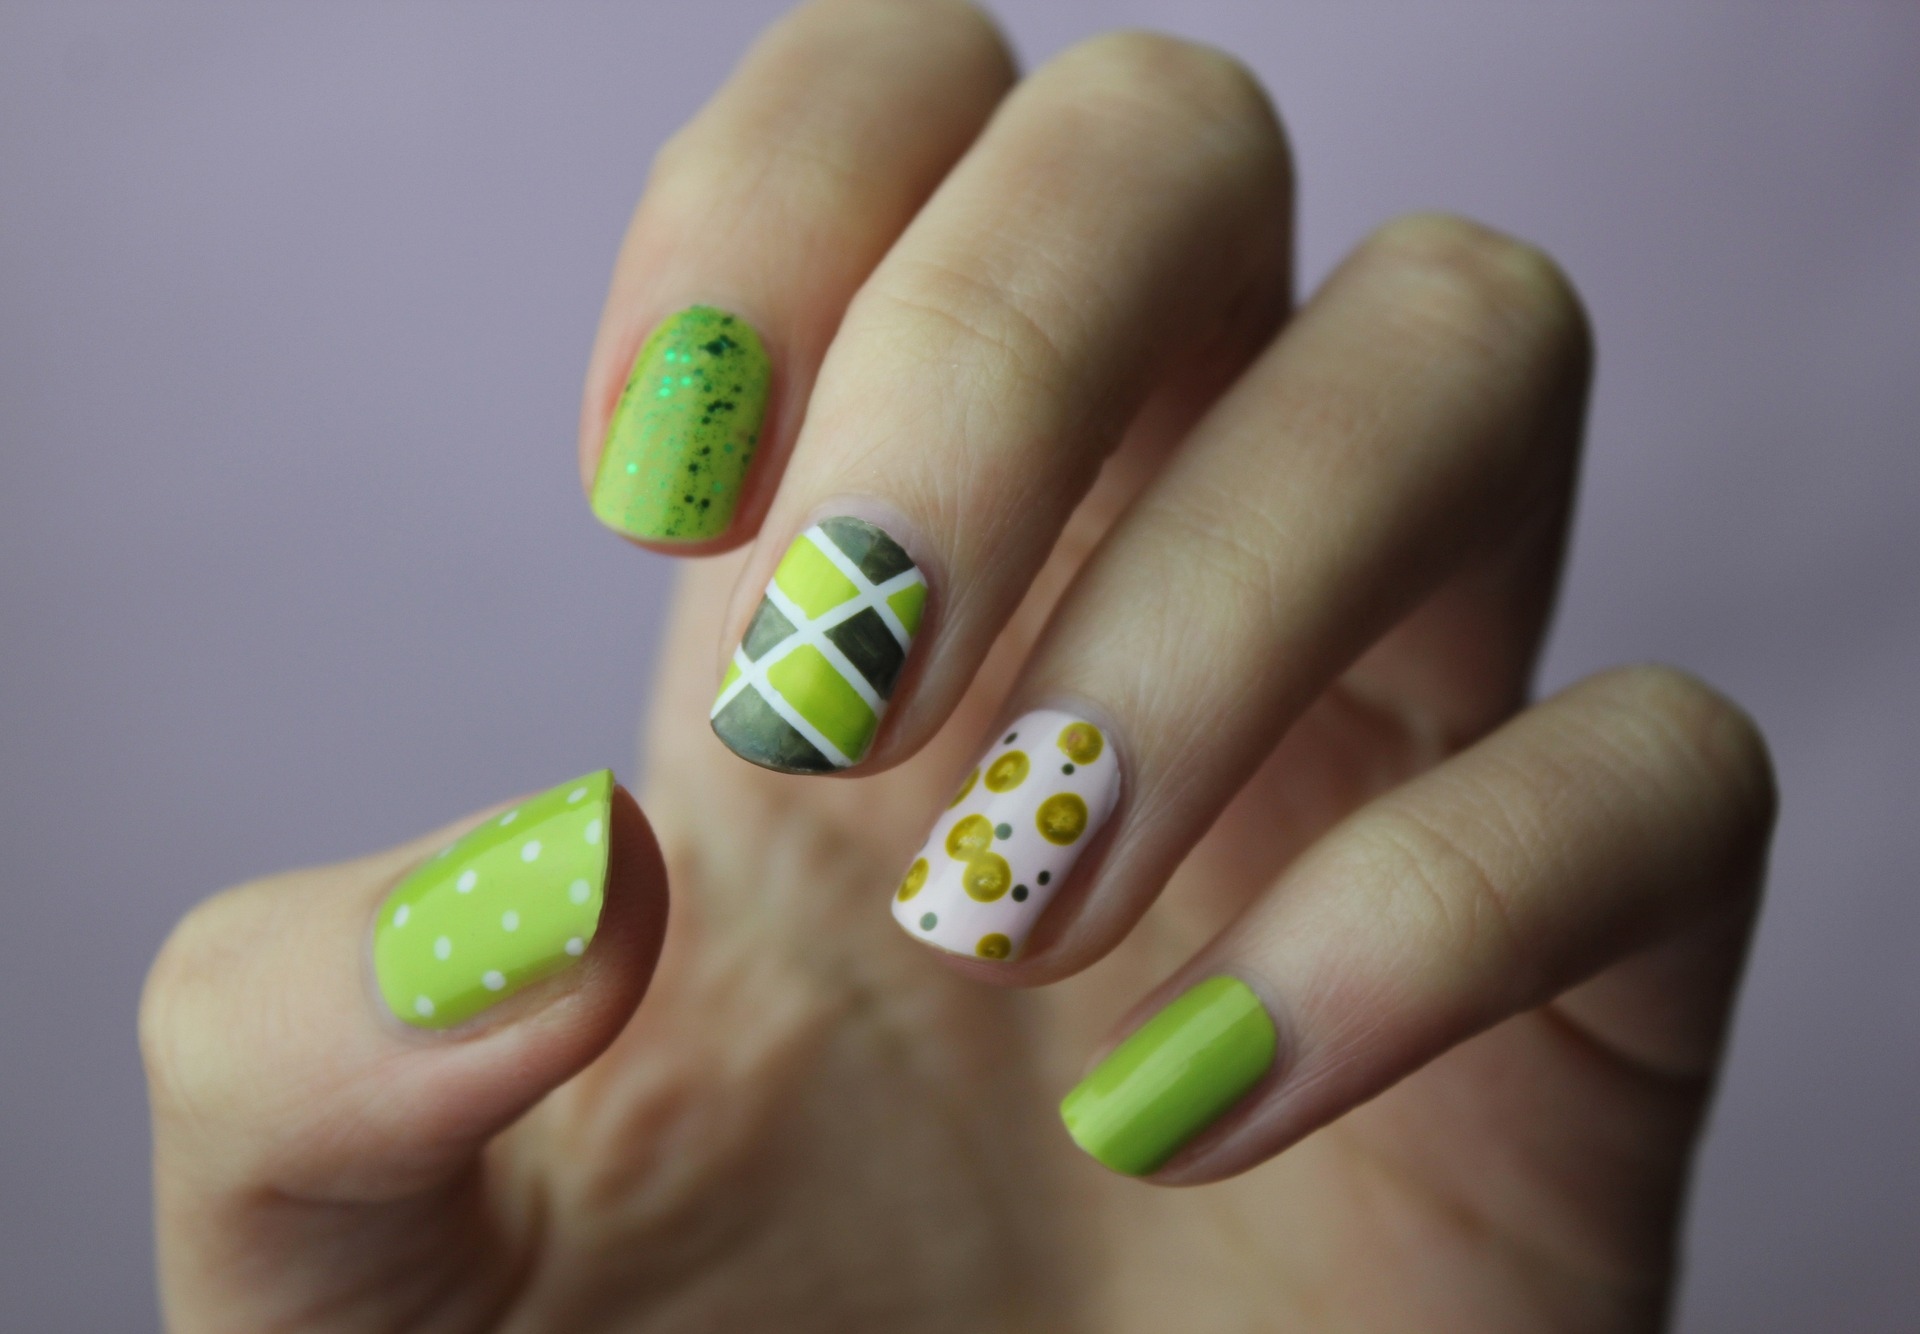
- Polka Dots: This design involves applying dots of various sizes and colours to the nails, creating a fun and playful look.
- Ombré: This design features a gradual blend of colours, fading from one colour to another across the nails.
- Stripes: This design involves using striping tape or a steady hand to create straight lines or diagonal stripes on the nails.
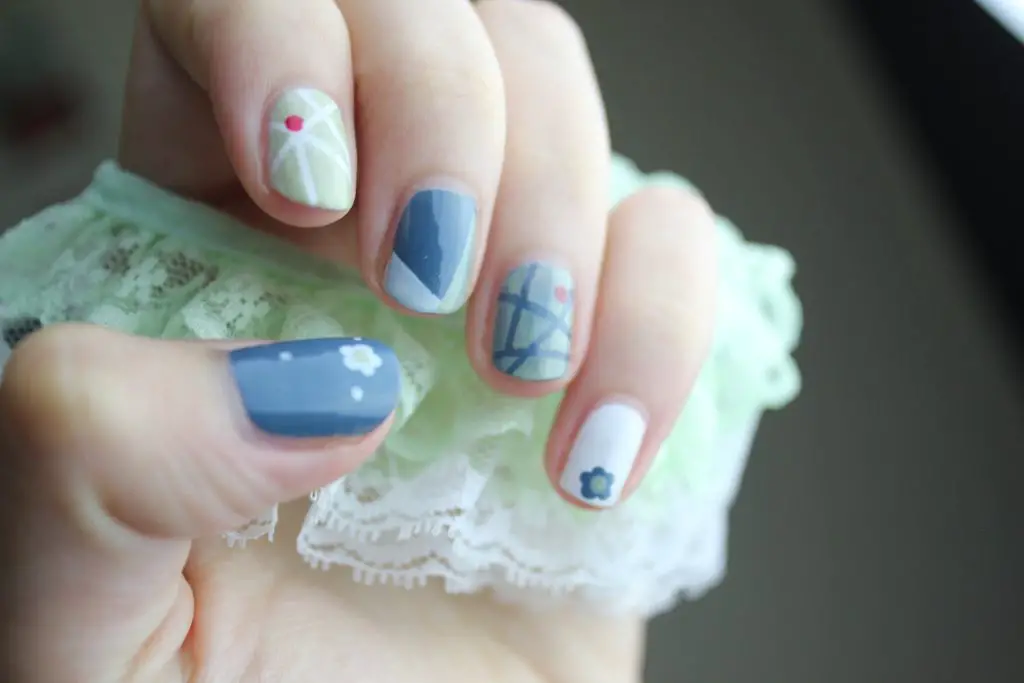
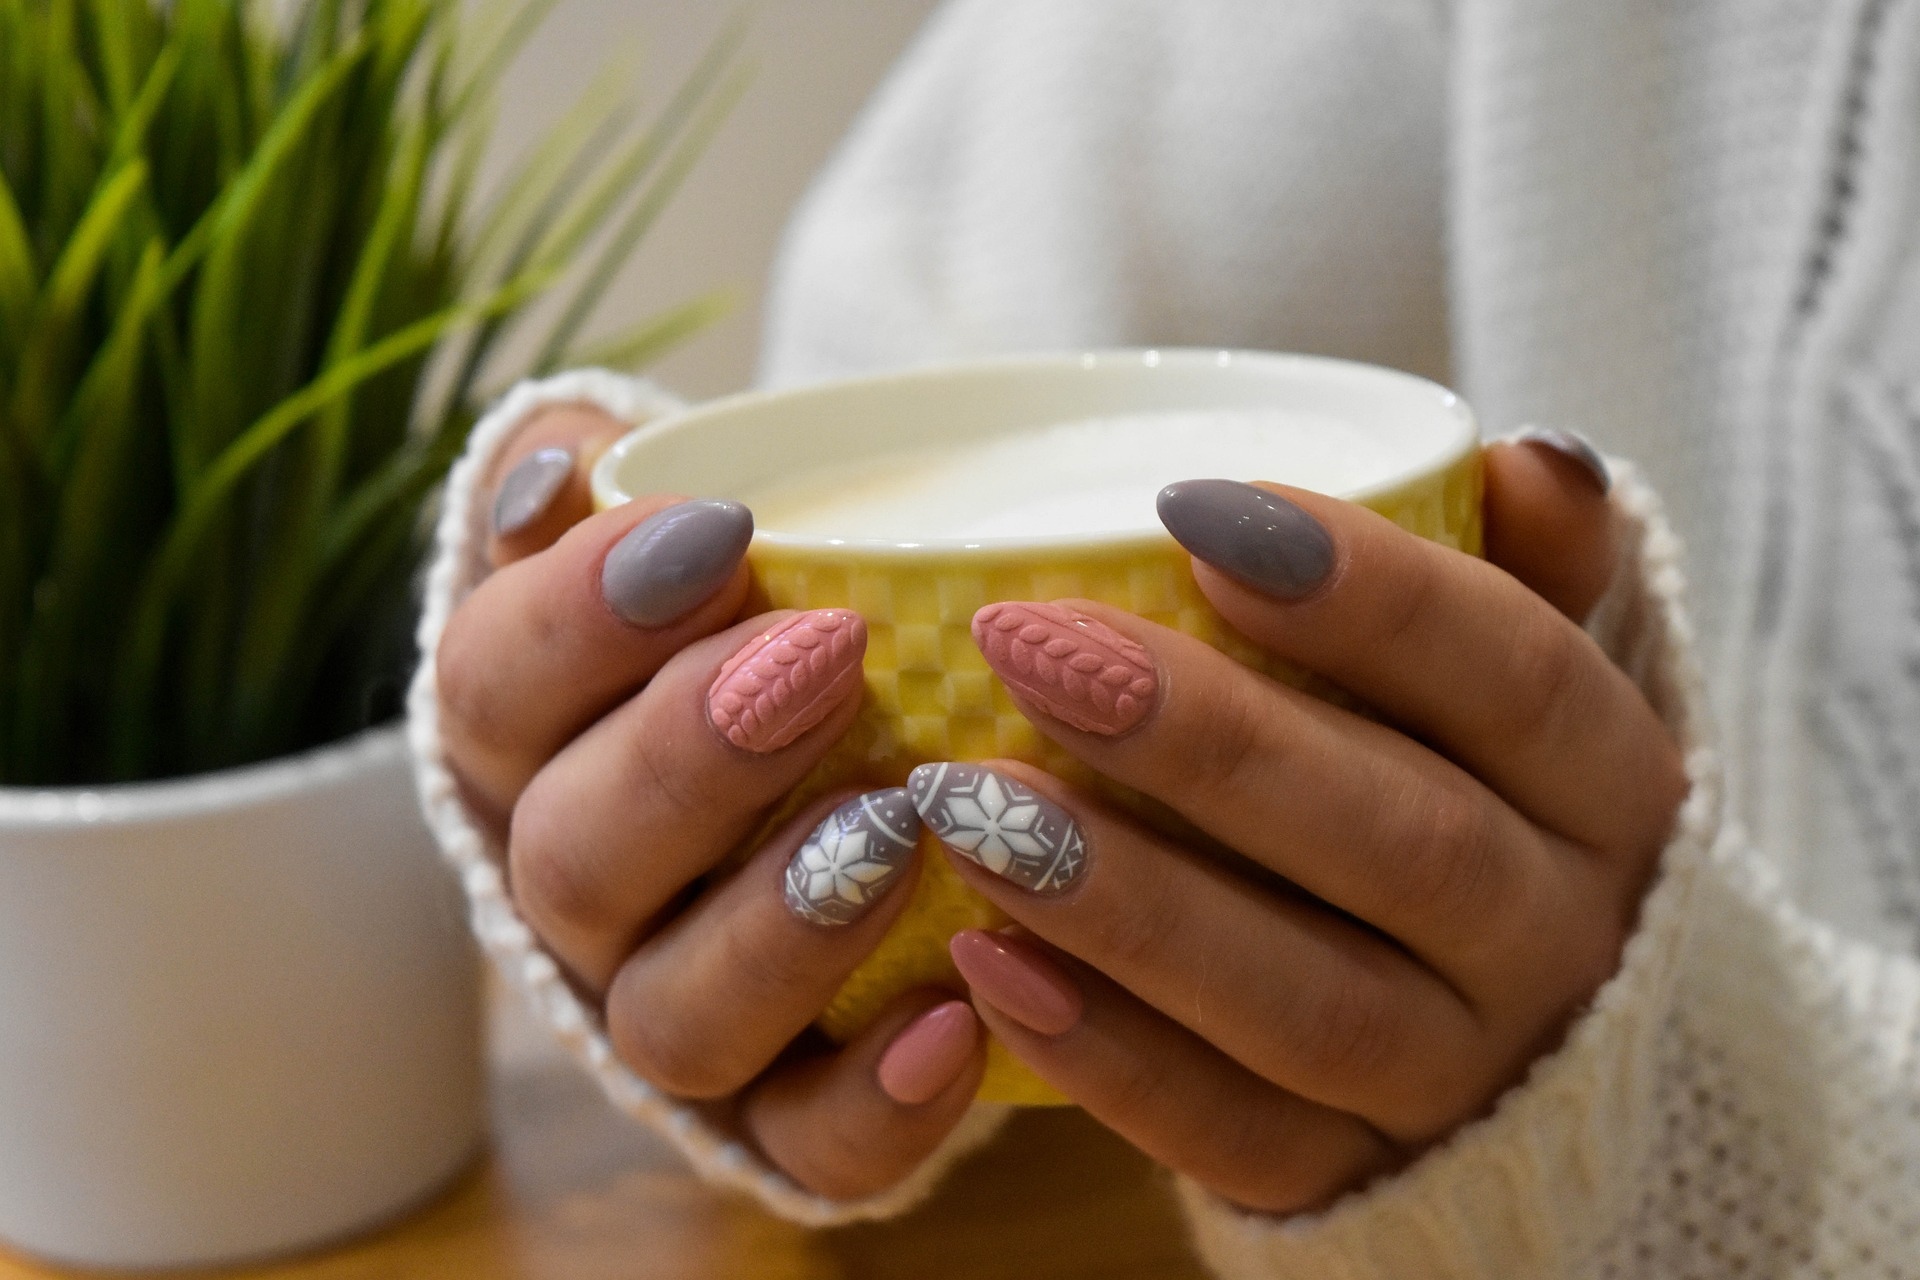
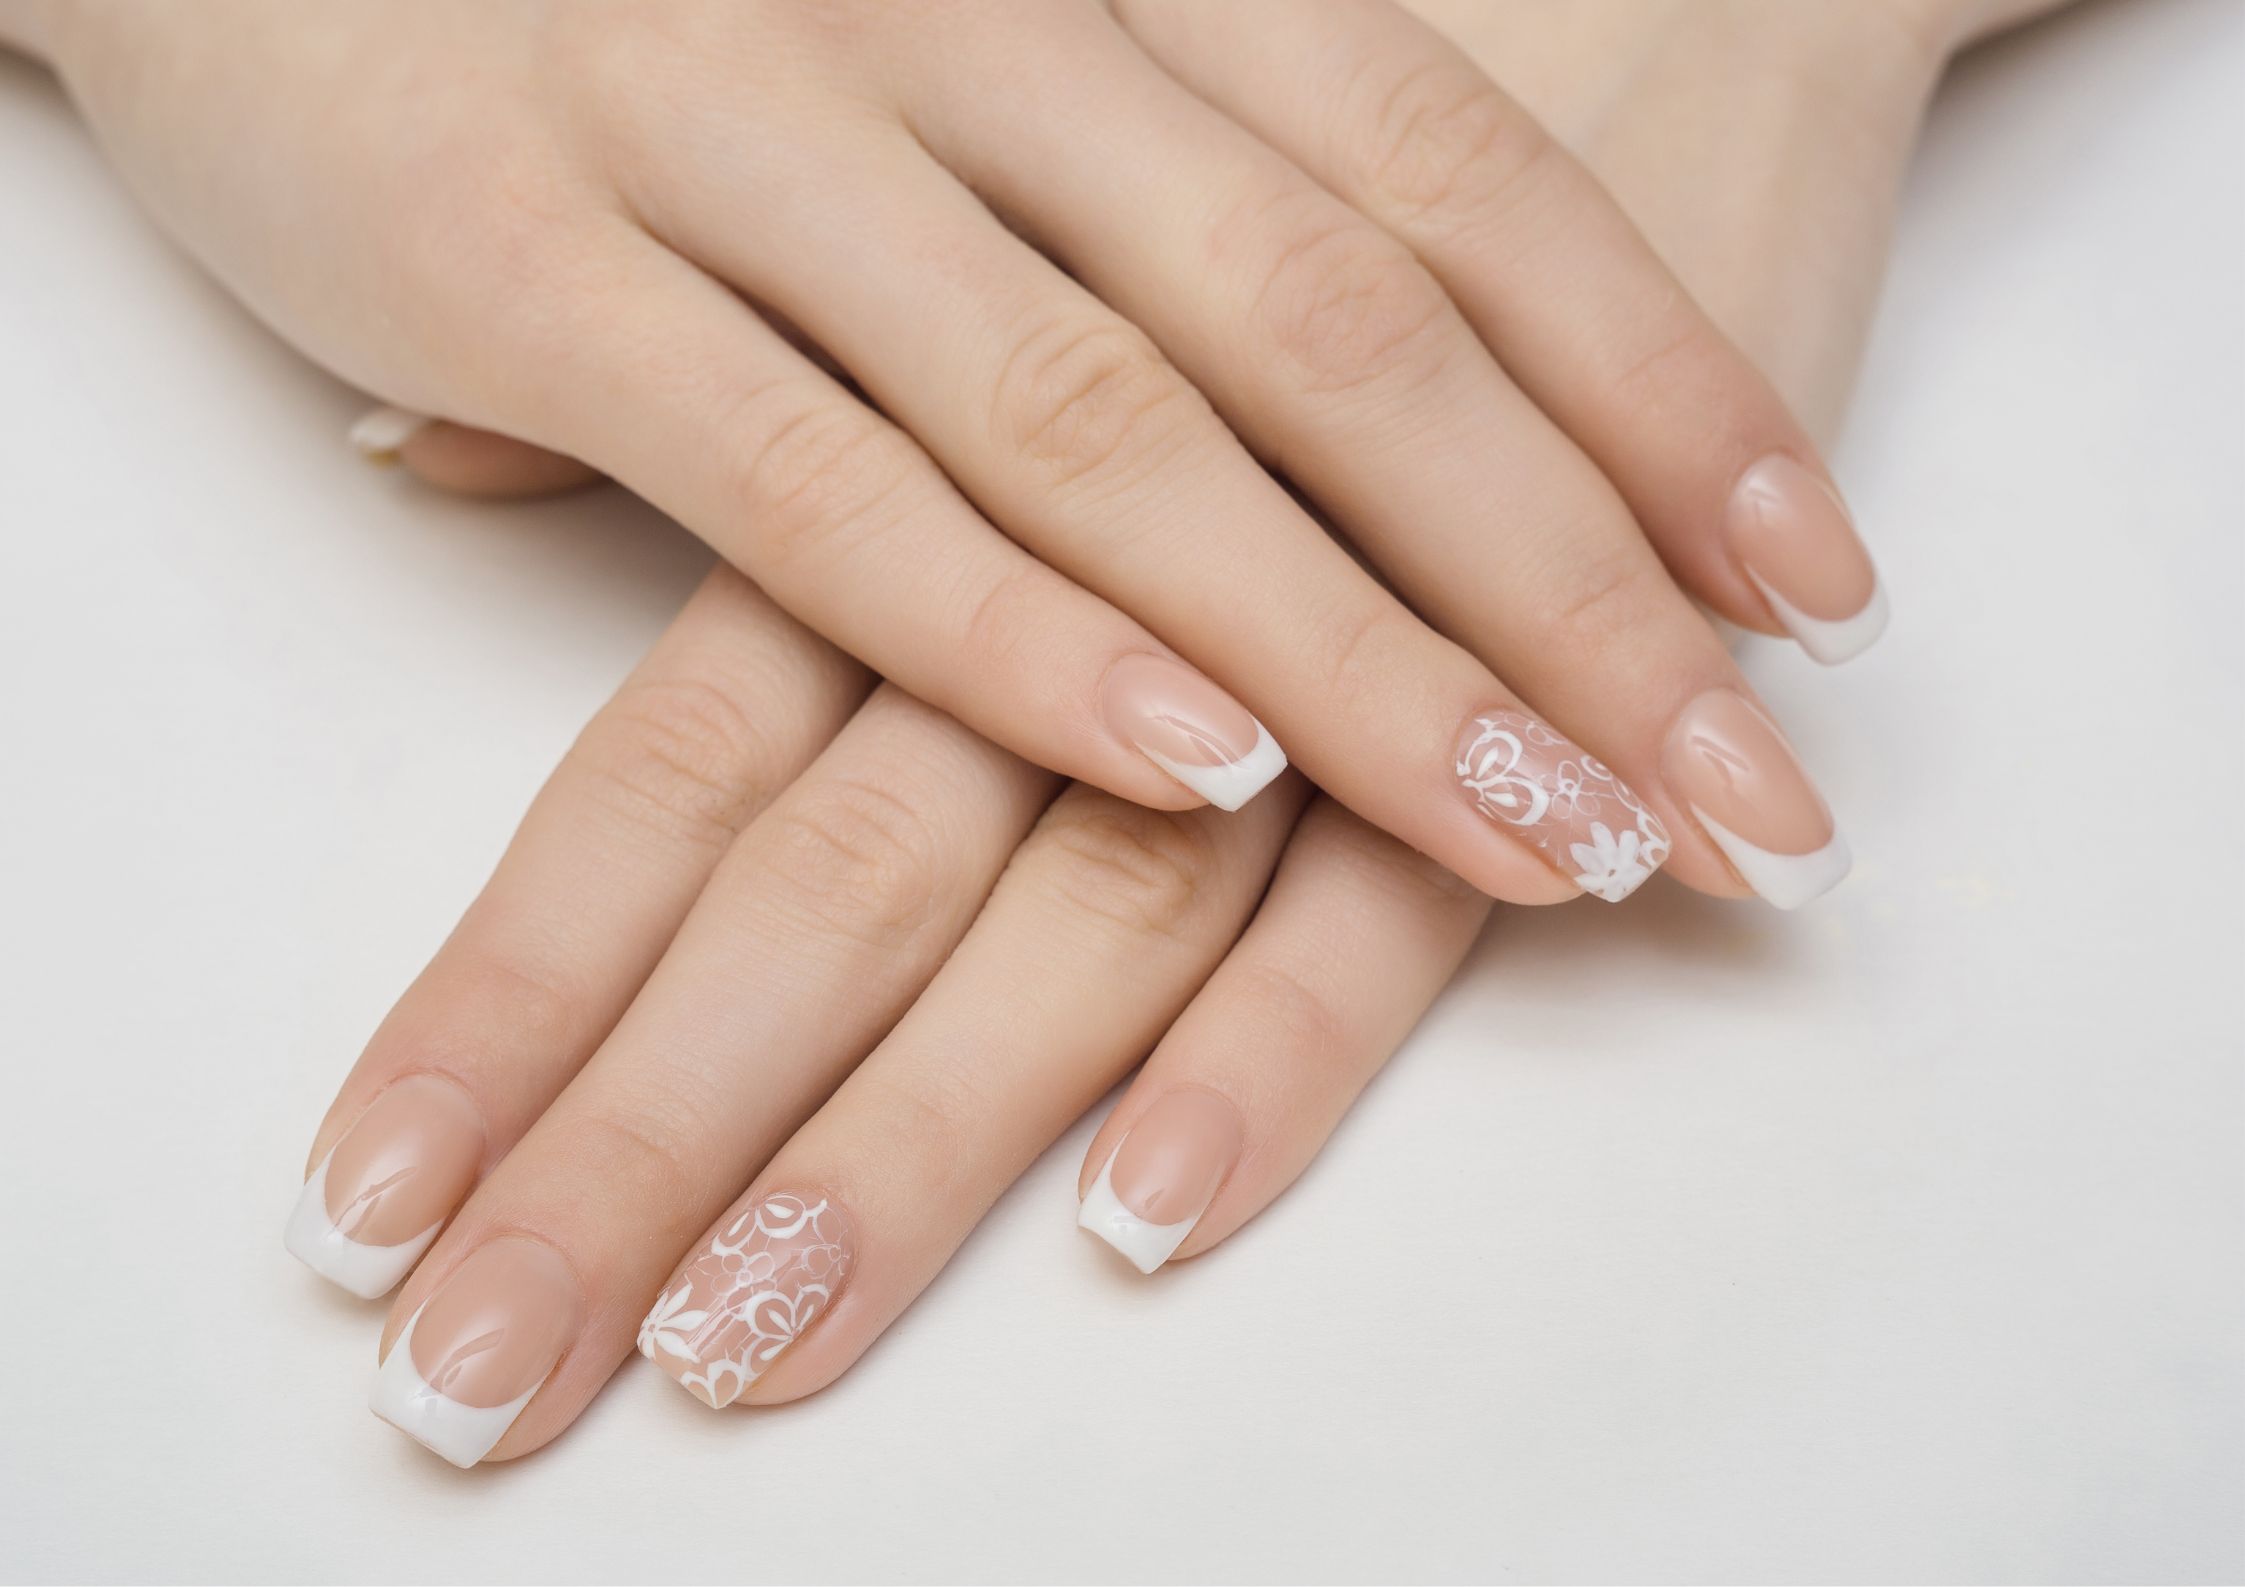
- Floral: This design features the use of flowers or floral patterns on the nails, creating a feminine and delicate look.
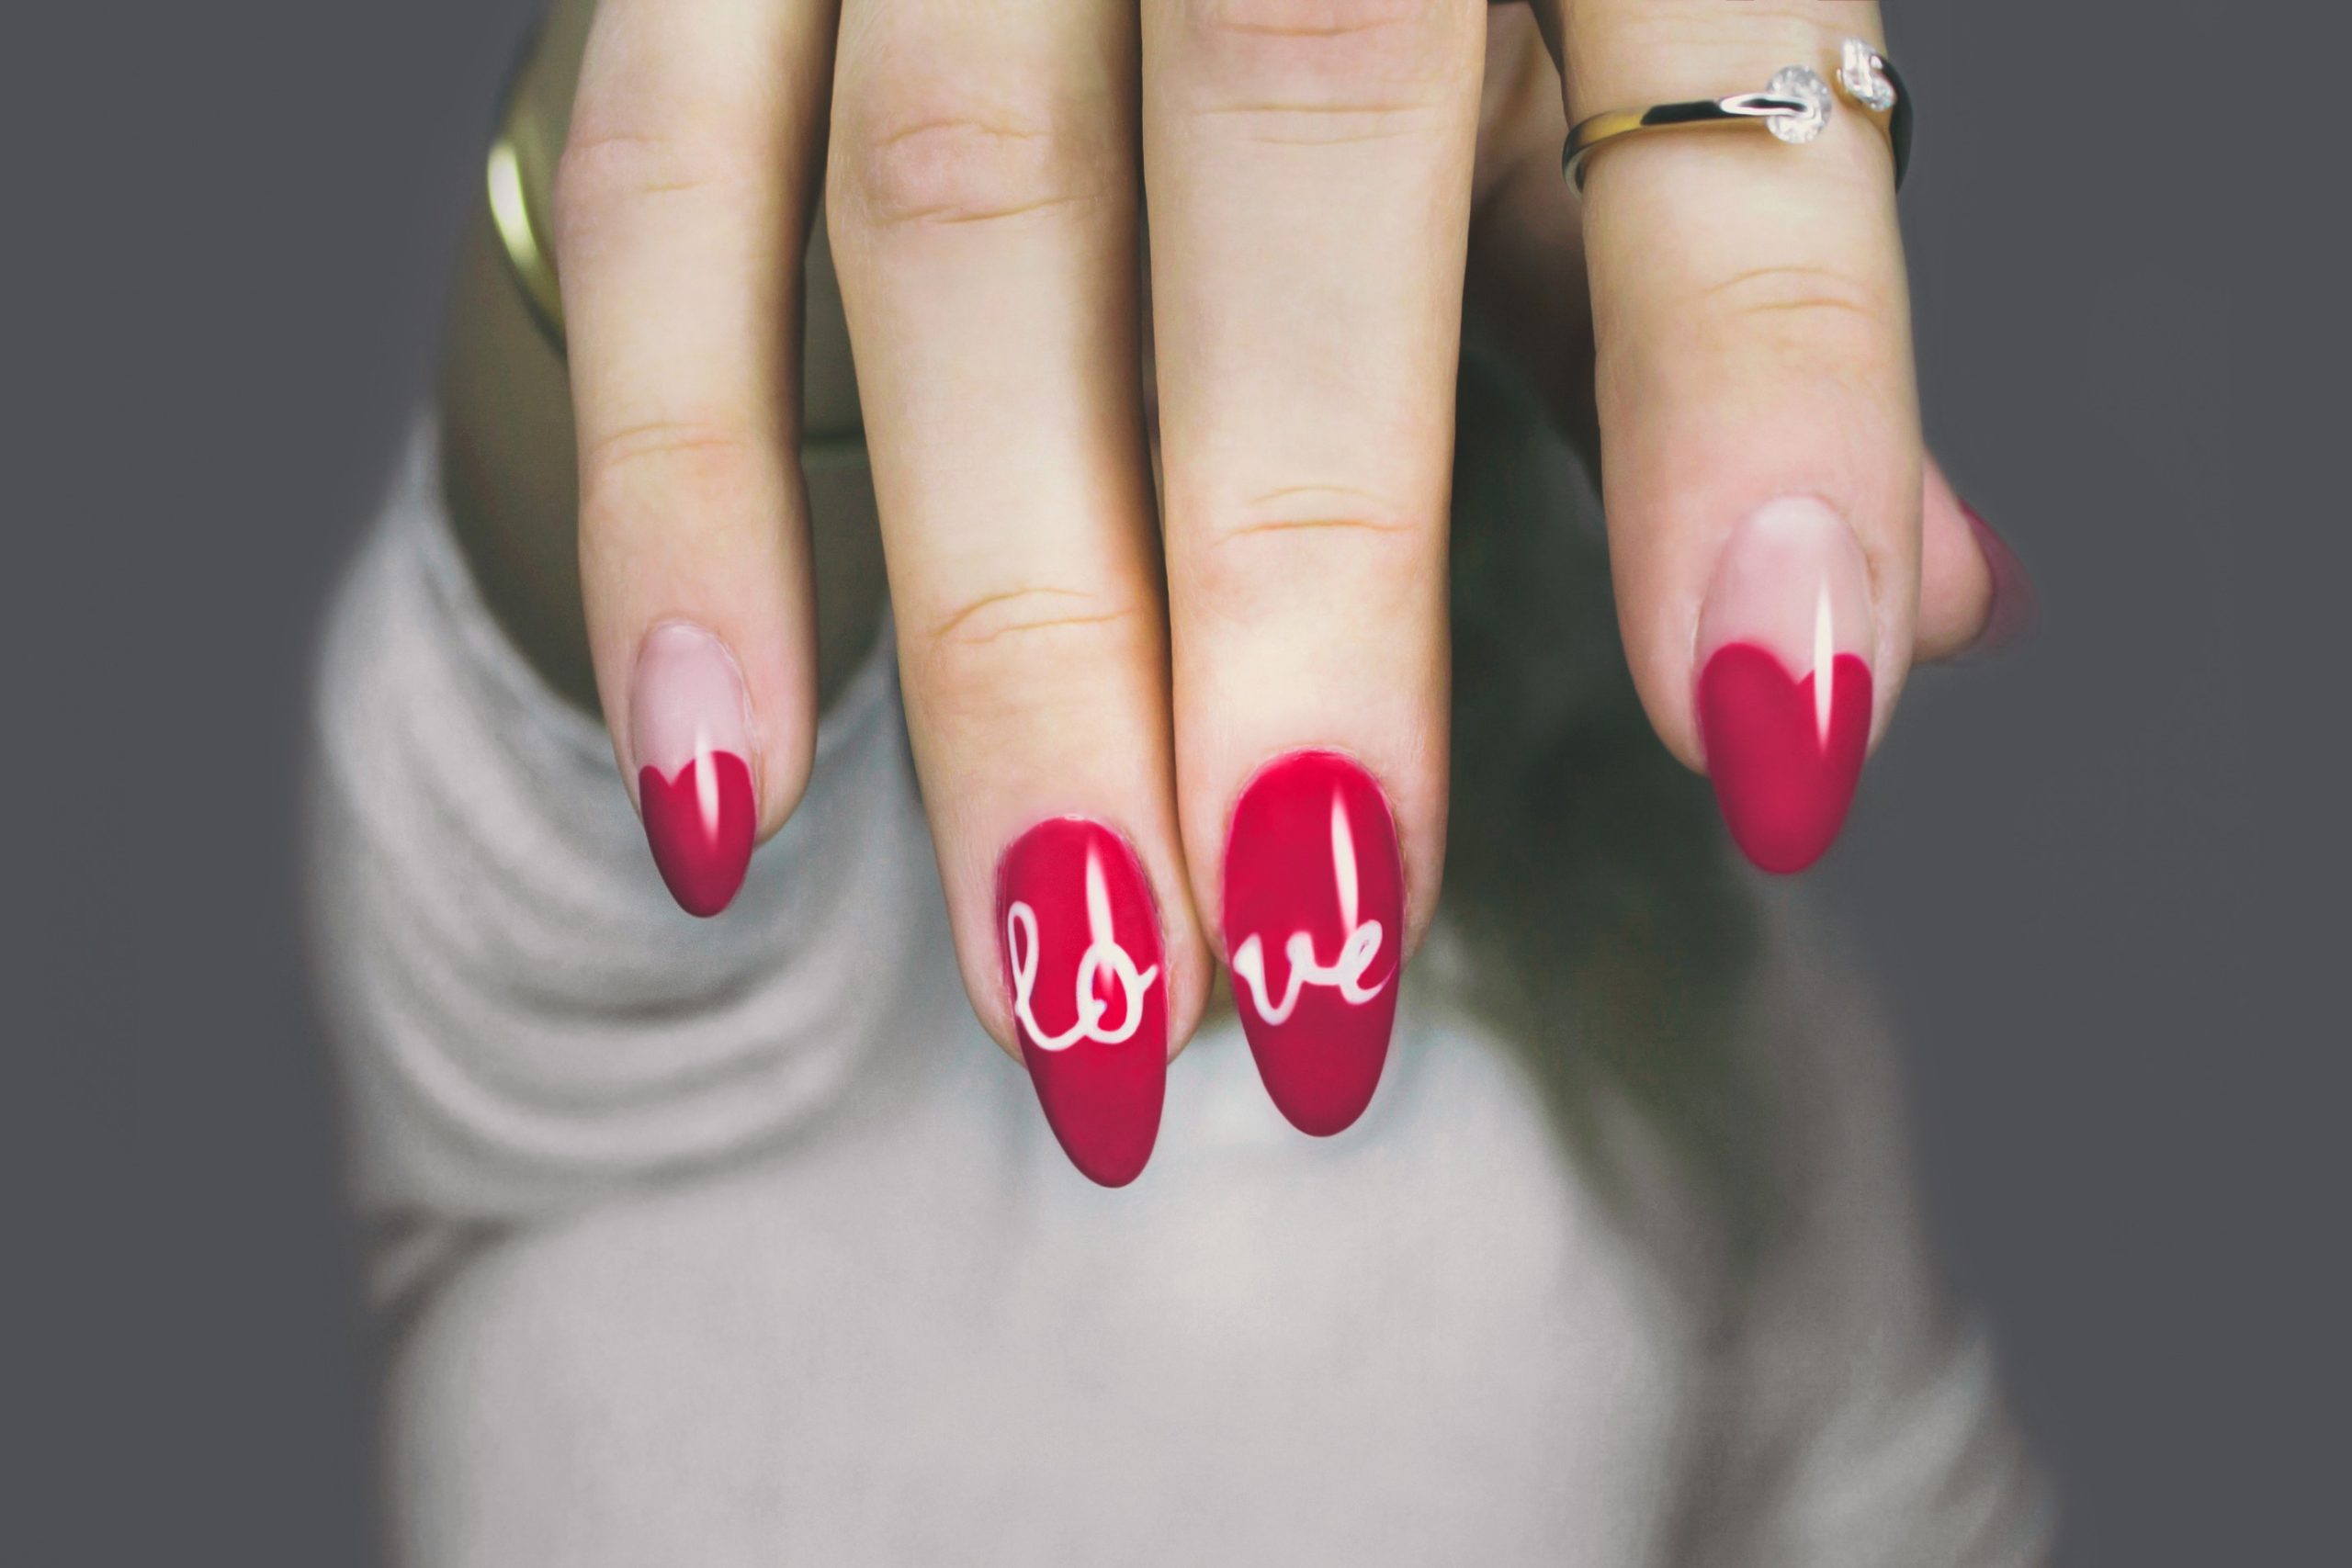
- French Manicure: The French manicure is a classic design features a natural-looking base with white tips, giving a clean and sophisticated look.
- Glitter: This design features the use of glitter polish or loose glitter to add sparkle and shine to the nails.
- Animal Print: This design features the use of animal print patterns, such as leopard or zebra print, on the nails.
As you become more confident, you can experiment with more intricate designs and techniques. Practice makes perfect, so don’t be afraid to try different designs until you find what works best for you.
Whether you opt for subtle nail art or a bold and vibrant design, the key to achieving stunning nail art is to have fun and let your creativity shine.
Applying the Design
Now that you’ve got a basic understanding of nail art and have chosen a design that’s perfect for you, it’s time to apply the design.
First, make sure your nails are clean and free of any polish. Apply a clear base coat to ensure even application and prevent staining. Allow the base coat to dry before moving on to your chosen design.
When applying the design, don’t be afraid to make mistakes, it takes time and practice to achieve the perfect look. Use thin, precise strokes with a small brush or nail dotting tool to create intricate designs. You can also use striping tape or stencils to achieve clean lines and patterns.
Let each layer dry before moving on to the next, and finish with a top coat to protect your design and add shine. With a little bit of patience and practice, you’ll be wowing your friends and family with your stunning nail art designs in no time.
Sealing the Design
After selecting the nail polish colours and applying them, the next essential step in nail art is to seal the design. This step involves applying a top coat to the coloured nail polish to protect it from chipping and fading.
The top coat serves as a sealant, ensuring that the nail design stays intact for a longer time. It also adds a shiny finish to the nails, enhancing the look of the nail art.
It’s important to wait for the coloured nail polish to dry before applying the top coat. Apply the top coat entirely onto the nail surface to ensure maximum protection.
There are different types of top coats available, such as quick-drying, high-shine, and matte finishes, so it’s essential to choose the right one for your design.
Applying a top coat also helps extend the life of your nail art, keeping it looking fresh and vibrant for longer periods of time. Additionally, it’s important to reapply a top coat every few days to ensure quality.
Adding Embellishments for Extra Effects
One way to elevate your nail art designs to the next level is by adding embellishments for extra effects. This can include anything from studs, rhinestones, glitter, and even three-dimensional designs.
When deciding on what embellishments to use, consider what will complement your base colour and any other design elements you have incorporated.
To apply these embellishments, use a clear topcoat or nail glue to firmly attach them to your nails. Just be aware that adding too many embellishments can make your nails look cluttered and take away from the design.
Finding the right balance is key. Experiment with different types of embellishments to create unique and fascinating nail art designs.
Summary
To sum it up, nail art is a fun and creative way to express yourself through your nails. With the right tools and techniques, you can create stunning designs that will catch everyone’s attention.
Don’t sweat it if your first nail art tries aren’t exactly up to par. Keep at it and eventually, you’ll nail it like a pro.
Keep trying and soon you’ll be able to create your own unique and beautiful nail art designs. Time to grab your polish and gear up for some serious creativity!


