String art is the ultimate art hack that has caught the attention of crafty geniuses everywhere. The technique of twisting and turning strings around nails to form mesmerizing designs has been around for ages. It started as a cool way to teach kids math, but now it’s a legit way to show one’s mad artistic skills.
From simple geometric shapes to detailed portraits, string art can bring any design to life. From humble beginnings to a trendy DIY project, these string art ideas form has come a long way! It’s now all the rage among art enthusiasts. So, join the fun and unleash your creativity!
Contents
- 1 5 Simple Steps on How to Make Your Own String Art
- 2 Summary
5 Simple Steps on How to Make Your Own String Art
This blog post will delve into the fascinating history of string art and how it came to be the art form that it is today. Get ready to be inspired and amazed by this craft!
1. Gather Materials and Locate an Image
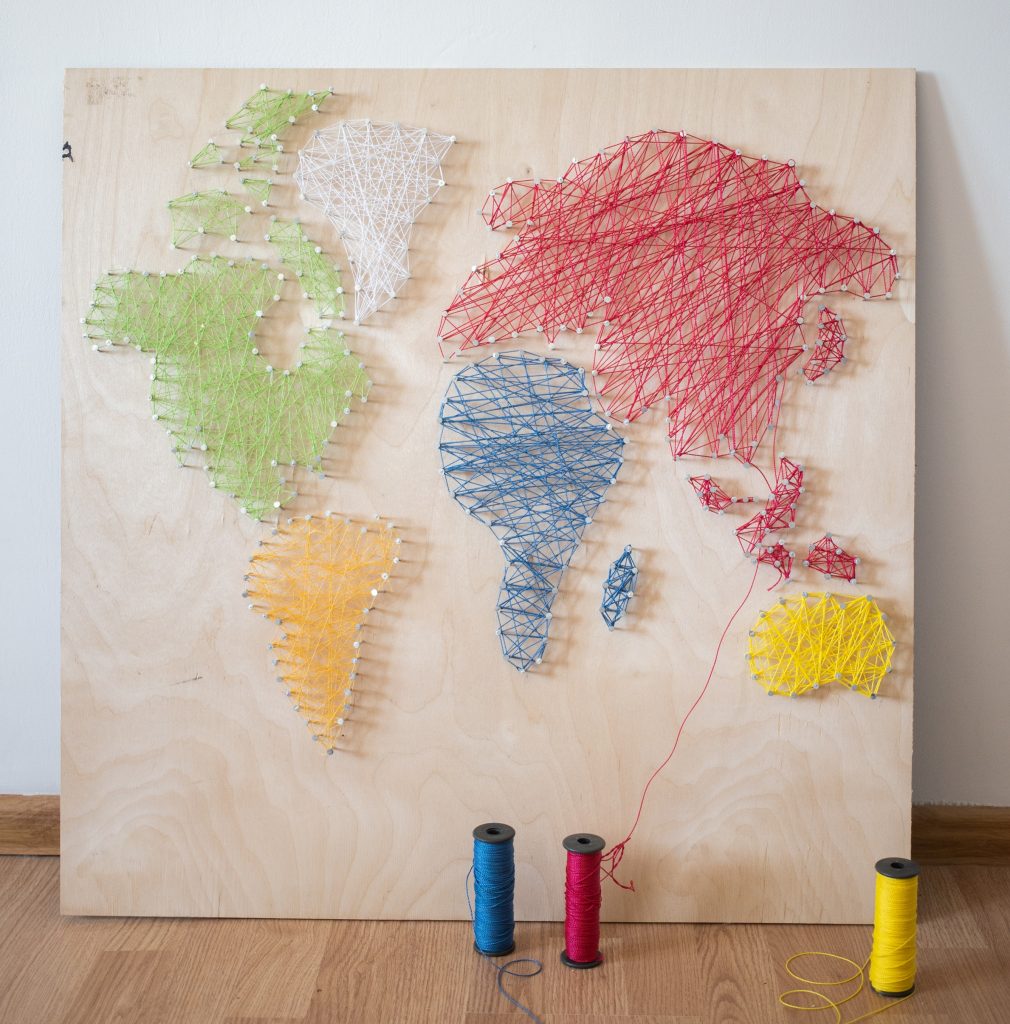
String art is the ultimate way to unleash your creative side and whip up a masterpiece using nails, wood, and string. Whether you’re a newbie or a pro, there’s an abundance of string art ideas waiting for you. And guess what? Each string art design tutorial is a piece of cake to follow!
To get started with creative string art ideas, gather all the necessary materials and tools.
String Art Kits
A string art kit comes with the necessary materials needed to create a string art project. To save time and effort in sourcing individual materials, you can get a string art kit to make some cool string art.
A string art kit usually contains basic materials like wooden board or canvas, nails, and colourful strings. It also comes with templates or patterns that guide you in creating a specific design, which can be helpful for beginners or those who prefer a more structured approach.
While others allow for more creativity and freeform designs. String art kits also allow for experimentation, as you can use the materials provided to create your own unique designs or modify the templates to suit your preferences.
- A piece of wood: This will be your string art project’s canvas. It all starts with choosing the perfect size and shape of wood for your project. Whether you’re feeling fancy with a stained finish or keeping it natural with an unfinished look, the choice is all yours.
- Linoleum nails: These are used to outline your design on the wood. How many nails do you need? Well, it all depends on the size of your project. For small to medium-sized jobs, a single pack of nails should suffice.
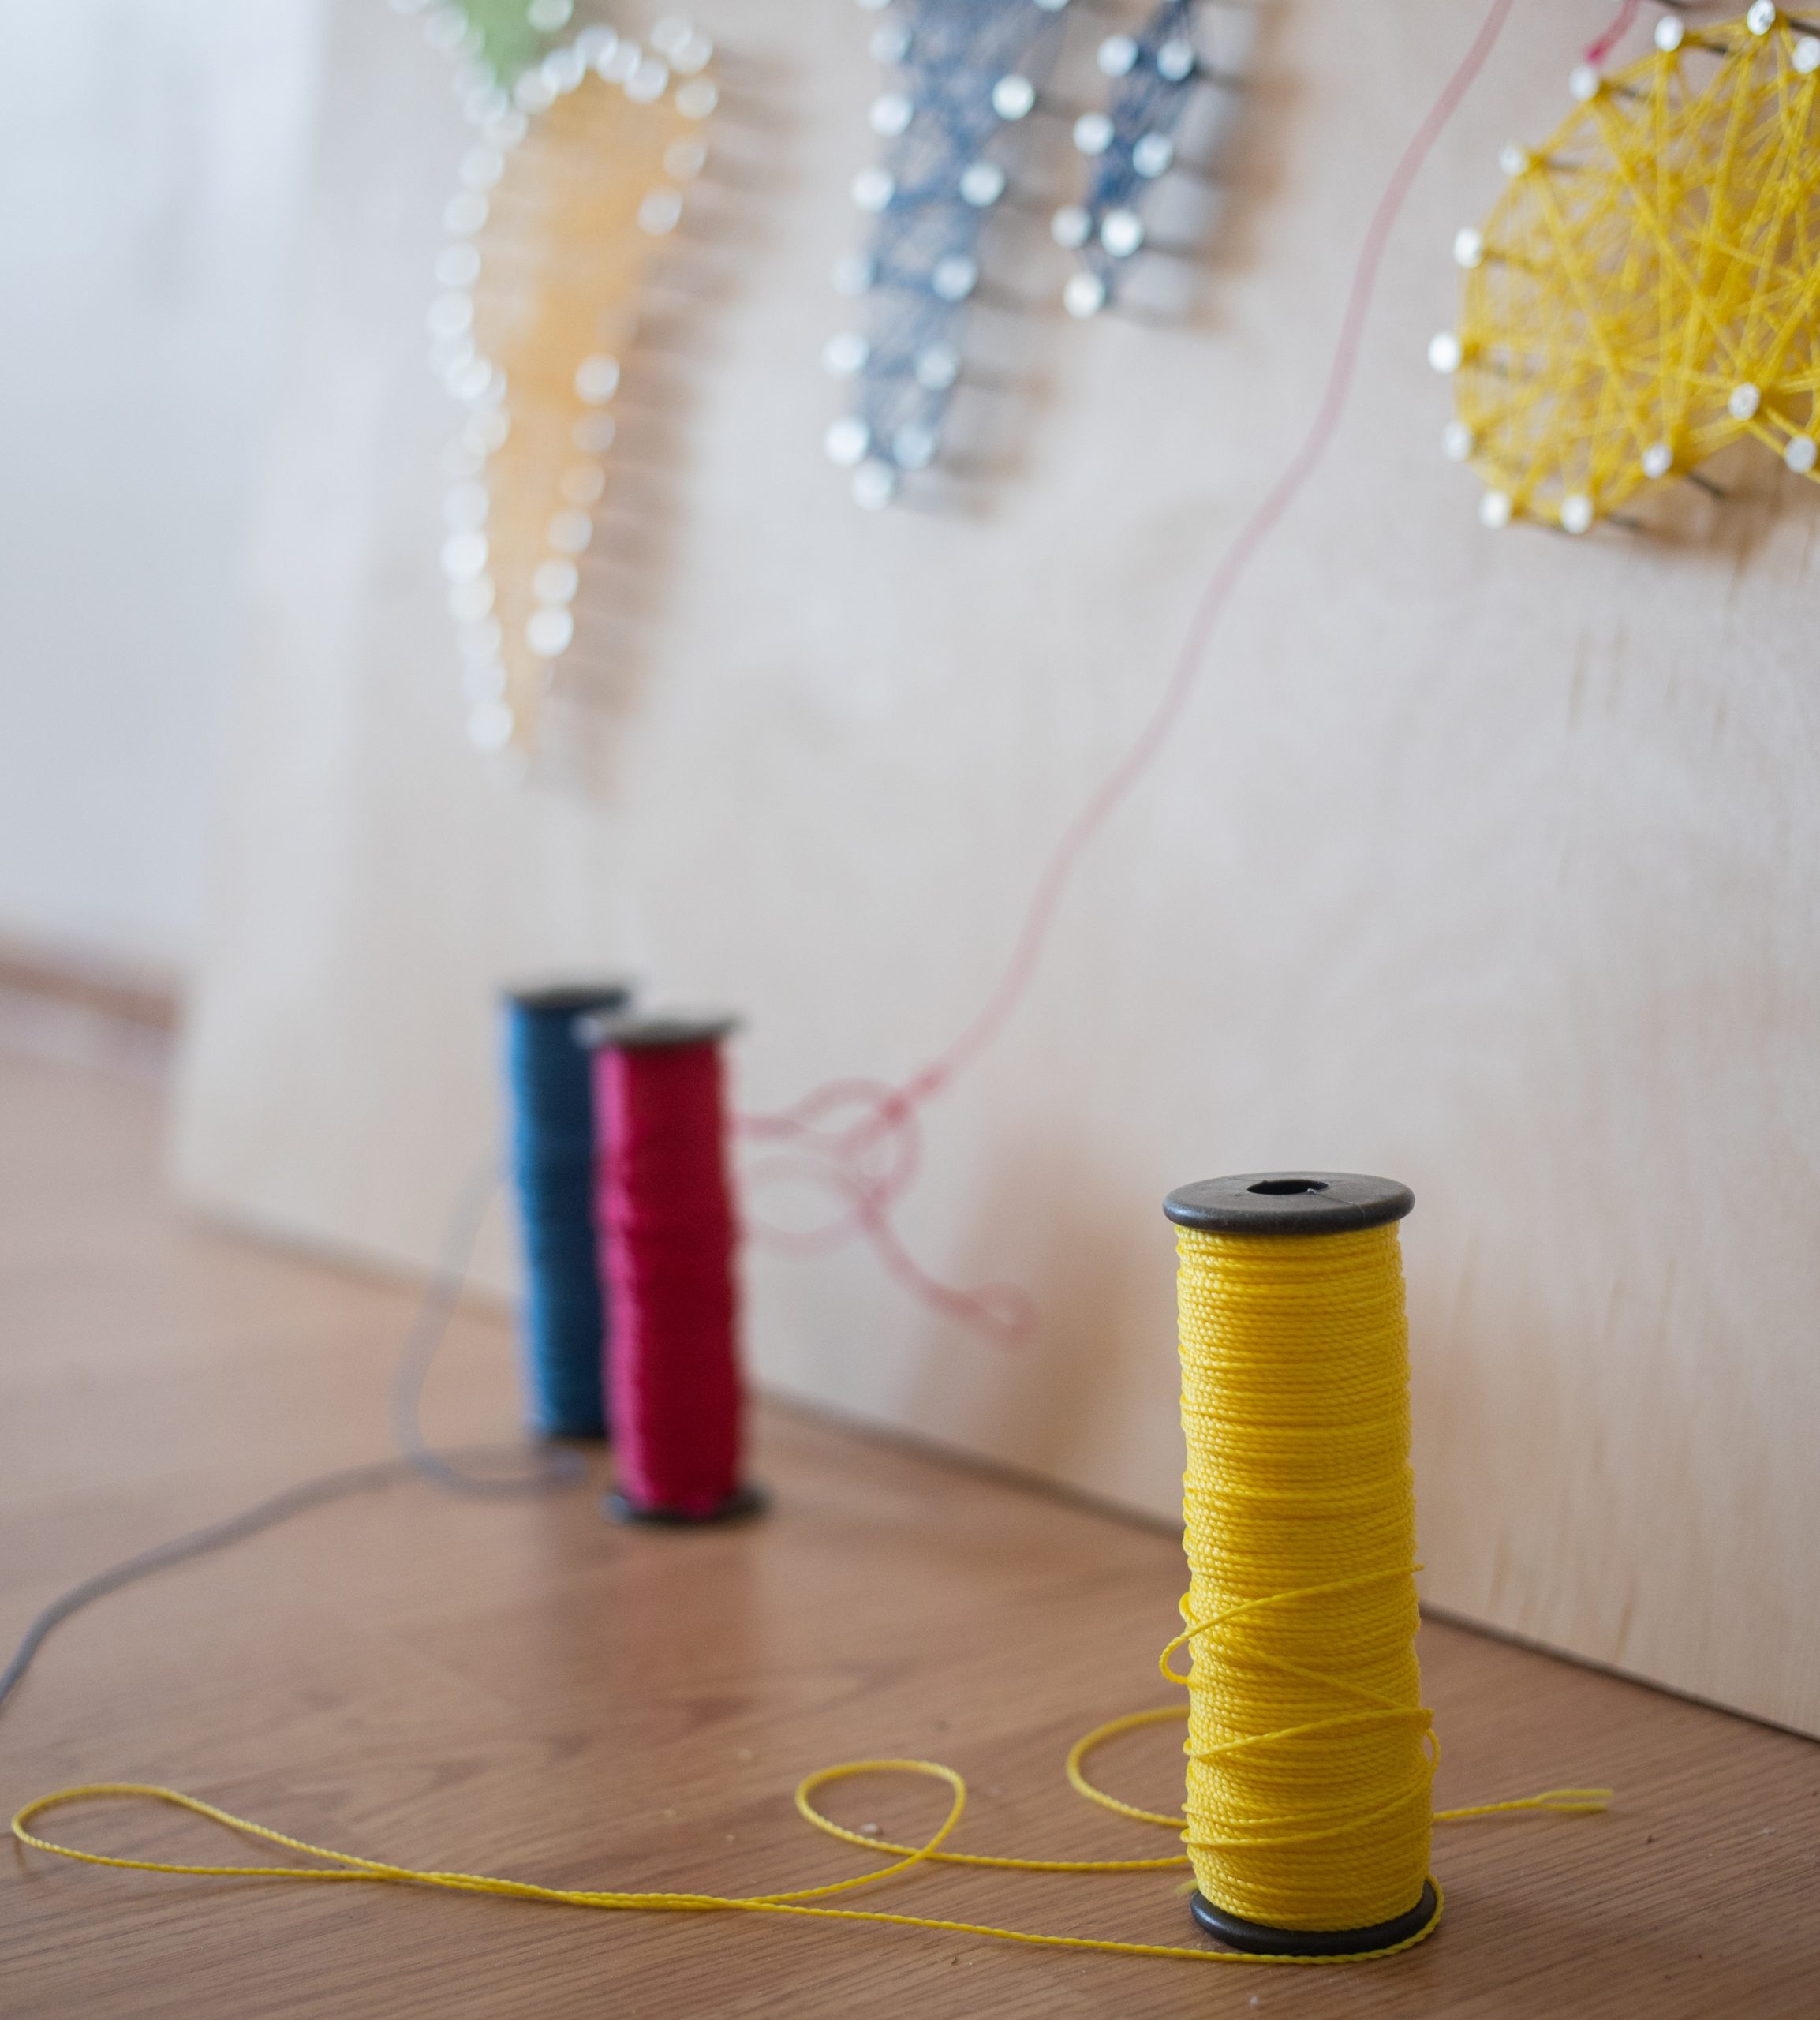
- Embroidery floss: You will need embroidery floss or string to create the string art design. You can choose any colour you like and you will need enough to cover the entire design.
- Tape: Use tape to secure the image you will be using as a guide for outlining the design.
- Image for outlining: You will need an image or pattern to use as a guide for outlining the design on the wood. You can choose any image or pattern you like, but make sure it is the right size for your wood. You can either print the image or draw it by hand.
Equipment/Tools:
- Hammer: Use this to drive the nails into the wood.
- Scissors: You will need scissors to cut the embroidery floss or string.
Once you’ve got all your supplies, it’s time to decide on the image you want to bring to life. You can either sketch your design straight onto the board or use an awesome stencil to make it pop!
Simply print out the image you want to create and then transfer it onto the wood by placing the paper on top of the wood and nailing along the lines. Now, you are ready to start the string art process.
String Art Patterns
String art patterns come in a variety of designs and shapes. Here are some examples of popular string art patterns:
Heart
This is one of the most popular string art patterns. It is a simple design of a heart shape that can be created with a few nails and some red string.
Mandala
This is a circular design that is made by using intricate string art ideas. It originated in Hinduism and Buddhism and is often used in spiritual practices and meditation. It can be made in a variety of colours and patterns.
Letters and Numbers
This is a pattern that can be used to create words or numbers. It is known as the “letter string art” or “number string art”. This is a popular craft where a letter or number is formed to create a unique and personalized wall decor using wood, nails, and string.
Animals
This pattern can be used to make a string art image of an animal. Cats, dogs, birds, and fish are examples of common animals. Feel free to draw a picture of the animal you want to make or find a template to help with the process.
Landscapes
This pattern is created by using string art to create a landscape scene. The scene can include mountains, trees, water, and other natural elements.
Geometric Shapes
This pattern is created by using nails to create geometric shapes such as squares, triangles, and hexagons. The shapes can be filled in with string in different colours to create a unique design.
Abstract Designs
This pattern calls for the use of unique string art ideas. It can be designed in a variety of colours and shapes to create a unique piece of art.
2. Outline the Shape With Nails
One of the most important steps in creating string art is outlining the shape you want to create with nails. Begin by drawing the outline of your chosen shape on the wooden board with a pencil.
Then, use a hammer to gently tap linoleum nails into the board along the outline. Make sure to space the nails evenly and keep them as straight as possible.
As you work, keep referring back to your design to ensure that you’re sticking to the correct shape. This step is essential in achieving the desired outcome and there are more challenging string art ideas you can create once you have mastered it.
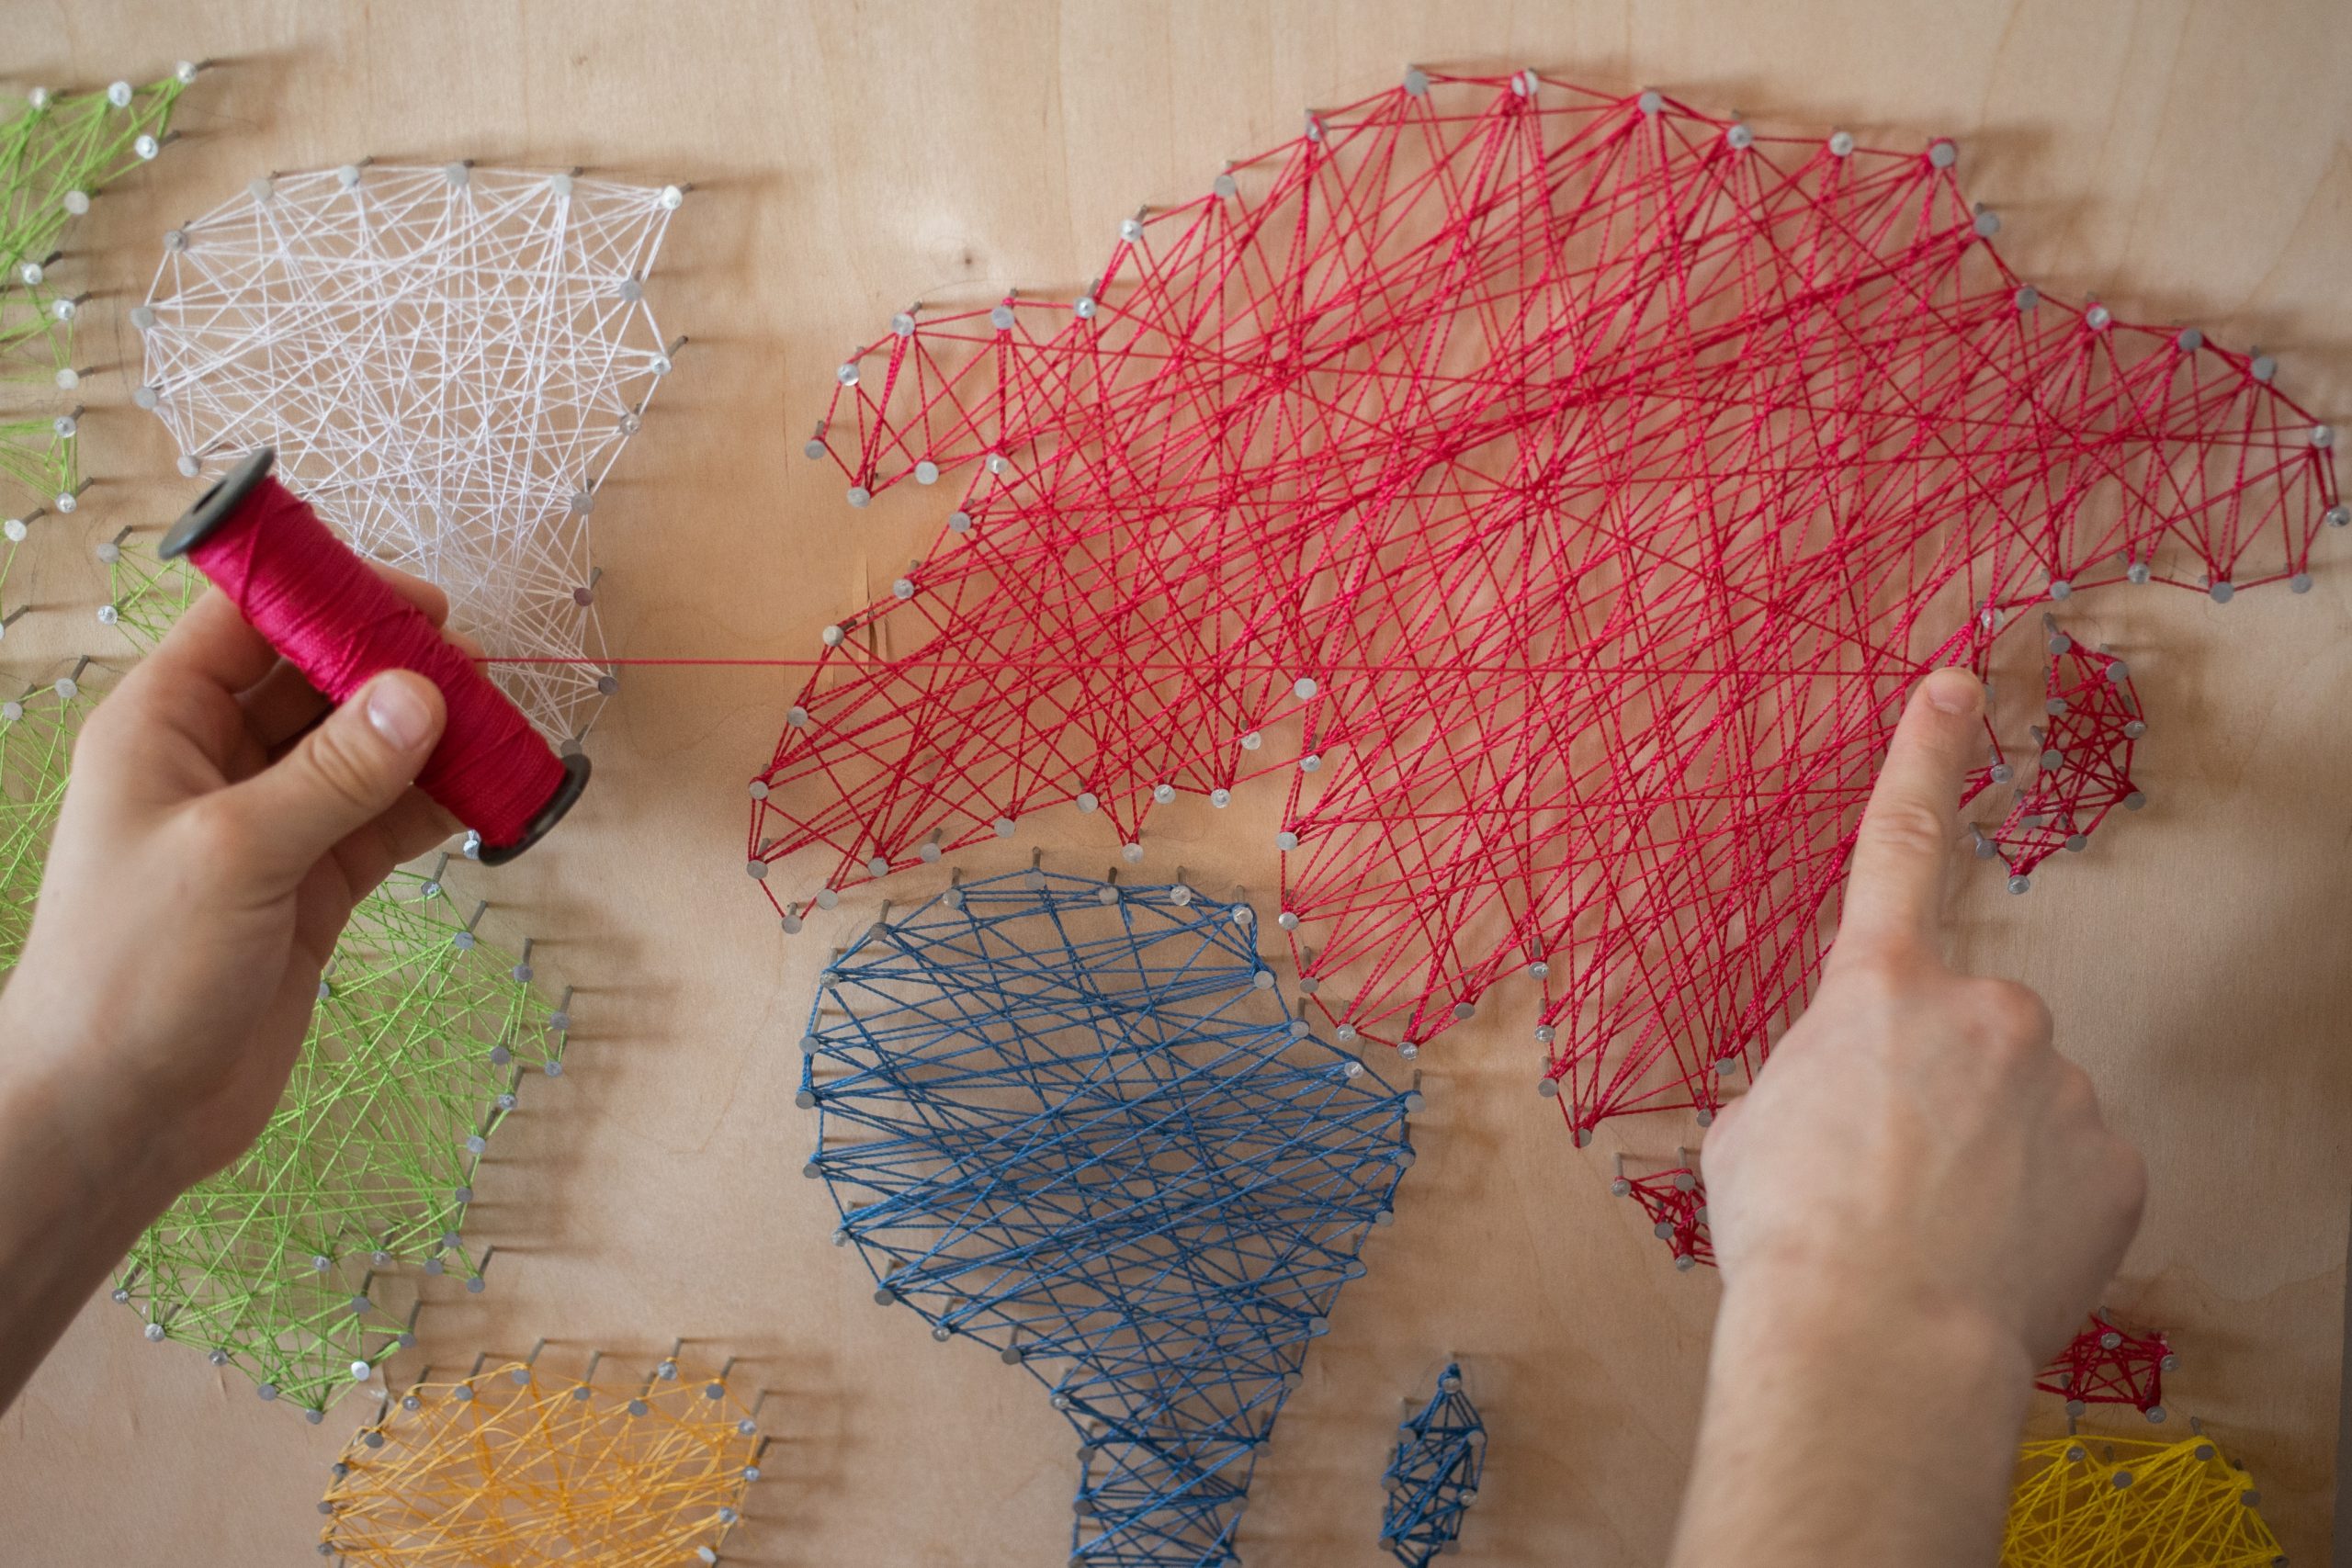
3. Outline the Shape With a String
To bring your string art ideas to life, start outlining the shape with a string. Once the design has been outlined, colourful threads or strings are woven through, back and forth, across the nails or pins to create a beautiful and unique work of art.
This provides a great deal of versatility, as you can merge colours, or make sections of your design stand out with different colours and flexibility in terms of the size of your piece of string art. Whether you want a small piece or a larger scale installation piece, you can easily adapt the technique to suit your requirements.
This is an important technique to learn if you want to work on stunning string art ideas or projects.
4. Change Directions at a Corner
One of the simplest yet most beautiful string art ideas is creating geometric shapes or patterns. A great way to add visual interest to your geometric string art piece is by changing directions at a corner.
This technique can be done by wrapping the thread around two adjacent nails and then continuing on in a new direction. This technique can create interesting angles and shapes, and take your string art to a whole new level.
Get ready to add a whole new dimension to your string art game! Level up your creations with funky geometric shapes and patterns. Whether you’re a beginner or a seasoned pro, these unique string art ideas will unleash your creative side and turn your visions into a vibrant reality.
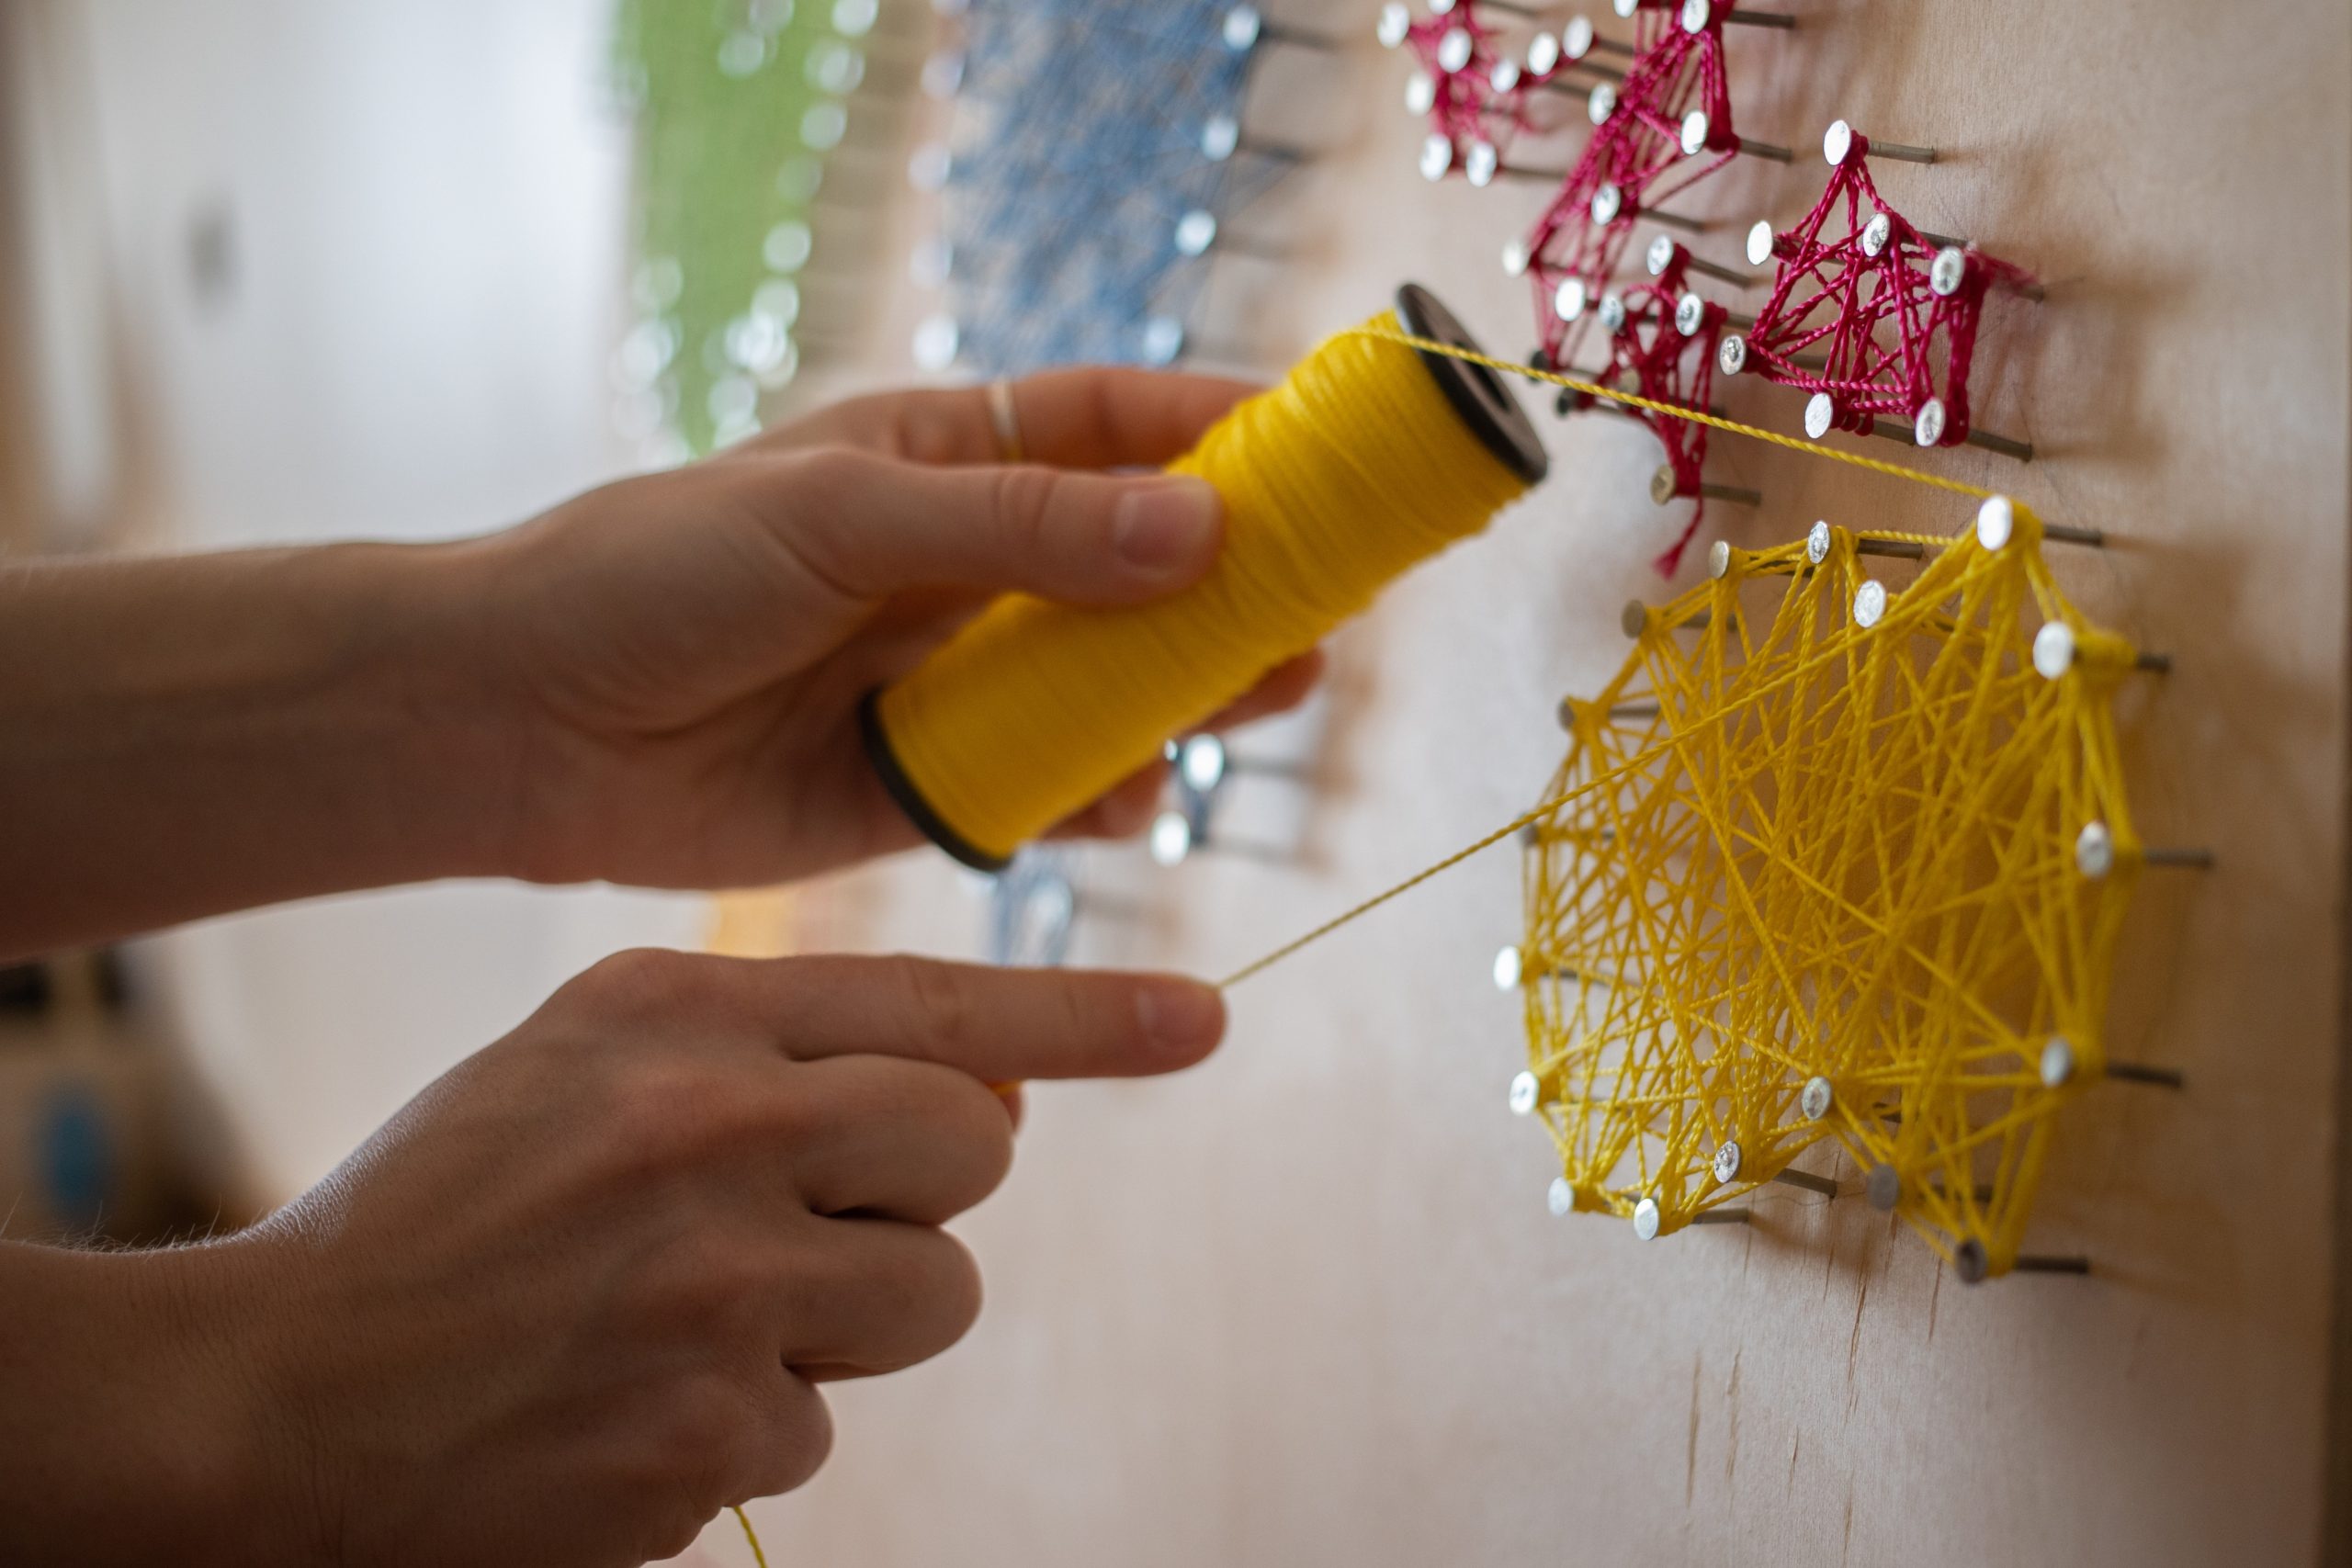
5. Fill in the Shape With a String
The next step is to take a string or thread and weave it in and out of the nails to create a pattern or design within the shape. This technique creates more room for creativity, as different patterns and colours of string can be used to create a wide range of unique string art designs.
This method can be used to make anything from shapes to letters. The beauty of this technique is that it can be used by both amateurs and professionals alike to create beautiful pieces of art that can be used as home décor or gifts.
Prepare to dazzle and impress with visually stunning creations that are sure to turn heads. Don’t miss out on this game-changing addition to your string art ideas!
The Widespread Use of String Art in Home Décor
In recent years, string art has become increasingly popular as a form of interior decoration. It can give any space a distinctive and individual touch.
One of the most well-liked string art ideas for home décor is making a piece of string art that features a favourite quote or saying. This can be achieved by using different colours of string to outline the letters and then filling in the background with another colour.
Also one of the popular string art ideas is to use string art to create a modern and abstract piece that incorporates various colours and shapes. String art ideas can also be used to create beautiful images of animals or plants for those looking for a more nature-inspired theme.
With numerous string art ideas to choose from, this art form allows for creativity and personalization in any home décor.
The Role of Technology in the Production of String Art
Technology has played an increasingly significant role in the production of string art in recent years. Advanced software, for example, allows designers to create more intricate and complex patterns, which can then be transferred to a machine or computer-guided tool for easy replication. This allows for greater precision and efficiency while reducing the likelihood of human error.
Similarly, digital cutting machines can be used to quickly and accurately cut the string to size, reducing the amount of time and effort required to produce a piece of string art. These technological advancements have opened up new possibilities for string art ideas and allowed artists to experiment with new techniques and styles.
Ultimately, the combination of traditional string art ideas with innovative technology has helped to push the envelope of what can be achieved with string art.
Summary
To sum it up, string art has come a long way from its humble beginnings as a technique for teaching math to children. It has evolved into a unique form of art, capable of creating intricate designs and stunning sculptures.
The possibilities of what can be accomplished with string art ideas have become absurd with advances in technology and materials. It is exciting to see how this art form will continue to evolve and inspire creativity in future generations.


