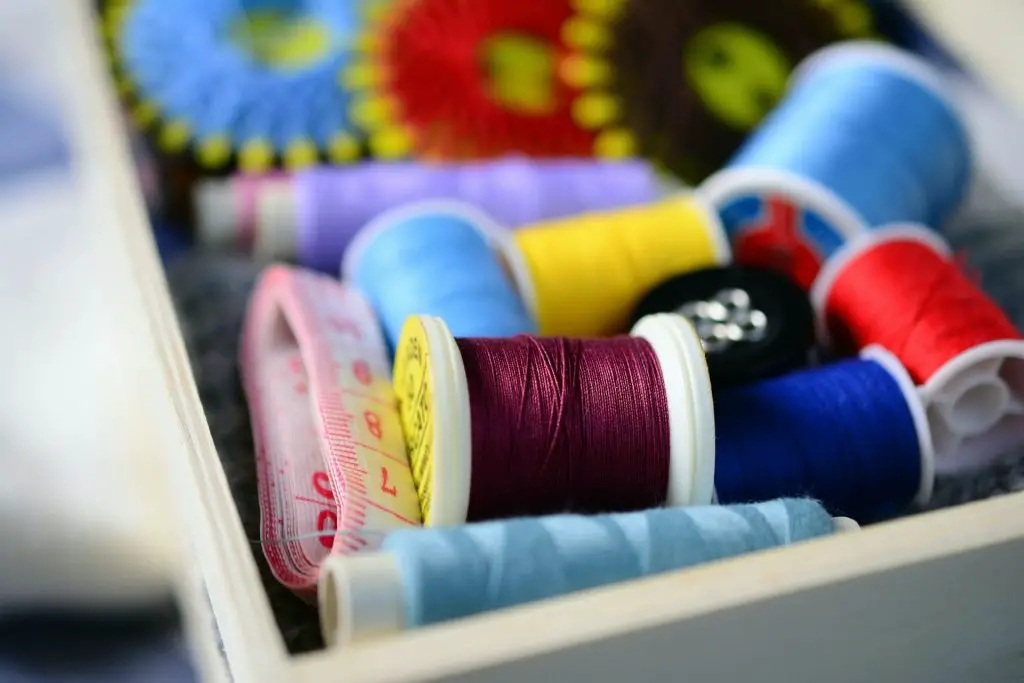
Organizing all the tools and supplies entailed in sewing is a complex task for even the most passionate crafters. With the countless amounts of thread, needles and other materials, it’s no wonder that standard storage solutions don’t cut it.
As a result, many sewers are now turning to custom-crafted storage solutions to keep their supplies neat, organized, and safe. Today, you can be a master of custom crafting who can create a custom sewing storage box that is designed with the sewing enthusiast in mind.
By combining thoughtful design with expert craftsmanship, you can build a storage solution that is both aesthetically pleasing and highly functional, allowing you to keep your fabric, thread, needles and other tools organized and secure.
Contents
How do you craft your own sewing storage box?
In this blog post, we’ll dive into the world of DIY crafting with a project that will give you the chance to craft something special — a custom sewing storage box! We’ll provide tips and tricks for taking your creative vision and turning it into a beautiful and functional addition to your home.
We’ll explore the different materials and supplies you’ll need, as well as some unique ideas for personalizing the box to make it your own. Let’s get started!

Gathering the Essential Materials
Crafting a sewing storage box is an easy and fun project, but it requires some essential materials. Most of them that you’ll need for this project can likely be found around your house. So, go on a scavenger hunt and look for old boxes and containers, some sturdy fabric, scissors, and glue.
Once you’ve gathered all your materials, you’ll be ready to start crafting a one-of-a-kind sewing storage box that’s perfect for your needs. Best of all, you can customize it however you like, with unique designs and bright colours.
The basic materials you’ll need:
- 1/2″ plywood sheet
- Table saw or circular saw
- Sandpaper
- Wood glue
- Clamps
- Wood screws
- Drill
- Fabric
- Scissors
- Craft glue or hot glue gun
- Ribbon or trim
- Cardboard
- Ruler
- Pencil
With these materials and ingenuity, you can create the perfect sewing storage box to fit your needs and your aesthetic. Time to get crafting!
Crafting the Sewing Storage Box
This is the moment of truth, where your work comes to life. Take your time and be precise. Don’t rush it. The more detailed and accurate you are, the more beautiful your sewing storage box will be. Enjoy the process, making sure to keep the stitches tight and even. Before you know it, you’ll have a masterpiece to show off and be proud of.
Instructions:
- Cut four pieces of plywood to the following sizes:
- Two pieces measuring 9″ x 18″ (sides)
- Two pieces measuring 9″ x 12″ (ends)
- One piece measuring 8.5″ x 17″ (bottom)
- Sand the edges of the plywood pieces to smoothen any rough edges or surfaces.
- Apply wood glue to the edges of one of the side pieces and attach it to one of the end pieces. Clamp the pieces together and allow the glue to dry.
- Repeat step 3 with the remaining side and end pieces to form a rectangular box shape.
- Once the glue has dried, reinforce the corners of the box with wood screws. Drill pilot holes first to prevent the wood from splitting.
- Sand the box to smoothen any rough spots remaining.
- Cut a piece of cardboard to fit the bottom of the box. This will provide a sturdy base for your sewing supplies.
- Measure and cut a piece of fabric to cover the cardboard base. Leave enough fabric to wrap around the edges of the cardboard and glue it in place.
- Glue the fabric to the cardboard and place it inside the box.
- Cut another piece of fabric to cover the inside walls of the box. Glue this fabric in place, starting from the bottom and working your way up.
- Cut a piece of ribbon or trim to fit around the top edge of the box. Glue it in place.
- Cut a piece of fabric to cover the top of the box. Leave enough fabric to wrap around the edges and glue in place.
- Glue the fabric to the top of the box.
- Optional: add additional storage compartments to the box by gluing in dividers made from cardboard or foam board.
- Allow the glue to dry before using the box to store your sewing supplies.
That’s it! Your sewing storage box is now ready to use! Congratulations, you’ve just created the perfect place for your sewing supplies. You can now store everything from needles and thread to fabric and scissors in this beautiful box. It’s the perfect size for any workspace, and the lid will keep all of your items safe and secure.
No more searching for sewing supplies in the back of a drawer — they’ll all be in one place and easy to access. Take pride in your handmade creation and enjoy the convenience of having everything you need for your next project in one spot!
Tips for Making a Creative Sewing Storage Solution
Making a sewing storage box can be a fun and practical project for anyone who enjoys sewing. Here are some tips to help you make a functional and creative sewing storage box:
- Choose the right materials: When making a sewing storage box, you’ll want to choose durable and sturdy materials that can withstand the weight of your sewing supplies. A wooden box or a cardboard box that you reinforce with strong tape or glue can also be a good choice. You can also use fabric or wallpaper to cover the box.
- Plan the layout: Before you start assembling your sewing storage box, plan how you want to organize your supplies. You may want to include compartments or dividers to keep items separate and easy to find. Consider the size of your supplies, such as thread spools, scissors, and needles, and make sure your compartments are the right size.
- Measure twice, cut once: When cutting the materials for your sewing storage box, be precise with your measurements. Use a ruler or measuring tape to make sure you have the correct dimensions. Double-check your measurements before you start cutting to avoid mistakes.
- Use the right tools: Make sure you have the right tools for the job and that they are in good condition. If you’re using a wooden box, you likely need to drill holes or sand the edges to smoothen. Invest in a high-quality drill and other tools to make the perfect sewing storage box.
- Personalize your box: You can add personal touches to your sewing storage box to make it unique and special. You can paint the outside of the box, add stickers or decals, or use a fabric that reflects your personal style. Adding a label or tag to the outside of the box can also help you identify its contents quickly and easily.
With these tips in mind, you can create a sewing storage box that is both functional and beautiful.
Benefits of Crafting Your Own Sewing Storage Box
Making your own sewing storage box has several advantages, including:
- Customization: When you make your own sewing storage box, you have complete control over the design and layout. You can customize the compartments, dividers, and other features to suit your specific sewing needs. This can help you keep your supplies organized and easily accessible.
- Cost-effective: Buying a pre-made sewing storage box can be expensive. By making your own, you can save money and still create a functional and attractive storage solution.
- Personalization: Making your own sewing storage box allows you to add personal touches, such as your favourite colours, patterns, or designs. This can make the box more meaningful and enjoyable to use.
- Sustainability: By making your own sewing storage box, you can use materials that are environmentally friendly and sustainable. You can also repurpose materials, such as an old wooden box, to give them a new life and reduce waste.
- Learning experience: Making your own sewing storage box can be a fun and rewarding learning experience. You can develop new skills, such as woodworking, sewing, or decorating and gain a sense of accomplishment from completing a DIY project.
Overall, making your own sewing storage box can be a practical, cost-effective, and rewarding way to organize your sewing supplies and add a personal touch to your sewing space. Go ahead and continue with your craft, it’s one of the most profitable crafts to sell! You now have a custom sewing storage box that will get you organized and efficient while you make beautiful works of art!
Wrapping It Up
To wrap up, a custom sewing storage box is a great way to keep your sewing tools organized and accessible. It’s easy to assemble and can easily be customized with your own unique design. With its smart, efficient design, it’s sure to be a hit with sewers and crafters alike. The box is a great way to show off your creativity and craftsmanship while also providing a useful storage solution.
Whether you’re crafting a quilt, cross-stitching a picture, or creating a scrapbook, this box is the perfect way to store your supplies and projects. Its eye-catching design ensures it will be a hit with all kinds of crafters. Plus, its sturdy construction ensures your items will remain safe and secure.
With simple materials and steps, you can make a functional and unique sewing storage box. So go ahead and indulge your creative side with this fun project!


