Are you looking to get organized and declutter your home? Storage boxes can be a great tool to help you achieve that goal. Most especially when you craft storage boxes with lids, you can keep things organized, while keeping them safe and secure.
You can also create a custom look that will help coordinate your home décor. Plus, you don’t need to buy most of the materials — if you’ve been crafting for a while for sure you have the supplies on hand.
If you’re looking for an easy way to keep your home neatly organized, then crafting your own storage boxes with lids is a great project to try.
Contents
Craft storage boxes with lids and take your storage system to the next level!
This blog post is here to provide you with the steps on how to craft storage boxes with lids to help you achieve your goals. Also, there’ll be tips on how to inject some style and personality into your workspace. Get ready to feel your heart swell with pride as you admire your beautiful creations!
So, are you ready to craft storage boxes with lids?
Reasons to craft storage boxes with lids?
First, get inspired to craft storage boxes with lids! They are specifically designed to store and organize crafting supplies and materials. Here are the exact reasons why craft storage boxes with lids:
- Protection: Crafting supplies such as paint, glue, and paper are often susceptible to damage from dust, moisture, and other environmental factors. Craft storage boxes with lids provide protection against these factors, keeping your supplies in good condition.
- Organization: Crafting supplies can quickly become disorganized and difficult to find. Craft storage boxes with lids help you keep your supplies organized by providing designated spaces for different materials. You can label the boxes with the contents, making it easy to find what you need when you need it.
- Cost-effective: Making your own storage boxes can often be less expensive than buying pre-made ones, especially if you have materials on hand or can upcycle items that you already own.
- Eco-friendliness: By using recycled or repurposed materials to create your storage boxes, you can reduce waste and help the environment.
- Creativity: Crafting your own storage boxes can be a fun and creative activity, allowing you to express your artistic side while also creating something practical.
- Space-saving: Craft storage boxes with lids help you save space by keeping your supplies together and preventing them from cluttering up your workspace.
- Learning new skills: Crafting your own storage boxes can help you develop new skills, such as woodworking, sewing, or paper crafting, depending on the materials and techniques used.
- Mobility: Craft storage boxes with lids are often designed to be portable, allowing you to easily take your supplies with you to crafting events or on the go.
- Aesthetics: Craft storage boxes with lids come in a variety of colours and designs, allowing you to choose ones that match your personal style and enhance the look of your crafting space.
From storage boxes with lids and even stationery supply storage solutions to intricate craft projects and beyond, there is truly something for everyone when it comes to DIY projects. These projects offer a great opportunity to express your creativity and help to save you money since you don’t have to purchase expensive pre-made products.
Get your DIY groove on and make a statement-worthy storage box
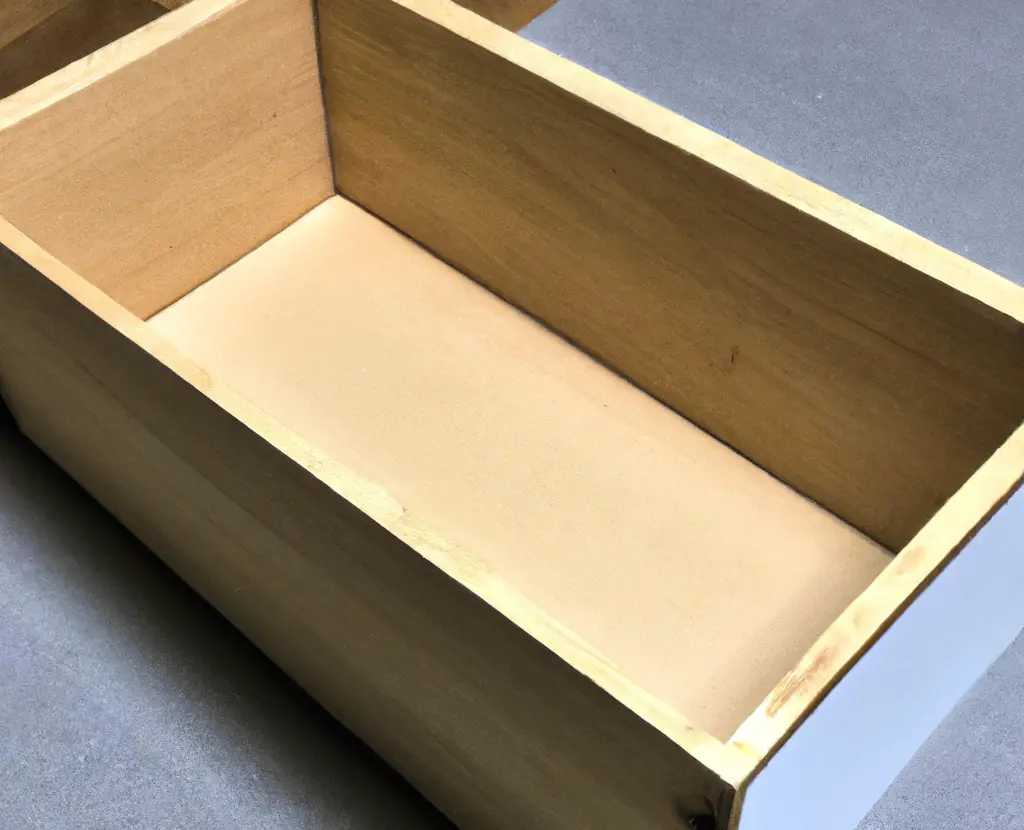
When it comes to crafting storage boxes with lids, one thing is for sure: you can get creative! Making your own storage boxes with lids is a great way to express your personal style and make a statement while keeping your supplies neat and tidy. All you need is some basic materials and a few tools, and you’ll be ready to get your DIY groove on.
Materials:
- 1/2-inch thick plywood, Medium-Density Fibreboard (MDF), or hardboard
- Table saw or circular saw
- Drill
- Screws
- Wood glue
- Sandpaper
- Paint or stain (optional)
- Hinges (2)
- Latch or lock (optional)
Whether you prefer a modern, minimalist design or something more rustic and natural, there are plenty of ways to make a unique storage box that stands out. Get creative and have fun!
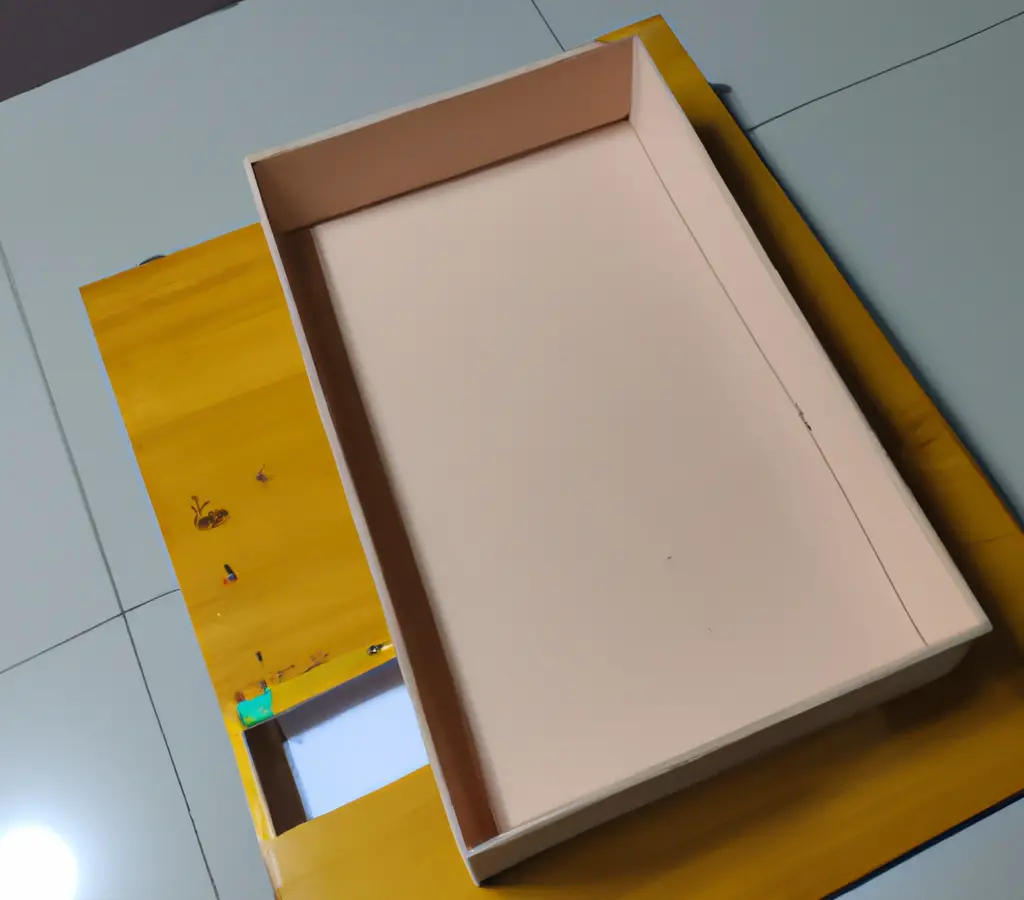
Ready, set, create! It’s time to craft storage boxes with lids!
Organizing is key when it comes to crafting, and crafting storage boxes with lids is the perfect way to keep all your supplies neat and tidy. And, whether you’re looking for a large box to store all your supplies in one place or a smaller box to house just the essentials, you’ll find the perfect fit.
So, go ahead, and craft storage boxes with lids!
Steps:
- Determine the size of your storage box. Measure and mark out the length, width, and height of your box on the plywood or MDF board using a pencil and a ruler. For example, let’s make a box that is 12 inches long, 8 inches wide, and 6 inches tall.
- Cut the pieces for the box using a table saw or circular saw. You will need:
- One bottom piece that is 12 x 8 inches
- Two side pieces that are 6 x 8 inches
- Two end pieces that are 6 x 12 inches
- One lid piece that is 13 x 9 inches
Note: The lid piece is slightly larger than the box to allow for overhang. You can also add dividers using a hardboard if you want. You can customize the measurements. Base them on the size of your supplies and materials to be stored.
- Sand all the edges and surfaces of the pieces until they are smooth.
- Assemble the box by attaching the sides to the bottom using wood glue and screws. Drill pilot holes first to avoid splitting the wood. Clamp the pieces together until the glue dries.
- Attach the end pieces to the sides using wood glue and screws. Again, clamp the pieces together until the glue dries.
- Attach the hinges to the back of the box and the lid. Position them about 1 inch from the edge of the box and lid. Drill pilot holes and screw the hinges in place.
- Optional: If you want to add a latch or lock to the box, attach it to the front of the box and the lid.
- Sand the lid piece until it is smooth, and then paint or stain it as desired.
- Once the paint or stain has dried, attach the lid to the box using the hinges.
- Your storage box with a lid is now ready to use!
Note: These measurements are just an example, and you can adjust them to fit your specific needs. Also, always prioritize safety when working with tools and materials.
Get organized with storage boxes that perfectly fit your lifestyle
Making the perfect storage boxes with lids can be a fun and rewarding project, and here are some tips to help you achieve success:
- Choose the right materials: Choose materials that are sturdy and durable enough to withstand frequent use. Common materials for storage boxes include cardboard, wood, plastic, or metal.
- Measure twice and cut once: Precise measurements are required for a well-fitting lid. Use a ruler or measuring tape to ensure that your box and lid fit together snugly.
- Use appropriate tools: Depending on the material you’re working with, you need specific tools. For example, if you’re working with wood, you may need a saw, sandpaper, and wood glue.
- Consider the lid’s design: The lid should be designed to fit securely and be easy to remove when needed. Some popular options include lift-off lids, hinged lids, or sliding lids.
- Decorate as desired: You can customize your storage boxes with paints, stickers, or other decorations. Just make sure any added embellishments will not interfere with the box’s functionality
When you craft storage boxes with lids, you can add a personal touch and make the boxes in your craft room feel like an extension of your personality. And, make sure that they perfectly fit your lifestyle.
Wrapping It Up
To wrap up, crafting your own storage boxes with lids can be a rewarding and fun experience. With the right supplies and tools, you can create storage boxes with lids that fit your needs and keep your supplies neat and tidy. Best of all, you can customize the boxes to match the decor of any room in your home.
Whether you are an experienced crafter or just getting started, crafting your own storage boxes with lids is a great way to add some extra organization and style to your home.
Are you ready to craft? It’s time to get creative and craft storage boxes with lids! All you need are some basic materials like plywood or MDF board, scissors, glue, paint, and other odds and ends that are most likely already around your home. You can get as creative as you want with the design and materials used.
Choose a pattern or colour of paint that you love and make it your own. With a few simple steps, you can craft storage boxes with lids that are perfect for storing away all your supplies.
Now, you can get creative and start crafting your very own storage box!

