As any artist knows, maintaining an organized art studio is essential to staying creative and inspired. A cluttered workspace brings distraction. It also brings down your motivation.
Fortunately, crafting a DIY art supply organizer is simple and you can easily make sure your art supplies are easily accessible and organized while also adding a creative touch to your workspace.
In this blog post, we will explore the process of creating a DIY art supply organizer that is both functional and aesthetically pleasing. We will cover the materials you need, the tools required for construction, and the steps to customizing the organizer to fit your individual needs.
By the end of this post, you will have the knowledge and confidence to make a beautiful and efficient art supply organizer that suits your artistic needs.
Contents
Making an Art Supply Organizer
Crafting your own art supply organizer is like piecing together the perfect masterpiece! First up, let’s assemble the tools of the trade.
Materials
- A wooden box or crate (you can find one at a craft store or repurpose an old box)
- Hardboard
- Sandpaper
- Paint or stain
- Paintbrushes
- Pencil
- Ruler
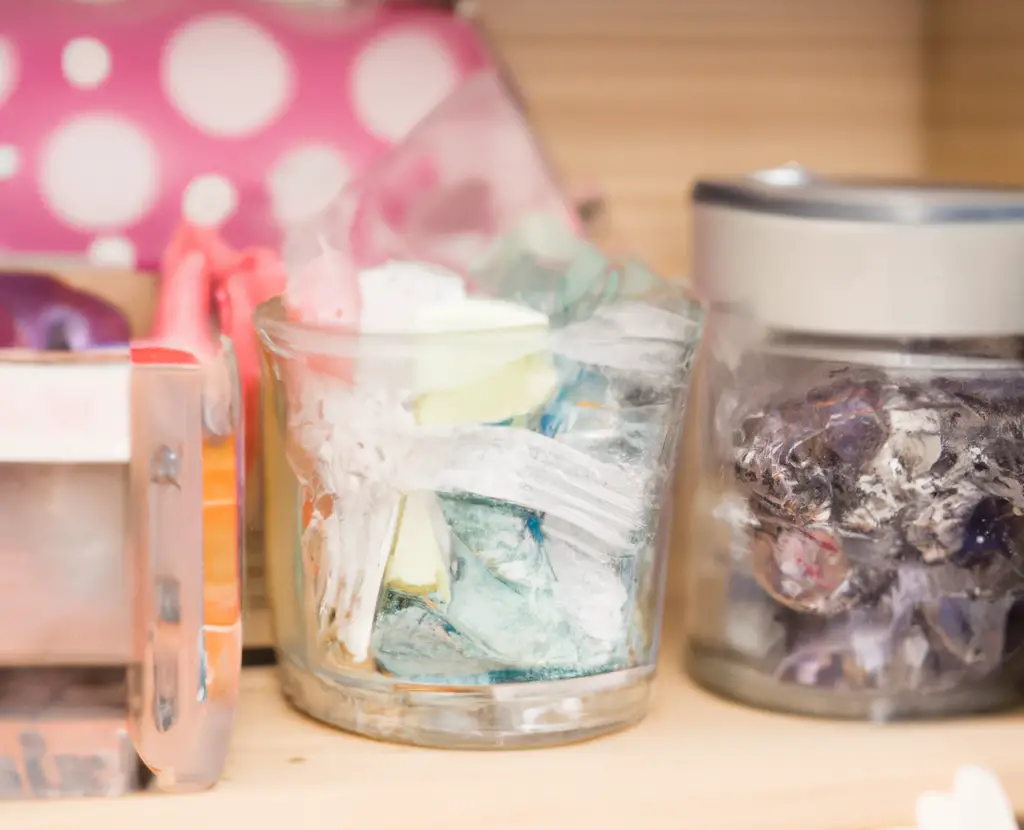
- Small containers (such as mason jars or plastic cups)
- Hot glue gun
- Decorative paper or fabric
- Scissors
A successful art supply organizer build needs the right materials. Whether you’re looking for something modern, traditional, or totally unique, there’s a wide range of creative, fun materials to choose from.
Don’t be afraid to mix and match to create your own signature look. Once you’ve got all of your supplies, it’s time to get to work!
Instructions
It’s the best part — crafting the perfect container to house your art supplies! It’s time to get creative and make something that fits your needs and aesthetic.
Here’s how you can create one:
- Begin by sanding the wooden box or crate with sandpaper. This will help to smooth out any rough edges and prepare the surface for painting or staining.
- Once the box is sanded, use a paintbrush to apply paint or stain to the entire surface of the box. Allow the paint or stain to dry.
- Using a ruler and pencil, mark out where you want to place your small containers. These can be mason jars, plastic cups, or any other small container that will hold your art supplies. Space them out evenly in the box. Add dividers using a hardboard.
- Once you have marked out where you want your containers, use a hot glue gun to attach them to the inside of the box.
- To give your organizer a decorative touch, cut out decorative paper or fabric to fit the inside of the box. Use the hot glue gun to attach the paper or fabric to the inside of the box.
- Fill the small containers with your art supplies. You can sort them by colour, type of medium, or any other category that works for you.
- Use your new art supply organizer to keep your art supplies organized and easily accessible.
Additional Tips to Help You Make a DIY Art Supply Organizer
- Choose the right box or crate: Consider the size and shape of the box or crate you’re using. It should be large enough to hold all your art supplies but small enough to fit on your workspace. You can also want to choose a box with a lid if you plan to transport your supplies.
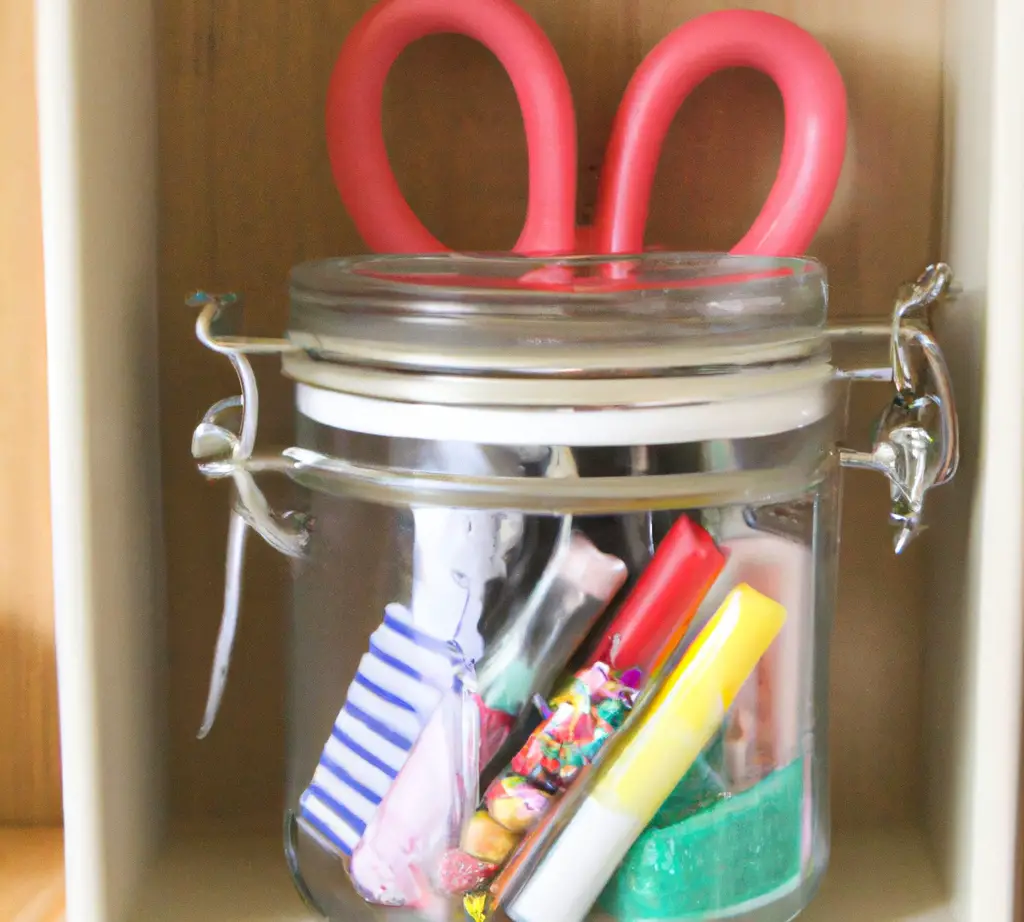
- Customize the compartments: Think about the size and shape of your art supplies and customize the compartments to fit them. You can create small compartments for brushes and pens or larger ones for paints and markers.
- Use recycled materials: Consider using recycled materials to make your art supply organizers, such as old cans, cardboard boxes, or plastic containers. This is a great way to reduce waste and save money.
- Consider adding labels: If you have a lot of different art supplies, it is helpful to add labels to each compartment to make it easy to find what you’re looking for.
- Make it portable: If you like to take your art supplies with you when you’re on the go, consider making your organizer portable. You can add a handle or straps to the box to make it easy to carry.
- Add a personal touch: Don’t be afraid to add your own personal touch to your art supply organizer. You can paint it with your favourite colours or add decorative stickers or washi tape to make it unique and personalized.
Whether you’re looking for something colourful and creative, or something minimal and modern, you can choose from a variety of materials to create the art supply organizer of your dreams.
From wood to plastic to metal, the possibilities are endless. Consider the size, shape, and colours of your supplies when selecting a container so that everything fits comfortably and looks great. With the right materials and a little bit of creativity, you can craft the art supply organizer you’ve always wanted!

Finding the Right Storage Locations
It’s time to find a home for all your art supplies! A great art supply organizer should make it easy to find what you need in a pinch, so consider how you want to store your supplies and how often you’ll be using them. If you want to keep your art supplies within easy reach, find some shelves or drawers near your workspace.
For items that you don’t need as regularly, look for storage containers that will not take up too much space and can easily be tucked away. You can even get creative with your storage! Hang up some hooks or attach a pegboard to the wall to hang up your art supplies.
With the right storage spots for your art supplies, you’ll be ready to tackle any creative project! There are a lot of ways to organize your materials and supplies. You can even make a DIY accordion drawer organizer which is easy to do too!

Benefits of Making a DIY Art Supply Organizer
- Organization: The most obvious benefit of making an art supply organizer is that it helps you to stay organized. With everything in its place, you’ll be able to find what you need quickly and easily, and you’ll spend less time searching for supplies and more time creating art.
- Cost-effective: Buying pre-made art supply organizers can be expensive, but making your own can be a cost-effective solution. You can use materials that you already have at home or find affordable options at your local craft store.
- Customizable: Making your own art supply organizer means you can customize it to suit your needs. You can create compartments of different sizes to fit your supplies, and you can add your own personal touch to make it unique.
- Eco-friendly: Making your own art supply organizer is a great way to repurpose materials that you already have at home or that probably otherwise go to waste. This is an eco-friendly way to create a new organizational tool for your art supplies.
- Creativity boost: The process of making your own art supply organizer can be a creative activity in itself. It can help to boost your creativity and inspire you to create more art.
- Decorative space: Since this is a DIY project, you have total control over what your organizer looks like. Include your personality to make it a great addition to your space.
Wrapping It Up
To wrap up, creating a DIY art supply organizer is an easy and affordable way to keep your art supplies neatly stored and easily accessible. With a few supplies and a little creativity, you can design a functional and decorative organizer that works best for your needs.
And, crafting is a great way to express yourself and unleash your inner artist. But when it comes to art supplies, it can be easy to get overwhelmed by the sheer amount of options. That’s why creating a DIY art supply organizer is the perfect solution.
Not only will it make your workspace look organized and chic, but it can also increase your creativity and inspiration by helping you find the right supplies quickly and easily. Best of all, it’s a great way to save money, as you can create one yourself with items you already have around the house!
With just a few basic items, you can create an amazing organizational system for all of your art supplies. You can use repurposed wooden boxes, hardboard pieces, fabric scraps, or even mason jars and create something truly unique and eye-catching. You don’t even need to go out and buy new materials.
With the right touch and homemade flair, you can create the perfect art supply organizer that will bring a creative touch to any home. Of course, whether you’re just getting started with crafting or have been creating for years, an art supply organizer can help make your creative process easier and more enjoyable.


