
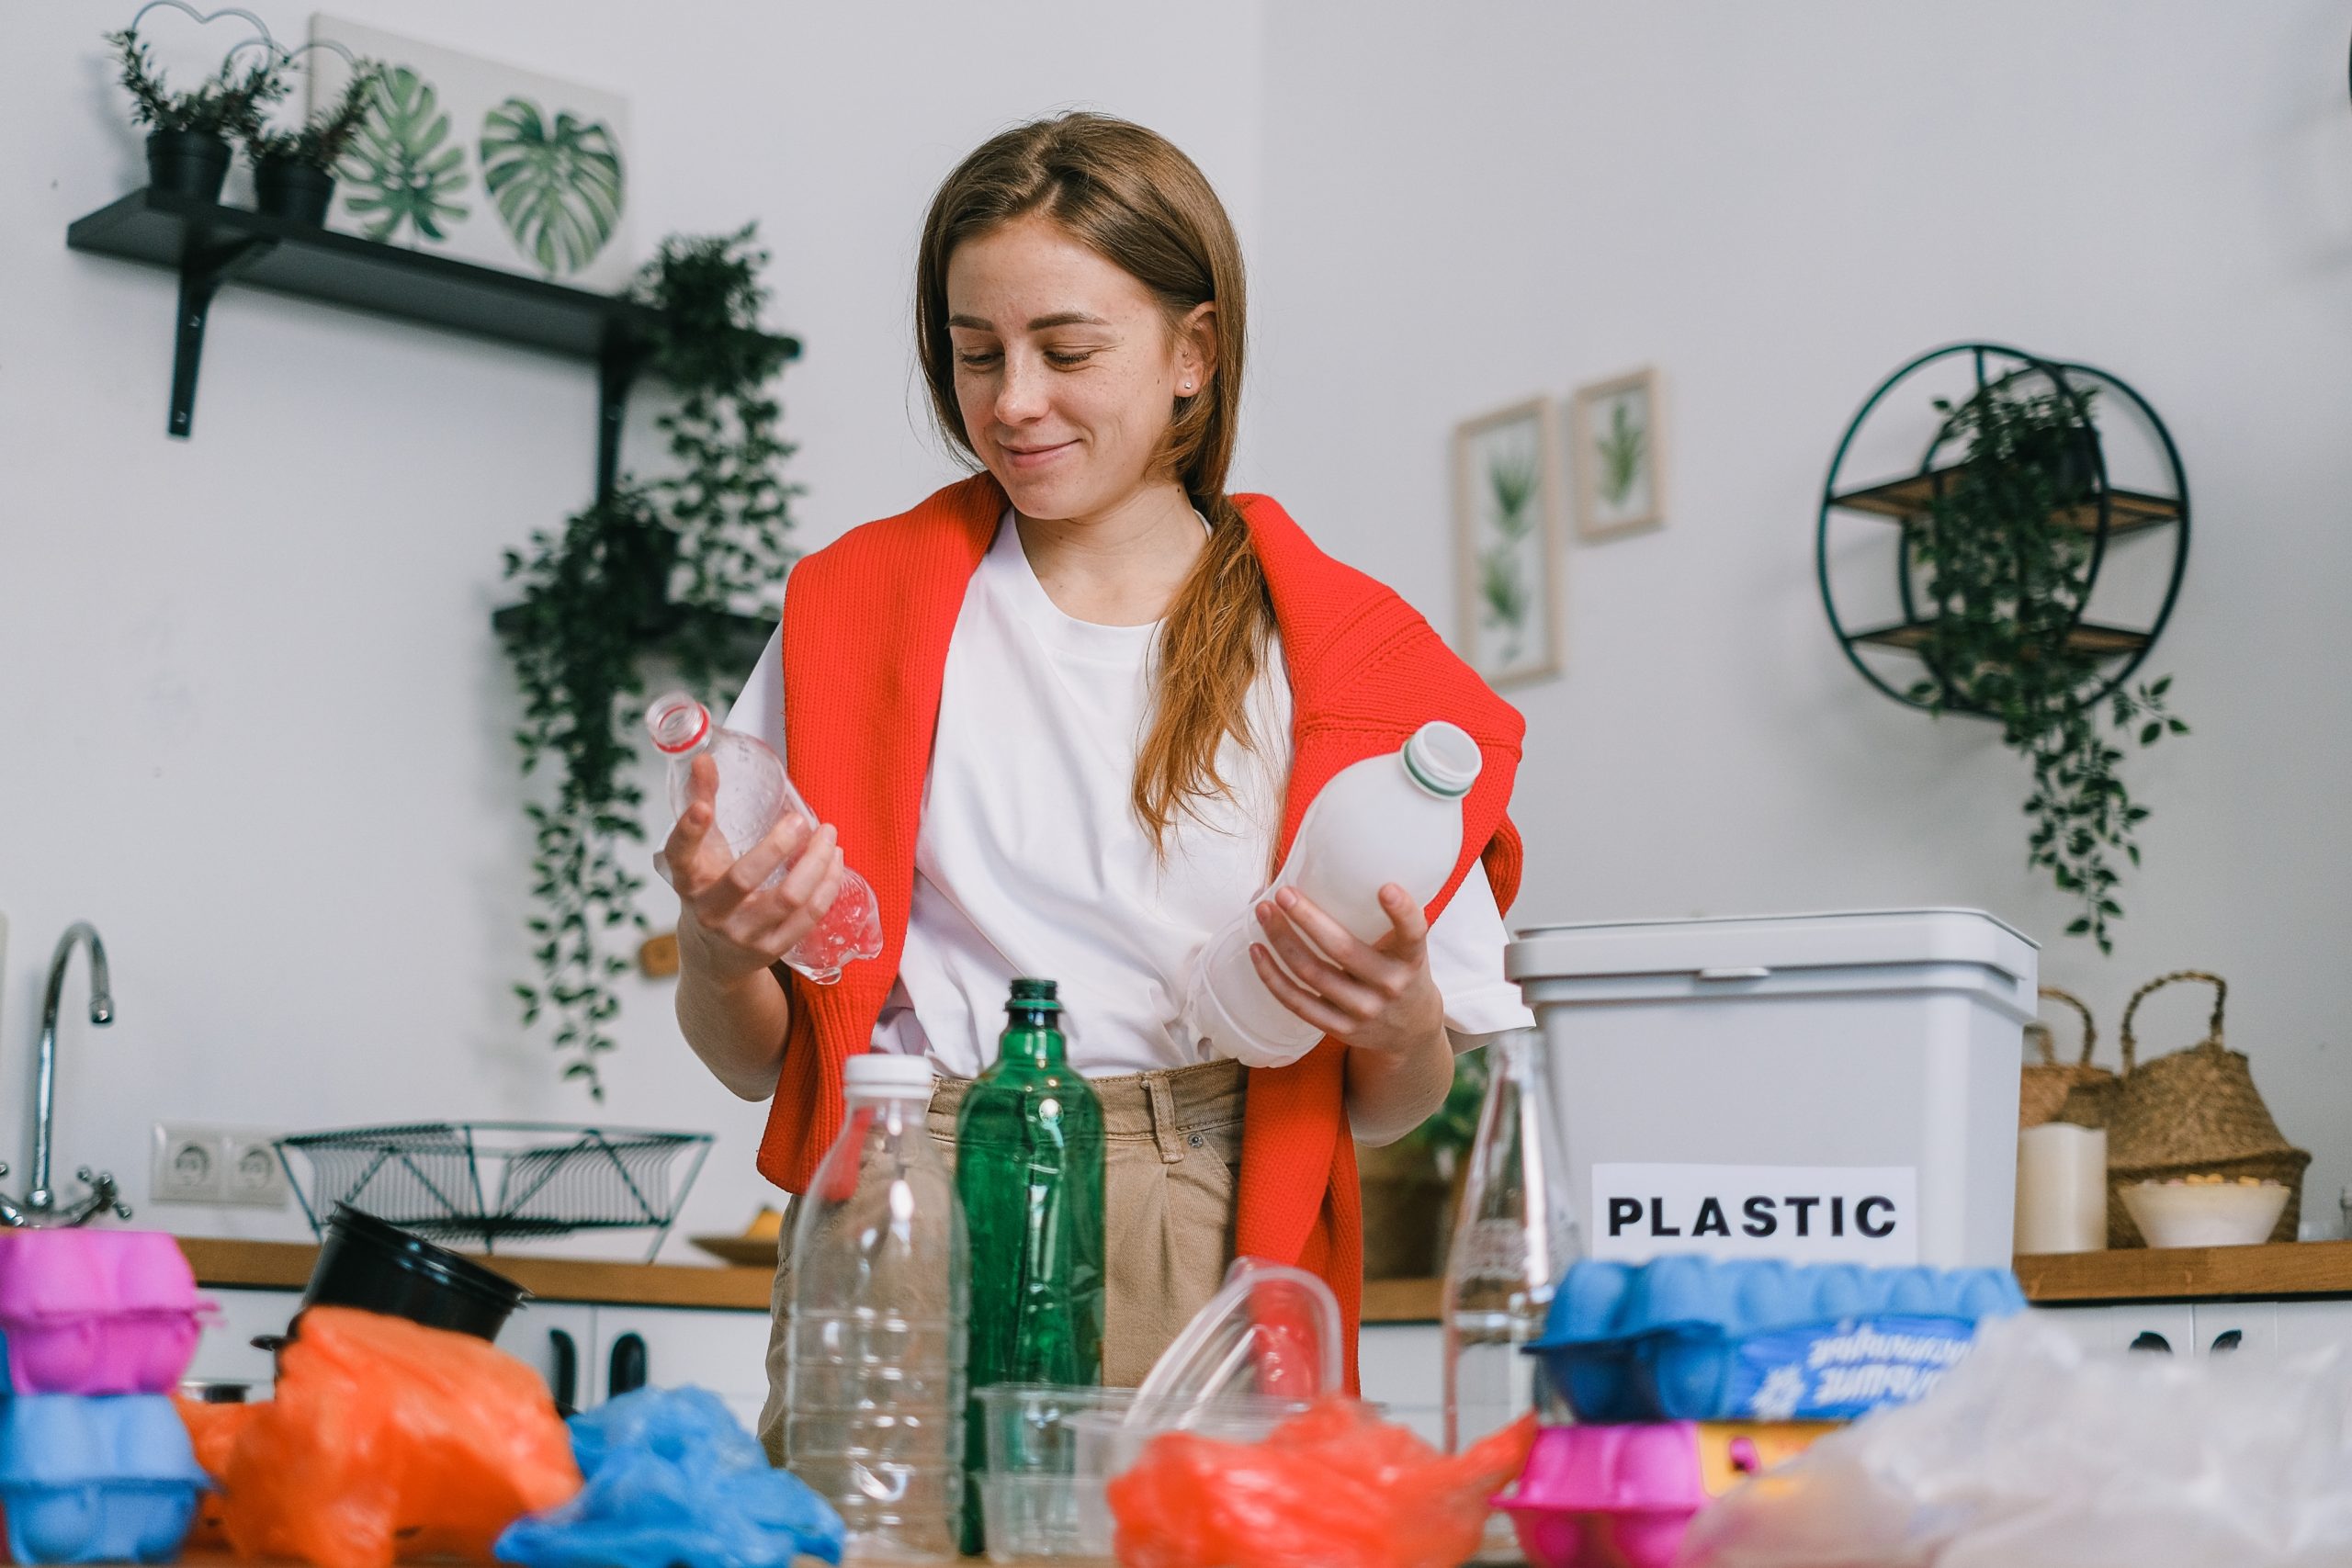
With the planet screaming for us to reduce, reuse and be kind to the environment, finding creative ways to repurpose materials is a must! And what better way to do this than by embracing the new trend of easy craft with plastic bottles that turns into works of art? Get creative and crafty with a sustainable twist — it’s a win-win for everyone!
There are a wide variety of craft projects that can be created with plastic bottles, ranging from home equipment to even toys. These projects require only a few main supplies and are easy enough to complete in a short amount of time.
Contents
5 Easy Craft With Plastic Bottles Ideas
In this blog post, we will explore the different types of easy crafts with plastic bottles and discuss the eco-friendly benefits of upcycling used bottles into something new. From making a bird feeder to crafting a unique home decor piece, you’ll find plenty of inspiration for your next project! Not only is it fun, but upcycling bottles is also an eco-friendly way to reduce landfill waste.
So why not get started and get crafty with plastic bottles today? Let’s explore the many possibilities of an easy craft with plastic bottles!
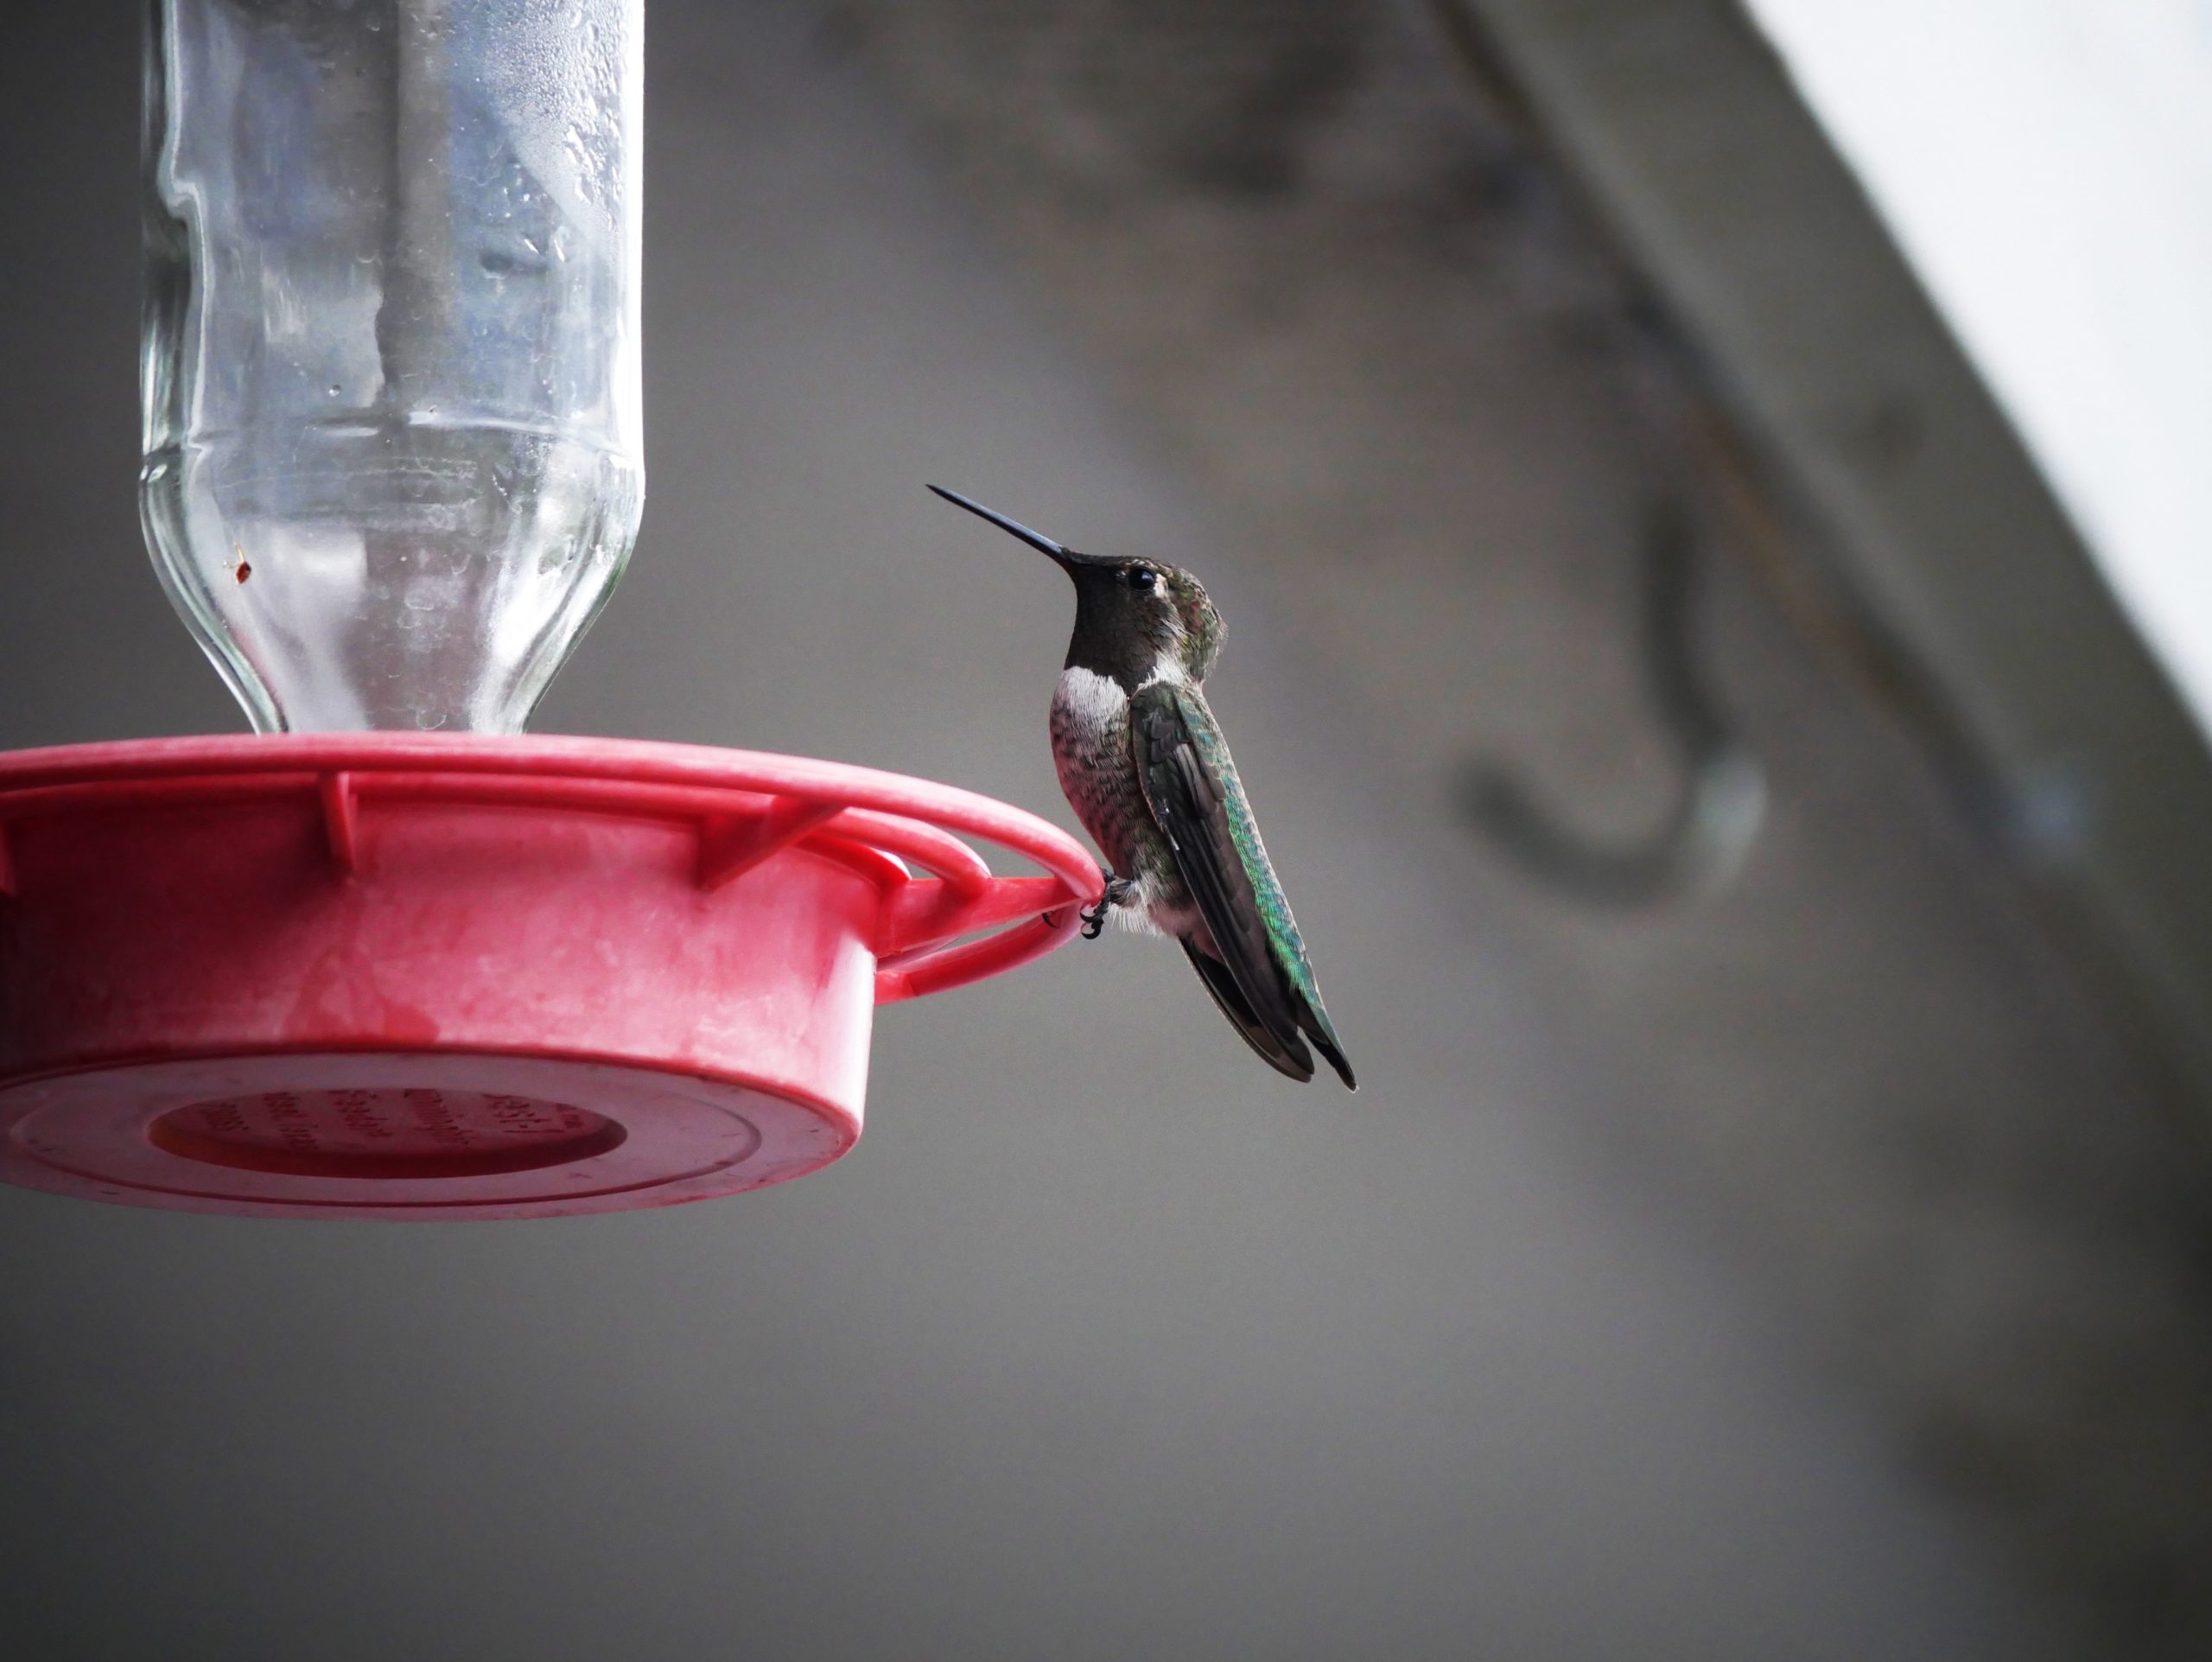
1. Create a Bird Feeder
A popular easy craft with plastic bottles — a bird feeder! With just a few simple supplies, you can create a functional bird feeder that is sure to attract a variety of birds.
Turning plastic bottles into beautiful bird feeders is a craft that everyone can enjoy. Here are the steps to make one:
Materials:
- A plastic bottle (clean and dry)
- A pair of scissors
- String or twine
- A wooden spoon or stick
- Birdseed
Instructions:
- Cut the plastic bottle in half with a pair of scissors. The top half will be used as the feeder, while the bottom half can be discarded.
- Make four small holes around the edge of the plastic bottle feeder, opposite each other.
- Cut two pieces of string or twine, and thread them through the holes. Tie the ends of the string together to make a loop, which will be used to hang the feeder.
- Take a wooden spoon or stick and push it through the side of the plastic bottle, making two small holes. This will create a perch for the birds to sit on while they feed.
- Fill the feeder with birdseed, making sure not to overfill it.
- Hang the feeder in a tree or another location that is accessible to birds.
Your homemade bird feeder is now complete and ready to use! Remember to keep it clean and dry, and to refill it with fresh birdseed regularly. Then, enjoy watching the birds that come to visit!
2. Create a Custom Storage Unit
Creating a custom storage unit from plastic bottles is a great way to organize your space while also recycling plastic bottles. With this easy craft with plastic bottles, you can assemble your own custom storage unit and choose the size and shape that best suits your needs.
This type of craft is perfect for those looking for solutions to their limited storage space. They can even customize the size and the design. Best of all, it’s an eco-friendly way to make use of scrap plastic bottles and keep them out of landfills.
It’s one of the best and most creative craft ideas from recycled plastic bottles! So, here are the steps to make this easy craft with plastic bottles:
Materials:
- Plastic bottles (clean and dry)
- A pair of scissors or a utility knife
- Duct tape or hot glue
- Decorative paper or fabric (optional)
- Marker or pen
- Ruler or measuring tape
Instructions:
- Collect a number of plastic bottles of the same size and shape. The number of bottles you need will depend on the size of the storage unit you want to make.
- Use the scissors or utility knife to cut off the top and bottom of each bottle, leaving only the cylindrical part. These will be the compartments of your storage unit.
- Optional: If you want to decorate your storage unit, cover each compartment with decorative paper or fabric using double-sided tape or hot glue.
- Use a marker or pen to mark the locations where you want to connect the compartments. Make sure to measure and mark the locations accurately to ensure the compartments will fit together.
- Use the scissors or utility knife to cut small slits at the marked locations on each compartment. The slits should be large enough to allow the compartments to fit together securely.
- Assemble the compartments by fitting them together using the slits you made. Make sure the compartments are securely connected.
- Optional: If you want to add a handle to your storage unit, use a piece of twine or string to create a loop and attach it to the top of the unit using duct tape or hot glue.
Enjoy your new storage unit! What an easy craft with plastic bottles! Use it to store a variety of items, such as office supplies, craft materials, or small toys. This is a great way to start organizing your space and even upcycling.
Try this easy craft with plastic bottles today!
3. Make a Plastic Bottle Planter
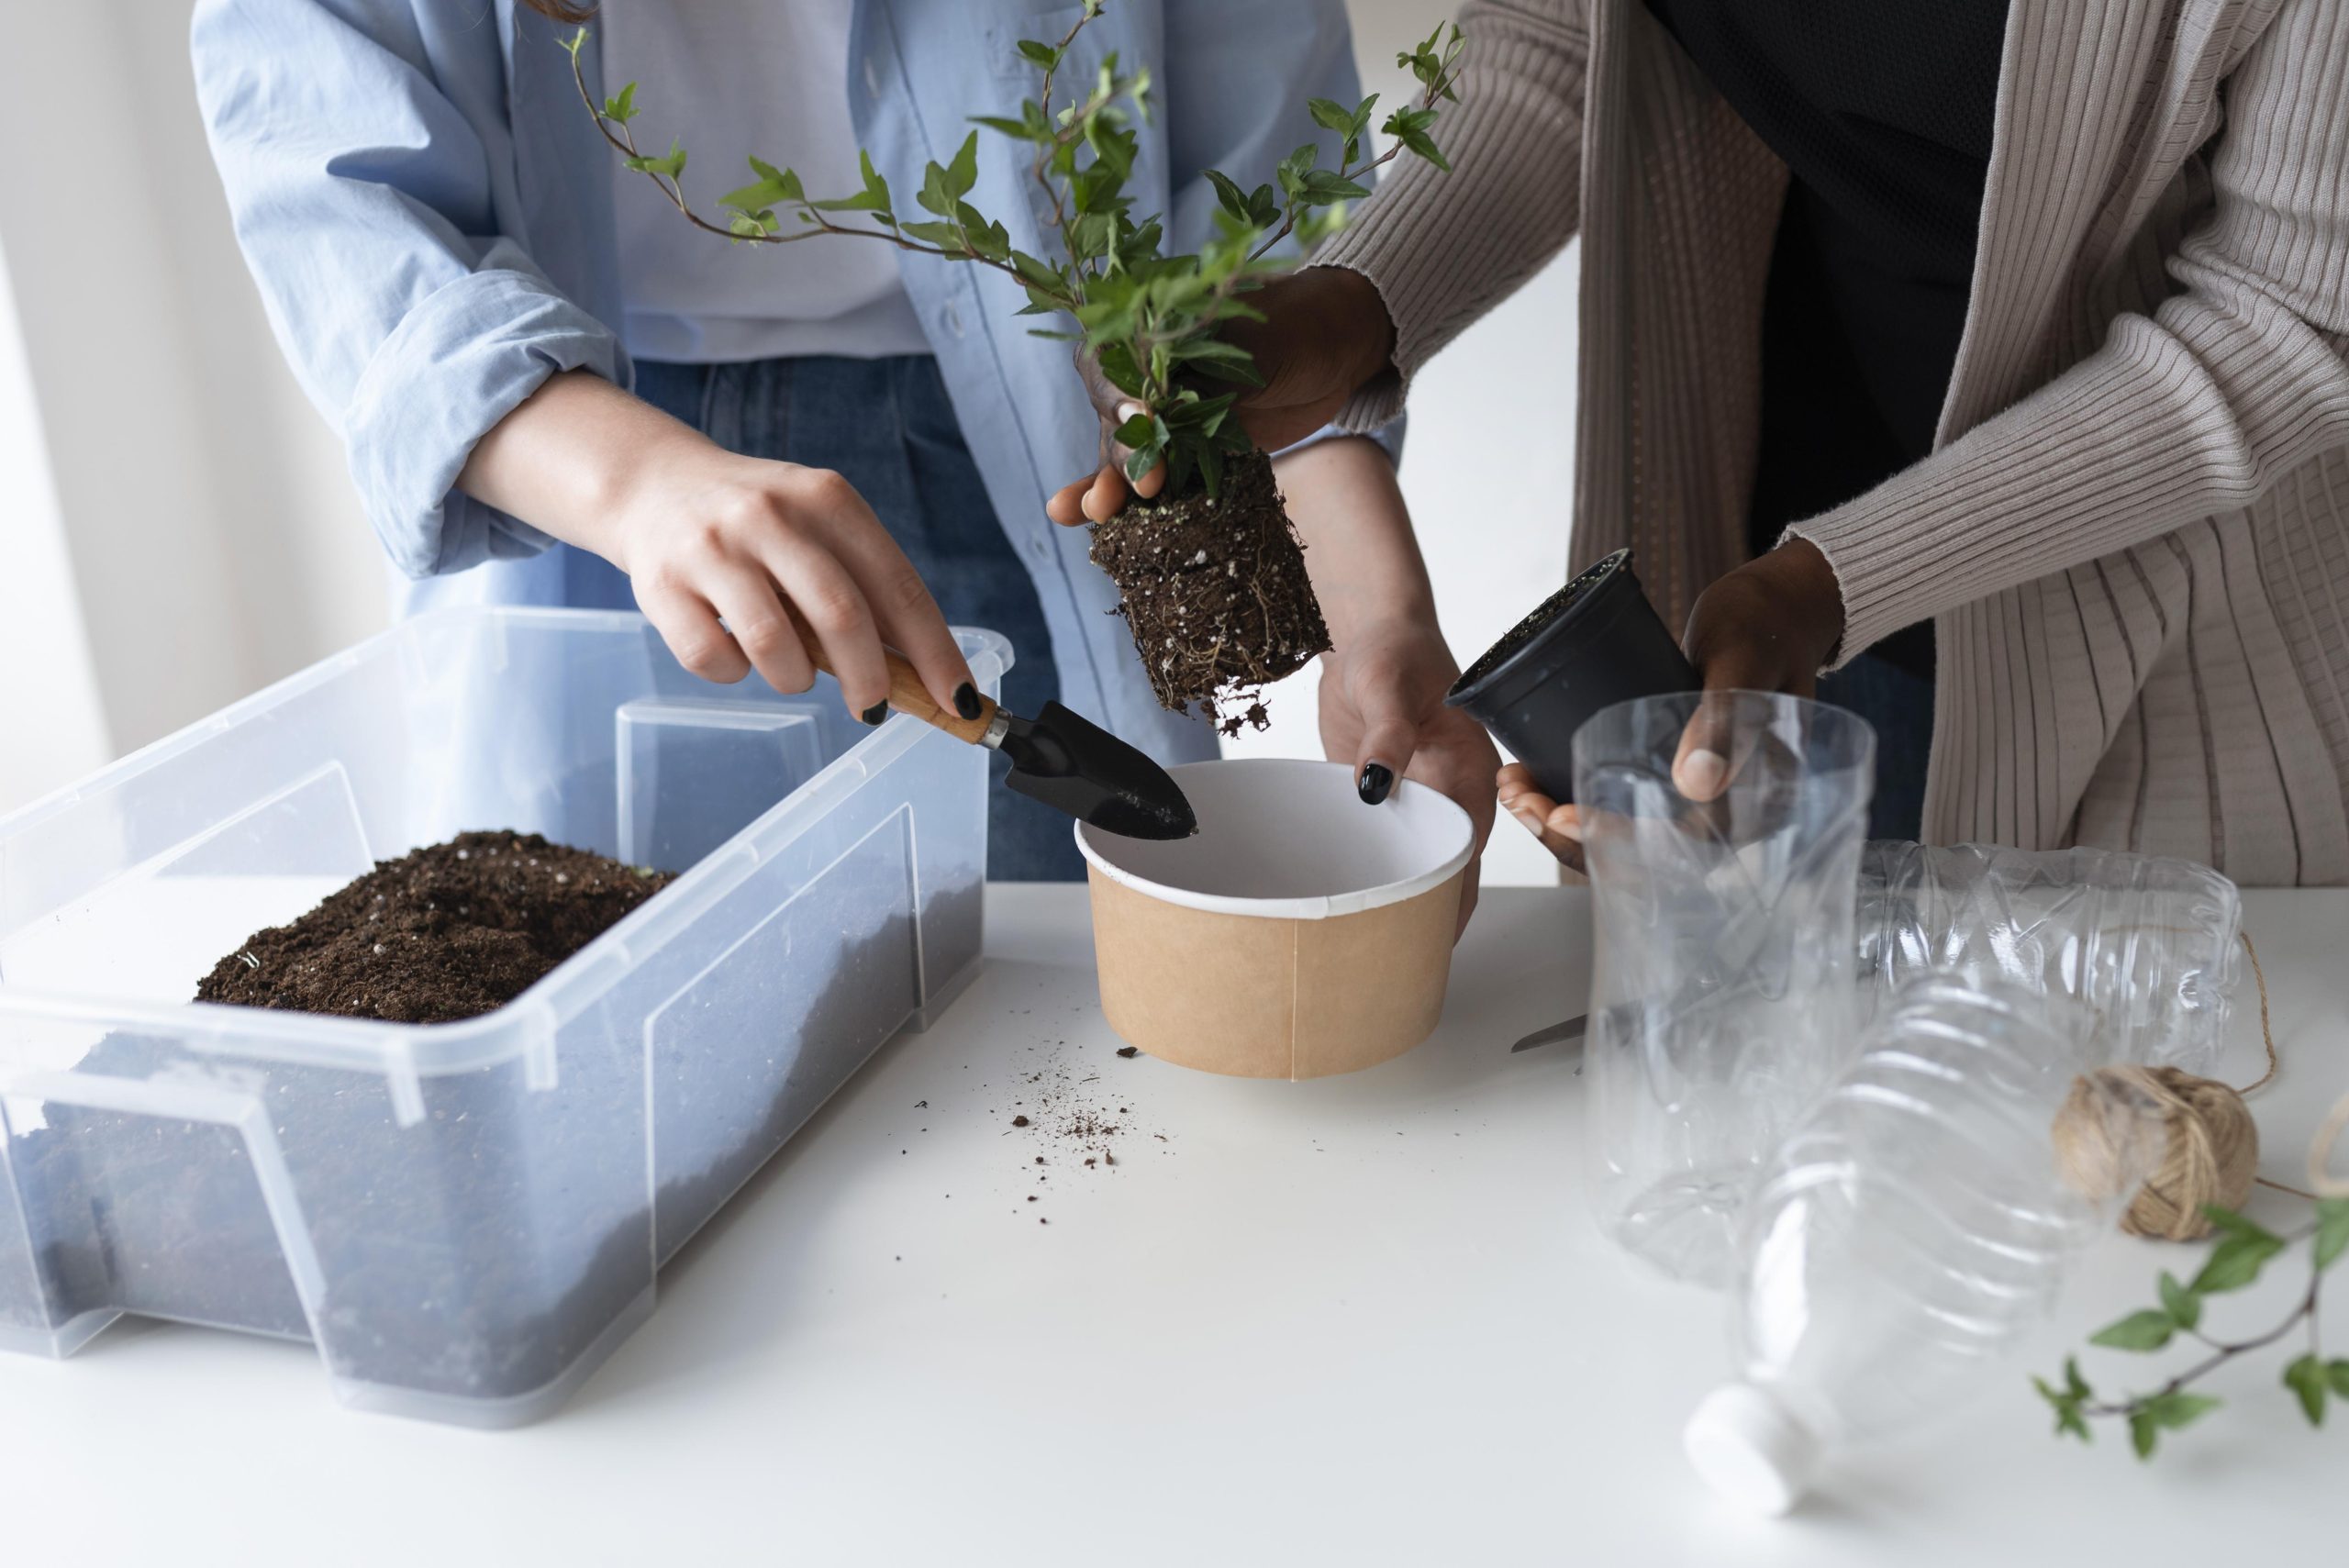
This easy craft with plastic bottles can help you add some greenery to your home. Creating a planter from plastic bottles to grow plants is simple and truly amazing. Follow these steps and you’ll be ready to go!
Materials:
- Plastic bottles (clean and dry)
- A pair of scissors or a utility knife
- Paint or duct tape (optional)
- Potting soil
- Plants or seeds
Instructions:
- Cut off the top section of the plastic bottle, leaving a rectangular or square-shaped container. The size of the container will depend on how big you want your planter box to be.
- Optional: Decorate the container with paint or duct tape to give it a fun and colourful look.
- Using the scissors or utility knife, cut small holes in the bottom of the container to allow for drainage.
- Fill the container with potting soil, leaving some space at the top for planting.
- Plant your seeds or small plants in the soil. If you’re planting seeds, follow the instructions on the package for planting depth and spacing.
- Water the soil and plants as needed, and place the planter box in a sunny location where the plants can receive plenty of light.
- As the plants grow, you may need to add more soil to the planter box to help support their growth.
You can make several of these to create a mini garden or line them up to make a colourful border. This easy craft with plastic bottles is a wonderful way to beautify your home through a variety of plants.
4. Construct a Watering Can
This easy craft with plastic bottles is perfect for those looking to create something unique and functional while being eco-friendly. Creating a watering can from plastic bottles is a simple and cost-effective way to water your plants. Get the supplies you need and let’s get started with this easy craft with plastic bottles!
Materials:
- Plastic bottle (clean and dry)
- A pair of scissors or a utility knife
- Nail or thumbtack
- Duct tape or hot glue
- Twine or string
Instructions:
- Remove the label from the plastic bottle and rinse it out with water. Allow it to dry completely.
- Use the scissors or utility knife to cut off the top of the bottle, leaving the handle intact. This will be the spout of your watering can.
- Use a nail or thumbtack to poke several small holes in the bottom of the bottle. This will allow the water to flow out of the spout.
- Optional: Decorate the bottle to give it a fun and colourful look.
- Tie a piece of twine or string around the handle of the bottle to create a convenient way to hold the watering can.
- Fill the bottle with water and screw the cap back onto the bottle.
- Test your watering can by tipping it over and allowing the water to flow out of the spout. If the holes are too small, use the nail or thumbtack to make them larger.
This easy craft with plastic bottles is a great way to be more eco-friendly. You also get cost-effective equipment when providing water for your plants. Happy watering!
Try this easy craft with plastic bottles today and appreciate yourself for doing so!
5. Construct a Photo Frame
Making a photo frame out of plastic bottles is a simple craft that is both eco-friendly and highly customizable. This easy craft with plastic bottles is a great way to add charm to your home. Here are the steps to make one:
Materials:
- Plastic bottle (with rectangular bottom, clean and dry)
- A pair of scissors or a utility knife
- Ruler or measuring tape
- Pencil or pen
- Decorative paper or fabric
- Glue or double-sided tape
- Clear adhesive tape or hot glue
- Photo
Instructions:
- Cut off the bottom part of the plastic bottle to create a rectangular or square shape. The size of the frame will depend on the size of your photo.
- Use a ruler or measuring tape to measure the dimensions of your photo. Use a pencil or pen to mark the dimensions on the plastic bottle.
- Use the scissors or utility knife to cut out the rectangle or square from the centre of the plastic bottle. This will be the opening of your photo frame.
- Optional: Decorate the frame by covering it with decorative paper or fabric using glue or double-sided tape.
- Place your photo behind the frame and secure it in place using clear adhesive tape or hot glue.
- Optional: To create a stand for the photo frame, cut a strip of plastic from the remaining part of the plastic bottle and bend it into a triangular shape. Attach the stand to the back of the photo frame using clear adhesive tape or hot glue.
What a great way to display your favourite photos while recycling plastic bottles! You can make several of these frames in different sizes and designs to create a colourful photo display. After all, it’s a proven easy craft with plastic bottles.
The Takeaway
An easy craft with plastic bottles is a great way to be creative and have fun! It can also help reduce the amount of plastic waste in our environment as well as provide a way to make beautiful and useful items.
Whether you’re looking for a DIY project for yourself or for your kids, an easy craft with plastic bottles is a great way to get started. You can make a range of items from home equipment to home decor.
So grab a few plastic bottles, get creative, and have some fun! Go for an easy craft with plastic bottles today!


