When looking for a fun and creative way to decorate your home, disco ball art crafts are a great option. They can provide a modern, vibrant, eye-catching aesthetic that will make your home stand out. Disco ball crafts are easy to make and will sparkle, with the help of a few everyday materials and a little bit of elbow grease.
Contents
- 1 How to Make Your Own Disco Ball Art
- 1.1 1. Gather Your Supplies: Disco Ball, Glitter, Glue and More
- 1.2 2. Glimmer With Possibility: Radiate Your Room with a Vivid Vision!
- 1.3 3. Design Your Artwork: Get Creative and Have Fun!
- 1.4 4. Cover All Areas: Make Sure Every Part has Sparkle
- 1.5 5. Get Colorful: Add a Pop of Color With Sequins or Gems
- 1.6 6. Explore on Shapes: Try Stars, Hearts and More
- 1.7 7. Secure Pieces: Make Sure Everything Is Secured With Adhesive
- 1.8 8. Hang Your Artwork: Show Off Your Masterpiece With Pride!
- 2 Wrapping It Up
How to Make Your Own Disco Ball Art
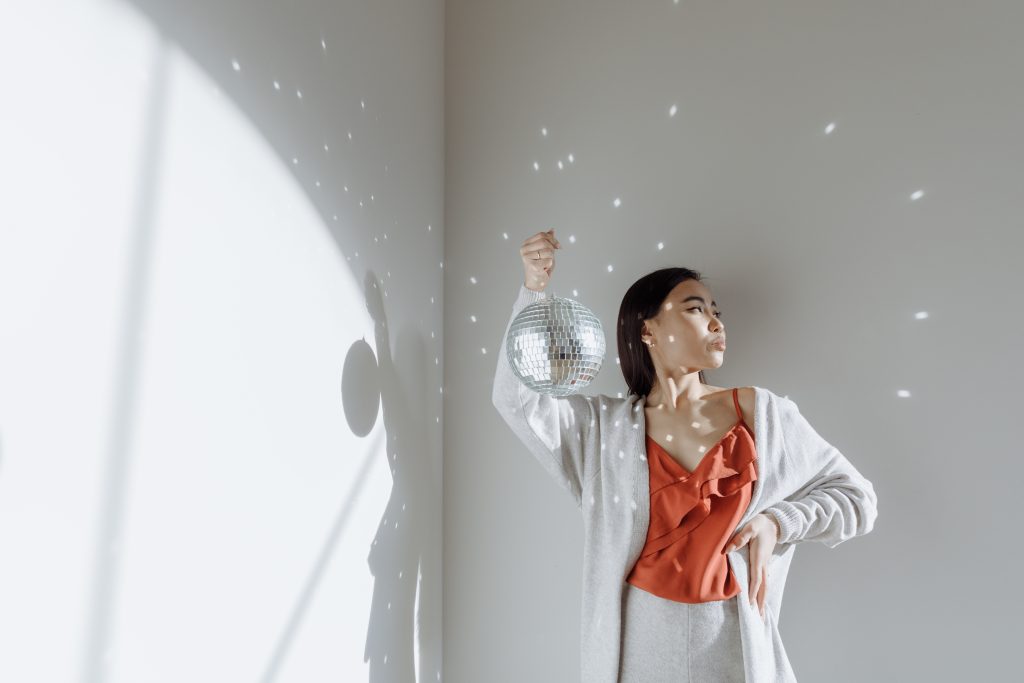
Disco balls can shine in your interior space apart from the dance floor in numerous ways. Its numerous reflective panels can invoke the 70’s or achieve a specific theme.
We will explore different ways you can use disco ball crafts to make your art sparkle and shine. We will look at the materials needed, the steps to complete each craft and the different styles of disco ball crafts you can choose from.
We will also share some helpful tips on achieving the most impactful look and displaying your new disco ball art. This post will show you how you can use disco ball crafts to add the perfect amount of glamour to any space. Let’s get started!
1. Gather Your Supplies: Disco Ball, Glitter, Glue and More
Crafting your disco ball can be a fun and creative project. You can also do it with the kids. Best of all, the supplies are easy to find:
- A round object to use as the base (such as a Styrofoam ball or a large Christmas ornament)
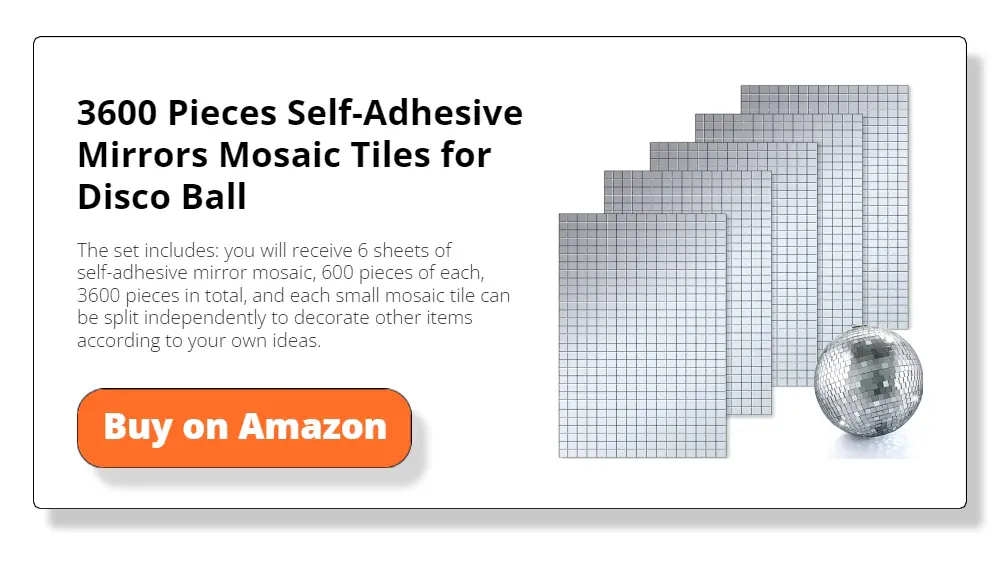
- Small mirror tiles or reflective paper
- Adhesive glue (such as hot glue or craft glue)
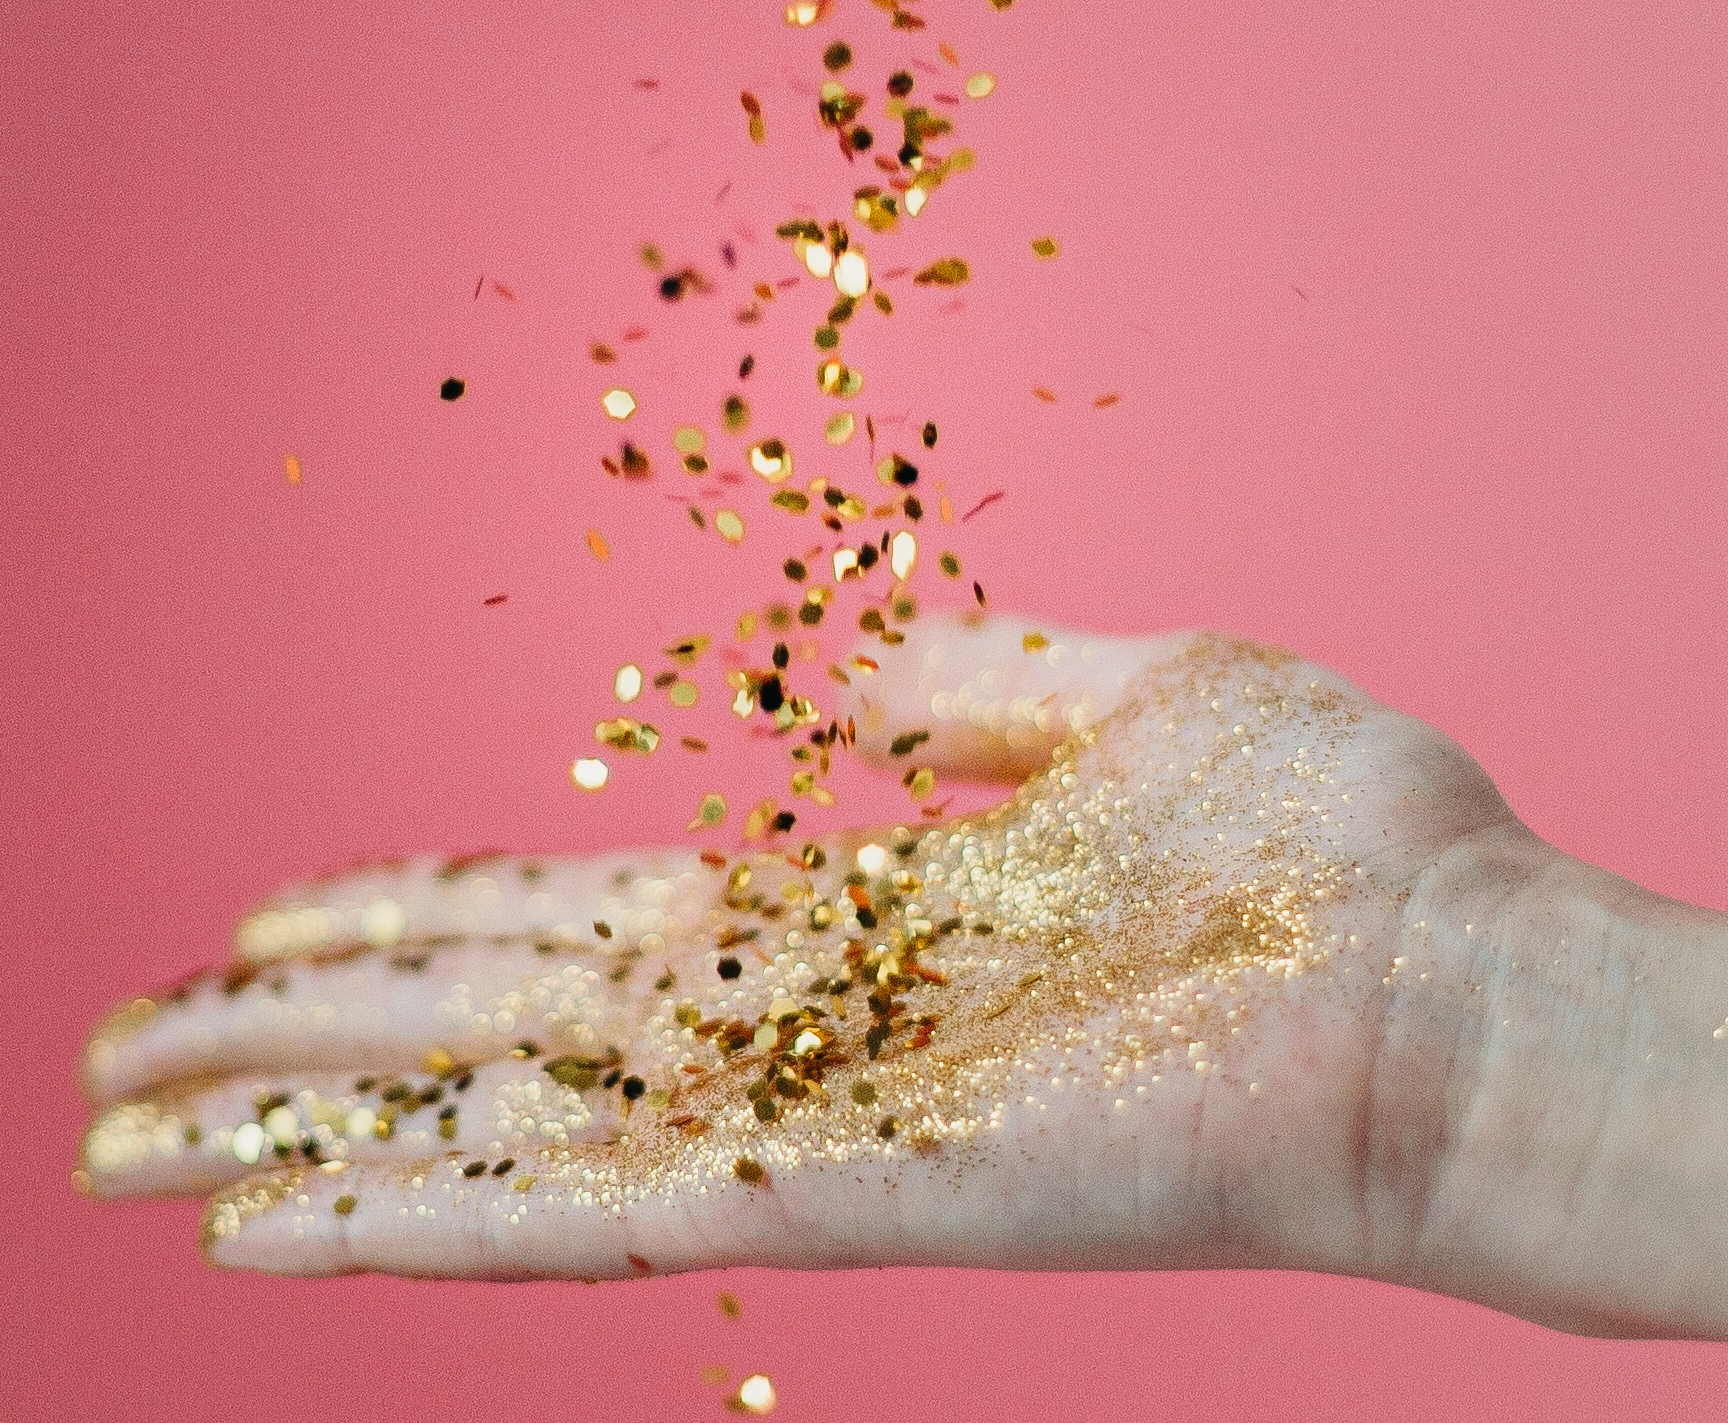
- Glitter or other decorative elements (optional)
- Ribbon or string to hang the disco ball art
Once your supplies have been gathered, you’re ready to transform your vision into reality. Get creative and use sparkly materials to create a masterpiece that will bring a twinkle to everyone’s eye.
So, let your inner artist shine bright, and make art sparkle with a DIY disco ball!
2. Glimmer With Possibility: Radiate Your Room with a Vivid Vision!
With mirror tiles and reflective paper, there are plenty of patterns to choose from when designing your own sparkling showstopper. So first, to help get the creativity flowing, here are some disco ball art ideas for you to familiarize yourself with before you sparkle up your space:
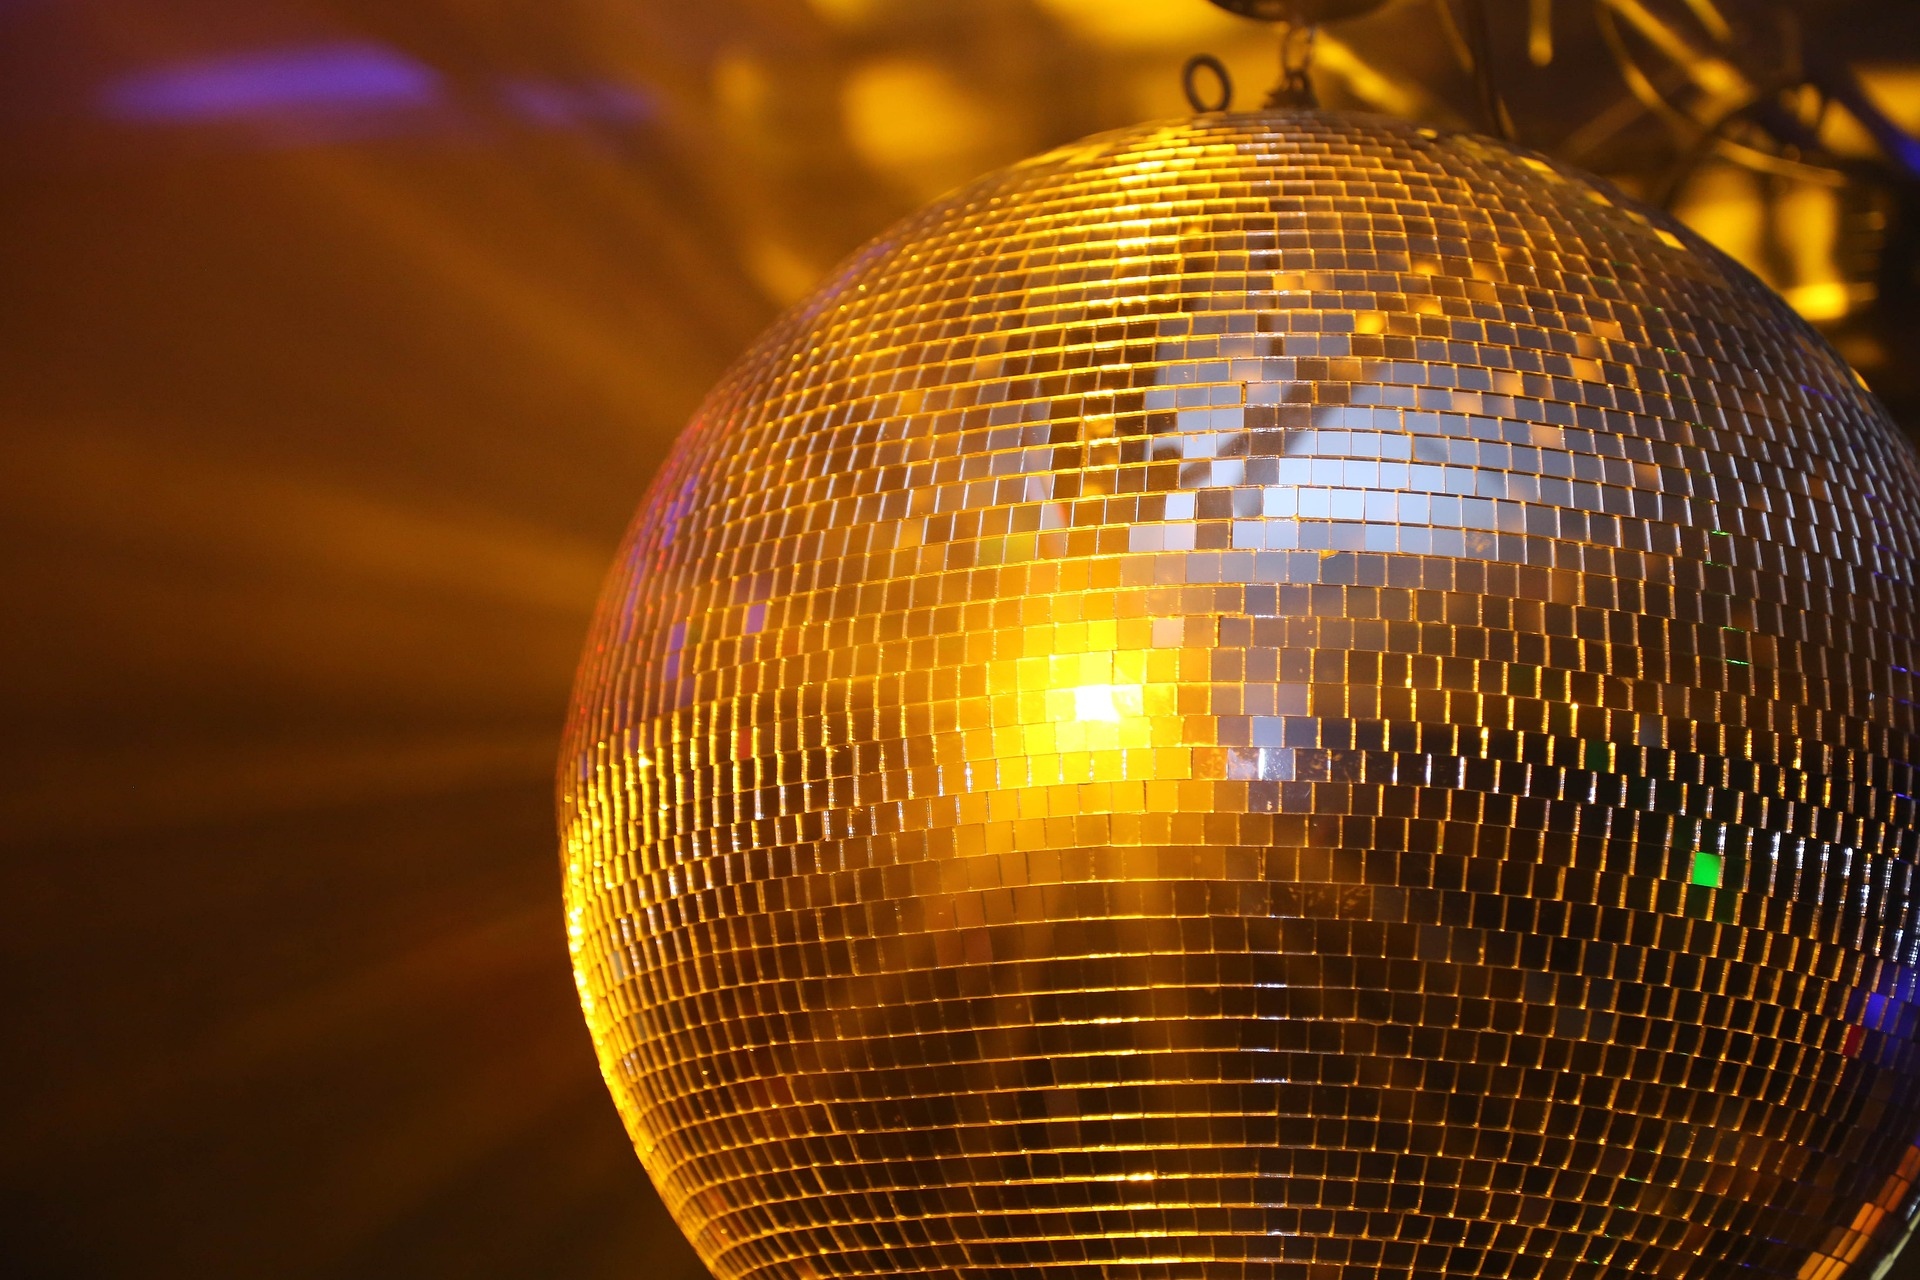
- Classic Mirror Ball: This is the most straightforward and classic pattern for a disco ball. Cover the entire surface of the ball with small mirror tiles or reflective paper, creating a uniform look with no particular design.
- Stripes: To create a striped effect, use mirror tiles or reflective paper in different colours and arrange them in vertical or horizontal stripes around the ball.
- Checkerboard: For a checkerboard effect, alternate between black and silver mirror tiles or reflective paper to create a classic disco look.
- Ombre: An ombre effect can be created using mirror tiles or reflective paper in various shades of the same colour, gradually fading from dark to light or vice versa.
- Polka Dots: Use mirror tiles or reflective paper in different sizes and arrange them in a polka dot pattern on the ball’s surface.
- Geometric: Use mirror tiles or reflective paper to create a geometric pattern on the ball’s surface, such as triangles, hexagons, or diamonds.
- Personalized: You can create a personalized pattern by using mirror tiles or reflective paper in your favourite colours or incorporating shapes and designs that have personal meaning. For example, you could use heart-shaped mirror tiles to create a romantic disco ball or star-shaped tiles for a space-themed disco ball.
3. Design Your Artwork: Get Creative and Have Fun!
When it’s time to design your artwork, it’s the moment to put your creative skills to the test! Disco ball art is all about having fun with your creativity and embracing the sparkle of the disco ball. You can draw inspiration from your favourite music, movies, and fashion to create a unique design that reflects your individual style.
You can also use shapes, colours, and patterns to create a unique and eye-catching piece of artwork. Also, have fun – your disco ball art will surely be the party’s highlight!
Steps to Create a Disco Ball Art:
- Start by preparing your base. If you’re using a Styrofoam ball, you may want to sand it down slightly to create a smoother surface for the mirrors to adhere to. If you’re using a Christmas ornament, remove any existing decorations and clean it thoroughly.
- Cut your mirror tiles or reflective paper into small squares or rectangles, about 1-2 inches in size.
- Begin gluing the mirrors onto the surface of your base. You can start at the top and work your way down, or at the bottom and up. Use enough glue to hold the mirrors securely in place, but not so much that it oozes out between the tiles.
Now, you’re ready to move on to the next step! If you want to add a little sparkle to your home decor, why not try some magical decorating ideas?
4. Cover All Areas: Make Sure Every Part has Sparkle
No matter what kind of sparkly disco ball art project you’re doing, it’s important to make sure every part is covered in sparkle. Whether you’re making a glittery disco ball, or a unique mirror-encrusted one, take your time to make sure you cover every inch. After all the time you put in, you don’t want your end product to be a letdown!
With this extra step, you’ll be sure to have a disco ball art you can proudly display and show off.
5. Get Colorful: Add a Pop of Color With Sequins or Gems
Get ready to add some sparkle and shine to your disco ball art! Adding sequins or gems to your art can make it pop. Whether creating a stunning abstract painting or a unique sculpture, adding a few colourful sequins or gems can make your art stand out.
Sequins and gems come in various colours and shapes and can be used to create a subtle shimmering effect. Get more creative and have fun making your disco ball art sparkle!
6. Explore on Shapes: Try Stars, Hearts and More
One of the most eye-catching ways to add sparkle to your art is by incorporating shapes. You can draw, cut or glue shapes like stars, hearts, or any other shape you can think of. The possibilities are limitless!
For an even more dazzling effect, you can fill in the shapes with coloured glitter or rhinestones. Imagine a twinkling star-scape in glitter or a cascading waterfall of iridescent rhinestones! Coloured glitter will make the art pop with a vibrant sparkle while rhinestones can add a touch of sparkly opulence.
Needless to say, no matter which materials you choose, and the shapes you make, you’re sure to impress with your disco ball art!
7. Secure Pieces: Make Sure Everything Is Secured With Adhesive
Be sure to secure all pieces with adhesive. Whether you choose to use glue, hot glue, glitter glue, double-sided tape, or glue dots, ensure everything is properly secured.
It’s always better to use too much adhesive than not enough, as you don’t want your disco ball art to fall apart when it’s time to show it off! Not only will this help ensure that your art sparkles and shines, but it will also ensure that your Disco ball art is a piece that you can proudly display for a long time.
8. Hang Your Artwork: Show Off Your Masterpiece With Pride!
Now that you’ve created your disco ball art masterpiece, it’s time to show it off with pride! Hang your artwork in a central location in your living space and let the light reflect off it, just like a real disco ball!
Let your guests, family, and friends marvel at your creative work of art and bask in its beauty. This is the perfect statement piece to bring sparkle and shine to your existing decor and become the centrepiece of any room. With disco ball art, you can easily transform any room into a dazzling, vibrant space.
Wrapping It Up
To wrap up, creating art out of disco ball crafts is a fun and creative way to express yourself. Whether you make the classic disco ball, a glittery necklace, or some amazing wall art, working on any artwork will surely add some fun.
You can create something, so make a statement with a few simple materials and steps. And, creating something unique and eye-catching doesn’t have to be difficult or expensive.
For show-stopping disco ball art, you only need a few simple materials, some basic steps, and a little creativity. In no time, you can make something that will have your family and friends talking and your home sparkling! Are you ready to craft your disco ball?


