
Are you looking for a fun, creative project to do with your kids at home? Making paper plate butterflies is sure to bring smiles to their faces! Not only is this project a great way to get creative and explore art, but it’s also surprisingly simple to do. The steps on how to make a paper plate butterfly are easy and don’t require a lot of effort.
All you’ll need are a few common craft supplies like paper plates, scissors, markers, and glue. Let your kids be creative and customize their very own paper plate butterflies however they like! This craft project is sure to be a hit and can unleash their imaginations.
This blog post will take you through an easy, step-by-step guide on how to make a paper plate butterfly. You’ll be surprised at how easy it is to make these beautiful creatures. And the materials are simple, with most of them already available in your home.

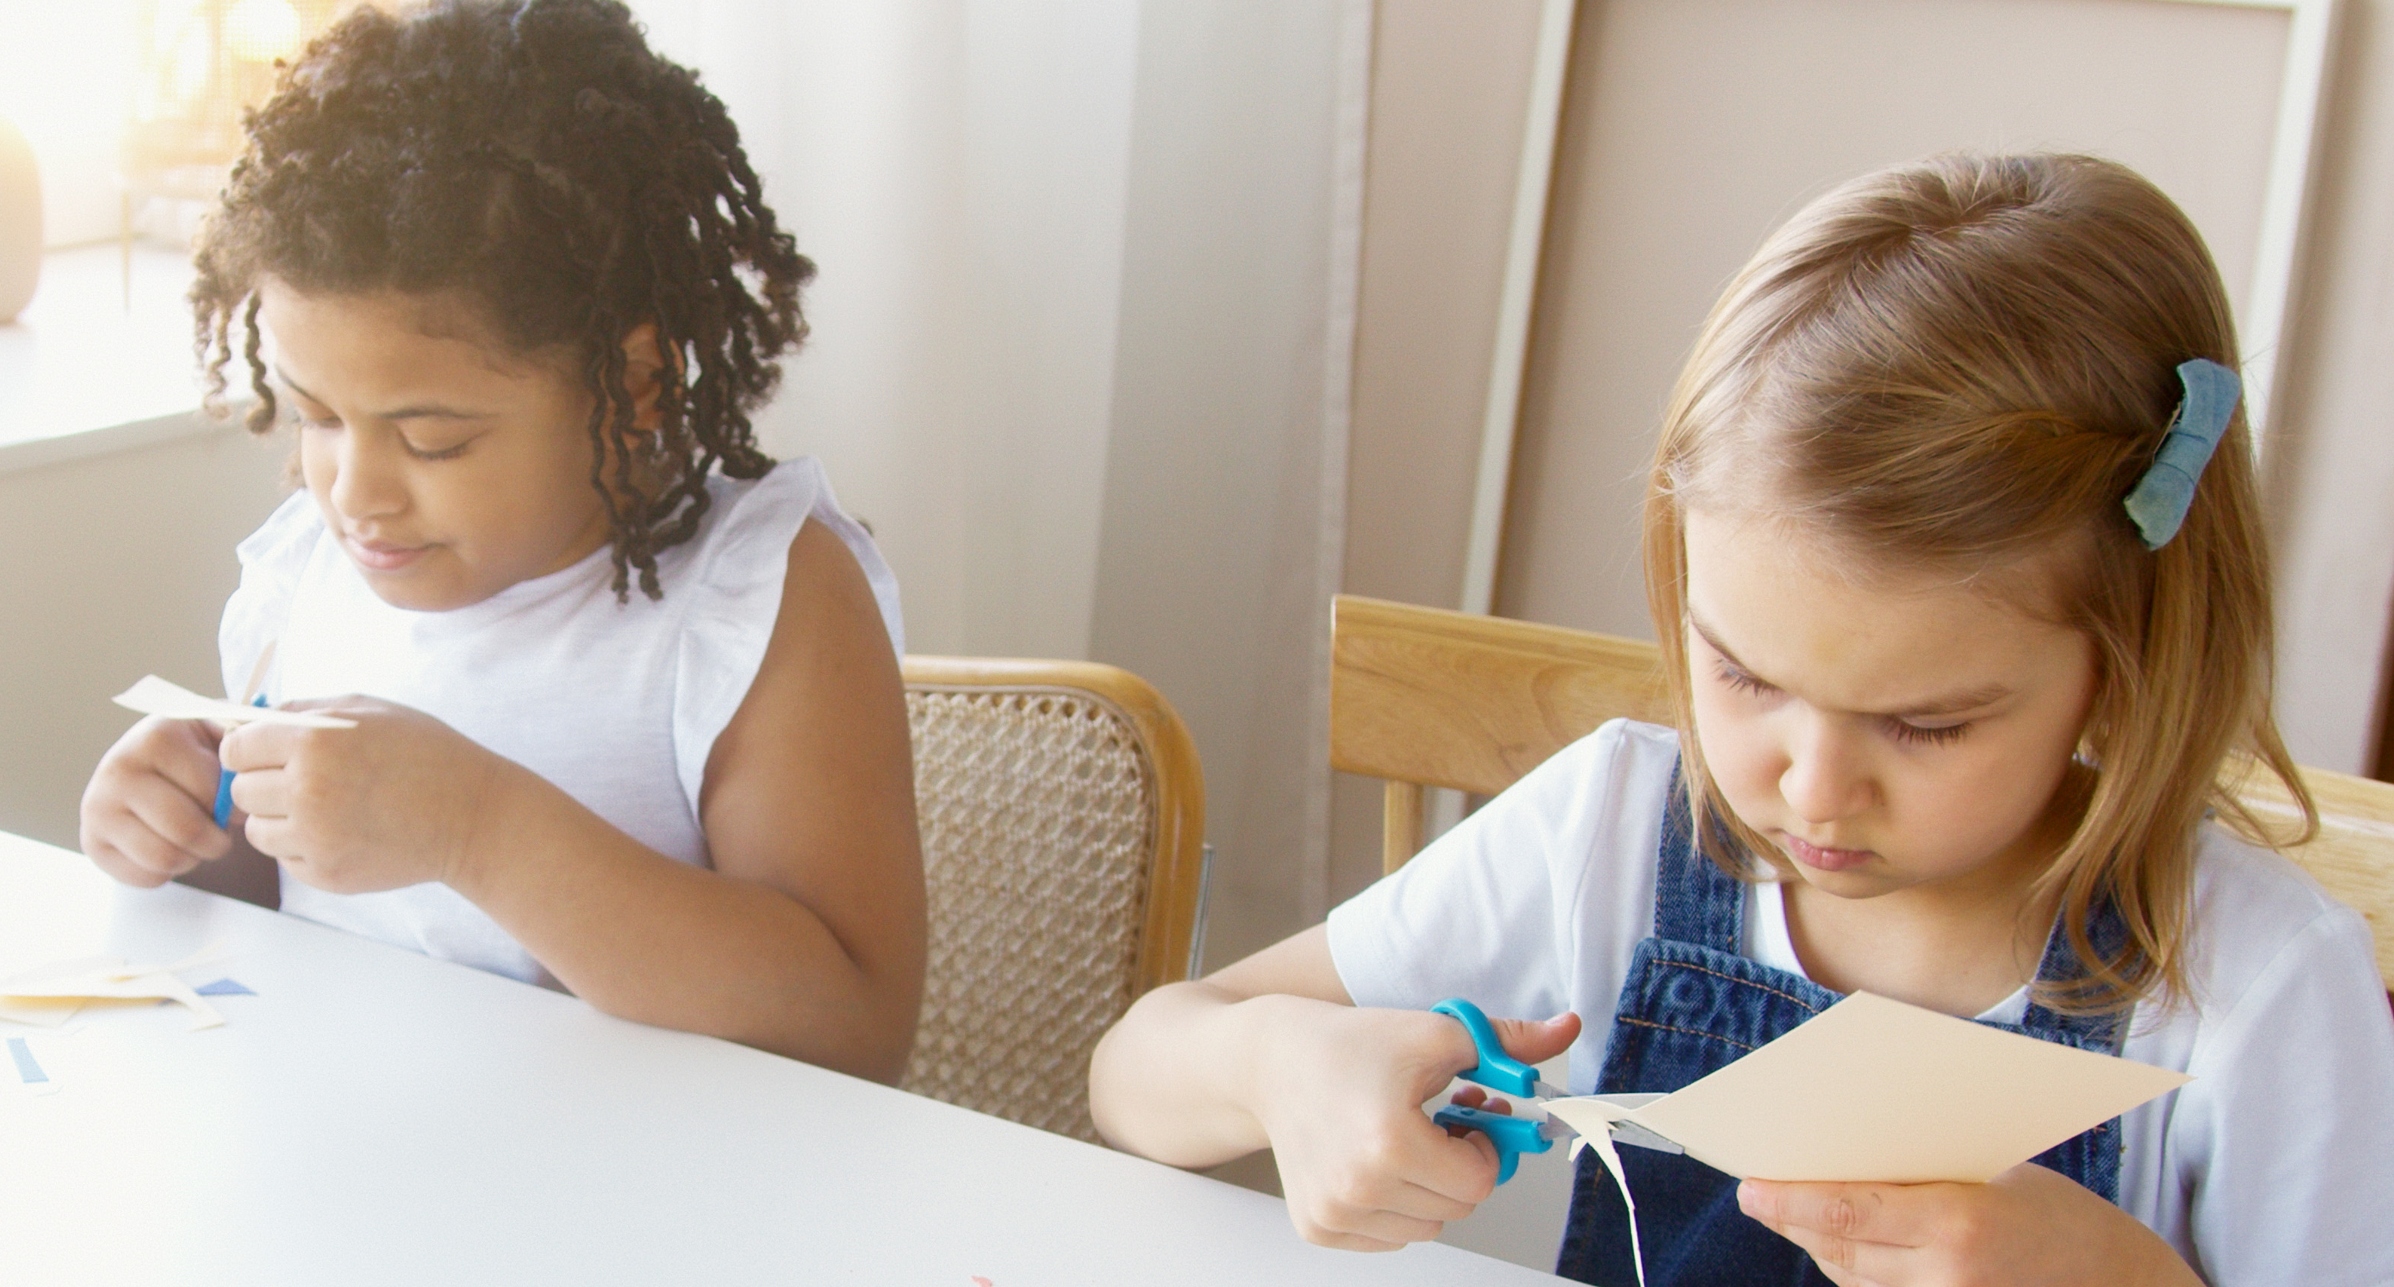
Before you start, it’s just important to make sure that you have enough space to work on your project. Clear off your kitchen table, dining room table, or any other flat surface you can use. Once you have all the materials and a spacious working table, be ready to get creative and have some fun with this easy craft project.
Let’s get started learning how to make a paper plate butterfly!
Contents
- 1 8 Simple Steps on How to a Make Paper Plate Butterfly
- 1.1 1. Gather the Materials Needed
- 1.2 2. Draw a butterfly shape onto a paper plate
- 1.3 3. Cut out the shape
- 1.4 4. Draw antennae and other desired shapes onto the butterfly
- 1.5 5. Make the wings of your butterfly
- 1.6 6. Glue the shapes onto the butterfly
- 1.7 7. Add colour with the markers
- 1.8 8. Allow the butterfly to dry before displaying
- 2 The Takeaway
8 Simple Steps on How to a Make Paper Plate Butterfly
1. Gather the Materials Needed
Before you can begin creating your paper plate butterfly, you’ll need to gather the necessary materials. The supplies you’ll need are:
- paper plates
- scissors
- glue
- hole punch
- string or yarn
- markers, poster paint, glitter, or sequins (optional)
For the paper plates, you can opt for ones with beautiful prints or even get creative and design the plain paper plates yourself with poster paint. Don’t forget to add a touch of sparkle with glitter or sequins!
Be sure to gather all the materials you need before you start the project — this will help to make the process smoother and more enjoyable. Once you have everything you need, you can begin to make a paper plate butterfly. It will be a beautiful piece of art that you can proudly display in your home!
So, let’s dive into the actual process of how to make a paper plate butterfly.

2. Draw a butterfly shape onto a paper plate
This is the key step — drawing a butterfly shape on your paper plate. To do this, start by tracing the outline of a butterfly shape using a pencil on the plate. Feel free to use a template or create your own shape. The butterfly should be roughly the same size as the plate, so make sure you have the proportions just right. You can also make the wings wavy or pointy. This is the nitty-gritty step of how to make a paper plate butterfly.
Once you have the shape drawn, use a craft knife or scissors to cut out the shape. When you have finished cutting out the butterfly shape, your paper plate should resemble a butterfly in shape.
3. Cut out the shape
Ready to craft a beautiful butterfly? We’re here on the fun part of this guide on how to make a paper plate butterfly — cutting out the shape. Using scissors, cut out a butterfly shape from the paper plate.
If you’re feeling a bit uncertain about your cutting skills, why not try drawing a template on the plate before cutting? This way, you can make sure your shapes are precise and your lines are clean. It’s an easy way to make sure your project looks just the way you want it to.
But of course, if you’re feeling confident and are ready to take a stab at freehand cutting, then go for it! There’s something really satisfying about creating something by hand. Whichever method you choose, it’s sure to turn out beautifully.
Then, transform your butterfly creation into something unique and eye-catching by adding antennae and other intricate details with your market or pen! Cut out two identical butterfly shapes; after all, you’ll need both of them to craft a work of art!
4. Draw antennae and other desired shapes onto the butterfly
Create your own unique butterfly design! Why not spice it up by adding antennae, eyes, and other fun shapes? Transform a plain paper plate into a delightful creature of the sky with just a few simple steps!
Start by making two delicate lines for the antennae with a thin marker or pen, then sketch two petite circles for the eyes, and voila!
Your butterfly is coming to life with these easy steps on how to make a paper plate butterfly. Get creative and patient and your paper plate butterfly will be a masterpiece!
The possibilities for design are limitless. You can add a scalloped edge to the wings or sprinkle on some glitter afterward to give your butterfly a magical look.
You can also personalize the butterfly by drawing patterns or decorations on its wings. Once you are satisfied with your design, cut out the shapes using a pair of scissors.
5. Make the wings of your butterfly
Let’s continue with the steps on how to make a paper butterfly. This time, draw wing shapes on the paper plate and cut them out. You can experiment with different shapes to make your butterfly unique.
After cutting out the delicate shapes of your butterfly, you need to make two small holes in the wings where they will be attached to the body. If you don’t have a hole punch, you can get creative and cut out the holes by hand.
Taking extra care to make sure they are the same size and shape, you can fashion them with scissors and create a work of art. Once you’ve got your two holes, thread a piece of string through them and secure it with a knot. Now your butterfly is soon ready to take flight!
The steps on how to make a paper plate butterfly are really easy-to-do! Crafting with kids can be truly fun.
6. Glue the shapes onto the butterfly
Ready for the next step on how to make a paper plate butterfly? At this point, glue the shapes onto the butterfly. To complete your paper plate butterfly, peel the shapes from the backing and attach them to the paper plate butterfly with a glue stick.
Take your time and be sure to get good, even coverage. Then, let the butterfly dry for at least an hour before giving it a gentle shake to make sure the pieces are securely glued in place.
In a while, you can start admiring your beautiful creation and all the hard work you put into it!
7. Add colour with the markers

Now, we’re in the seventh step and you’re doing great learning how to make a paper plate butterfly! You can already add colour with markers or poster paint if you like. You can mix and match different colours or use one colour for the whole project. If you want to be more creative, you can use a combination of solid colours and patterns.
Get creative and make sure to have fun with the colouring process! Once you are done, let the markers or paint dry and your butterfly is ready to be displayed!
8. Allow the butterfly to dry before displaying
Once you have completed your paper plate butterfly craft, it is important to allow it to dry before displaying. Depending on your craft materials, drying time can take anywhere from several hours to several days.
If you used glue, be sure to place the butterfly in an area with ample ventilation, as this will speed up the drying process. Once the butterfly is dry, check to make sure the craft has held its shape, and then, enjoy it with your kids!
You nailed the steps on how to make a paper plate butterfly like a pro!
The Takeaway
Overall, making paper plate butterflies is a fun and easy craft activity that all ages can enjoy. It’s a creative way to get the whole family involved and spend time together. It’s a great project to foster teamwork, and the results are sure to bring a smile to everyone’s face.
How to make a paper plate butterfly? All you need is a few simple materials, and you can get started on a beautiful butterfly creation.
Gather together a paper plate, pencil, glue, scissors, hole punch, string, and a few markers or poster paint. Then, have your little ones draw the shapes, cut the paper plate, connect the shapes, and then let them go to town decorating it with their favourite colours.
The steps on how to make a paper plate butterfly are really easy and fun! And, whether it’s paint, glitter, sequins, or all of the above, you can help them make their butterfly stand out. Plus, this craft is a great way to help your children hone their cutting skills while having a ton of fun!
So, gather up the supplies, get their imaginations ready, and watch their paper plate butterfly come to life. Let your kids’ creativity soar and show off their paper plate butterfly designs. Their creativity will be easily stimulated once they start with the steps on how to make a paper plate butterfly.
Don’t keep the fun waiting. Whether you’re looking for something fun for the kids to make or you’re a crafting enthusiast looking for a new project, paper plate butterflies are a great choice for a craft. The steps on how to make a paper plate butterfly are really simple.
Whether you decide to make one butterfly or an entire collection, it’s sure to bring a smile to everyone crafting them.


