Making handmade bath bombs and soap is a great way to add a unique, personalized touch to your daily healthcare routine. Unlike store-bought hygiene products, you can only include natural ingredients. Your personal bath bombs and soap will not have any harmful chemicals.
We also cannot forget the personalization aspect of your handmade bath bombs and soap when giving them as gifts. Shape them into familiar shapes the recipient is familiar with like a baseball or a pen. If you have the skill for it, shape it into their favorite superhero symbol or sports team logo.
Let us go through the process of making your bath bombs and soap at home. We will also discuss how to package and store your homemade products to ensure maximum shelf-life and quality. With this guide, you will be sure to create unique and luxurious handmade bath bombs and soaps that you and your loved ones can enjoy. So, let’s start getting creative!
Contents
Making Your Handmade Bath Bombs and Soap
Materials & Ingredients for the Bath Bomb
- 100g baking soda
- 50g citric acid
- 25g cornflour
- 25g Epsom salt (optional)
- 2 tbsp oil – such as sunflower, coconut or olive oil
- ¼ tsp essential oil, such as orange, lavender or chamomile
- a few drops of liquid food coloring
Materials & Ingredients for the Bath Bomb for the Soap
- 8 ounces lye
- 1 1/3 ounces castor oils
- 3 ounces water
- Fragrance oils or essential oils
Tools
- mixing bowl
- whisk or hand mixer
- plastic molds
- Digital scale
- Gloves, goggles, and facemask
Instructions
1. Gather all necessary materials
Kicking off your journey into crafting handmade bath bombs and soaps starts with rounding up all the essentials. Picture this: baking soda, citric acid, cornflour, and Epsom salts sitting on your countertop, alongside bottles of oils, dashes of food coloring, and your chosen molds. Don’t forget the lye, castor oil, water, and essential oils if soap-making is on your agenda.
Imagine the joy of creating bath bombs and soaps that are not just fun to make but are also a canvas for your personal touch. With these simple ingredients, you’re about to blend fragrances and textures that whisk you away to a state of utter relaxation. It’s not just crafting; it’s designing a bespoke spa experience right from the comfort of your home.
Plus, you don’t have to worry about any harsh chemicals or additives that can irritate your skin. But before you start creating your own custom concoctions, make sure to have enough of each ingredient on hand to make your desired number of bath bombs and soaps.
You will also need safety equipment such as latex gloves, safety goggles, and a dust mask to protect yourself while you are crafting. Once all the materials are assembled, you are ready to start making your own handmade bath bombs and soaps!
2. Measure and mix the ingredients
Put the baking soda, citric acid, cornflour and Epsom salt together in a bowl, and whisk until a uniform mixture is formed. In a separate bowl, blend the base oil, essential oil and food colouring together for a few moments, making sure the oil and colouring are perfectly combined. Then, carefully pour the oil concoction into the larger bowl, stirring slowly until everything is fully mixed. You can make 4 bath bombs from this recipe.
Always use a digital scale to weigh out your ingredients, and use a kitchen whisk or electric hand mixer to combine them. And, after creating the mixture, transfer it into a separate container for later use.
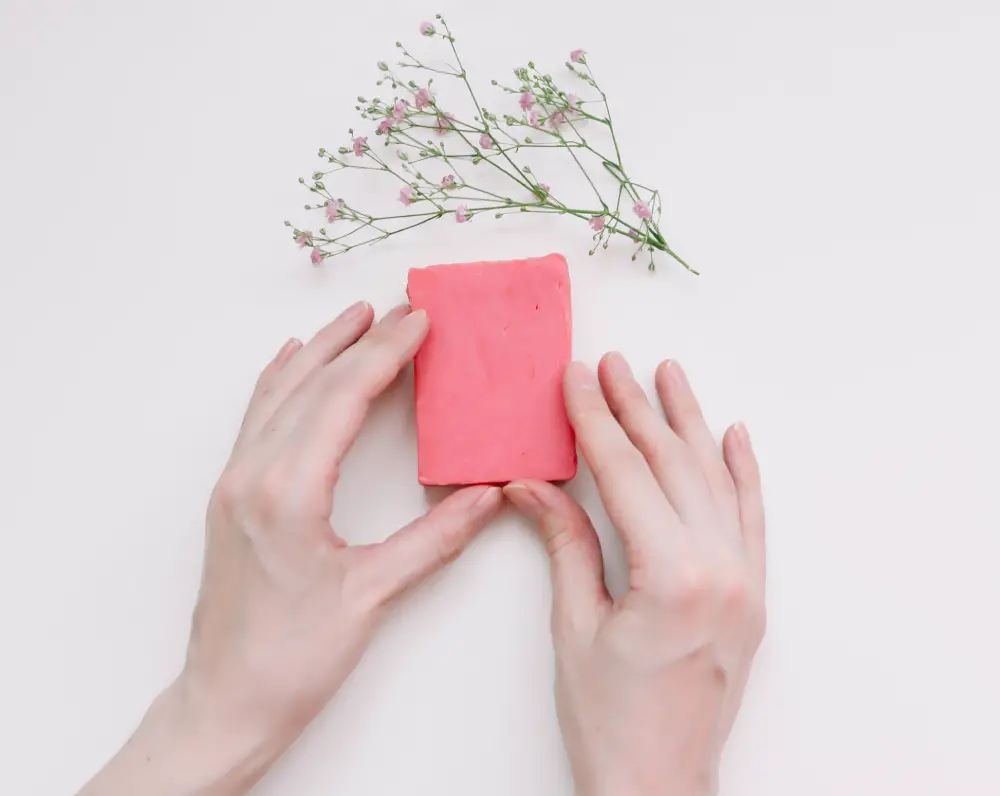
3. Choose a mold for your soaps
The third step in making handmade soaps is to choose a mold. This is essential to the outcome of your soap, as it will have a big impact on its shape, size, and design. Choose a mold that meets your aesthetic and practical requirements, as well as one that is reliable and easy to use.
There are many different types of molds available, from simple plastic molds to intricate silicone molds. And they can be reused again and again, meaning you can make handmade bath bombs and soaps in bulk and store them away for later! Try out a few different types to find the one that you are most comfortable with.
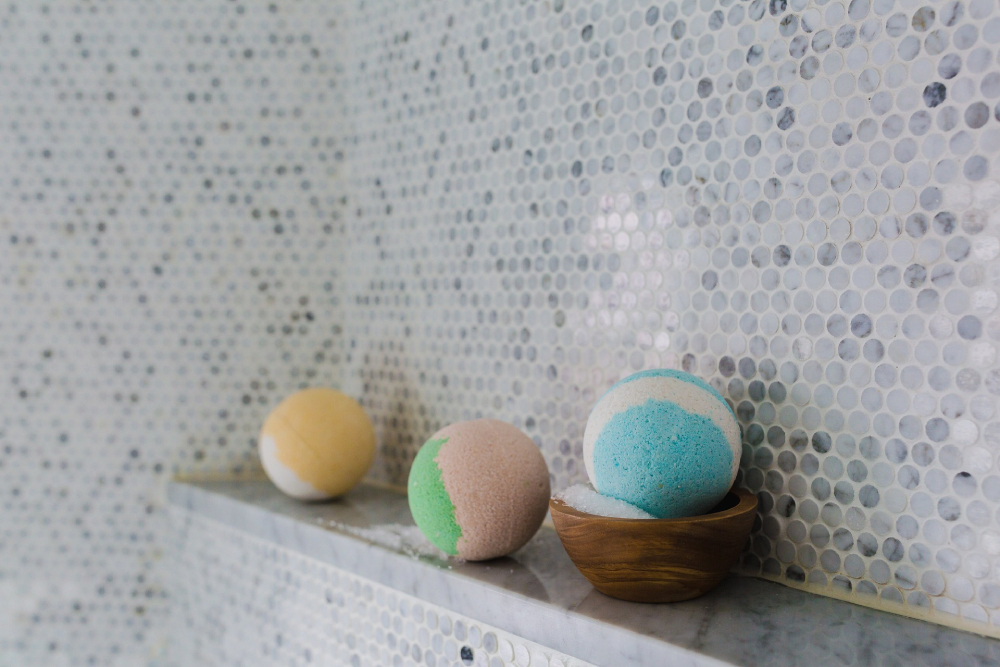
4. Add any desired colors and fragrances
Once you have completed the previous steps, you are now ready to add any desired colors and fragrances. This can be fun and creative! Handmade bath bombs and soaps offer a unique and personalized experience like no other. Create a visual spectacle of vibrant colors, including natural-looking shades like lavender or rose, or brighten up your bathroom with a bright red or blue hue.
On top of this, feel pampered and invigorated as you enjoy the pleasant aromas of soothing lavender or revitalizing citrus scents. With this combination of sights and smells, escape to a world of bliss and relaxation each time you take a bath.
With an array of colors and fragrances, you can make your handmade bath bombs and soap products truly unique. Don’t be afraid to experiment, but remember to not add too much color or fragrance, otherwise, your handmade bath bombs and soap will likely end up too strong.
5. Pour the mixture into the molds
Once all the ingredients are combined, it’s time to pour the mixture into the molds. Use a spoon or a measuring cup to transfer the mixture into the molds, making sure to fill the molds completely. If you’re making bath bombs, you can tap the molds on the counter to help settle the mixture.
To make the perfect bath bombs and soaps, use a skewer to create any desired patterns in the soap. This will help your creation to take shape, be it round, square, or whatever design you can come up with! After that, pour your chosen ingredients into the moulds, and then leave them undisturbed for 8-12 hours.
Going handmade is the way to go for truly unique, luxurious, and creative products. You can customize each handmade bath bomb and soap to your liking, and get great satisfaction from creating something beautiful with your own two hands.

6. Allow the soap to cool and harden
Once you have finished mixing the ingredients together and pouring the soap mixture into the mould, it’s time to allow the soap to cool and harden. This process can take anywhere from 24-48 hours, depending on the size of the mould. You will know it is ready when the soap feels slightly firm and dry to the touch.
If you find that it is still too soft or squishy, allow it to sit for a few more hours and check again. Once the soap has cooled and hardened, it is ready to be removed from the mould and used for your handmade bath bombs and soap or other DIY creations.
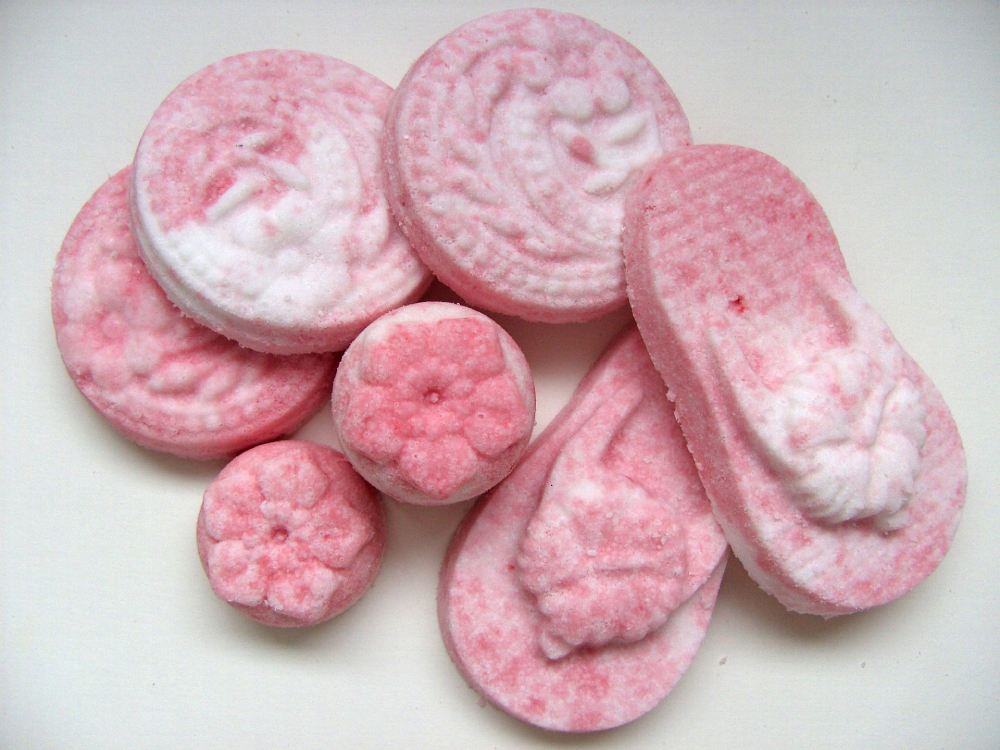
7. Package the bath bombs for gifting
Once you have made a batch of bath bombs, you can package them as gifts. You can use cellophane bags or organza bags or even small boxes or jars. Place a few bath bombs in the bag, tie them with a ribbon, and you have a great gift! Learn how to make a gift bow, and add a touch of style and flair to your packaging. A homemade bow will make it look even more special!
You can also include an instruction card with the bag, explaining the benefits of the bath bombs and how to use them. If you make soaps, you can package them in the same way.
For starters, handmade products are crafted with love, care and attention. This means that each product is unique, and you can create your own bath bombs and soaps with different scents and colours. Plus, you have the ability to customize the ingredients and packaging to your preference.
Packaging your handmade bath bombs and soaps is an art in itself. You want to make sure your products look as beautiful and inviting as possible. Make sure to use quality packaging that not only looks great but protects your creations as well.
Consider investing in recyclable materials such as kraft paper boxes, bubble wrap, and tissue paper. For smaller items like bath bombs, use smaller boxes to ensure they don’t move around easily.
8. Enjoy your handmade creations!
Congratulations, you have now made your own handmade bath bombs and soap! Now, it’s time to enjoy your creations. Put the bath bombs in your tub, light some candles, and enjoy a relaxing soak. Use the soap in the shower, and enjoy its gentle lather. Most importantly, don’t forget to take a moment to appreciate all of your hard work. You did it!
Conclusion
To wrap up, making handmade bath bombs and soaps is a fun and rewarding experience. With a few simple ingredients, you can make unique bath bombs and soaps that your friends and family will love.
Why settle for store-bought bath bombs and soaps that are mass-produced with standard ingredients and mixtures when you can create your own unique products? With handmade bath bombs and soaps, you can experiment with different essential oils, colors, and molds to bring your own custom creations to life. Every product can be different, depending on your mood and preferences.
Crafting and selling handmade bath bombs and soaps can be a very enjoyable and creative activity that anyone can do! You can customize the shapes, colors, and scents to your liking.
Creating your own bath and soap-making journey is a great way to personalize the bathing experience and add an extra touch of relaxation and luxury.
So, why not get creative, and start your own journey of handmade bath bombs and soaps and make something special?


