Is there any kid (or adult) who doesn’t love to play with bubbles?
Chasing after bubbles being blown by the wind is fun but it gets boring really fast and sometimes the bubbles pop too quickly. If your kids love bubbles then here’s how you can make them at home for cheap and the best part. These bubbles are unpoppable!
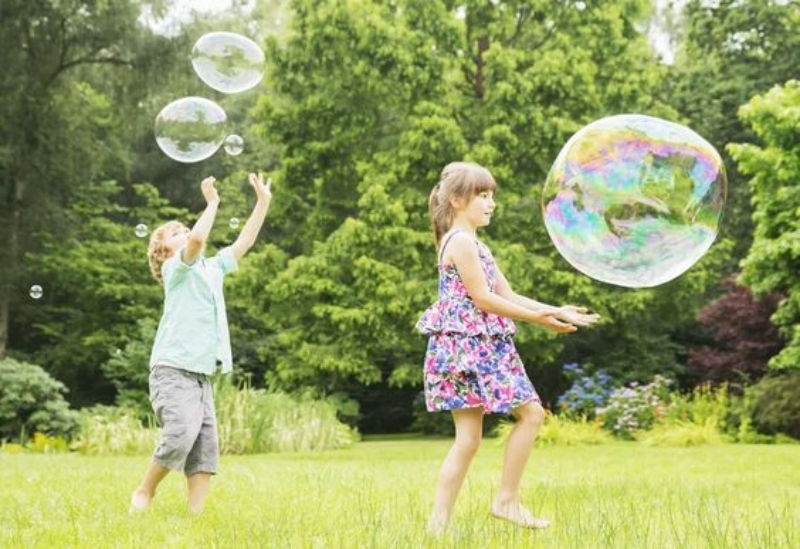
Your kids will have extra fun playing outside with these DIY unpoppable bubbles! Of course, these bubbles are not going to last forever but at least they won’t pop immediately upon contact. You can also take this as an opportunity to teach your kids a little bit about science!
Soap bubbles are normally made up of three layers — soap, water, and another layer of soap that makes a soap film ‘sandwich’. Bubbles pop when the water between these layers evaporates and by adding glycerin, these films become thicker, making the bubbles evaporate less quickly.
Isn’t this a great science project to do with the kids?
Contents
How to Make Unpoppable Bubbles
Materials
- 2 cups of water
- ¼ dish soap
- 2 tablespoons of glycerin
Tools
- Large bowl
- Cotton gloves
- Scissors
Instructions
Step 1: Prepare Your Mixing Bowl
- Begin by finding a clean, large bowl. This will be used to mix your bubble solution.
Step 2: Mix Water and Dish Soap
- Pour 2 cups of water into the bowl. Add ¼ cup of dish soap to the water. It’s important to add the dish soap gently to avoid creating foam.
Step 3: Add Glycerin
- Measure and add 2 tablespoons of glycerin to the bowl. Glycerin is the key ingredient that makes the bubbles stronger and less likely to pop.
Step 4: Stir the Solution
- Gently mix the solution by stirring slowly. Be careful to avoid creating bubbles or foam during mixing. Stir until all ingredients are thoroughly combined.
Step 5: Let the Solution Settle
- Allow the bubble solution to settle for at least an hour. This resting period helps the mixture blend perfectly, enhancing the strength of your bubbles.
Step 6: Prepare Your Bubble Wands
- While waiting, you can create your own bubble wands. Use the scissors to cut wire hangers or straws into desired shapes. You can also simply use a slotted spoon or a plastic straw.
Step 7: Put on Cotton Gloves
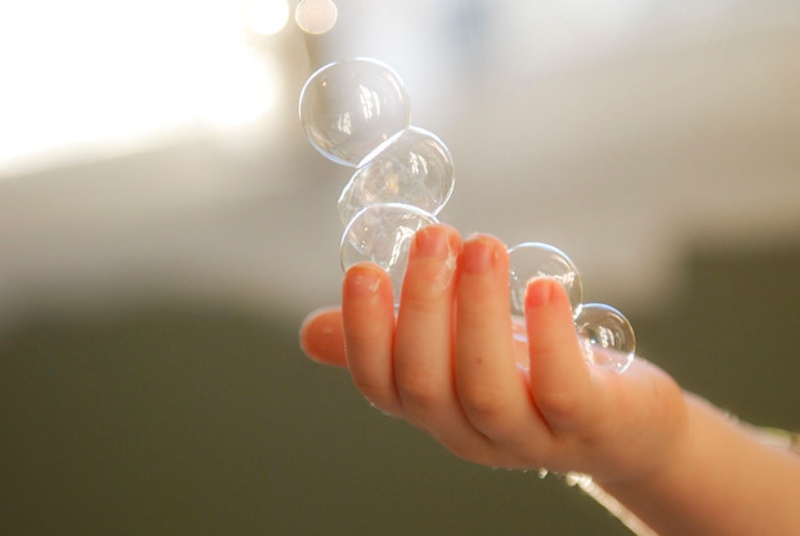
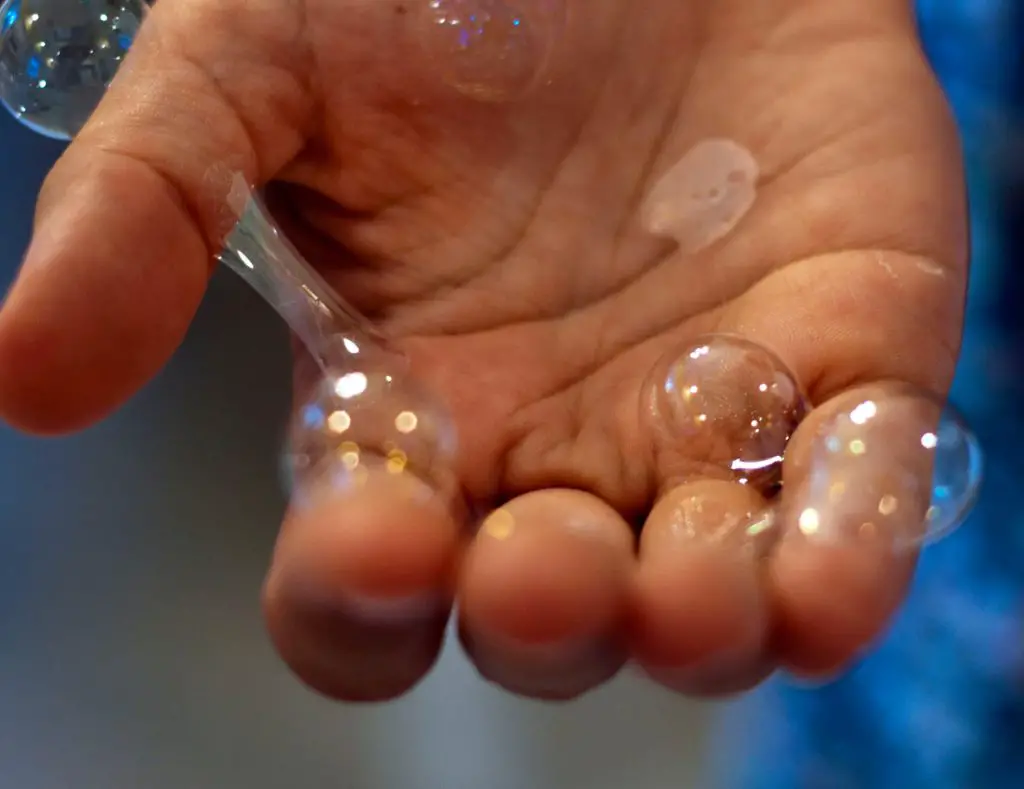
- To prevent the oil from your hands from weakening the bubbles, wear cotton gloves. These gloves help in handling the bubbles without popping them.
Step 8: Test Your Bubble Solution
- Dip your bubble wand into the solution, ensuring it’s well coated. Slowly wave the wand through the air or blow through it if using a straw, and watch as the durable bubbles form.
Step 9: Play and Experiment
- Enjoy playing with your unpoppable bubbles! Experiment with different ways of blowing and creating bubbles to see how big or long-lasting you can make them.
Click on any image to start the lightbox display. Use your Esc key to close the lightbox. 😎


Get more step-by-step instructions here…
Experimenting with Different Recipes
Creating the perfect unpoppable bubble solution can be both a fun and educational activity. By experimenting with different recipes, you can discover which ingredients and proportions work best to make bubbles that are impressively strong and long-lasting. Below are some variations to try, each designed to enhance the resilience and longevity of your unpoppable bubbles.
Standard Recipe Comparison
What You Will Need:
2 cups of water
¼ cup of dish soap
2 tablespoons of glycerin
This is your baseline recipe for unpoppable bubbles. Make a batch of this standard solution to compare with the experimental ones.
Increasing Glycerin
What You Will Need:
2 cups of water
¼ cup of dish soap
3 tablespoons of glycerin
By increasing the amount of glycerin, the unpoppable bubbles should theoretically last longer and be more resistant to popping. Observe whether the additional glycerin truly makes a significant difference.
Mixing Glycerin and Corn Syrup
What You Will Need:
2 cups of water
¼ cup of dish soap
1 tablespoon of glycerin
1 tablespoon of corn syrup
Combining glycerin and corn syrup could potentially synergize to create even stronger unpoppable bubbles. This mix might provide a good balance between strength and elasticity.
Analyzing Results
After preparing each recipe, test the unpoppable bubbles under the same conditions to ensure a fair comparison. Record how long they last before popping and note any differences in their resilience to physical contact or environmental factors. This experimentation will not only help you find the most effective recipe for unpoppable bubbles but also provide insights into how different components interact in bubble solutions.
Creative Bubble Activities with Unpoppable Bubbles
Unpoppable bubbles offer endless opportunities for fun and creative play. These robust bubbles can withstand more interaction than regular bubbles, making them perfect for a variety of engaging activities. Below are some innovative ideas to get the most out of your unpoppable bubbles, ensuring hours of entertainment and learning.
Bubble Art
Place a few drops of food coloring into your unpoppable bubble solution. Blow bubbles onto a piece of paper and watch as they leave colorful imprints when they pop. This activity allows children to create unique art while enjoying the playfulness of unpoppable bubbles.
Bubble Obstacle Course
Create an obstacle course and challenge participants to navigate through it while either holding a bubble on a wand or balancing it on their hands. Unpoppable bubbles are ideal for this activity because their durability increases the chances of making it through without popping.
Bubble Catch
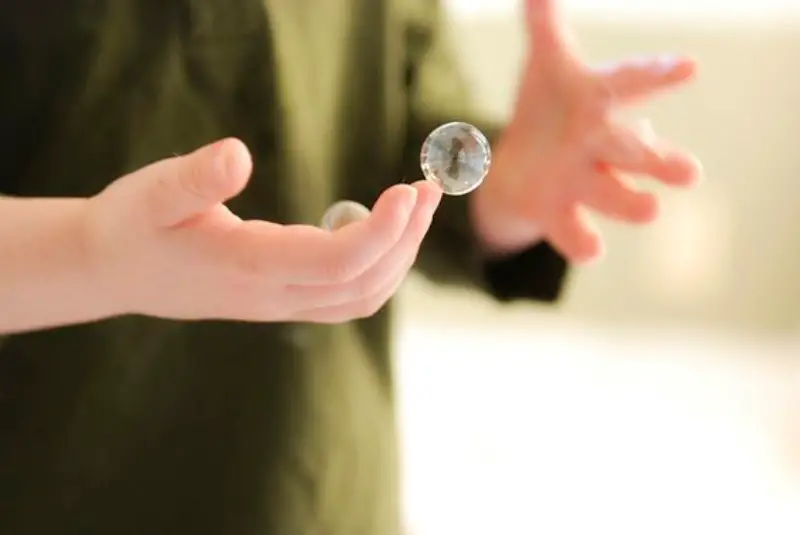
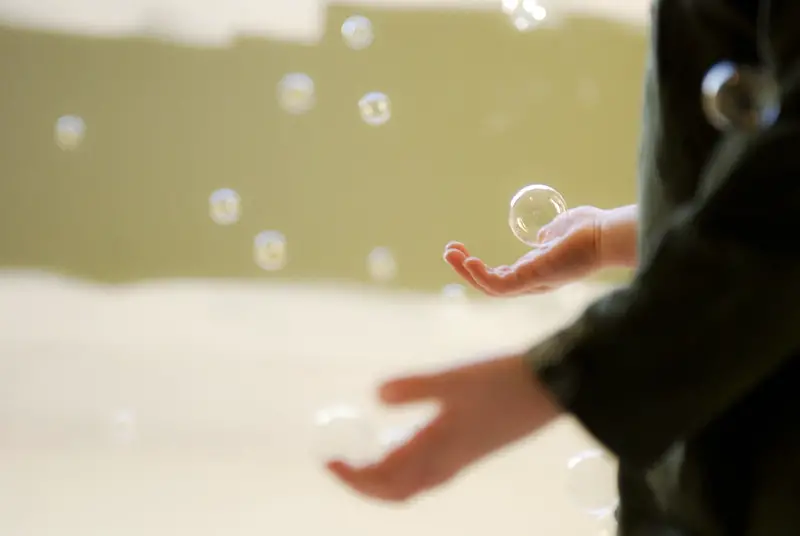
Have participants wear cotton gloves and try to catch and pass unpoppable bubbles without popping them. This game tests coordination and gently introduces the principles of physics involved in handling delicate objects like unpoppable bubbles.
Bubble Freeze Dance
Play music and have everyone dance and move around blowing unpoppable bubbles. When the music stops, everyone must freeze and hold their bubbles. The last one with their bubble unpopped wins. Unpoppable bubbles add an exciting twist to this classic game, making it more challenging and fun.
Giant Unpoppable Bubble Making
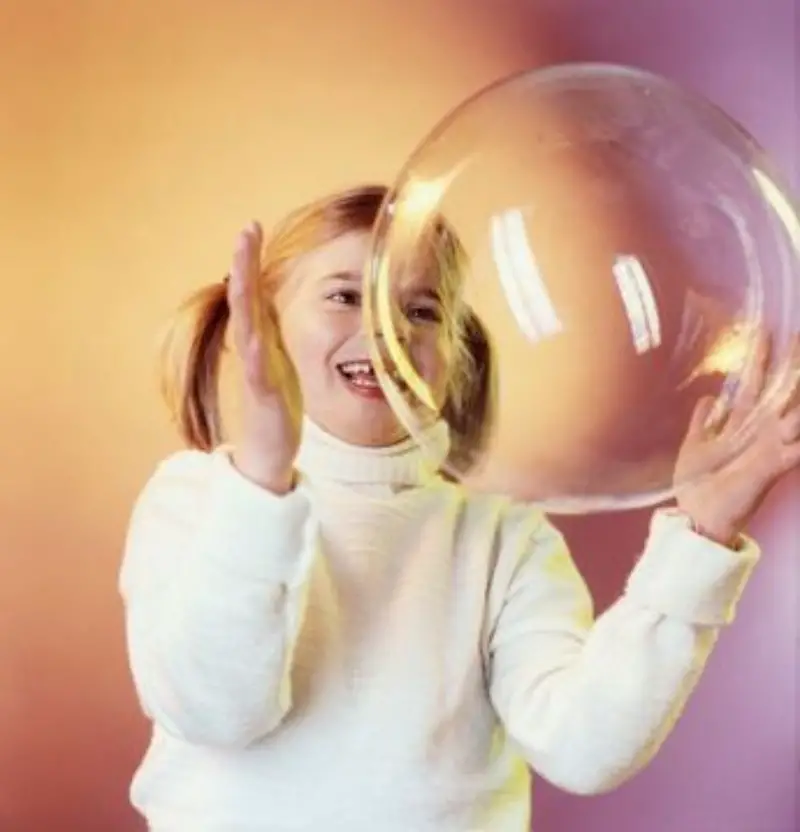
Using a large wand or a piece of string formed into a circle, create giant unpoppable bubbles. The spectacle of large bubbles and their surprisingly strong structure provides a visually stunning and interactive experience for all ages.
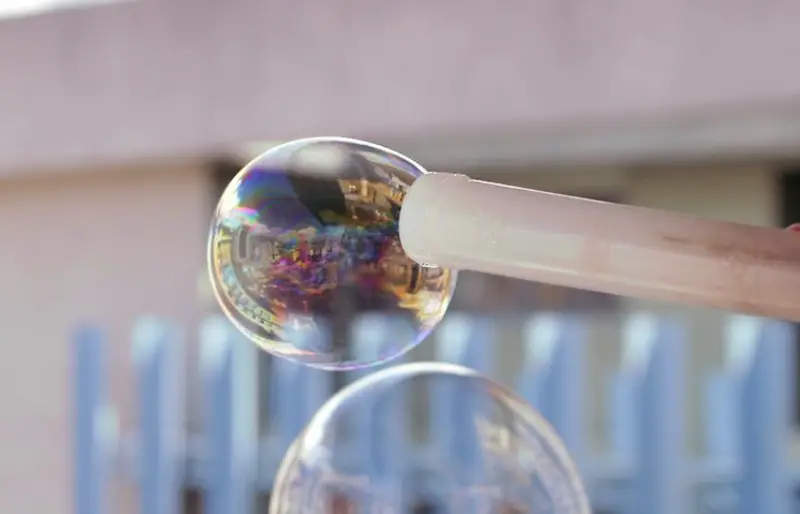
Bubble Shadows and Reflections
On a sunny day, use unpoppable bubbles to explore light and shadows. Observe the reflection and colors on the surface of the bubbles. Participants can also try to capture the changing shapes and colors with photography, enhancing their artistic and observational skills.
Bubble Science Experiments
Engage kids in simple science experiments using unpoppable bubbles. Test how different environmental conditions like temperature or humidity affect the bubbles. This not only makes use of the unpoppable bubbles but also teaches basic scientific methods and recording observations.
Wrapping Up
These activities not only utilize the unique qualities of unpoppable bubbles but also blend play with educational elements, making learning enjoyable. Whether it’s through art, physical activity, or scientific exploration, unpoppable bubbles can transform simple bubble blowing into an enriching experience for participants of all ages.
Capturing and Sharing Bubble Moments
Photographers and social media users find bubbles to be ideal subjects because of their transient beauty. Bubbles give pictures, taken with a DSLR or a smartphone, a whimsical and artistic touch. Here’s how to enjoy these delicate times and share them with your neighborhood.
Choosing the Right Equipment
Your camera type can make a major difference in getting amazing bubble pictures. Better control over aperture and shutter speed with a DSLR camera enables clear, well-lit bubble photos.
Modern cellphones have sophisticated camera settings that can work incredibly well for individuals who would like have something simpler. If you’re using a DSLR, think about a macro lens for up-close images that highlight the rich colors and complex reflections on the bubbles’ surface.
Perfecting Your Technique
To capture bubbles at their best, natural light is your ally, especially during the early morning or late afternoon when the light is soft and golden. This kind of lighting enhances the iridescent and transparent qualities of the bubbles. Adjust your camera to a fast shutter speed to freeze the bubble’s motion and use a narrow aperture to keep the bubble sharp against a softly blurred background. Experiment with different angles to see how the light plays differently on the surface of the bubbles.
Enhancing Your Photos
A small amount of editing after shooting your images can make a big difference. Your bubble photographs’ colors and details can be brought to life by adjusting contrast, sharpness, and saturation with tools like photo editing software. Subtle effects can also bring up the ethereal or dreamlike aspects of your photos without taking away from the bubbles’ inherent appeal.
Sharing Your Bubble Photos
Once you’ve caught these enchanted moments, spreading them might increase the happiness they bring. Bubble photography looks fantastic on sites like Facebook, Pinterest, and Instagram. For additional views, use pertinent hashtags like #BubbleMagic or #BubblePhotography.
As a lovely memento, you might also arrange your bubble photos into a digital or hard copy album. Entering your best bubble images in photography competitions can be a fulfilling approach to interact with other photographers and get credit for your artistic endeavors for people who want a challenge.
It takes more than simply snapping a picture to capture the fleeting beauty of bubbles; it takes preserving a moment of delicate wonder and sharing that experience with others, improving your abilities and expanding your portfolio of artwork.
Conclusion
An enjoyable and slightly scientific pastime that will captivate both adults and children is making unpoppable bubbles. Trying with other substances like corn syrup or glycerin makes these bubbles last longer and enable more play and discovery. In addition to entertaining, this easy-to-do project teaches about surface tension and bubble dynamics.
You might want to teach your kids how to weave using soda straws too! Check here…..


