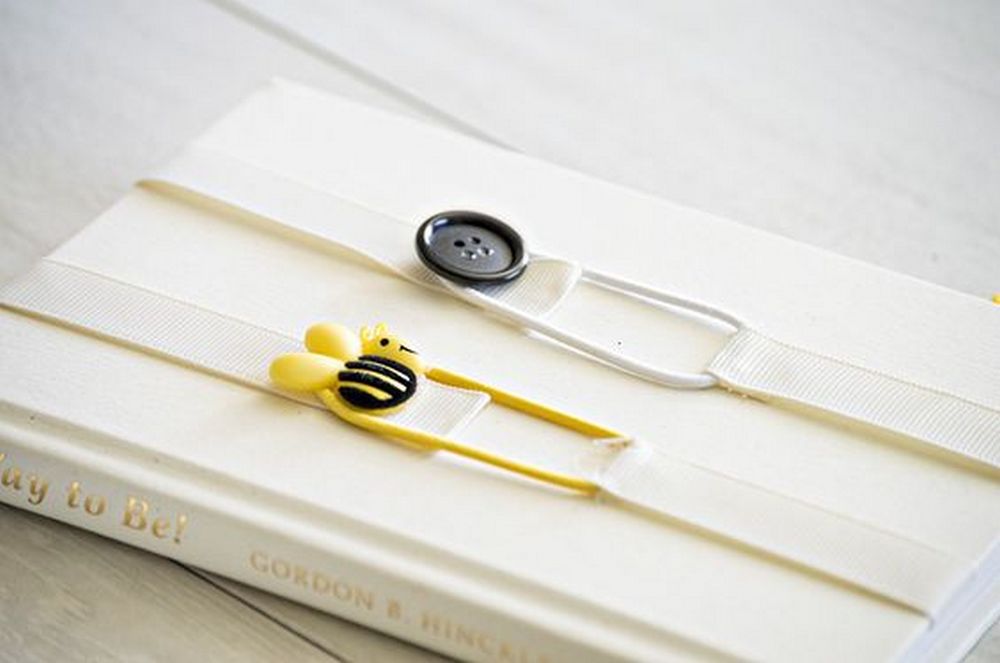
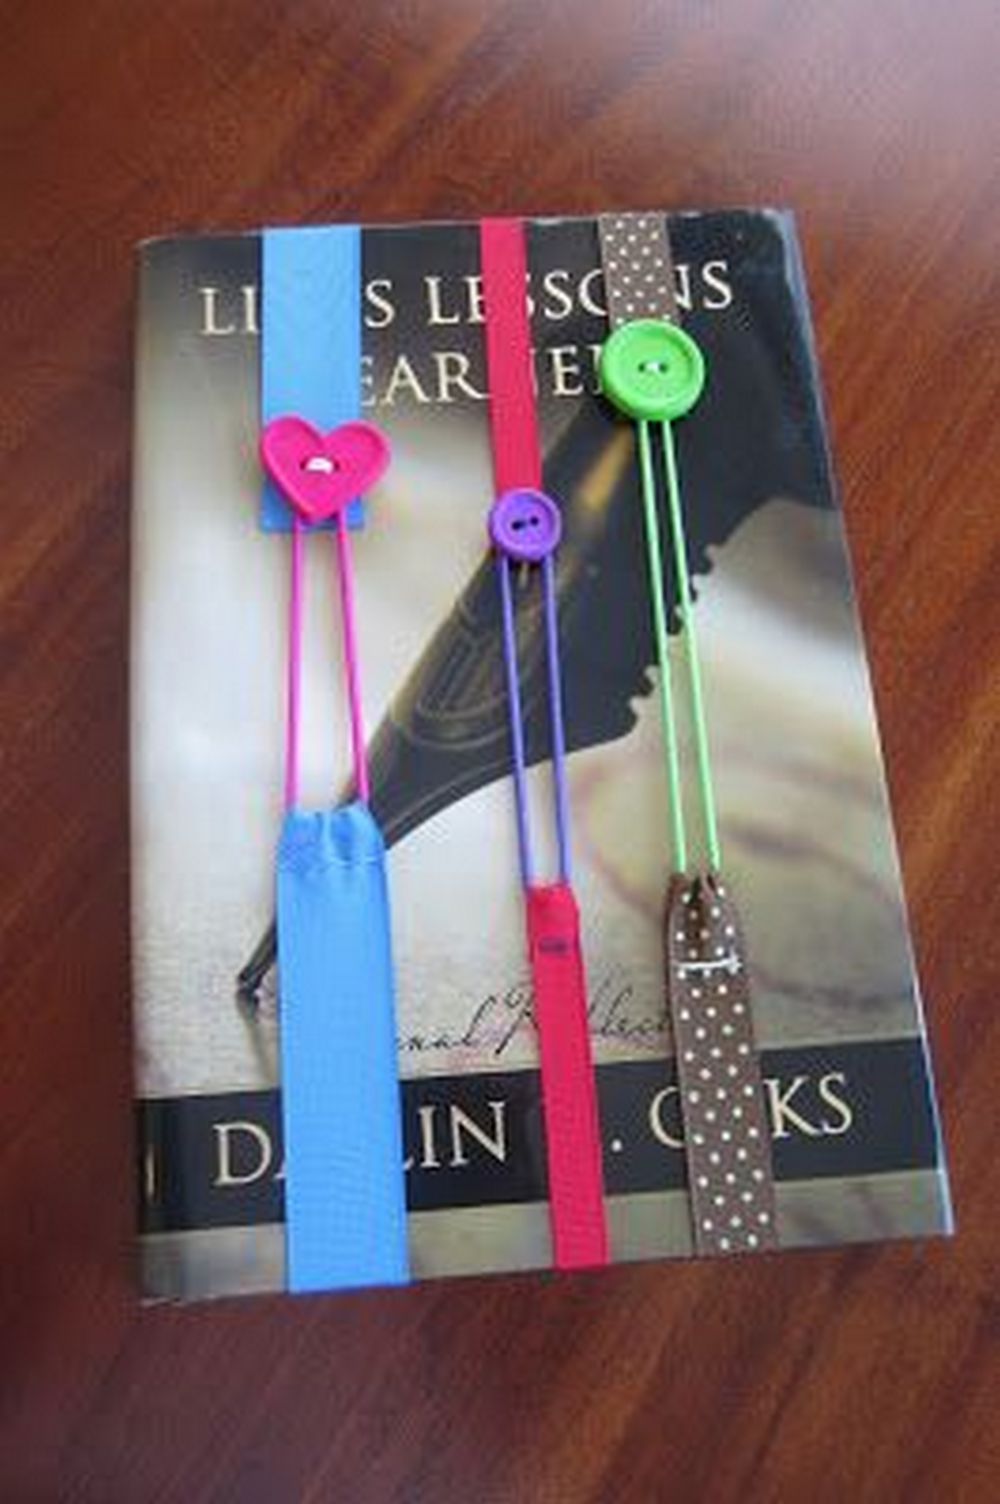
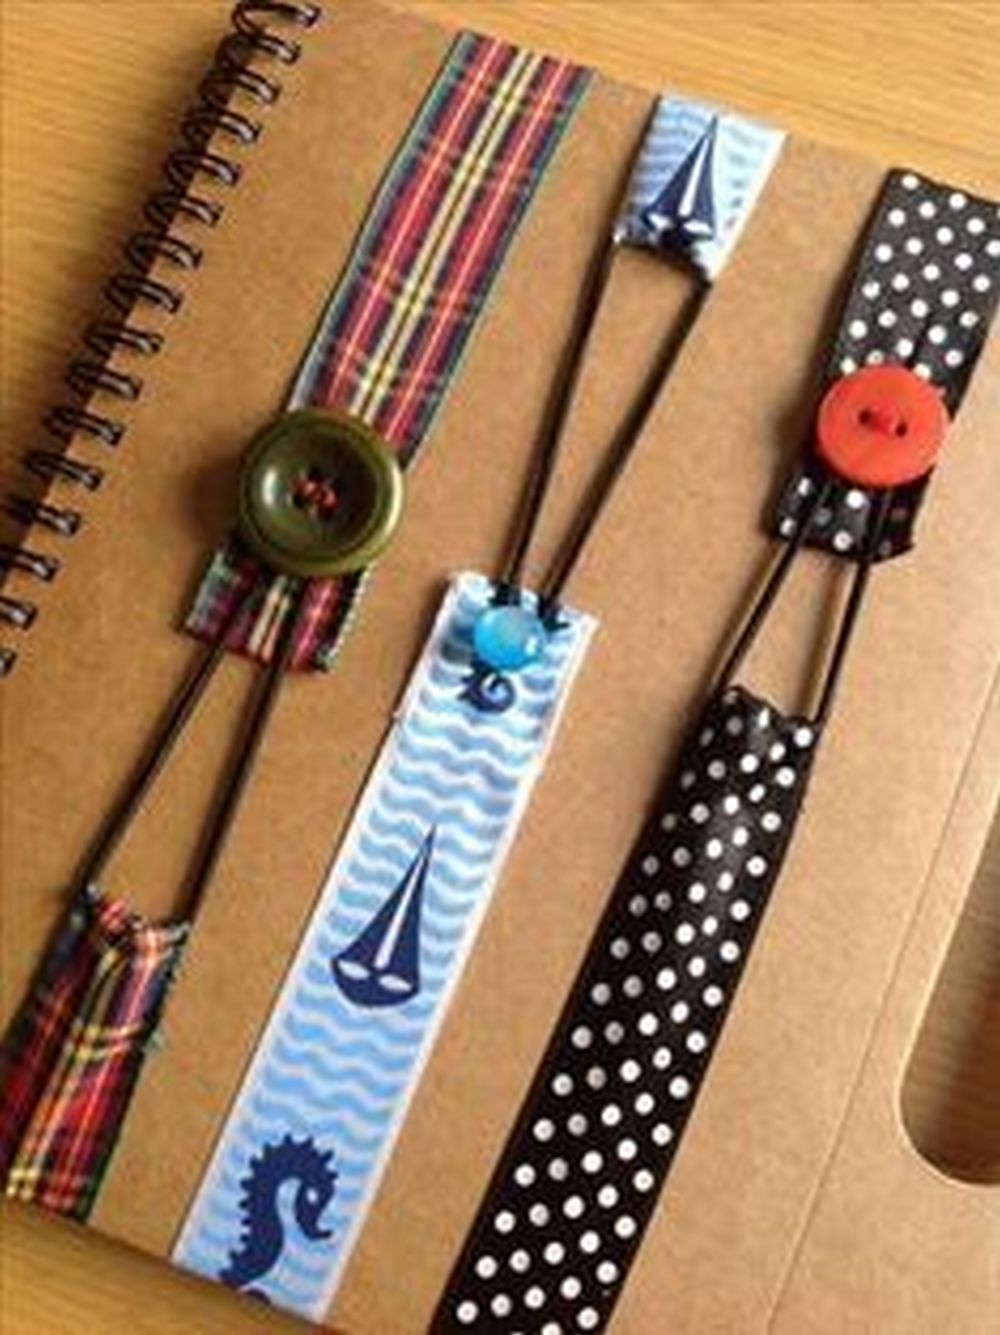
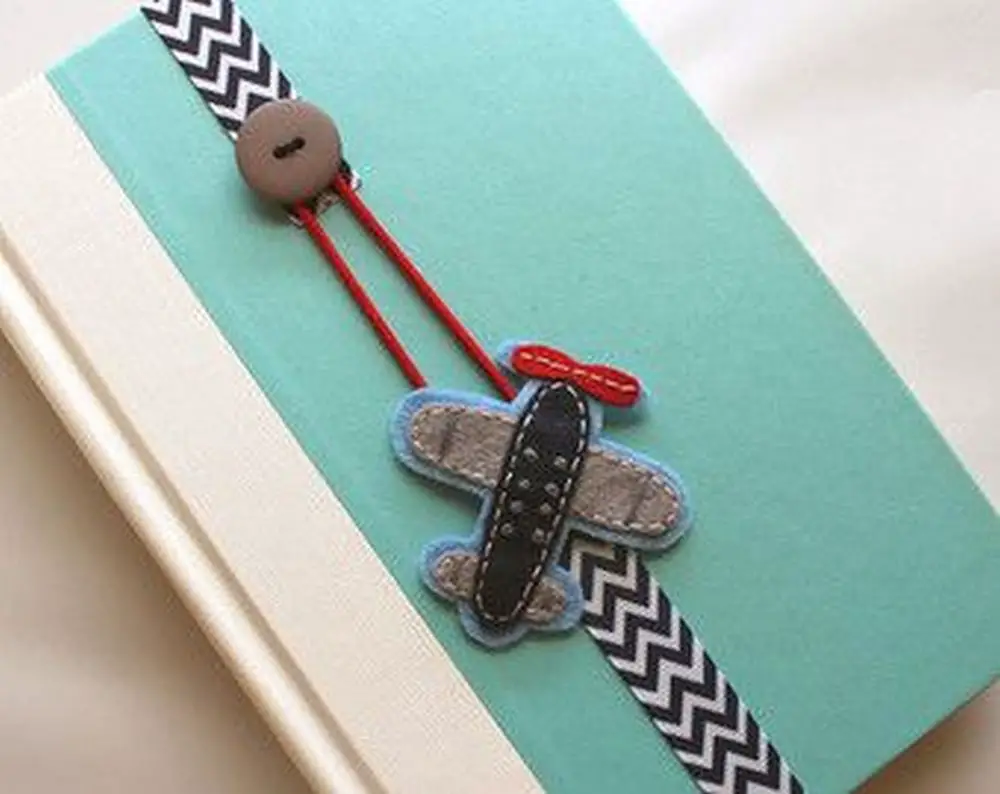
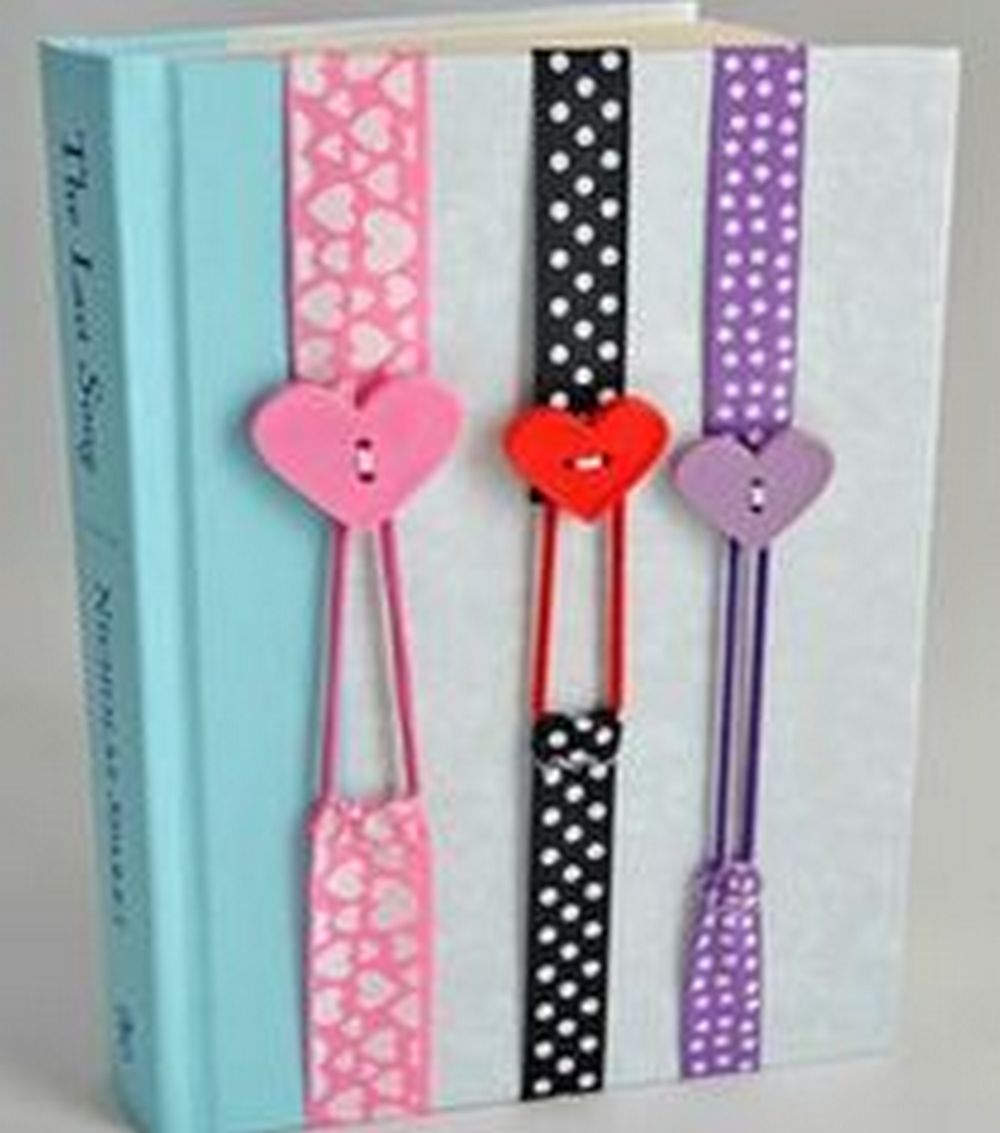
Losing pages all the time? These ribbon bookmarks can help!
My teen daughters love a good craft project. As soon as I come across one, we immediately get to work. We love working with our hands. This is our bonding activity, usually done during the weekends.
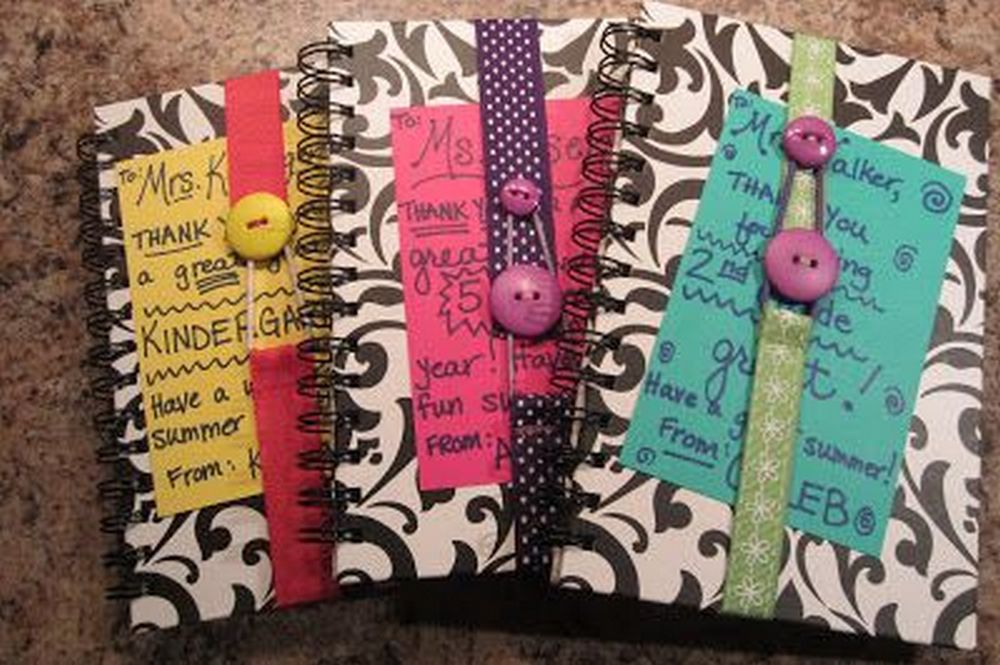
Right before school ended, the kids wanted something which they could give to their teachers. It’s sort of a thank you present. Fortunately, I saw this great project online. It was for ribbon bookmarks. We all agreed it was the perfect gift for their teachers.
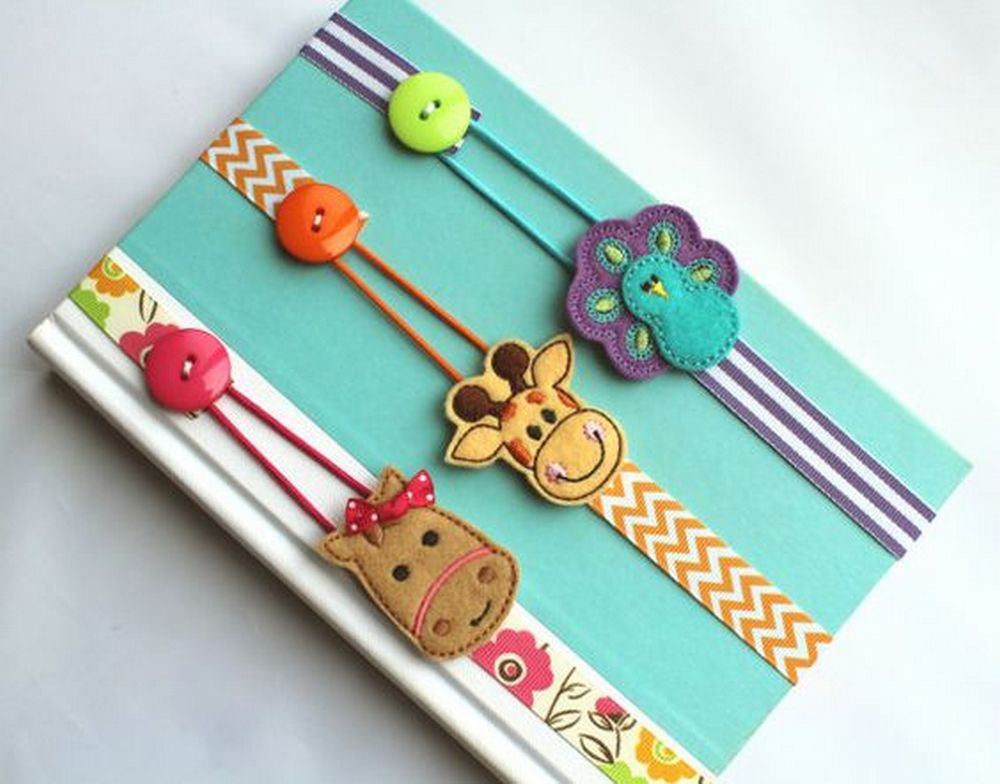
Because you can get as creative as you want, this project is a whole lot of fun.

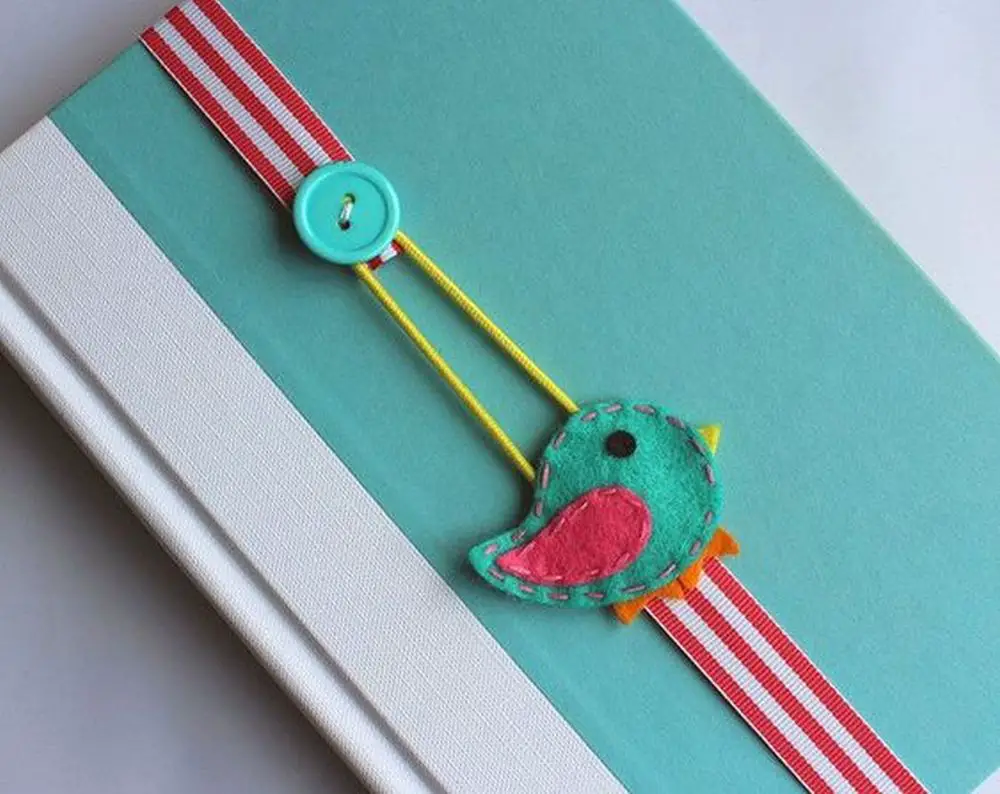
Not sure where to start? Check out these colourful and adorable DIY ribbon bookmark designs that are sure to inspire you!
These bookmarks are so easy to make, and you can use any type of ribbon you like. Just choose your favourite colours and get started!
Contents
Colourful and Adorable DIY ribbon bookmark designs
Click on any image to start the lightbox display. Use your Esc key to close the lightbox.

It’s an easy sewing project. You can do it by hand if you don’t know how to use a sewing machine. And when I said it’s an easy project, it really is. In fact, you can create a dozen bookmarks in just a few minutes. I’m not kidding!
With these ribbon bookmarks, my kids’ teachers won’t have to worry about losing pages anymore. It’s a useful gift – one that they truly appreciated. Why not make some of your own, too?
To make these bookmarks, you will need:
Materials:
- Ribbon
- Buttons
- Elastics
Tools:
- Needle and Thread
- Scissors
How to make an adorable DIY ribbon bookmark
Making your own ribbon bookmark is a fun and easy project that you can do at home with just a few materials. Plus, it’s a great way to add a personal touch to your book collection!
Here’s a quick and easy way to make a super cute ribbon bookmark:
1. Measure the ribbon
To measure the length of your books, you’ll need a tape measure. 18 inches is a standard book size, but if your book is larger, you can use a longer strip of tape. Just make sure to measure from the top of the book to the bottom, so you get an accurate measurement.
2. Cut the ribbon
Cut the ribbon based on your measurement. The ribbon should be cut into a strip, about 18″ or longer.
Once you’ve folded the ends in by 1/2″, pin and press them. This will give you a nice, clean edge to work with. You will need to fold over the elastic and pin it to one end of the ribbon.
3. Sew the ribbon
Using a sewing machine or hand stitch, stitch along the folded edges, and use a straight stitch. You can make your stitches as close together or as far apart as you like. If you’re using a sewing machine, be sure to use a seam guide so that your stitches are even.
Finally, add the elastic and button. Start by sewing an elastic onto one edge of the ribbon. Then, sew a button onto the other edge of the ribbon. Voila! You now have a new, cute bookmark to use.
This way, your bookmark will be more decorative and unique than a regular bookmark. Give it a try the next time you’re looking for a new bookmark!
And here’s the full video tutorial from 5Minutesformom:
If you liked this project, you might also like to view the Adorable Customized Corner Bookmarks: 4 Easy Steps…


