Last Updated on February 14, 2025 by Team Ideas24
We all need organizational help, no matter how small it is. You have to admit that the small things are often the ones that cause clutter. Sometimes, finding them can prove to be a challenge, too. It helps if you have someplace to keep those small things together. This way, you don’t have to worry about either stepping on them or losing them altogether.
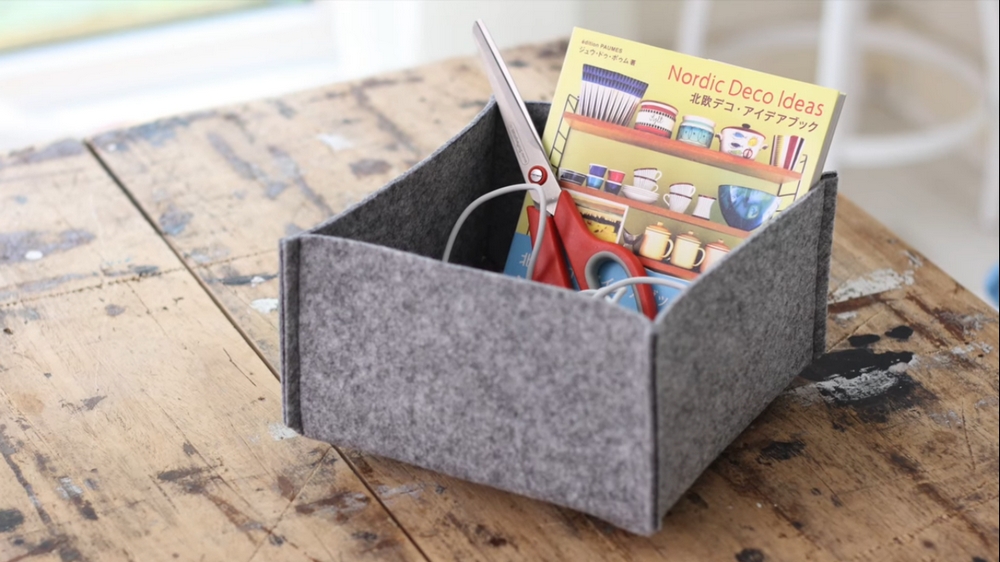
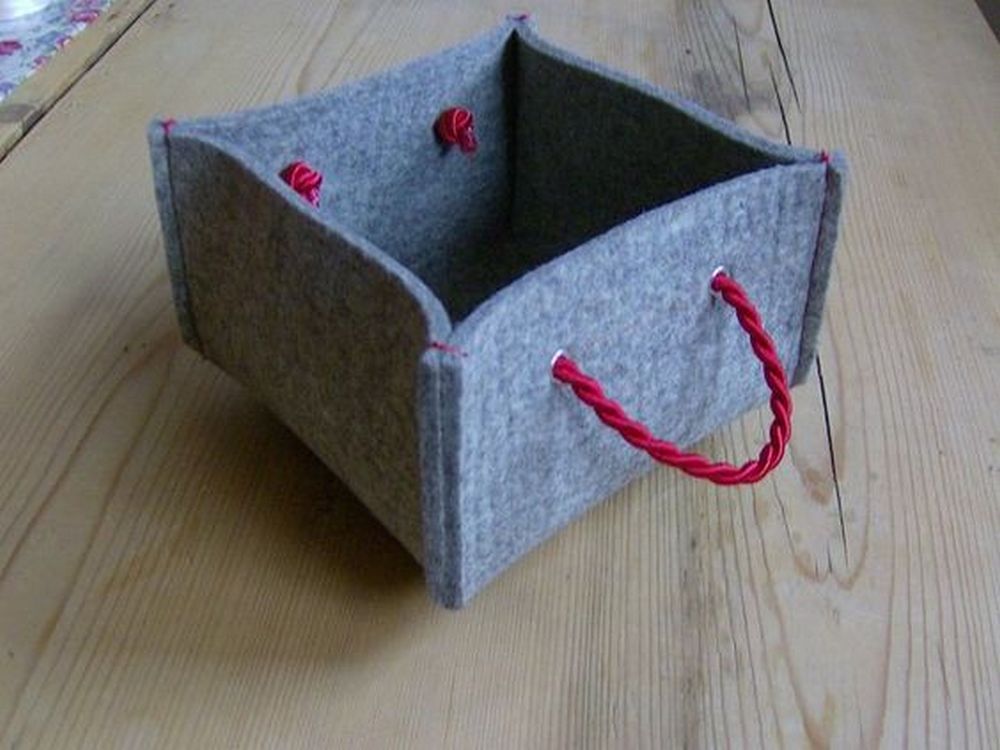
Having school-age children at home can sometimes be a mess. There are a lot of things strewn on the floor like crayons, pencils, craft buttons, and small toys. This felt basket that I saw on Pinterest really captured my attention. Finally, I need something that could help me organize my clutter at home.
So far, I have made five of these felt basket DIY organizers. I’ve lined them up against the wall inside my kids’ rooms. I’m actually planning to make some more so I can give them out to other mothers who are in the same predicament as I used to be. This is very easy to make – and inexpensive, too!

Whether you’re looking for a new place to store your yarn or you’re just in need of some fresh DIY inspiration, these portable felt basket designs are sure to do the trick! Not only are they easy and fun to make, but they’re also super stylish and versatile – perfect for holding everything from yarn and knitting needles to makeup and hair accessories.
So what are you waiting for? Grab some felt and get started on your very own felt basket today! You’ll be glad you did.
Making your own felt basket is a fun and easy project that you can do at home with just a few simple materials. To make your own felt basket, you will need:
Contents [show]
Crafting a Felt Basket DIY Project
Materials:
- Thick felt
Tools:
- Sewing machine/needle and thread
- Scissor
- Ruler
- Pen
Steps
Making a DIY felt basket is a great way to add some extra storage to your home without spending a lot of money. Felt is a great material to work with because it doesn’t fray and is easy to manipulate. Plus, it comes in a variety of colors so you can find the perfect shade to match your home décor. Here’s how you can make your own:
1. Draw a pattern
Determine the size of your felt basket, then trace a pattern.
Before you begin tracing your pattern for your felt basket, you’ll need to determine the size of the basket you’d like to make. To do this, you can measure the circumference of the object you’ll be storing in the basket, or you can use a ruler or tape measure to estimate the size. Once you have the measurements, trace your pattern onto the thick felt. You can use a pencil or pen to trace the pattern, but be sure to make the lines as dark as possible so they’ll be easy to see when you’re cutting out the fabric.
2. Cut the felt
Cut the sides of the felt outside the pattern, using scissors or a rotary cutter. Be sure to cut along the lines of the pattern so that your final product is the correct size and shape.
3. Fold the felt
Fold the felt according to the pattern
4. Sew the sides
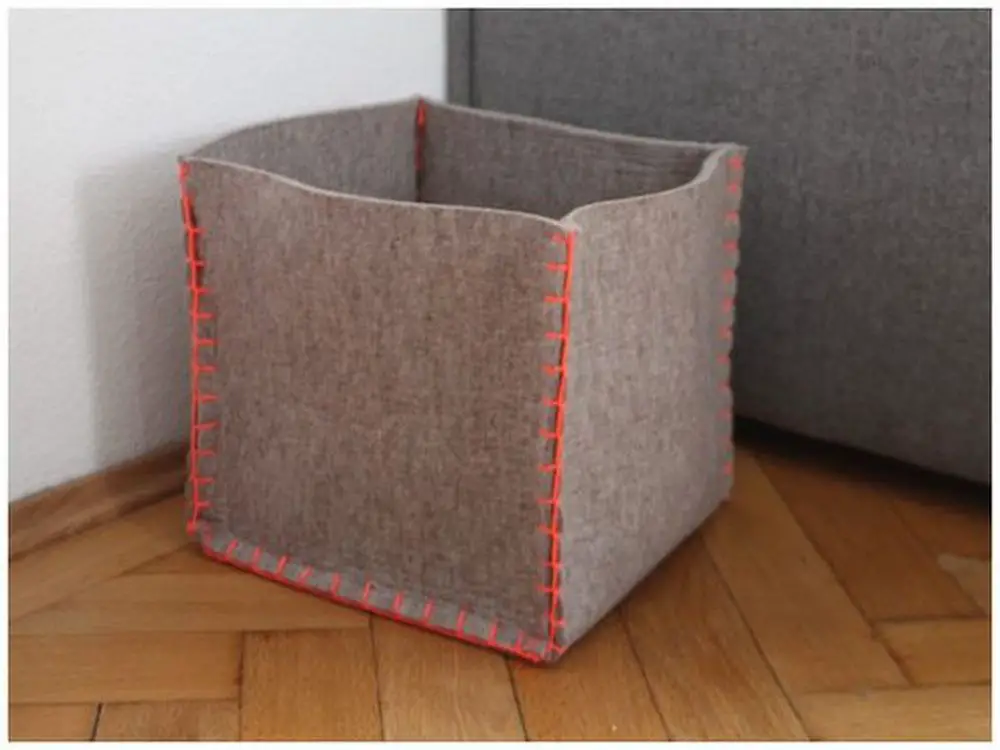
Sew around the edge of the felt, using a sewing machine. If you’re not confident using a sewing machine, you can hand-sew the felt instead. Just be sure to use a strong thread so that the felt doesn’t come undone. You can also add a strong hold glue on the sides. This will help keep the felt together and make it more durable.
There you have it! Your very own felt storage basket! This stylish and sturdy basket is perfect for storing all sorts of things, from blankets and pillows to toys and games. It’s also great for keeping your home tidy and organized. Thanks for following along, and congratulations on your beautiful new basket!
If you want to start making your own felt basket, you can watch this video tutorial:
Creative Uses for a Felt Basket DIY Project
A felt basket DIY project is more than just a storage solution. It’s a stylish and functional way to keep your home organized while adding a handmade touch to your décor. Whether you need a spot for small items or a decorative piece, a felt basket offers versatility. If you’re wondering how to get the most out of your felt baskets, here are several creative ways to use them.
Organizing Craft Supplies
Crafters know how quickly supplies can become cluttered. A felt basket DIY can keep everything from yarn and knitting needles to paintbrushes and markers neatly stored. Since felt is a soft yet durable material, it prevents delicate items like embroidery floss or fabric scraps from getting tangled.
Stylish Plant Holders
Felt baskets make charming plant holders. They can cover plain plastic pots and add warmth to a room. Just place a small plastic liner inside to prevent moisture from damaging the felt. This works well for indoor plants like succulents or herbs on your kitchen counter.
Decorative Gift Baskets
Instead of using disposable gift bags, create a personalized felt basket for gifting. Fill it with self-care products, baked goods, or holiday treats. Once the recipient enjoys the contents, they can reuse the basket for storage. Adding custom touches like embroidery or fabric paint makes it even more special.
Toy and Game Storage
Keeping toys and board game pieces in one place can be a challenge. A felt basket helps organize stuffed animals, puzzles, or building blocks, making clean-up easier for kids. Since felt is lightweight, children can carry their baskets from one room to another without struggle.
Bathroom Essentials Organizer
A felt basket is perfect for keeping bathroom counters tidy. Use it to store rolled-up hand towels, bath bombs, or skincare products. It’s a great way to bring a spa-like feel to your space while keeping necessities within reach.
Entryway Catch-All
Keys, sunglasses, and loose change often get misplaced near the door. A small felt basket on your entryway table can act as a catch-all for everyday essentials. This keeps your space looking neat while ensuring you always know where to find your items.
Pet Toy Storage
Pet owners can use a felt basket to store dog or cat toys. The soft structure makes it easy for pets to grab their favorite toys while keeping the area organized. A designated felt basket for pet supplies can also hold leashes, grooming tools, or treats.
Laundry Room Sorting
A felt basket is helpful in sorting small laundry items like socks, delicates, or cleaning rags. Since felt is flexible, it fits into shelves or cabinets without taking up too much space.
A felt basket DIY is more than a craft project—it’s a versatile and functional addition to any home. Whether you use it for storage, decoration, or gifting, this handmade item can serve many purposes. With creativity, your felt baskets can become essential organizers in every room.
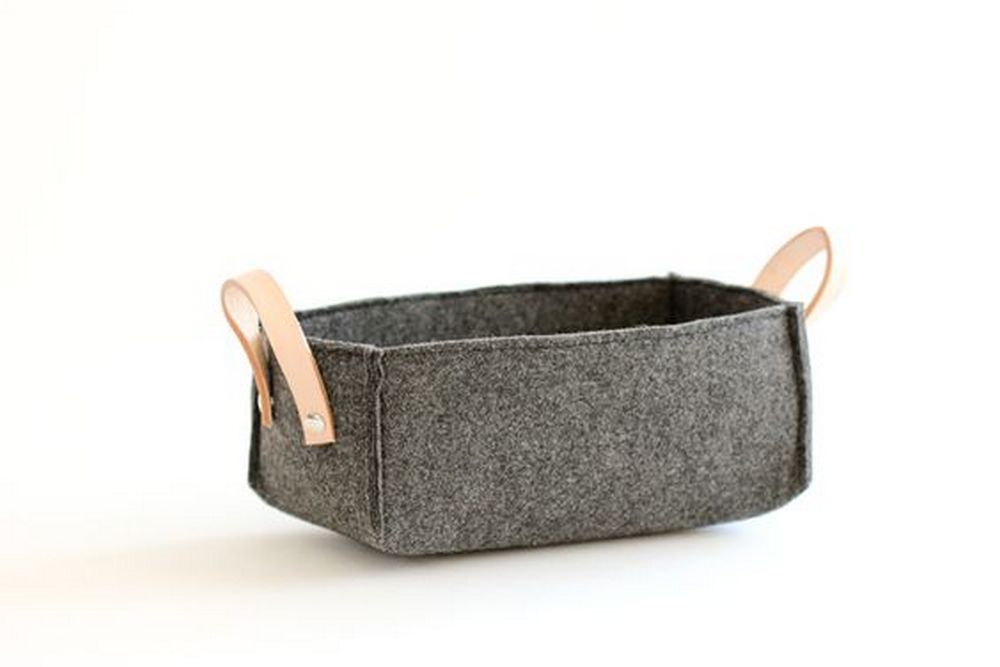
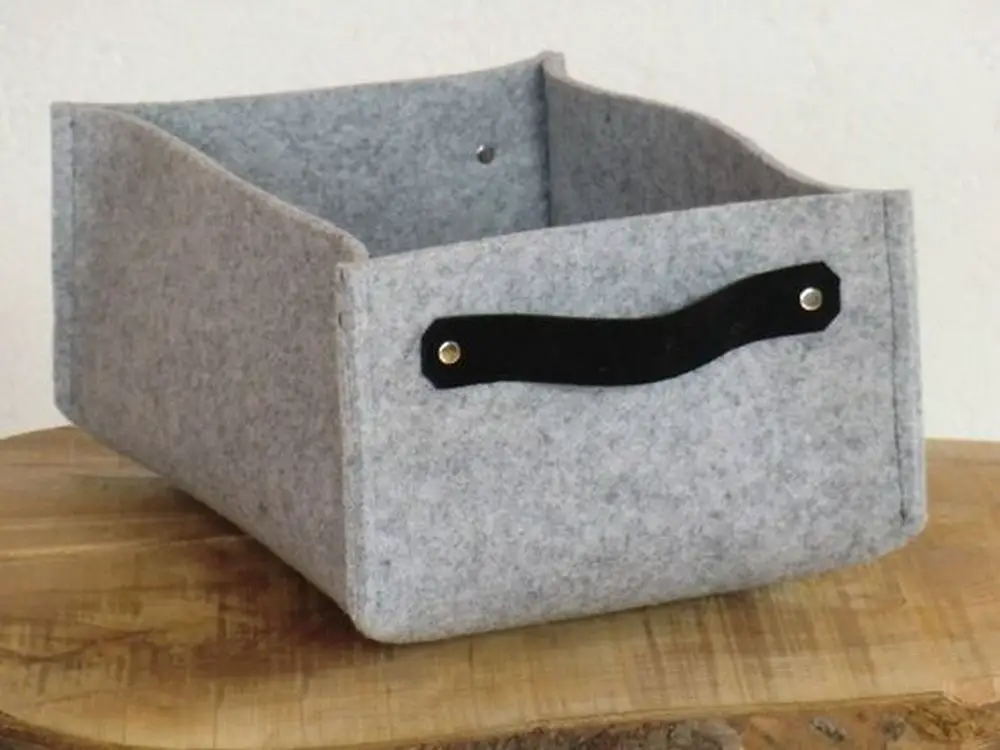
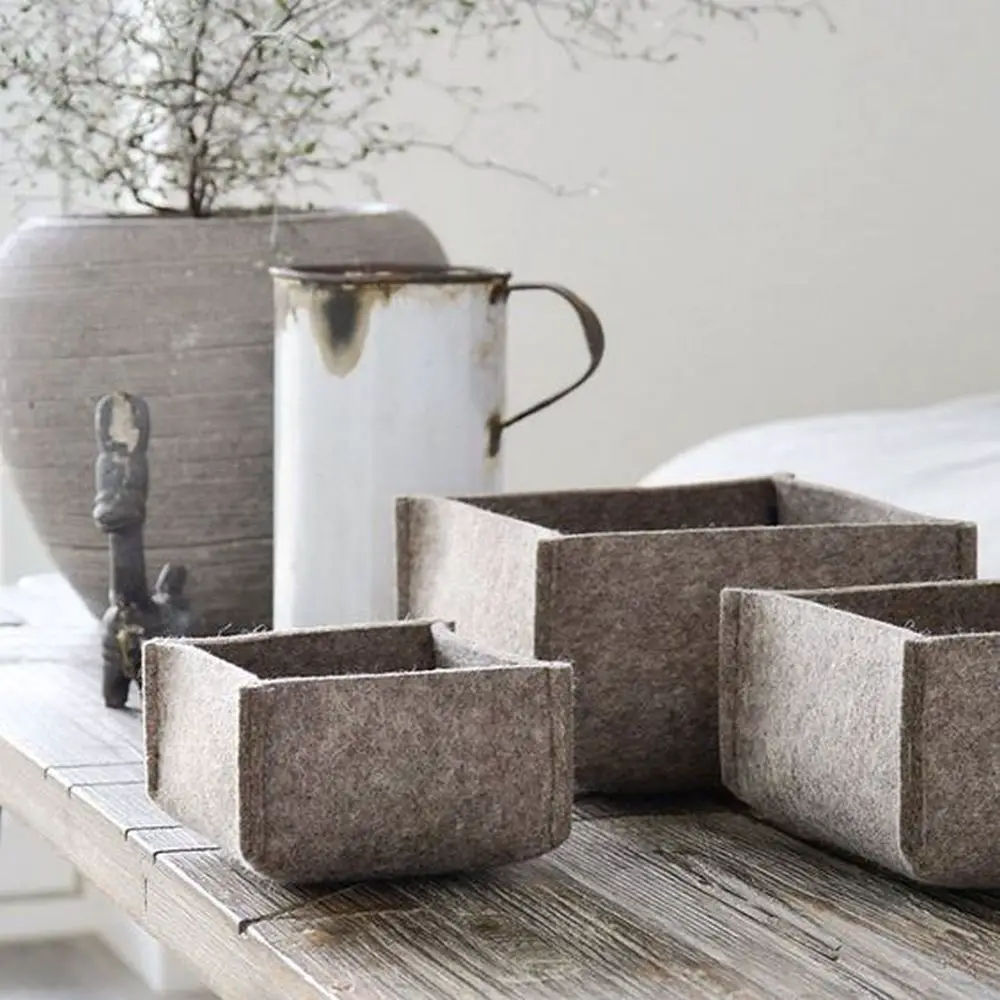
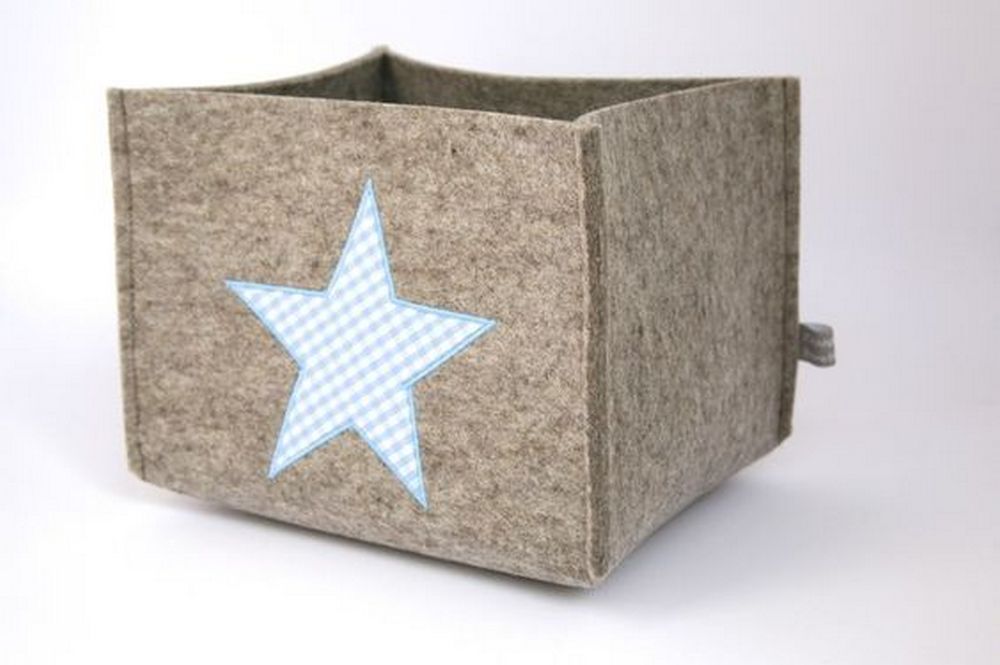
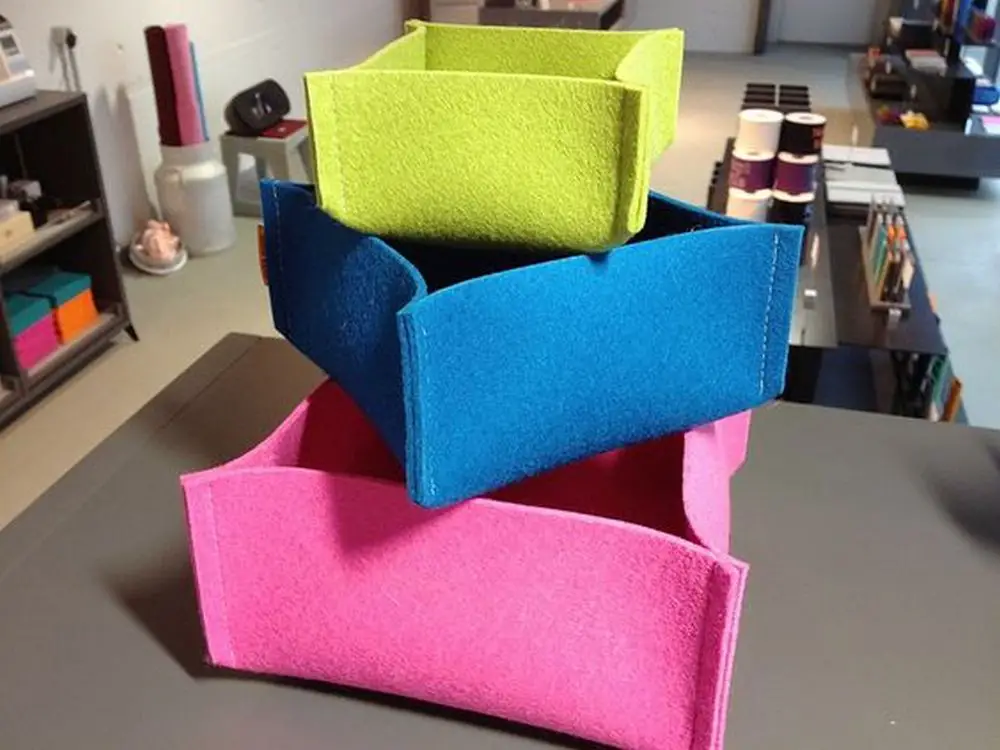
Portable DIY felt basket design ideas
Click on any image to start the lightbox display. Use your Esc key to close the lightbox.


Best Felt Types for DIY Baskets
Choosing the right felt is essential for a felt basket DIY project. The type of felt you use affects your basket’s durability, structure, and overall appearance. With various options available, selecting the best one for your specific needs is important. Here’s a look at the different types of felt and which work best for DIY baskets.
Wool Felt
Wool felt is one of the highest-quality options for a felt basket DIY project. Made from natural wool fibers, it is thick, durable, and wear-resistant. Wool felt holds its shape well, making it ideal for structured baskets. It also has a soft texture and comes in rich, vibrant colors. While it is more expensive than synthetic alternatives, its longevity and premium look make it worth the investment.
Wool-Blend Felt
If pure wool felt is out of budget, a wool-blend felt is a great alternative. This type of felt is a mix of wool and synthetic fibers, usually polyester or rayon. It retains some of the strength and texture of wool while being more affordable. Wool-blend felt is easier to find in craft stores and comes in a variety of thicknesses. It’s a great choice for DIY felt baskets that need some structure but don’t require heavy-duty durability.
Acrylic Felt
Acrylic felt is made from synthetic fibers and is one of the most affordable options. It’s lightweight, widely available, and comes in many colors. However, acrylic felt is not as strong as wool or wool-blend felt. It tends to be thinner and more flexible, which can make it harder to hold a basket’s shape. If you choose acrylic felt, consider using double layers or reinforcing the basket with stitching or glue for added strength.
Industrial Felt
Industrial felt is a heavy-duty option often used for padding and insulation. It is significantly thicker and denser than standard craft felt, making it an excellent choice for felt baskets that need extra durability. Industrial felt is a top choice if you want a sturdy and long-lasting basket that can hold heavier items. However, it may require sharper tools for cutting and a strong needle for sewing.
Stiffened Felt
Stiffened felt is treated with a special finish to make it more rigid. This type of felt is ideal for structured baskets that need to maintain their shape without additional reinforcement. Stiffened felt is easy to work with and doesn’t require lining or extra support. It’s a great choice for those who want a simple and quick way to make a sturdy felt basket.
Eco-Friendly Felt
Eco-friendly felt is made from recycled materials, such as plastic bottles or repurposed wool fibers. It’s an excellent sustainable option for DIY projects. While its texture and thickness vary, many eco-friendly felt options are comparable to acrylic or wool-blend felt. This is a great choice if you want to create a basket with sustainability in mind.
The right felt type depends on the look and function you want for your felt basket DIY project. Wool or wool-blend felt is ideal for a sturdy, high-end finish. Acrylic or stiffened felt can work well if you’re seeking an affordable and colorful option. No matter which type you choose, selecting the right felt ensures your basket is both stylish and durable.

How to Personalize a DIY Felt Basket
A felt basket DIY project is not just about creating a functional storage solution—it’s an opportunity to add personality and style to your home. Whether you want a unique decorative piece or a customized gift, personalizing your felt basket makes it even more special. Here are some creative ways to add character to your DIY felt basket.
Embroidery Designs
Adding embroidery is a great way to give your felt basket a personal touch. You can stitch initials, names, or decorative patterns using colorful embroidery floss. Simple stitches like backstitch or chain stitch work well on felt, while floral or geometric designs can add a stylish touch. If you’re making a basket for a child’s room, consider stitching their name or a fun motif like stars or animals.
Fabric Paint and Stamps
Fabric paint allows you to create custom designs without sewing. You can freehand a pattern or use stencils for a polished look. Stamping is another easy way to add designs—use pre-made rubber stamps or make your own by cutting shapes into foam. Metallic paints, pastel shades, or bold patterns can make your felt basket stand out.
Decorative Buttons and Beads
Adding buttons or beads to a felt basket can enhance its look while keeping it functional. You can sew buttons along the edges, create a decorative clasp, or arrange beads in a pattern. Wooden buttons give a rustic feel, while pearl or gemstone beads add elegance.
Leather or Rope Handles
Upgrade your felt basket DIY by attaching stylish handles. Leather straps give the basket a sophisticated look, while rope handles add a natural, farmhouse-style touch. Use rivets or heavy-duty thread to secure the handles, ensuring they can support the basket’s weight. This personalization also makes it easier to carry the basket around the house.
Lining with Fabric
Adding a fabric lining reinforces the basket and allows you to introduce patterns and colors. Choose cotton, linen, or patterned fabric that complements your decor. Cut a piece slightly larger than the basket’s interior to attach the lining and stitch or glue it into place. A floral or striped lining can give your basket a fresh, stylish look.
Felt Cutouts and Appliqués
Felt-on-felt designs create a layered effect that makes your basket visually appealing. Cut out shapes like hearts, flowers, or initials and glue or sew them onto the basket. This technique works well for themed baskets, such as holiday gift baskets or nursery storage.
Monograms and Labels
Add a monogram or label to your felt basket for a polished and personalized look. You can use iron-on vinyl, sew a name tag, or create a chalkboard label for easy customization. This is particularly useful for organizing multiple baskets, such as in a craft room or playroom.
Tassels and Pom-Poms
Add tassels or pom-poms to the edges of your basket for a playful and bohemian touch. You can make them from yarn or buy pre-made ones in various colors. Attach them around the rim for a fun, decorative finish.
A felt basket DIY project doesn’t have to be plain. With a few simple additions, you can create a basket that reflects your personality and style. Whether you prefer embroidery, paint, or embellishments, these customization ideas will turn your felt basket into a unique, beautiful, and functional piece.
Conclusion
A felt basket DIY project is a simple yet stylish way to add functional storage to any space. With the right felt type and creative personalization, you can make a basket that suits your needs and complements your décor. Whether used for organizing, gifting, or decorating, a handmade felt basket is a practical and charming addition to any home.
If you liked this project, you might also like to view the DIY denim fabric baskets…


