Last Updated on September 26, 2024 by Team Ideas24
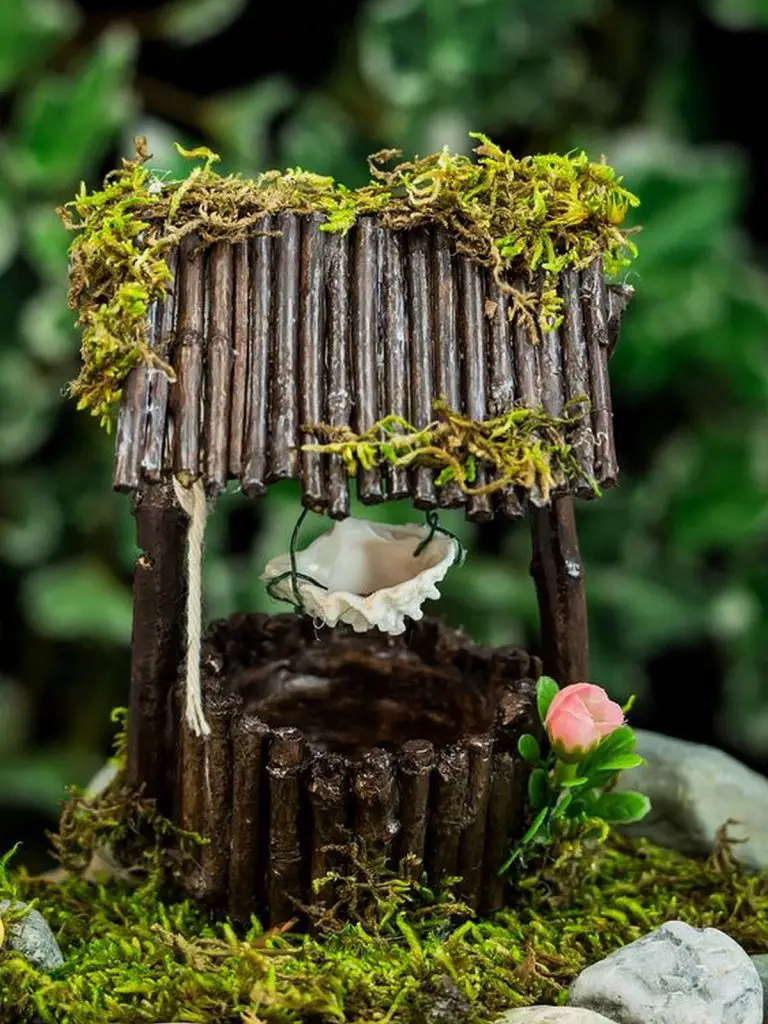
If you have an existing fairy garden, a nice little addition would be a fairy garden well. It adds a sense of charm to the overall look of your adorable project. Plus, fairies would love to have that well added in, don’t you think?
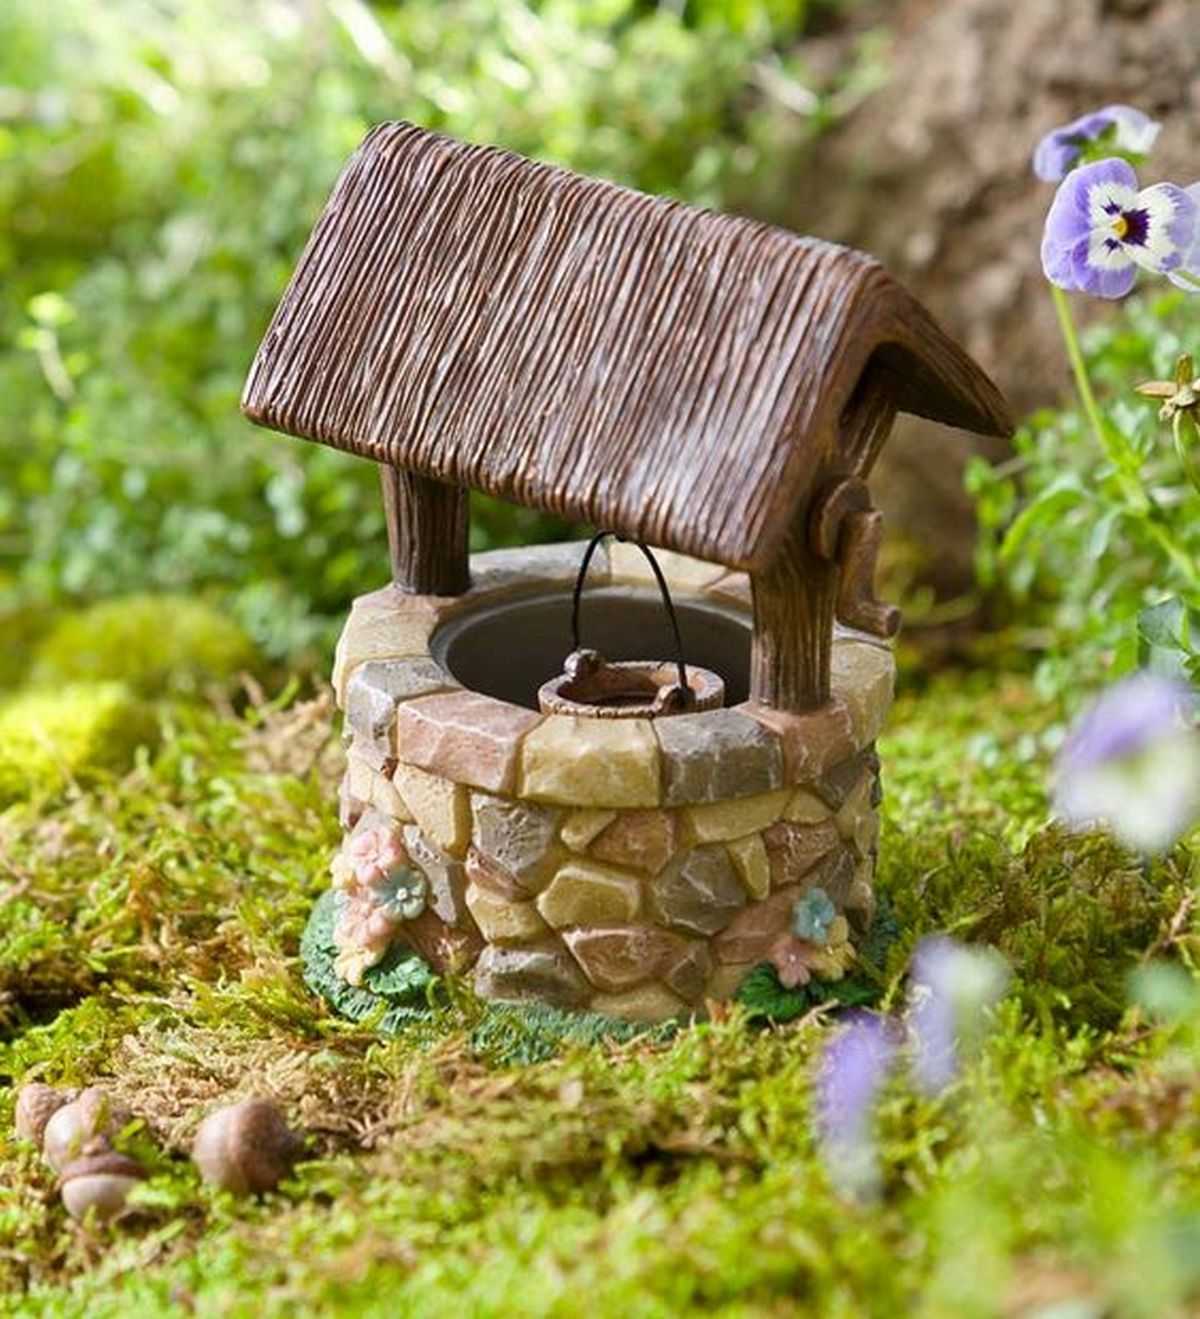
A fairy garden is already whimsical as it is but a fairy garden well would make a perfect accent. This project is quite detailed – and small. So, if you’re looking for something nice to do on a rainy weekend, this one’s for you. By the next day, you’ll have something new for your fairy garden.
By the way, you can also make these fairy garden wells and give them out as gifts to family and friends. You can personalize them according to the interests of your recipients. It’s a thoughtful present and will surely be much appreciated.

Contents
Making a Fairy Garden Well
Materials
- Clear plastic poster board
- Pebbles
- Mosaic grout
- Sticks
- Small wooden craft rectangles (1-inch x 2-inch)
- Mini wooden dowels
- Jute cord
- Mini wooden flower pot
- Hot glue
Tools
- Hot glue gun
- Sponge
- Palette knife
- Pencil
- Tape
- Scissors
Instructions
Step 1: Create the Well Base
- Cut the Plastic Poster Board
Use scissors to cut a 3-4 inch wide circle from the clear plastic poster board. This will serve as the base of your fairy garden well. - Mark the Well Walls
With a pencil, lightly mark the edge of the circle where the well walls will be. This will help guide where to place the pebbles.
Step 2: Build the Well Walls
- Glue the Pebbles
Use a hot glue gun to attach small pebbles around the outer edge of the plastic base. Stack them to form the wall of the well, about 1-2 inches high. Be sure to leave a small gap for the well bucket later. - Apply Mosaic Grout
Once the glue has dried, use a palette knife to carefully apply mosaic grout between the pebbles. This will fill in the gaps and hold the stones in place. Let the grout dry according to the package instructions. - Smooth the Grout
Dampen a sponge and gently smooth the surface of the grout between the pebbles. This will give it a neat, finished look. Allow the grout to fully cure.
Step 3: Build the Roof Support
- Prepare the Wooden Dowels
Cut two mini wooden dowels to a length of about 4-5 inches each. These will form the vertical supports for the well roof. - Attach the Dowels
Hot glue the two dowels onto the base of the well, spacing them evenly on opposite sides of the well. Hold them in place until the glue hardens.
Step 4: Make the Well Roof
- Craft the Roof Panels
Use two small wooden craft rectangles (1-inch x 2-inch) to create the roof. Attach them at an angle to form an inverted “V” shape. Use hot glue to secure them together along the top. - Attach the Roof
Once the roof is assembled, hot glue the top of the two dowels to the underside of the roof structure. Hold the roof steady until the glue dries.
Step 5: Create the Well Bucket
- Prepare the Flower Pot
Take the mini wooden flower pot and attach a small piece of jute cord to the side using hot glue. This will act as the handle for your bucket. - Position the Bucket
Attach the other end of the jute cord to the roof of the well. Ensure the bucket is positioned so it hangs just above the base of the well. You can use tape to temporarily hold it in place before securing it with hot glue.
Step 6: Finishing Touches
- Add Sticks for Extra Detail
Take a few small sticks and hot glue them around the edge of the well or on top of the roof for extra rustic charm. - Decorate as Desired
Optionally, wrap more jute cord around the dowels or roof for additional texture. You can also glue a few small pebbles or moss around the base for a natural look.
Step 7: Final Inspection
Check all glued parts to ensure they’re secure. Adjust or reinforce any loose elements if necessary. Now, your fairy garden well is ready to be placed in your fairy garden for a magical touch!
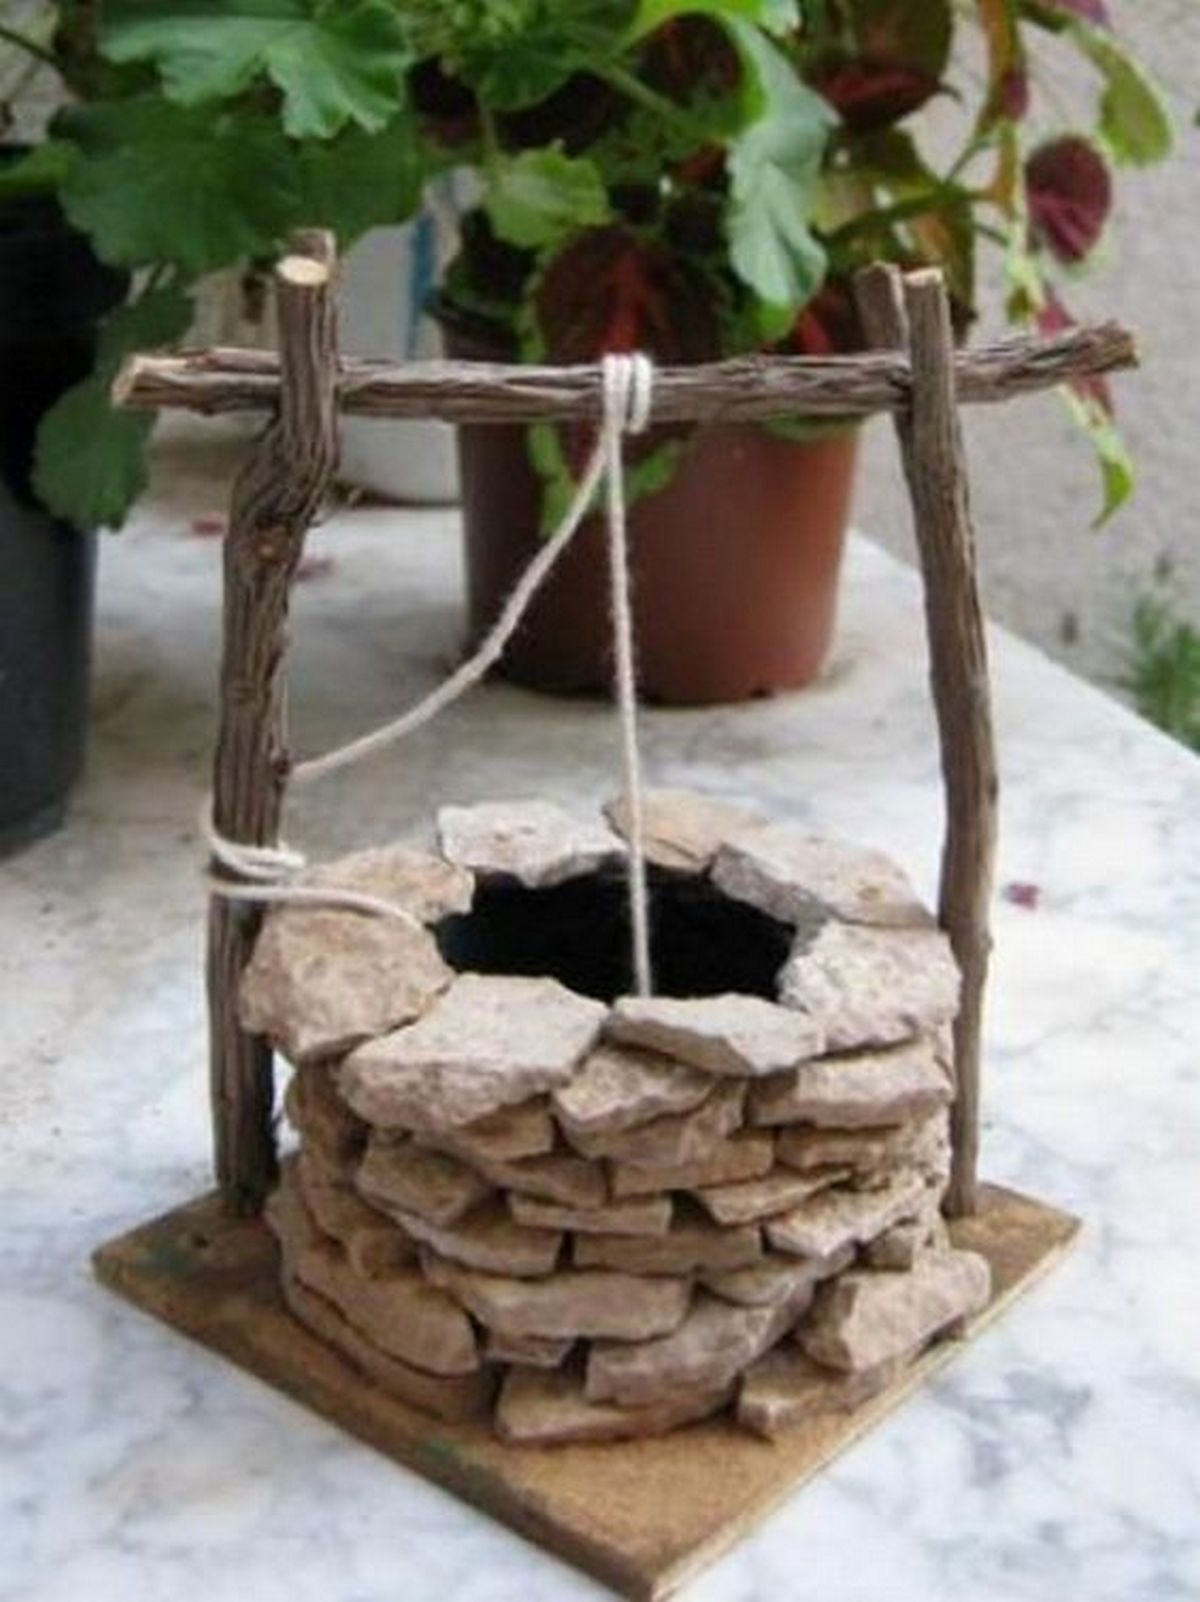
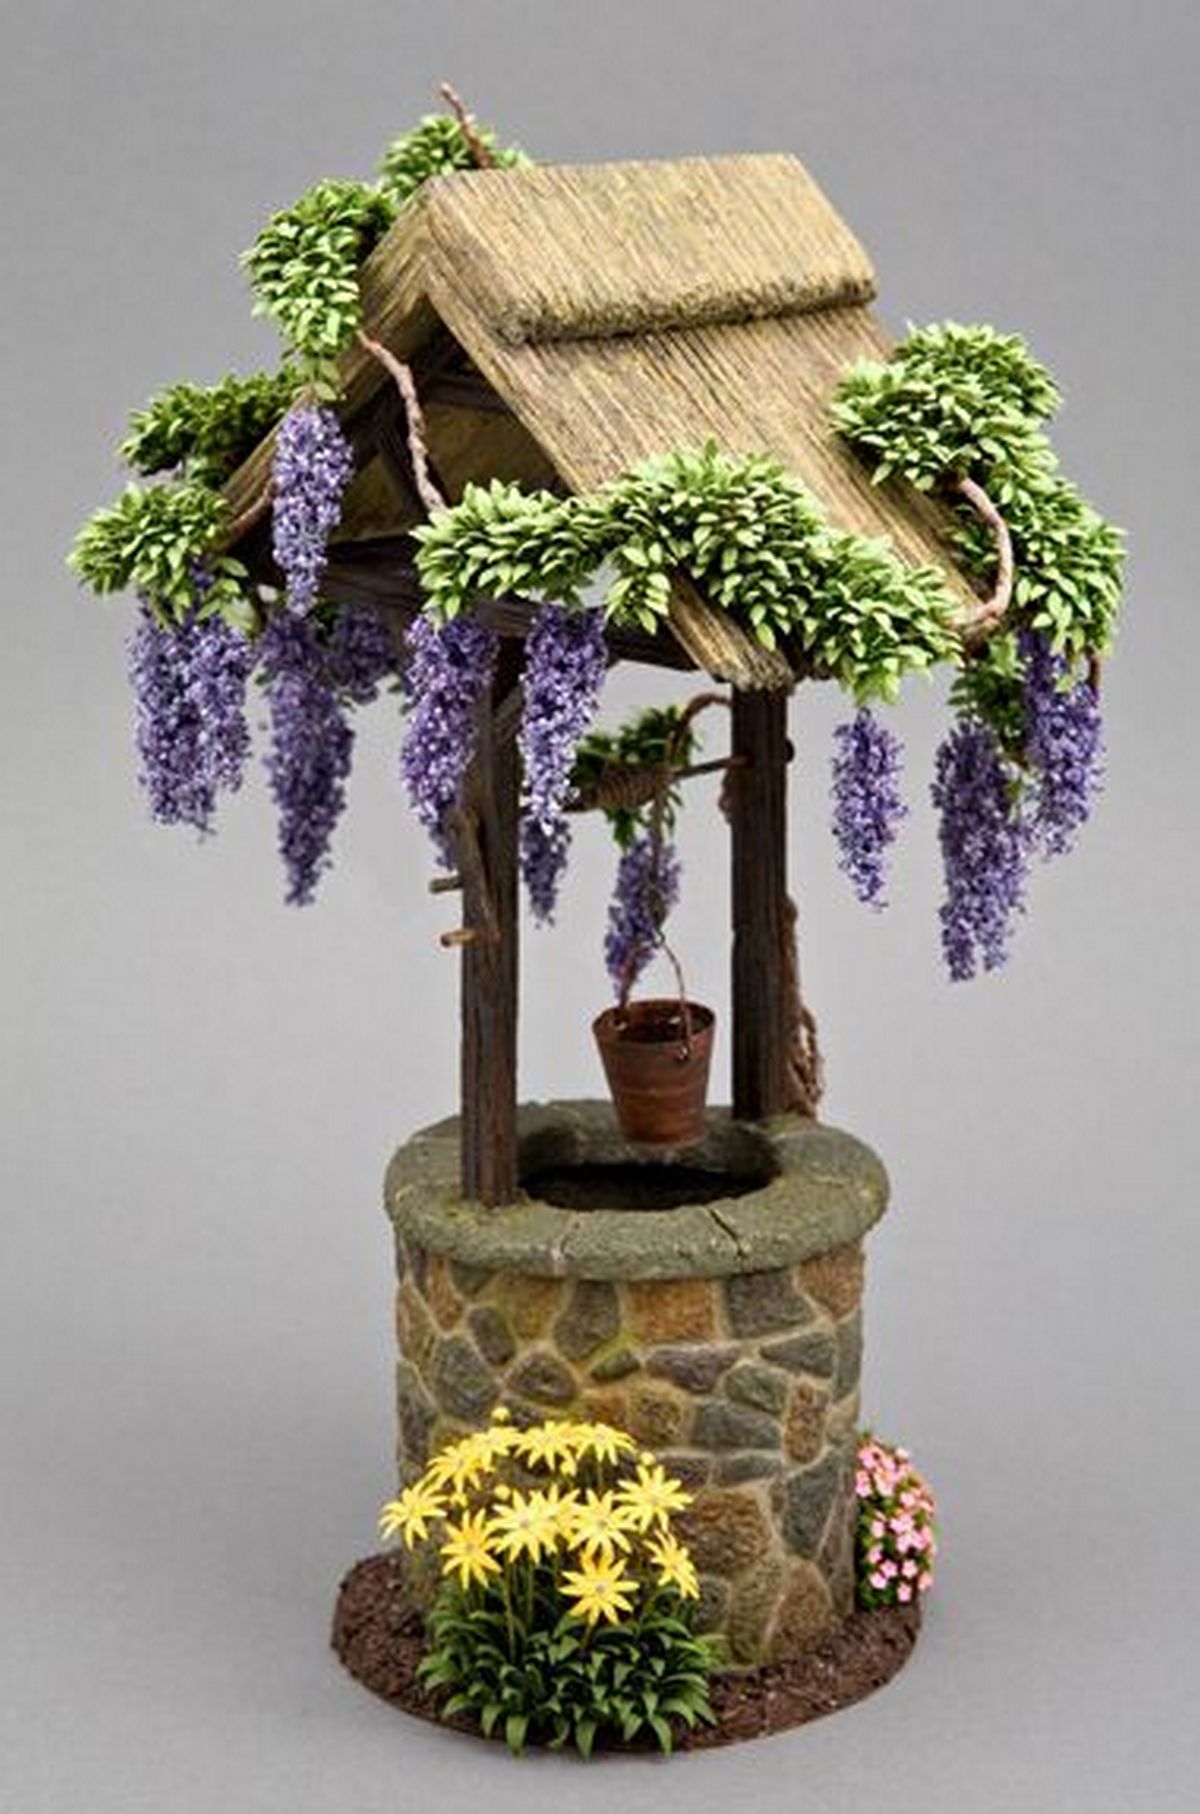
Fairy Garden Well Design Ideas
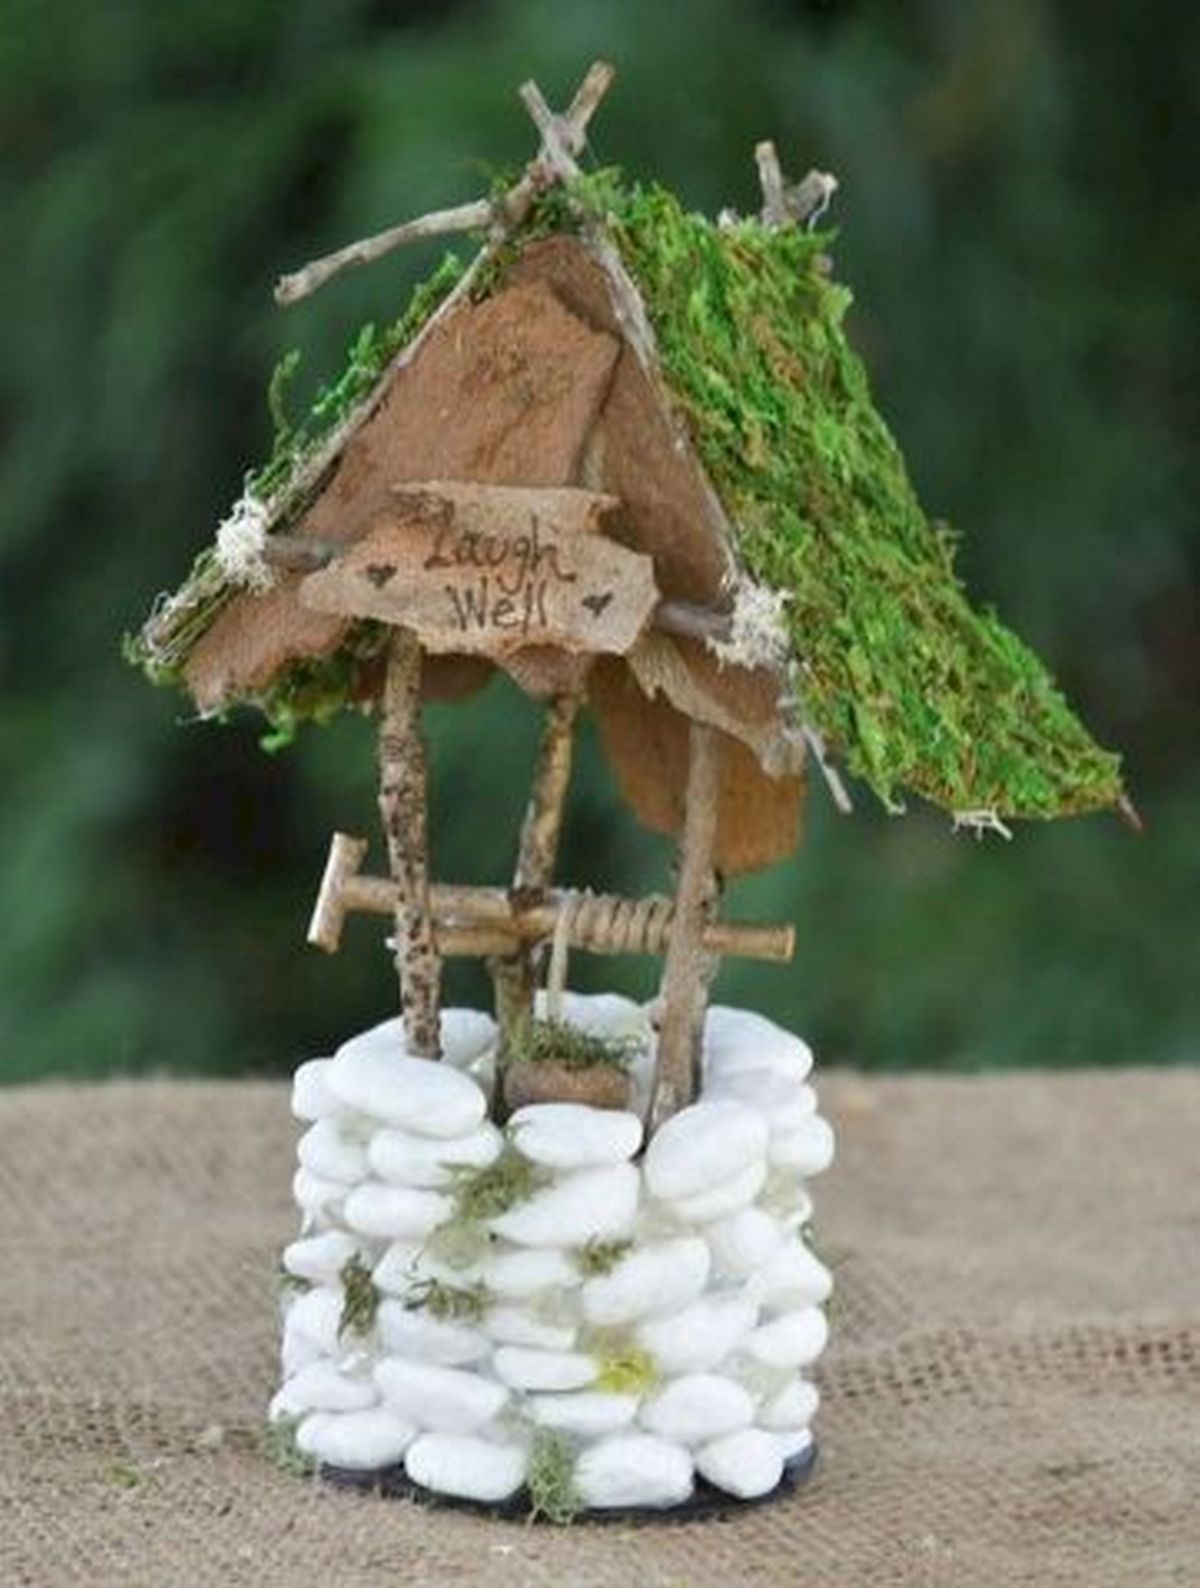
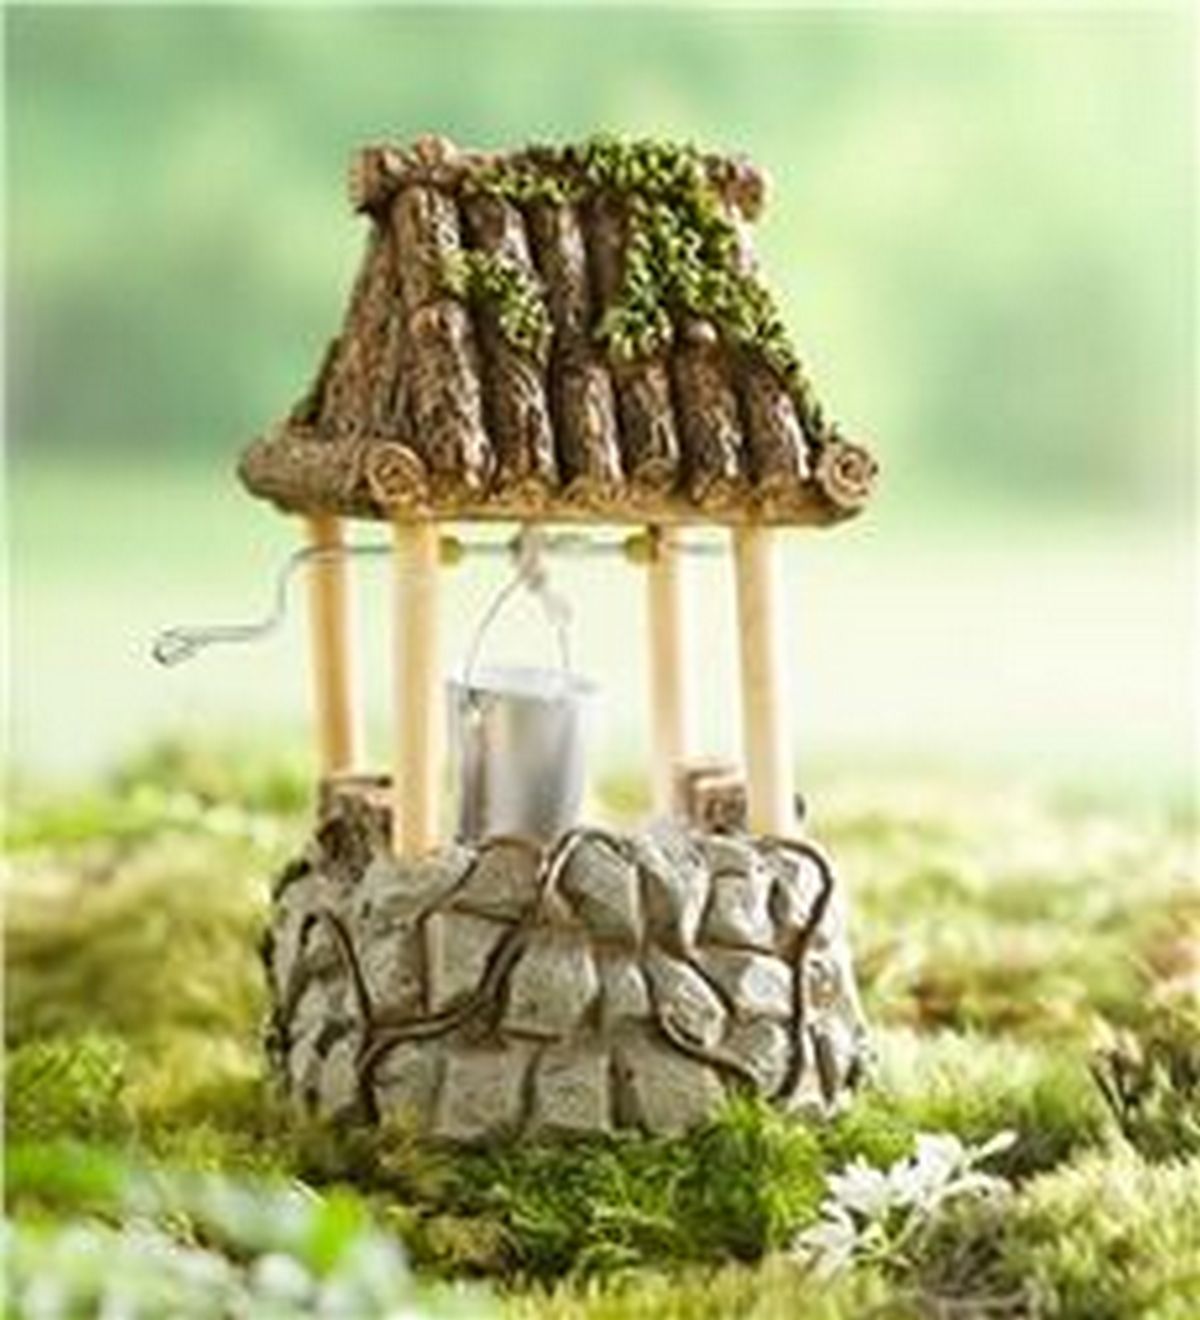
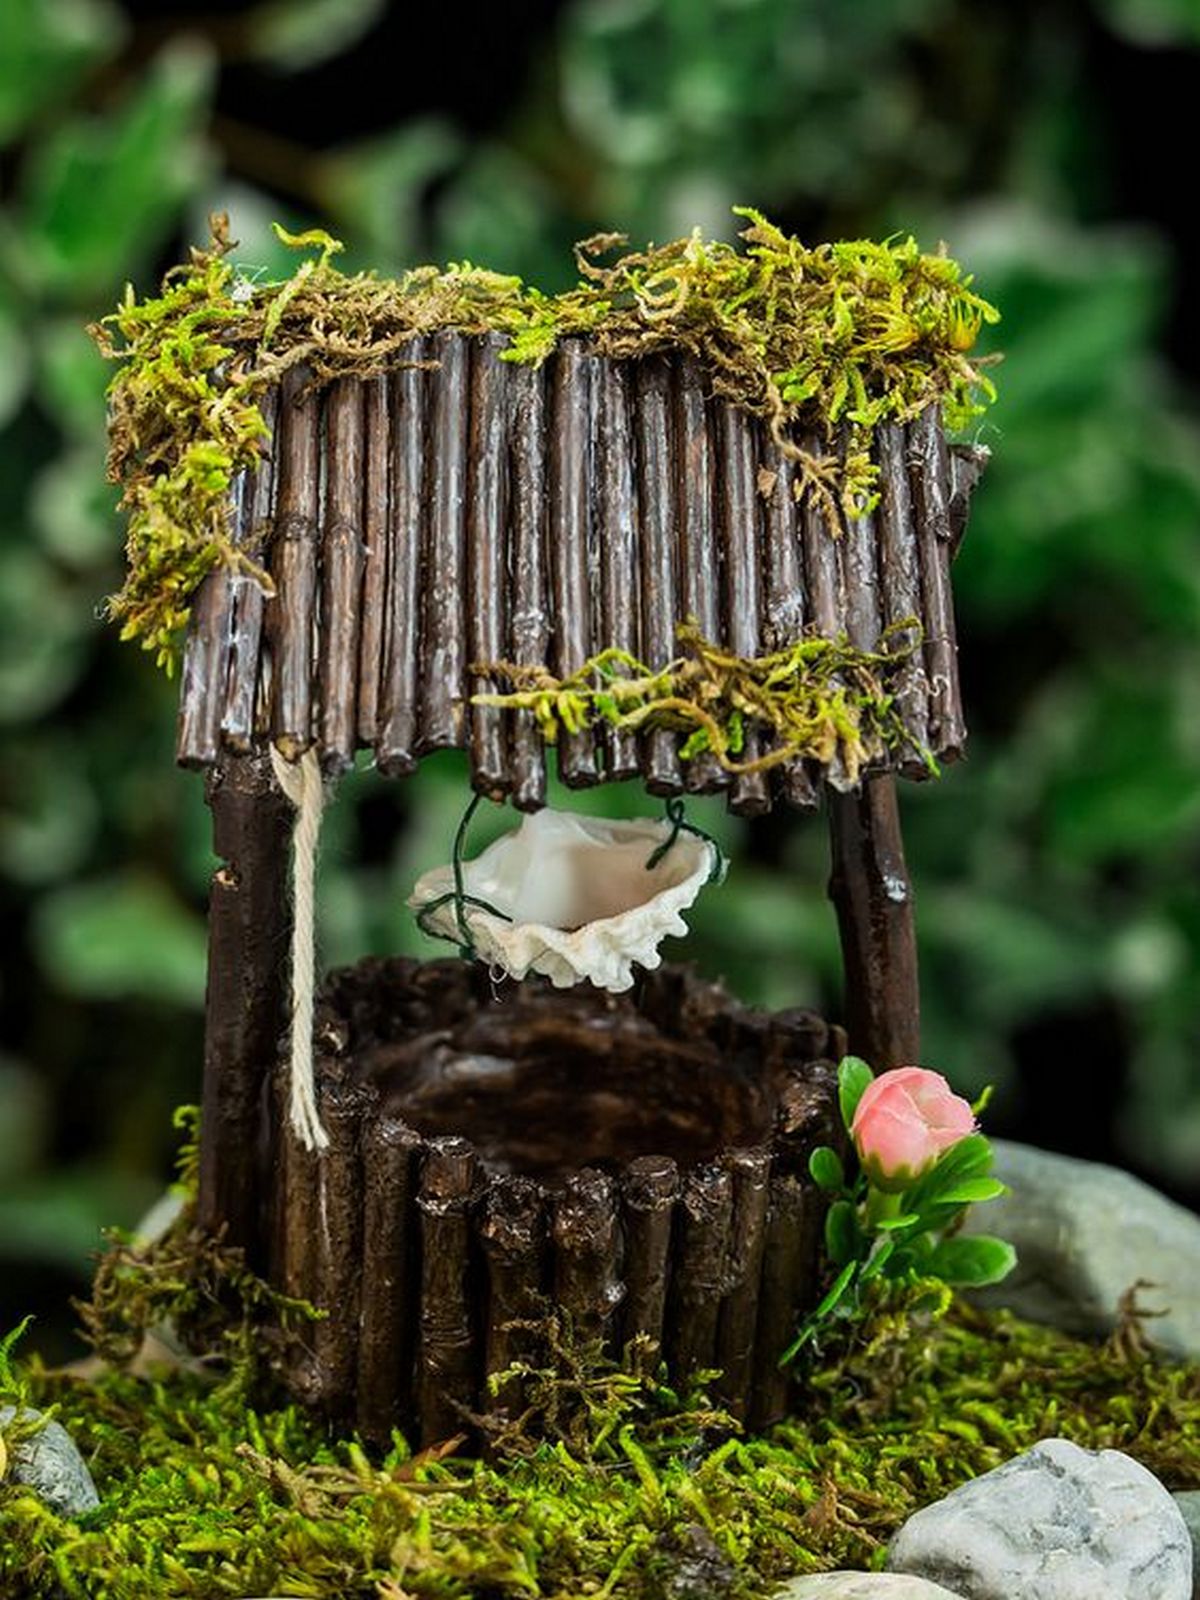
Click on any image to start the lightbox display. Use your Esc key to close the lightbox.


Do you want to DIY a fairy garden well? Watch this video.
Incorporating Water Features in a Fairy Garden Well
Adding a water feature to your fairy garden well can enhance its magic and bring a sense of tranquility to your space. Water features are visually appealing and provide soothing sounds that create a relaxing atmosphere. Whether using a small pump or creating the illusion of water with creative materials, integrating a water element into your fairy garden well is a fantastic way to make your miniature world feel alive.
Choosing the Right Water Feature for Your Fairy Garden Well
When deciding how to incorporate a water feature into your fairy garden well, the first step is determining whether you want a functional or decorative water element. If you’re looking for a real water flow, you’ll need to invest in a small pump designed for miniature setups. These pumps can create a gentle stream or bubbling effect, ideal for outdoor settings. However, if you want a simpler solution, consider using materials like resin, clear beads, or glass to mimic water without the need for electricity.
For those seeking a functional feature, small solar-powered pumps are a great option. These pumps are eco-friendly and ideal for outdoor gardens as they don’t require an external power source. Place the solar panel in a sunny spot to keep the water circulating through your well.
Creating a Bubbling Well
A bubbling effect is among the most magical water features you could incorporate. Using a small submersible pump and some basic materials will help you reach this. Your fairy garden should have a bubbling well created like follows:
- Step 1: Select a shallow waterproof container that will fit within the well. This will house the pump and water.
- Step 2: After positioning the submersible pump within the container, fill it with water.
- Step 3: Cover the container with a mesh screen or tiny pebbles in step three such that the water has enough room to bubble up.
- Step 4: Position your fairy garden well above the container such that the pump is concealed yet the bubbling effect is clear. For a subdued or more dramatic impact, change the flow.
This arrangement gives the garden a mystical touch by making water seem to be magically rising from the depths of your well.

Creating a Waterfall Effect
The waterfall effect, whereby water softly falls down the well’s sides, is another lovely water feature. Attaching a little spout to the well’s roof and running a thin tube from the pump to the spout will help you to accomplish this.
- Step 1: Attach a thin spout or hollow tube to the roof of the well, ensuring it is positioned so water will fall gracefully into the well or surrounding area.
- Step 2: Connect the pump tube to the spout and secure it with a waterproof adhesive.
- Step 3: Turn on the pump to test the flow, adjusting the spout angle as necessary to ensure the water falls smoothly.
This feature works especially well if your fairy garden well is placed near other elements like stones or greenery, where the water can trickle through and enhance the natural look of the garden.
Mimicking Water for Indoors
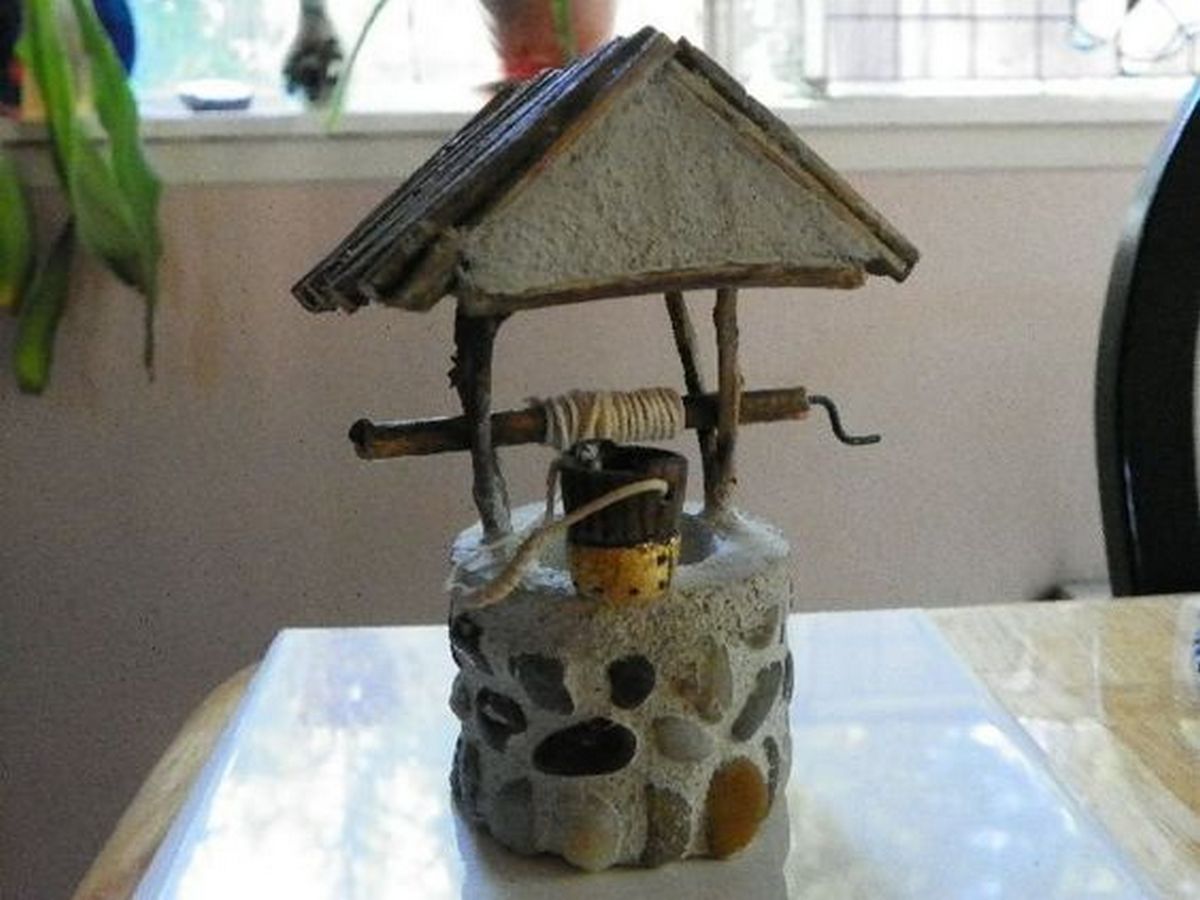
If you want the look of water without the hassle of pumps and maintenance, there are creative ways to mimic water in your fairy garden well. Resin or glass beads can be used to give the illusion of water. Fill the bottom of the well with a clear resin and add a few small beads or crystals to catch the light. This approach is ideal for indoor fairy gardens, where a real water feature might be impractical.
Maintenance Tips for Fairy Garden Water Features
Regular maintenance is essential for those who opt for functional water features. Clean the pump and container periodically to prevent algae buildup, especially if your fairy garden is outdoors. Additionally, monitor the water levels and refill as needed to ensure the pump works properly.
You can create an enchanting and tranquil environment by incorporating water features into your fairy garden. Whether it’s a bubbling spring or a cascading waterfall, the presence of water will bring your fairy garden to life, captivating both you and your visitors.
Conclusion
Making a fairy garden well is a creative and satisfying endeavor that gives your small garden a whimsical accent. With basic tools and materials, you can design a lovely well that takes center stage. This project makes personalising your design simple and lets you be quite creative. Once finished, your fairy garden will have a magical quality that renders it alive.
We have more fairy garden decorations. Check out our fairy garden bridge project!

