Last Updated on September 10, 2024 by Team Ideas24
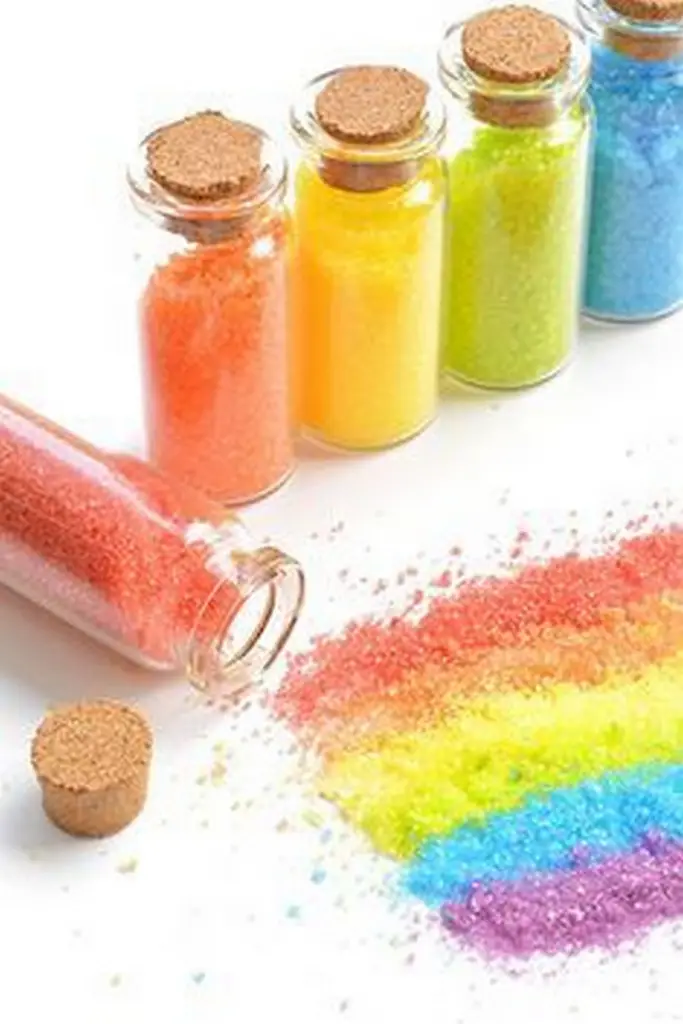
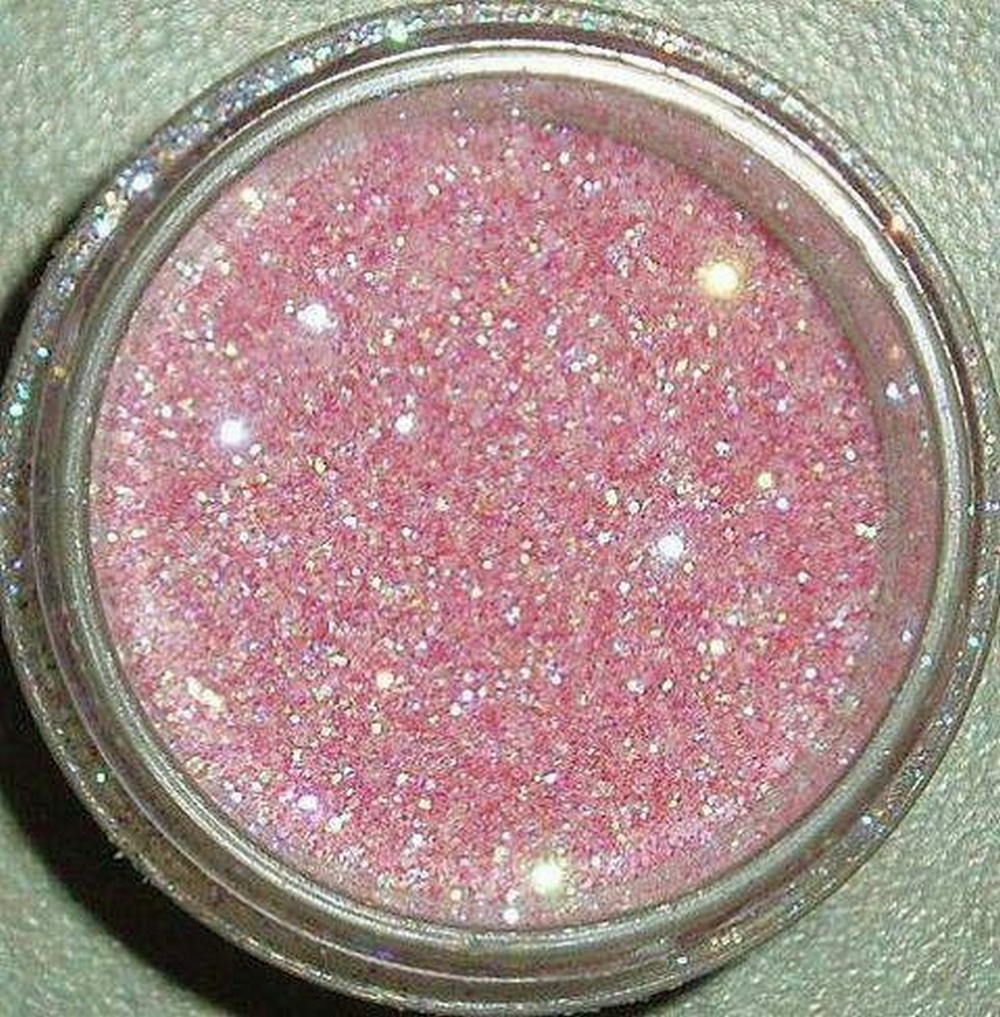
Adding glitter to an arts and crafts project seems to double the fun. Glitter is one of the things that make my kids happy, which in turn makes me happy, too. In fact, we use it most of the time. Because it’s favorite, we tend to run short of supply.
One night, before going to bed, my daughter suddenly announced that she ran out of glitter for a school project. Normally, it won’t be an emergency. We’d run to the store the following day – except that the project’s already due and tomorrow can’t wait. It was late at night and stores were already closed. I was in a state of panic but my ever-resourceful daughter calmly went online and researched glitter substitutes.
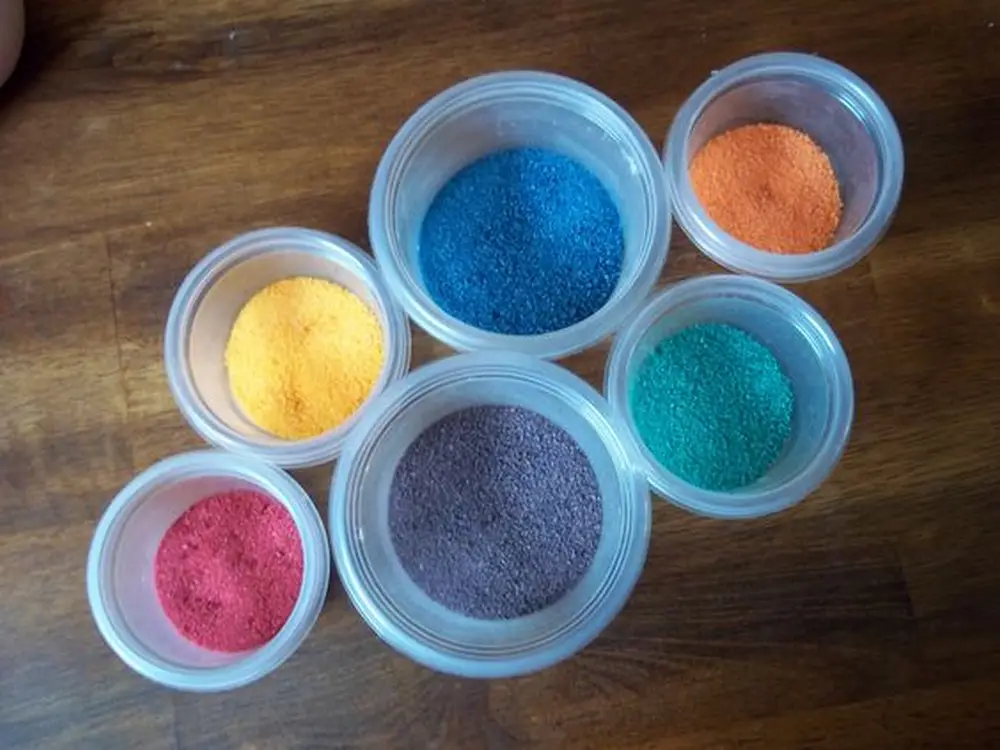
I was surprised when she asked for salt and food coloring – these things we never run out of. She went to work, mixing salt and coloring. No more than 30 minutes later, she has a fresh batch of glitter made from salt. She went on to make several colors after that. The best thing about it? She got an A on her school project. Points for resourcefulness!
Contents
Making Your Own Glitter
Materials
- Salt
- Food Coloring
Tools
- Cookie sheet
- Container
- Spoon
- Oven
Instructions
- Preheat Your Oven: Set your oven to 350°F (175°C). This will help in drying out the salt faster and more evenly.
- Prepare the Salt: Pour a cup of salt into a container. The amount of salt depends on how much glitter you want to make. You can adjust the quantity accordingly.
- Add Food Coloring: Add several drops of your chosen food coloring to the salt. Start with a few drops, then add more if you want a deeper color. You can mix colors to create custom shades.
- Mix Thoroughly: Use a spoon to mix the food coloring and salt together. Ensure the color is evenly distributed throughout the salt. Break up any clumps to ensure an even coating.
- Spread the Salt: Pour the colored salt onto a cookie sheet. Spread it out in a thin, even layer so that it dries uniformly.
- Bake the Salt: Place the cookie sheet in the preheated oven. Bake for about 10 minutes. Keep an eye on it to make sure the salt doesn’t brown. Baking helps to set the color and dry the salt quickly.
- Cool Down: Take off the cookie sheet from the oven and let the salt cool totally. The salt ought to have dry to the touch texture.
- Break Any Clumps:Use the back of a spoon or your fingers to gently break up any clumps or uneven patches. The texture ought to be fine and constant.
- Store Your Glitter: Stow your homemade glitter in a container with a tight-fitting lid. To help you monitor your glitter supply, color and date label the container.
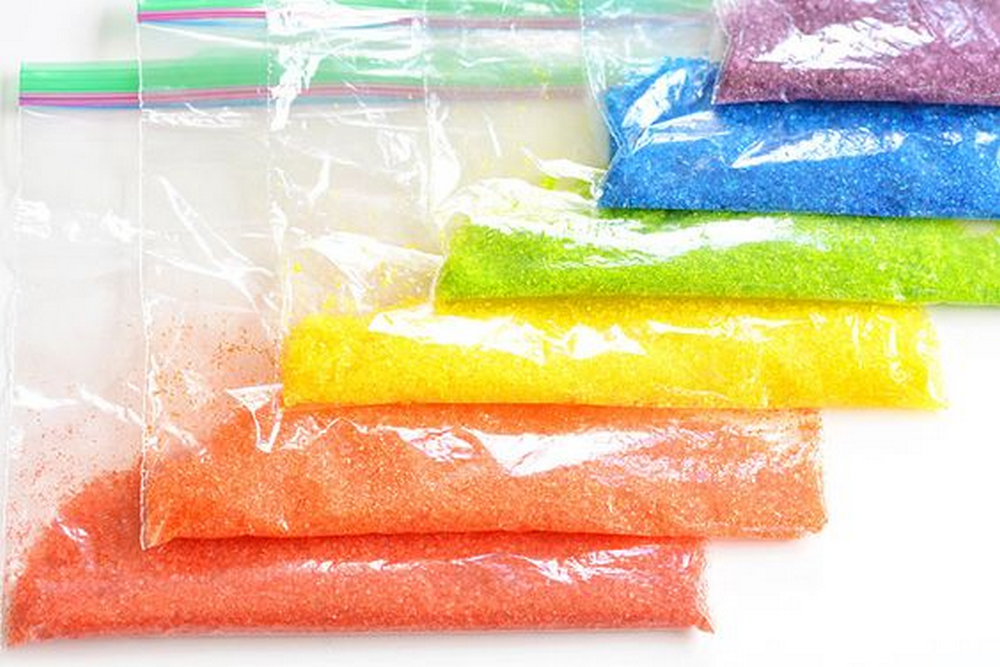
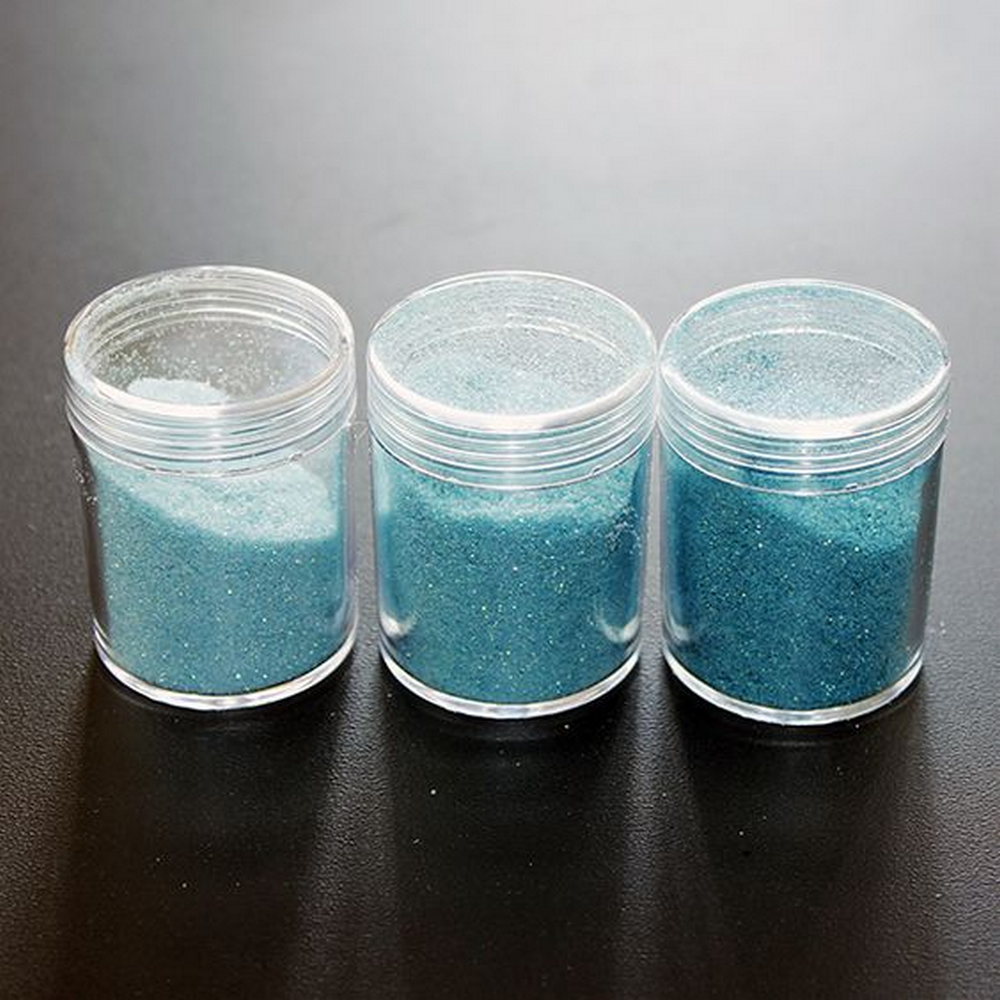
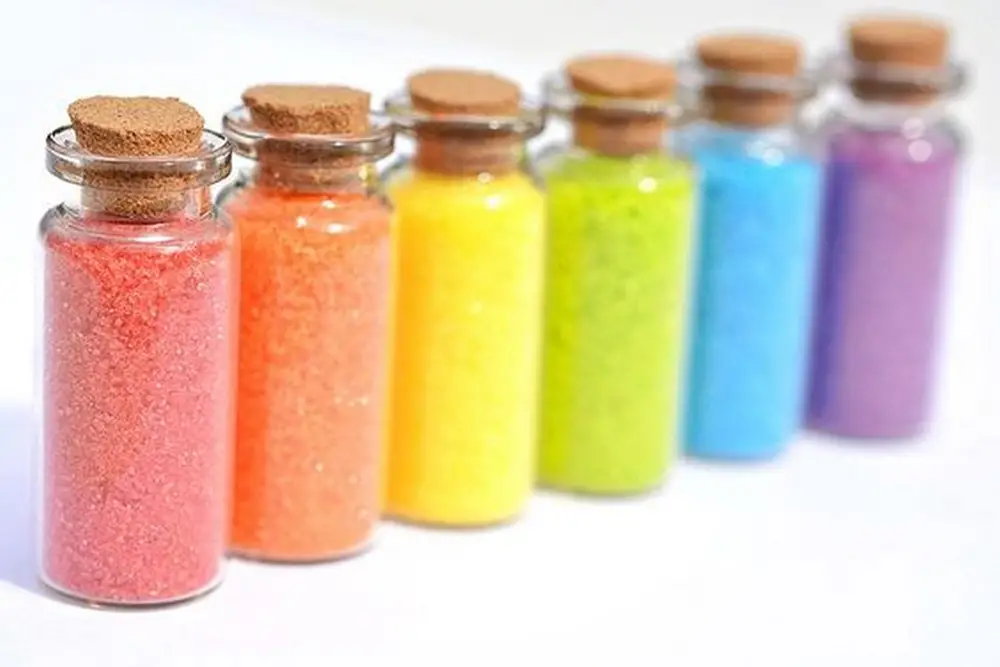
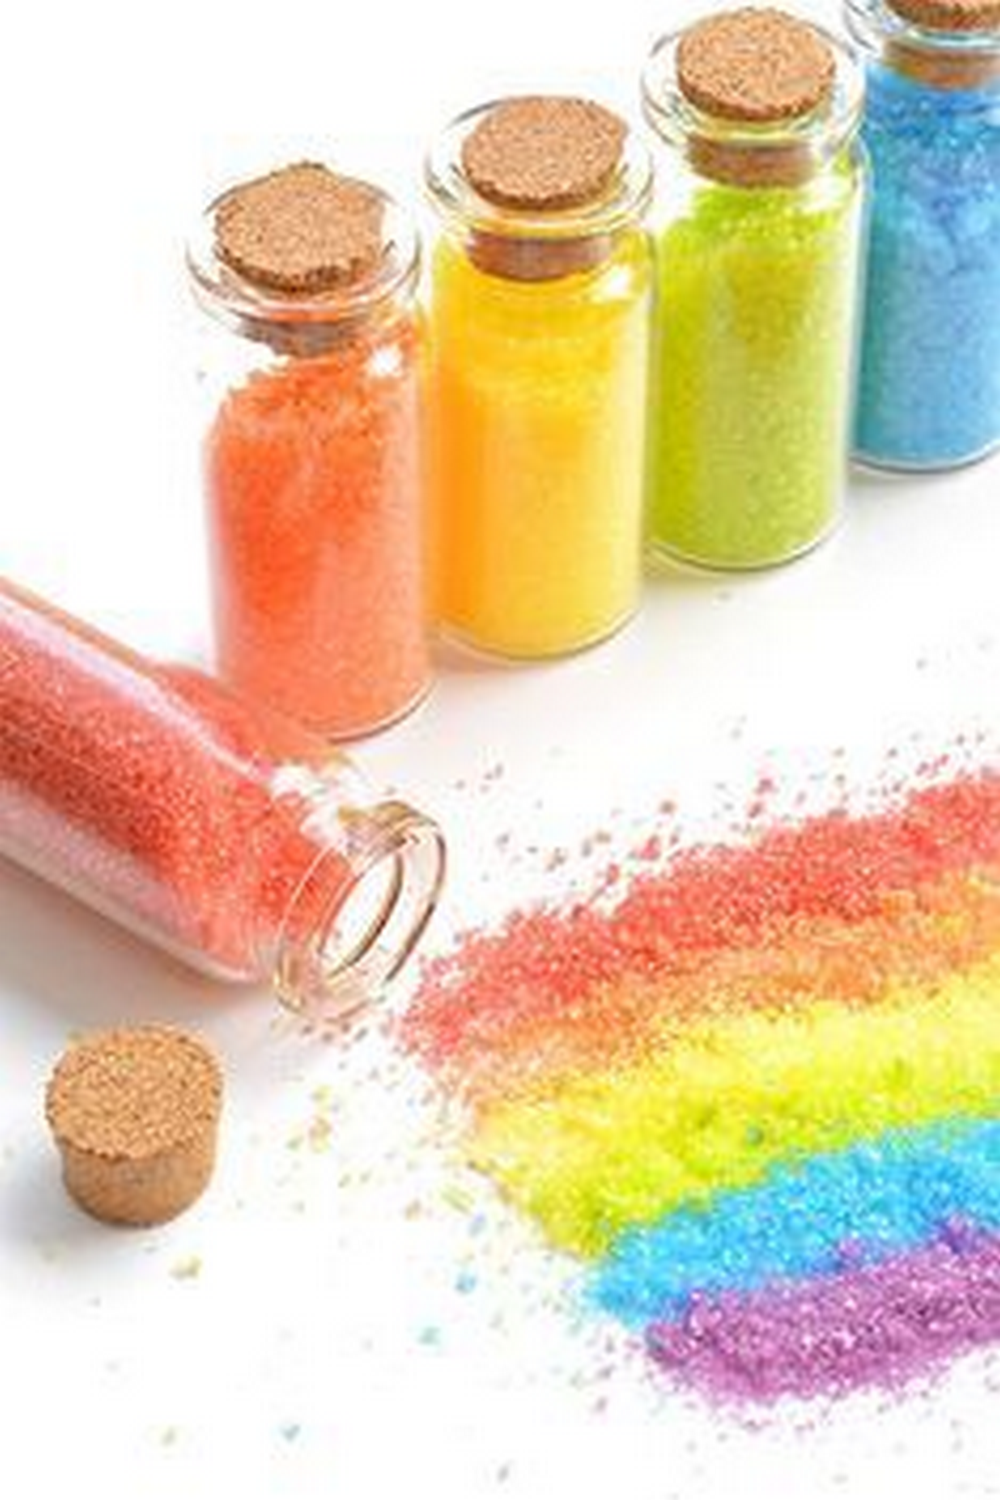
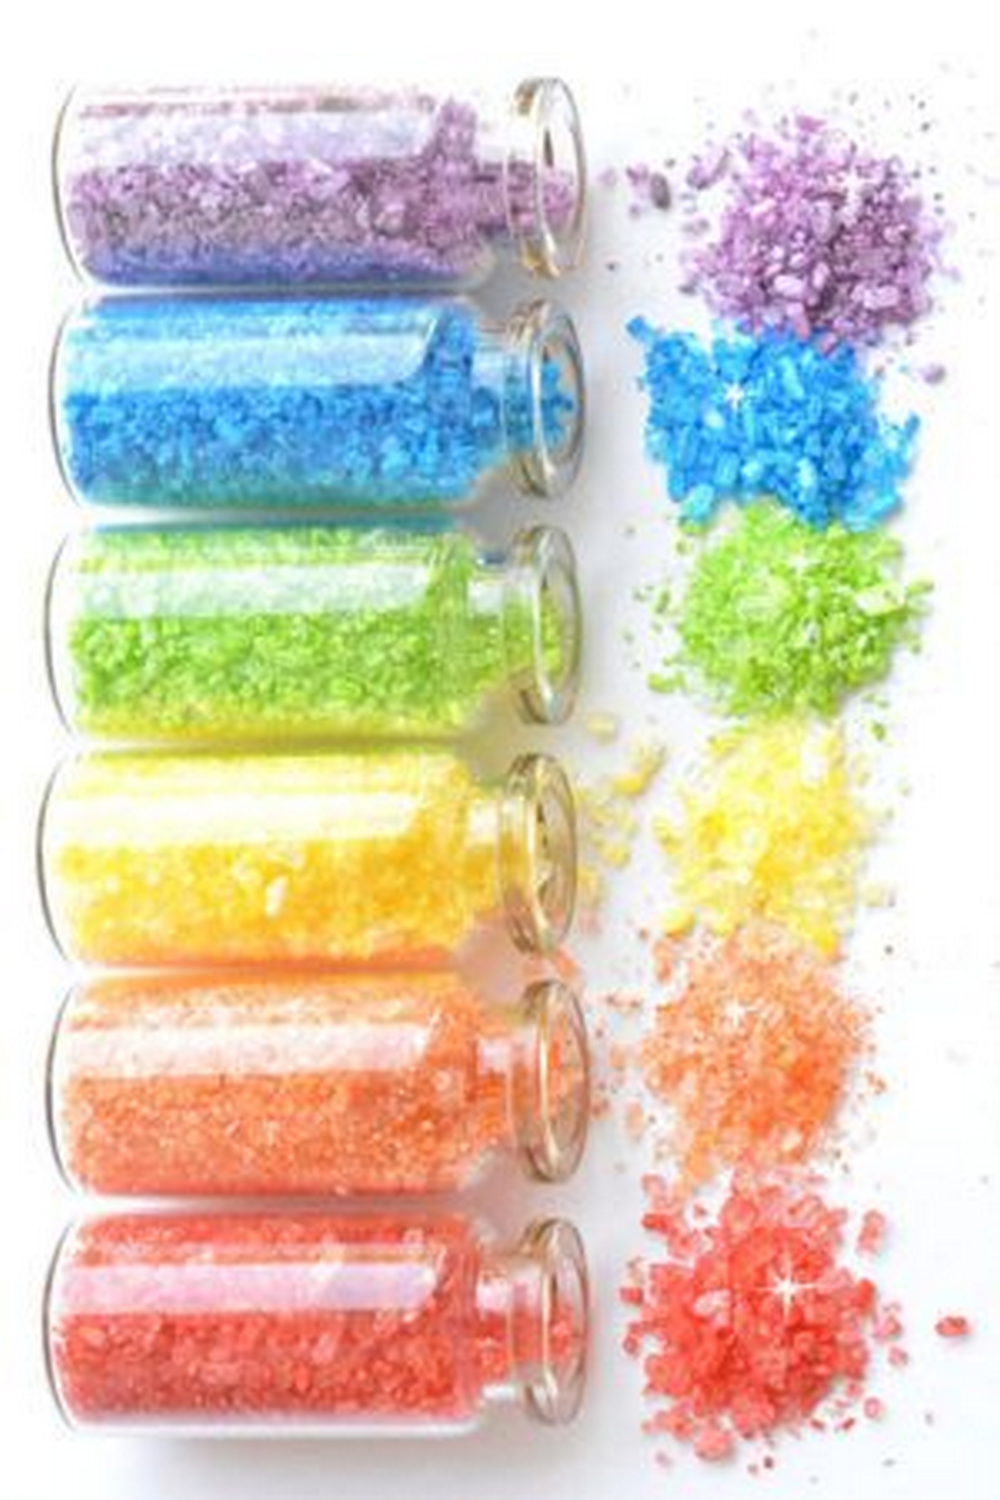
Colorful DIY Glitter Ideas
Click on any image to start the lightbox display. Use your Esc key to close the lightbox.
For visual instructions, check out the video below.
Safety and Environmental Concerns of Commercial Glitter
A mainstay of both decorative and craft projects, glitter gives many works delight. Its effects on the environment and health, meanwhile, are less spectacular. Knowing these issues will help us to choose more environmentally friendly methods for our craft and party decorations.
Health Risks of Glitter
Usually formed from plastic and aluminium bound to a thin plastic film, commercial glitter is Especially when used around the face and eyes, as is typical during festive events and in cosmetic products, these microplastics cause major health concerns. Glitter particles might physically abrasion and even cause infections when they come into touch with the eyes.
Should one inhale, these tiny particles may settle in the lungs and airways, causing respiratory problems. Moreover, the presence of plastic in daily surroundings raises more general health issues including endocrine disturbance brought about by chemicals leaked from plastics.
Environmental Impact
There is great environmental effect from glitter. Being a microplastic, it cannot be broken down biodegradably and can last hundreds of years in the earth. Many times, glitter ends up in rivers and streams after use, adding to the extreme pollution in these bodies of water.
Mistakenly swallowing these particles, marine life can cause internal blockages, malnutrition, and even death. Eventually making their way up the food chain, these microplastics will affect ecosystem health and biodiversity.
Pollution During Production and Disposal
Significant non-renewable resources are used in the glitter manufacturing process. This includes metals and plastics made from crude oil. Along with depleting natural resources, this process releases carbon and other pollutants aggravating air and water pollution.
Since glitter is not recyclable and usually ends up in landfills or incinerators, its end-of-life disposal presents still another environmental problem. While incineration generates poisonous gases into the atmosphere, in landfills it may leach dangerous chemicals into the soil and groundwater.
Sustainable Alternatives
Understanding the negative consequences of conventional glitter, more people are moving toward sustainable substitutes. Made from plant-based products like cellulose, biodegradable glitter shows great promise. These environmentally friendly choices break down organically without producing any damaging leftovers. Choosing these substitutes allows consumers and producers to minimize the negative effects of glitter while still appreciating its festive sparkle.
Dealing with the issues related to glitter use not only safeguards our health but also helps to preserve ecosystems on Earth. Making wise decisions on the goods we consume helps us to build a more sustainable and safe environment for next generations.
Creating your own decorative sparkles at home not only allows for customization in your arts and crafts projects but also enables you to explore a variety of textures and colors. By varying the base materials and pigments, you can achieve a wide range of effects that enhance your creative works. Here’s how to experiment with different textures and colors to bring your unique vision to life.
Choosing the Right Base Material
The choice of base material plays a pivotal role in the texture of your final product. Common bases include salt, sugar, or even finely ground leaves, each offering a distinct texture:
- Salt: Provides a fine, sandy texture that catches light well. It’s ideal for a subtle shimmer.
- Sugar: Offers a coarser texture than salt, reflecting more light and creating a bolder appearance.
- Ground Leaves: These can be used for a natural, muted effect, suitable for projects that benefit from a matte finish.
Experimenting with these materials involves adjusting their granularity. For finer textures, a coffee grinder can reduce granules to a finer consistency, while leaving them coarser will produce a rougher feel.
Manipulating Colors
Achieving the perfect shade requires manipulation of colorants like food coloring, paint powders, or natural dyes. Here’s how to refine the coloring process:
- Food Coloring: Provides vibrant colors and is easy to mix. Adding more drops will intensify the color, while mixing colors can create custom shades.
- Paint Powders: These are ideal for metallic or pearlescent effects. They can be mixed directly with your base for a uniform color or sprinkled on after the base is laid out for a speckled effect.
- Natural Dyes: Made from spices, vegetables, or flowers, natural dyes offer subtler, earthy tones. Beetroot, turmeric, and spinach provide excellent colors and are environmentally friendly.
To deepen the intensity of the color, you can layer the colorant multiple times, allowing each layer to dry before adding the next. This technique is particularly useful when using lighter colorants like natural dyes.
Drying and Setting Colors
The method of drying and setting the color can also affect the texture. Here are some techniques:
- Air Drying: Best for materials that might melt or deform under heat. This method preserves the original texture but requires a longer drying time.
- Oven Drying: Speeds up the drying process and is ideal for salt or sugar bases. It can alter the texture slightly, making the particles clump together, which can be desirable for coarser textures.
- Heat Gun: Offers precise control over drying and is useful for quick spot-drying or achieving a melted, glossy look.
Adjusting the temperature and duration of the drying process allows you to control how the color sets and how the texture evolves.
Sealing and Finishing
To preserve the texture and color of your homemade creation, a sealant might be necessary:
- Clear Craft Sealant: Spray or brush on to lock in color and prevent rub-off. This is especially important for wearable or frequently handled items.
- Gloss Medium: Adds a shine to the surface, enhancing the vibrancy of the color and providing a protective coat.
- Matte Medium: Keeps the natural look but protects the colors and base material from moisture and wear.
Choosing the right finish will depend on the project’s intended use and desired aesthetic.
Custom Techniques for Unique Effects
For those looking to truly customize their projects, consider these advanced techniques:
- Layering: Apply different colors in layers before drying to create a multi-dimensional look.
- Texturizing Agents: Mix in small amounts of baking powder or cornstarch to alter the base’s texture, adding puffiness or granularity.
- Binder Mix-Ins: Incorporate small amounts of glue or gelatin to the base to change its consistency and how it adheres to surfaces.
By mastering these techniques, you can elevate your DIY projects, giving them a professional and personalized touch. Experimentation is key; don’t hesitate to try various combinations of materials, colors, and finishes to discover what works best for your artistic vision.
Conclusion
Making your own glitter at home is not only a fun and creative activity but also an environmentally friendly alternative to commercial products. You can customize the color, texture, and size to suit any project or occasion. Embracing DIY methods allows for a personal touch in crafts while contributing positively to environmental sustainability.