Last Updated on September 3, 2024 by Team Ideas24
I have a niece who’s very fond of fairy lights. She’s mesmerized by those little lights they seem to cast a magic spell on her. Because the family knows about her penchant for things fairy-related, she gets these gifts most of the time. Truth be told, it has become very difficult trying to find a present for her.
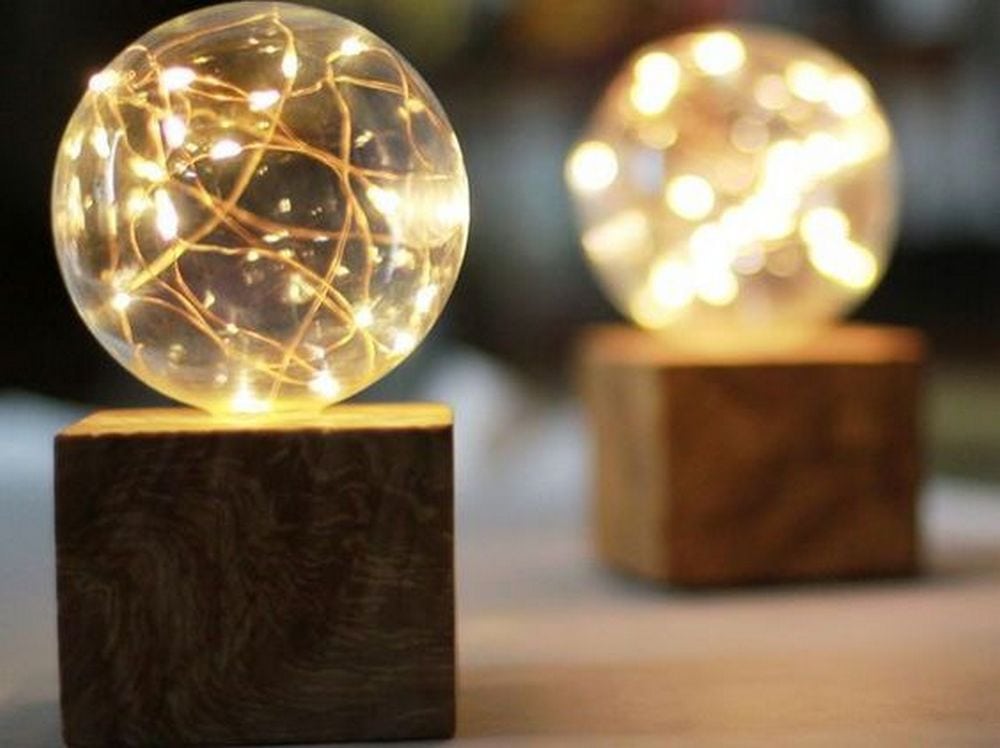
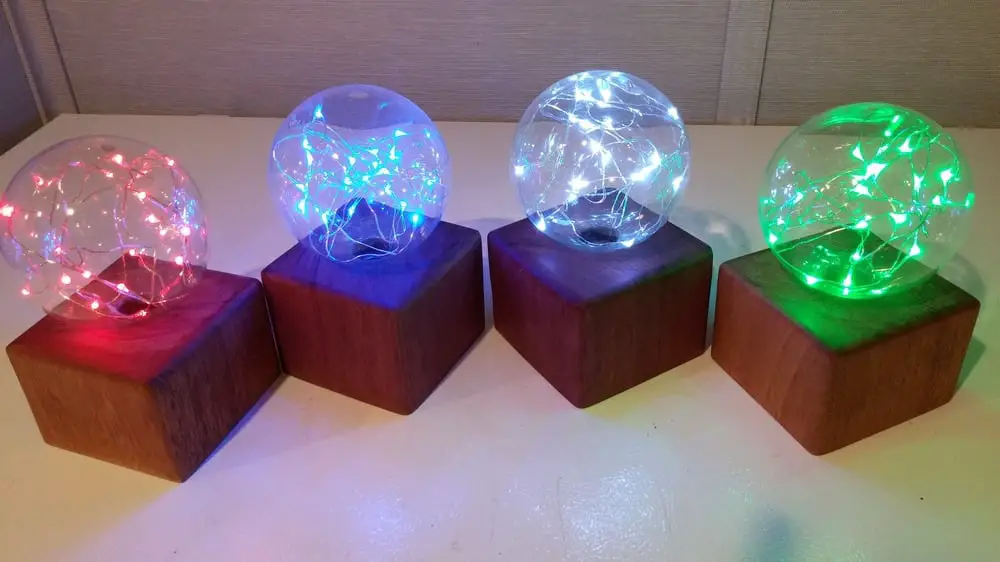
Fortunately, my daughter came across this adorable DIY project on the Internet. It provided instructions on how to make LED fairy light globes. I was thinking that my niece could display them inside her room or use them as lighting. She loved it!
Why not make these fairy light globes and give them out as presents, too? I’m sure your recipient will love these, pretty much like my niece.
Contents [show]
Crafting Fairy Light Globes
Materials
- Wood
- Glass Christmas ball
- Battery-operated LED fairy lights
- Batteries
- Velcro
- Hot glue
- Beeswax polish
Tools
- Table saw
- Drill
- Sandpaper
- Ruler
- Pencil
Instruction
Step 1: Prepare the Wood Base
- Measure and Cut the Wood: Get the Wood Base measured and cut. Measure and mark a square on your wood using a ruler and pencil that would form the base for your globe. A decent standard size is a 5×5 inch square.
- Cut the Wood: Cut the wood carefully along the designated lines to produce your square base with the table saw.
- Sand the Wood: Sandpaper will help you to smooth the edges and surface of the wood base so eliminating any splinters or rough sections.
Step 2: Drill a Hole for the Lights
- Mark the Center: Find and note the center on your wood base using a ruler and pencil.
- Drill the Hole: Making a hole at the centre mark just large enough for the fairy lights to pass through, drill the hole. Make sure the hole is splinter free and smooth.
Step 3: Prepare the Glass Christmas Ball
- Remove the Metal Top: Carefully remove the metal top of the Christmas ball. Set it aside as you’ll need to replace it later.
Step 4: Insert the Fairy Lights
- Test the Lights: Before inserting, ensure the battery-operated LED fairy lights work by testing them with the batteries.
- Insert the Lights into the Ball: Gently feed the string of fairy lights through the hole in the wood base and into the glass ball. Distribute the lights evenly inside the globe.
- Secure the Lights: Use a small amount of hot glue around the entry point of the lights into the ball to ensure they stay in place and are not pulled back through the hole.
Step 5: Attach the Globe to the Base
- Apply Hot Glue: Apply a ring of hot glue around the rim of the hole in your wood base.
- Set the Globe: Carefully set the glass ball onto the glued area, ensuring it is centered and secure.
Step 6: Add Finishing Touches
- Apply Beeswax Polish: Apply beeswalk polish all over the surface and edges of the wood base to provide it a finished look. With a soft cloth, buff it to a good sheen.
- Attach Velcro for Battery Pack: Stick a piece of Velcro to the rear of the battery pack and a matching piece to the rear of the wood base. This makes it simple to fast attach and remove the battery pack as needed.
- Replace the Metal Top: Once everything is set and the lights are positioned as desired, gently replace the metal top of the Christmas ball.
Step 7: Enjoy Your Fairy Light Globe
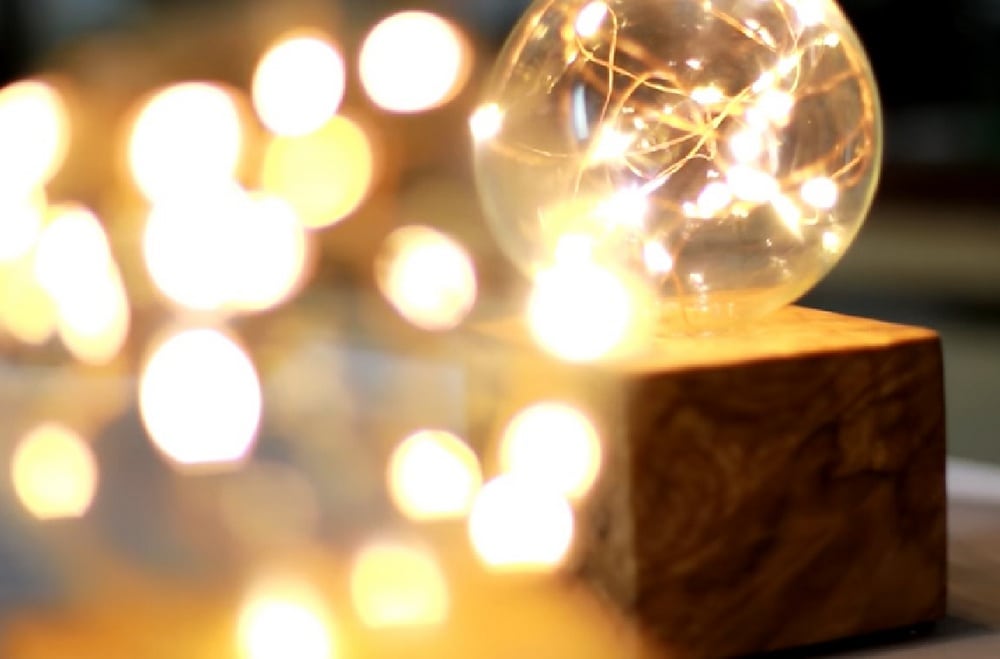
- Light It Up: Turn on the lights using the switch on the battery pack. Place your fairy light globe in your desired location and enjoy the magical ambiance it adds to your space.
Fairy Light Globes Design Ideas
Click on any image to start the lightbox display. Use your Esc key to close the lightbox.

You can get step-by-step instructions here…
Variations on the Classic Globe Design
Fairy light globes are a versatile and enchanting addition to any decor, blending the whimsy of fairy lights with the elegance of glass globes. While the classic design is always a hit, exploring variations can bring a personalized touch that reflects your style or the occasion. Here are several creative ways to diversify the design of your fairy light globes, ensuring they remain a captivating feature in your home or during special events.
Mason Jar Magic
Transform ordinary mason jars into fairy light globes with a rustic charm. Instead of glass balls, use mason jars of varying sizes to house your fairy lights. You can paint the jars with translucent glass paint to add a splash of color or frost them for a wintry effect. The sturdy nature of mason jars also makes them ideal for outdoor settings, providing a durable option that adds a warm glow to evening garden parties.
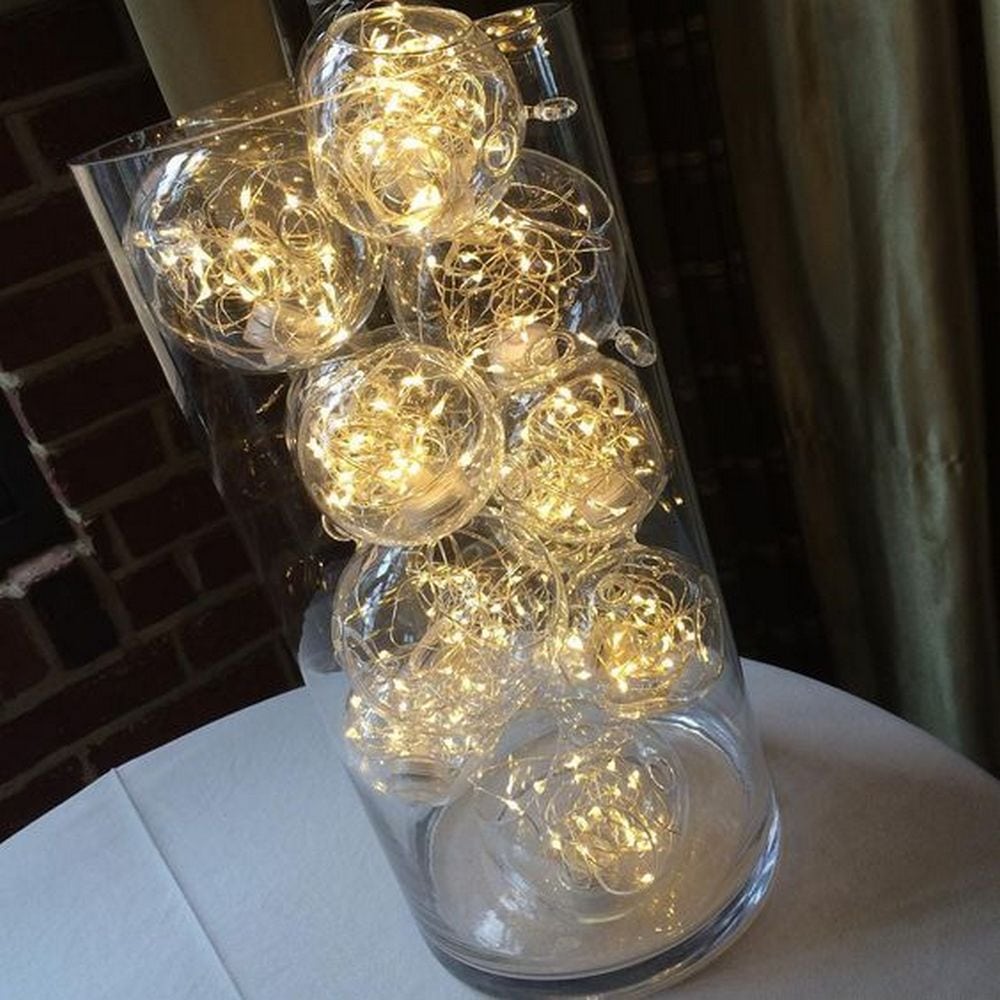
Wine Glass Wonderland
For a touch of sophistication, repurpose old wine glasses into fairy light globes. Place the battery pack in the base of the glass, where it’s easily concealed, and let the lights cascade down into the cup. These can serve as stunning centerpieces for weddings or celebratory dinners. Embellish with some greenery or tiny flowers wrapped around the stem to enhance their elegant appearance.
Vintage Vibes
Vintage bulbs can give your fairy light globes an industrial yet chic twist. Use old light bulbs as the globe; their unique shapes and filaments add an interesting visual element even when unlit. To assemble, carefully remove the interior components of the bulb, insert fairy lights, and seal the top. These look particularly striking when hung at different heights above a dining area or in a cluster in a corner of your living room.
Floating Fairy Lights
Create an ethereal floating effect by using clear fishing line to hang your fairy light globes from the ceiling. This arrangement can mimic stars in the night sky, perfect for creating a dreamy ambiance in bedrooms or as part of event decor. Adjust the lengths of the fishing lines to vary the heights of the globes, providing a dynamic and captivating display.
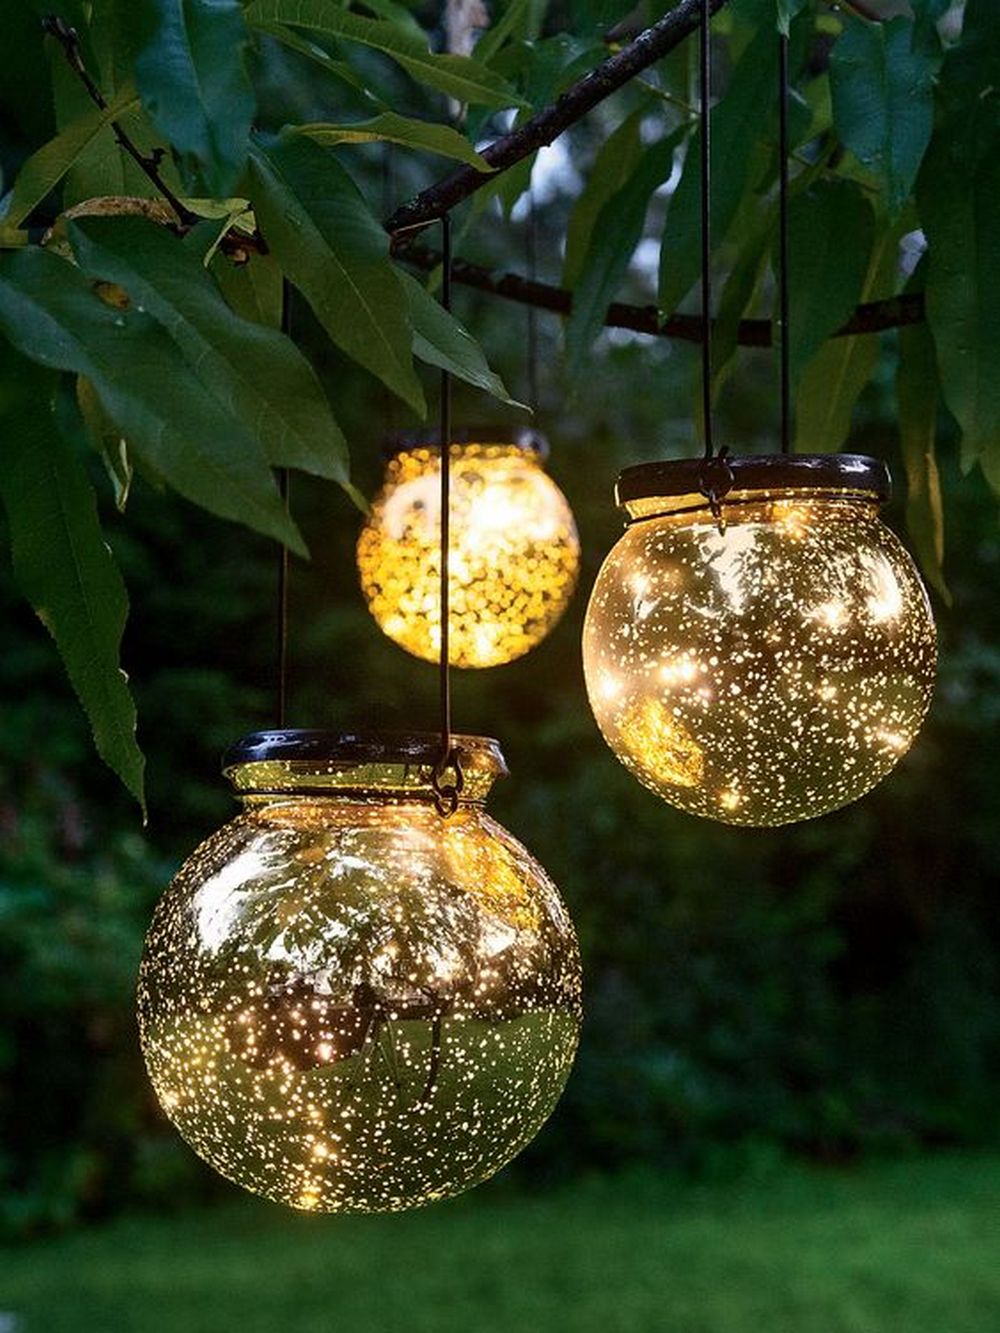
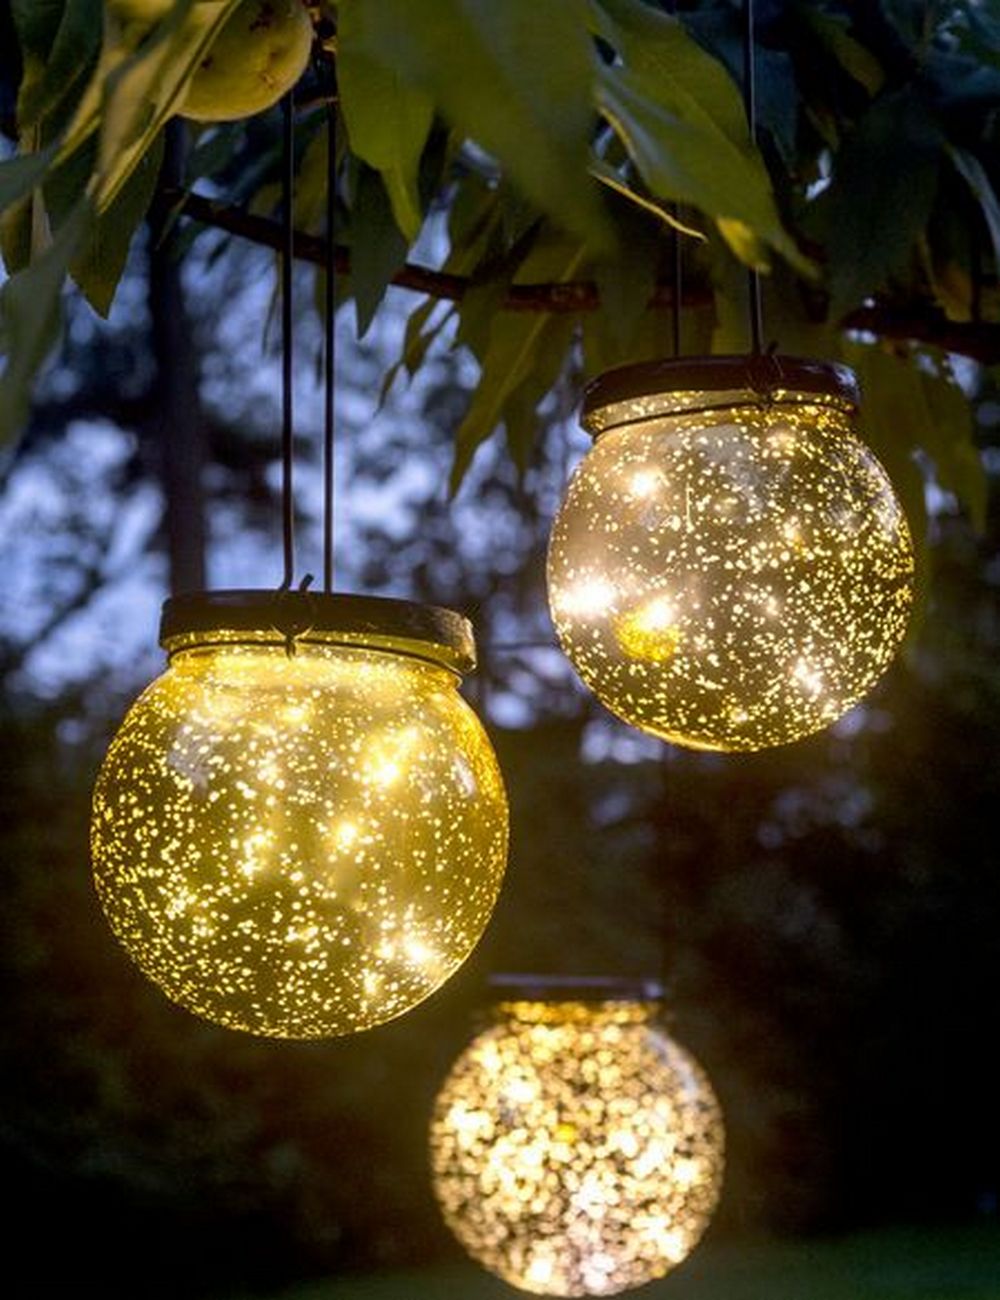
Outdoor Orb Lanterns
Enhance your outdoor spaces by transforming fairy light globes into durable orb lanterns. Use weather-resistant materials like thick glass globes or shatterproof plastic. Incorporate solar-powered fairy lights to eliminate the need for batteries or electrical cords, making them perfect for garden paths, patios, or hanging from trees. Additionally, adding elements like sand, seashells, or pebbles can tie them into specific outdoor themes, such as a beachfront look.
Themed Fairy Light Globes
Tailor your fairy light globes to specific themes or holidays by incorporating thematic elements inside the globe. For Halloween, add small pumpkins and orange lights; for Christmas, mix in red and green accents with pinecones. This approach keeps your decor fresh and allows for easy changes throughout the year, always keeping the fairy light globes as a central, adaptable piece of your seasonal decorations.
Interactive Fairy Light Art
Turn fairy light globes into interactive art pieces by adding elements that move or change. This could include small motorized elements that gently stir the interior decorations or lights that change color based on the time of day or music playing. This dynamic version not only serves as a light source but also as a conversation starter and a unique feature that draws attention.
By exploring these variations, you can enhance the classic design of fairy light globes, making them not only a source of light but a centerpiece of your decor, reflecting personal tastes and enhancing the ambiance of any space.
Color Themes and Decoration Ideas
Fairy light globes offer an enchanting blend of light and texture, making them perfect for both everyday ambiance and special occasions. By experimenting with different color themes and decorations, you can tailor your fairy light globes to complement various decor styles or celebrate different seasons and holidays.
Here are some innovative ideas to infuse color and creativity into your fairy light globes, ensuring they stand out as a decorative highlight in any setting.
Seasonal Shades
Adapt your fairy light globes to the changing seasons by choosing colors that reflect the time of year. For spring, fill your globes with pastel-colored lights and floral decorations. Summer calls for vibrant, bold colors like bright yellows or ocean blues, perhaps mixed with sand or small shells for a beachy vibe.
In autumn, opt for warm oranges, reds, and golds, along with small faux leaves or pumpkin ornaments. Winter fairy light globes can sparkle in icy blues and whites, adorned with miniature snowflakes or silver tinsel to mimic frost.
Festive Flair
Holiday-themed fairy light globes can add a festive touch to your celebrations. For Halloween, use orange and purple lights with small spooky accents like tiny bats or ghosts. Christmas fairy light globes could feature red and green lights, complemented with pine cones or holly.
For a more elegant New Year’s Eve decoration, silver, gold, and black lights with glittery accents will make your space sparkle. Each holiday offers a unique opportunity to theme your fairy light globes creatively.
Themed Party Palettes
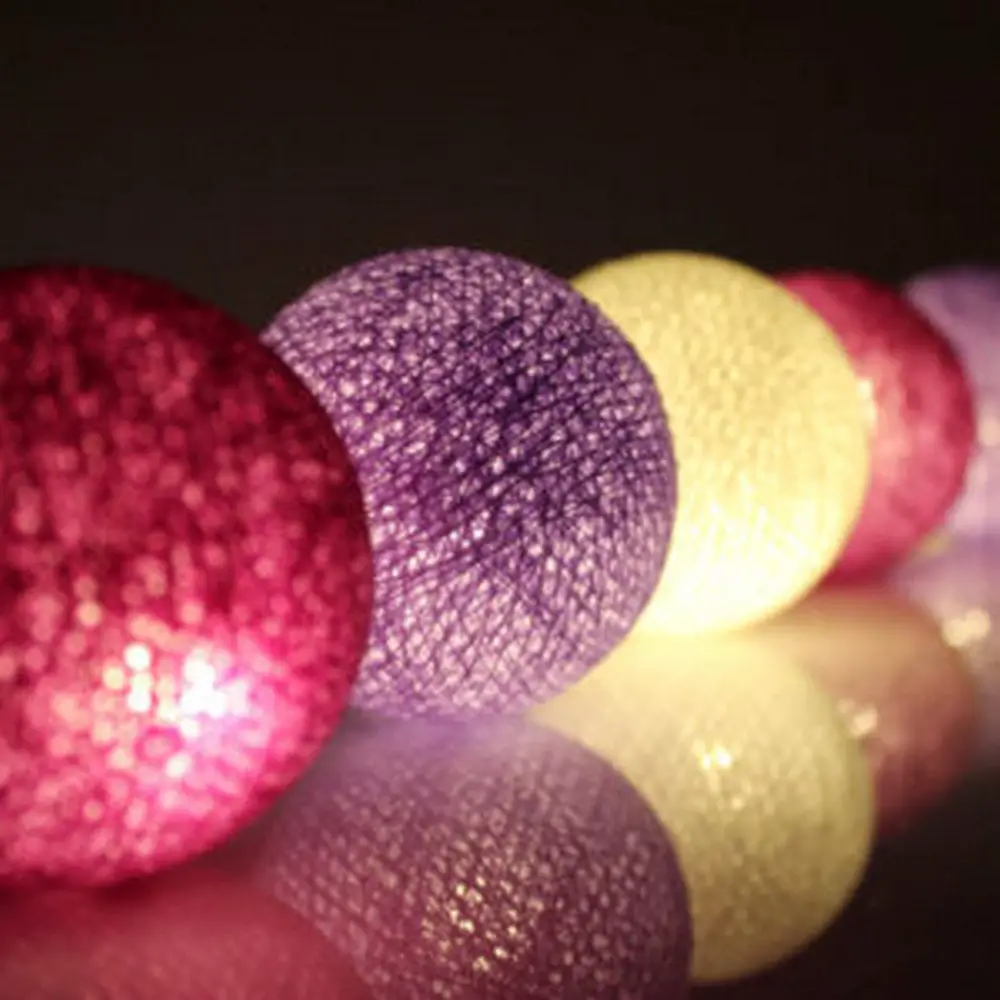
Fairy light globes are perfect for themed parties. For a kid’s birthday party, consider bright primary colors with fun figures like cartoon characters or animals inside the globes. For a more sophisticated gathering, such as a bridal shower or a cocktail party, use softer tones like blush pink or light lavender.
Consider adding some pearl or lace embellishments inside the globes to enhance the theme. Matching the fairy light globes to your party’s color scheme ties the decor together beautifully.
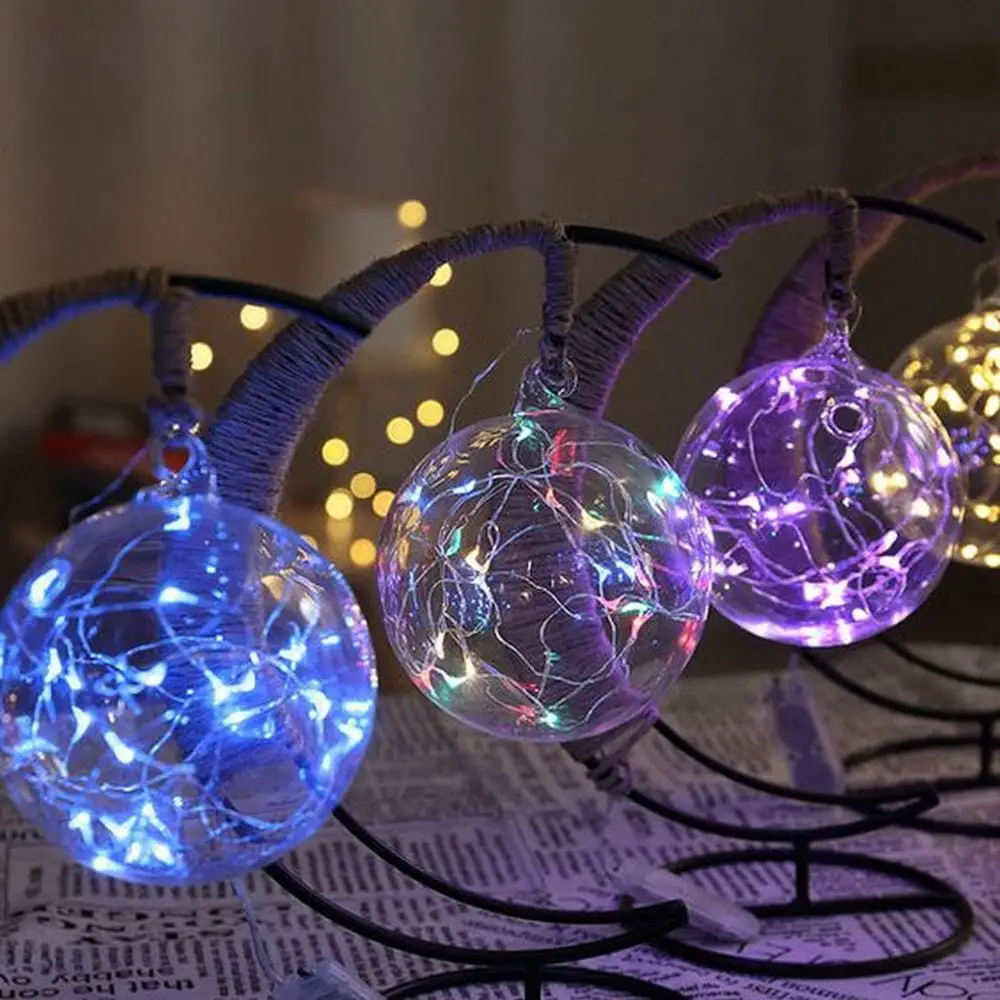
Mood Lighting
Color influences mood, so select the hues for your fairy light globes based on the ambiance you want to create. For a calming effect, use cool colors like blues and greens. These colors are perfect for bedrooms or bathrooms where relaxation is key. For a more energizing atmosphere, like in a home office or kitchen, opt for warmer tones such as yellows and oranges. You can even use multi-colored lights that can be changed according to your mood or the time of day.
Personalized Touches
Incorporate personal items to make your fairy light globes reflect your own style or tell a story. This can include anything from a combination of your preferred colours to including meaningful objects like little trinkets from special trips or pastimes. This not only customises your décor but also makes guests talk about your fairy light globes.
Your fairy light globes will not only brighten your room but also improve its general look by combining these colour themes and decorative ideas, so making every globe a unique work of art. These light globes provide countless opportunities for artistic expression whether your intended use is for a party, seasonal alignment, or just decoration of your regular house.
Conclusion
Crafting fairy light globes offers a delightful way to add personalized charm and warmth to any space. These custom creations can transform the atmosphere of your home or events, making them truly magical and inviting. Explore your creativity and enjoy the process of making each globe a unique piece of art.