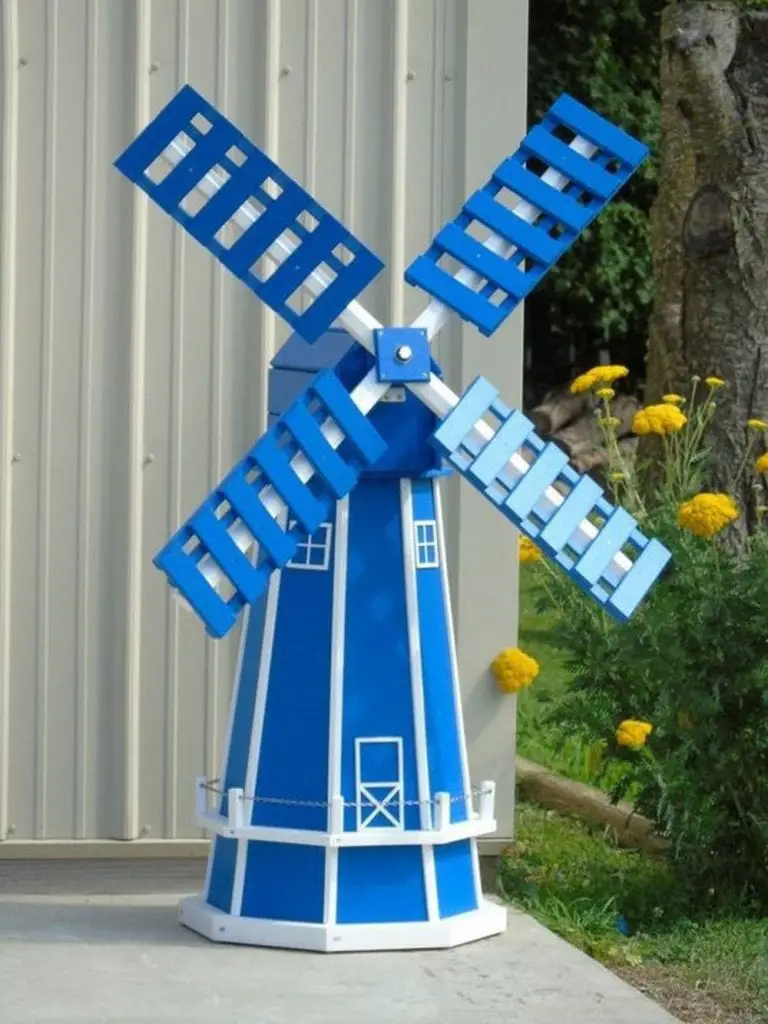
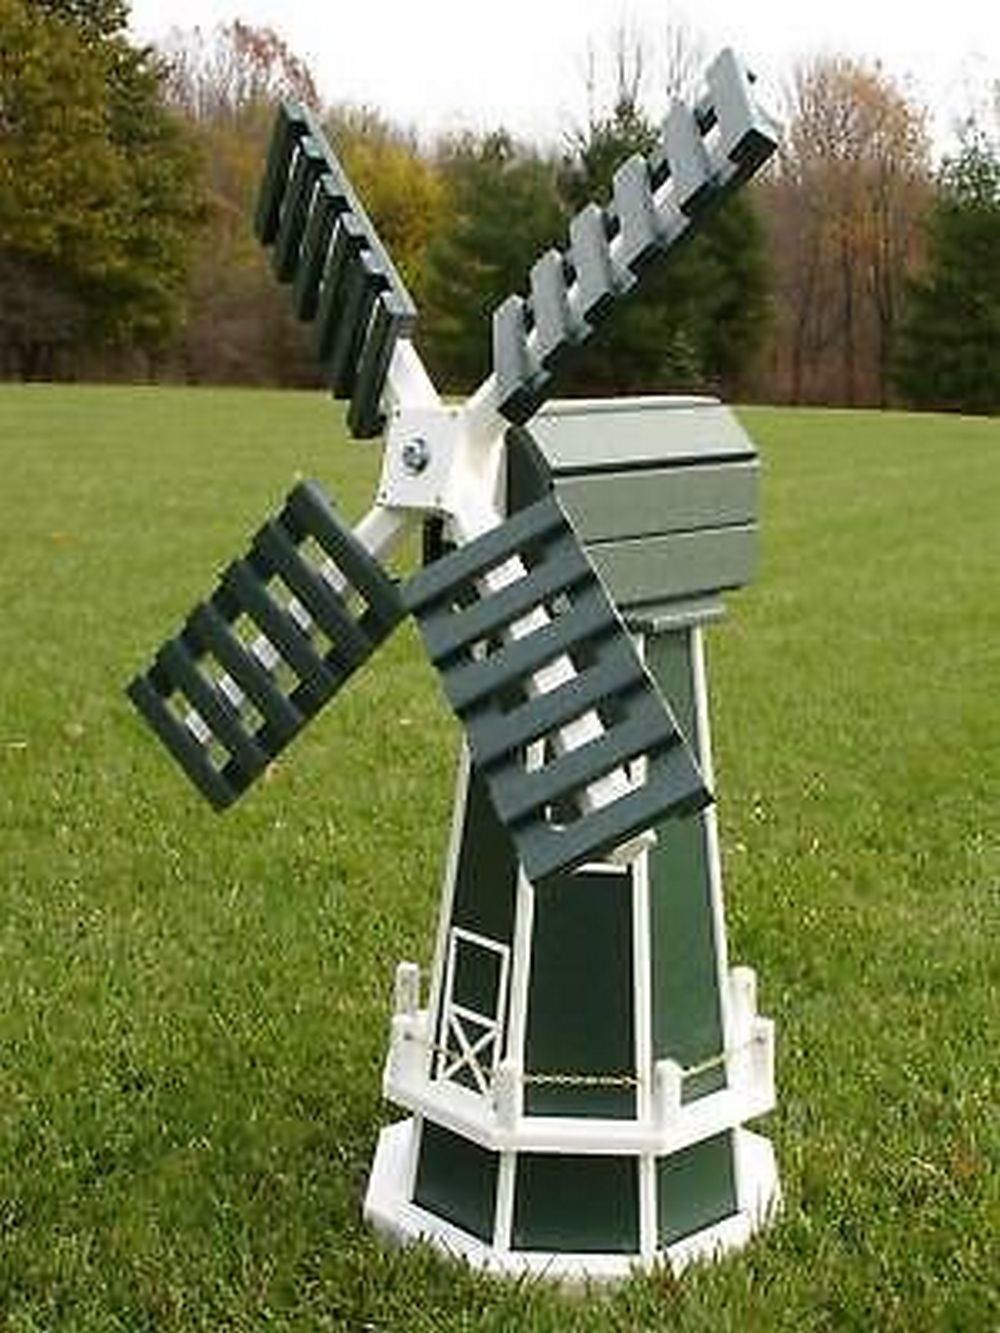
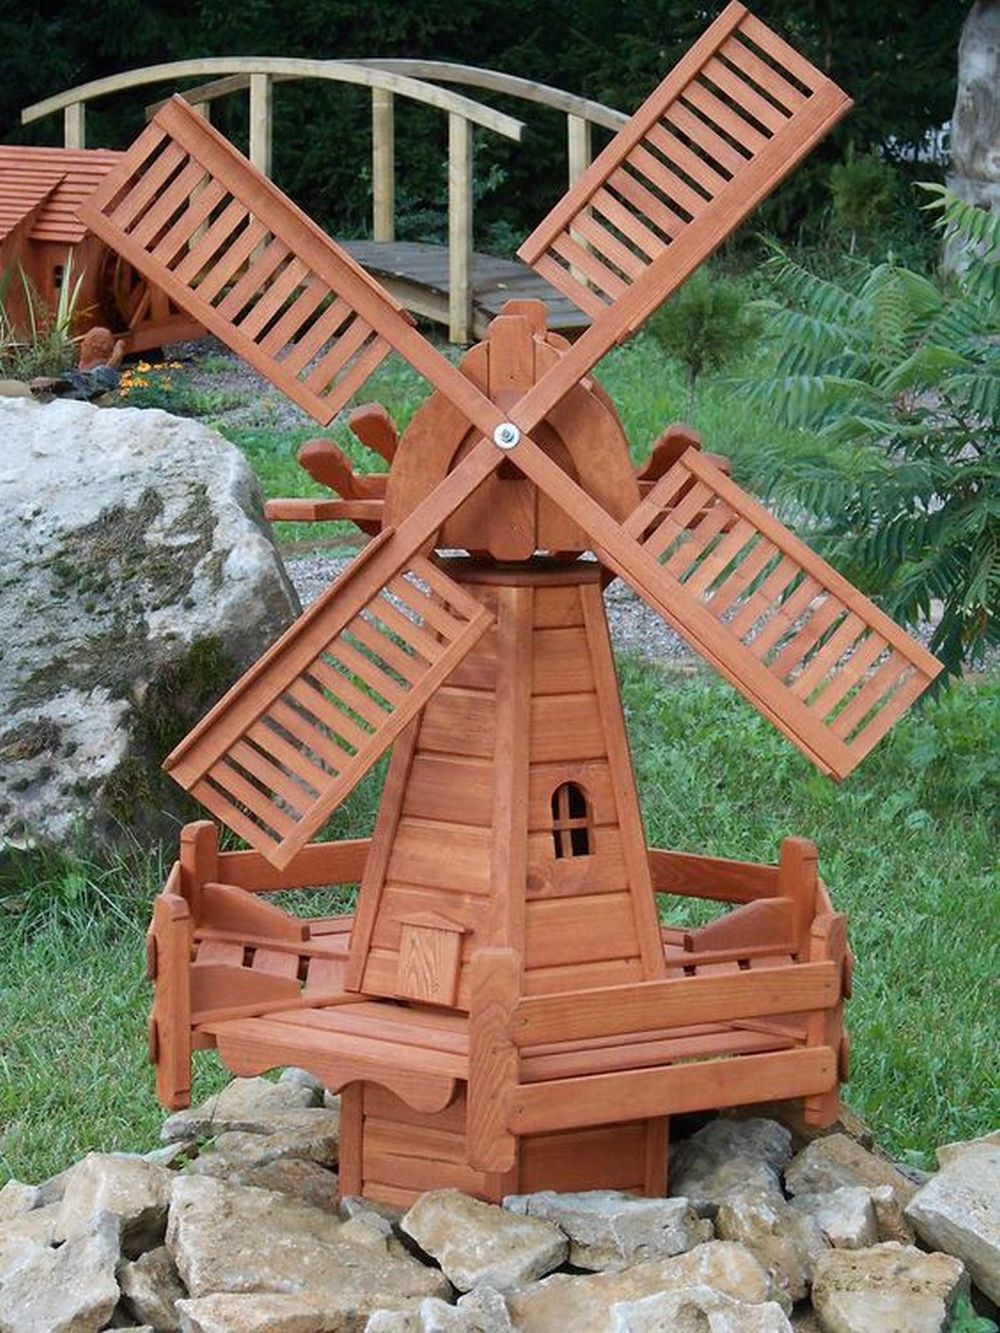
How’d you want something as adorable as this in your garden?
Gone were the days when all gardens looked almost the same. Nowadays, there are people who offer their services as landscape artists or garden decorators. They’re experts at creating beauty out of chaos, so to speak. However, there are some of us who have not allocated a budget for professional landscaping or garden decorating. Fortunately, there are a lot of DIY options available on the internet.
Take my case: I do not have extra money to pay for someone to do my garden. But during my free time, I’m constantly searching the web for ideas. I came across this DIY garden windmill project. This is going to be a great addition to my garden – and yours, too.
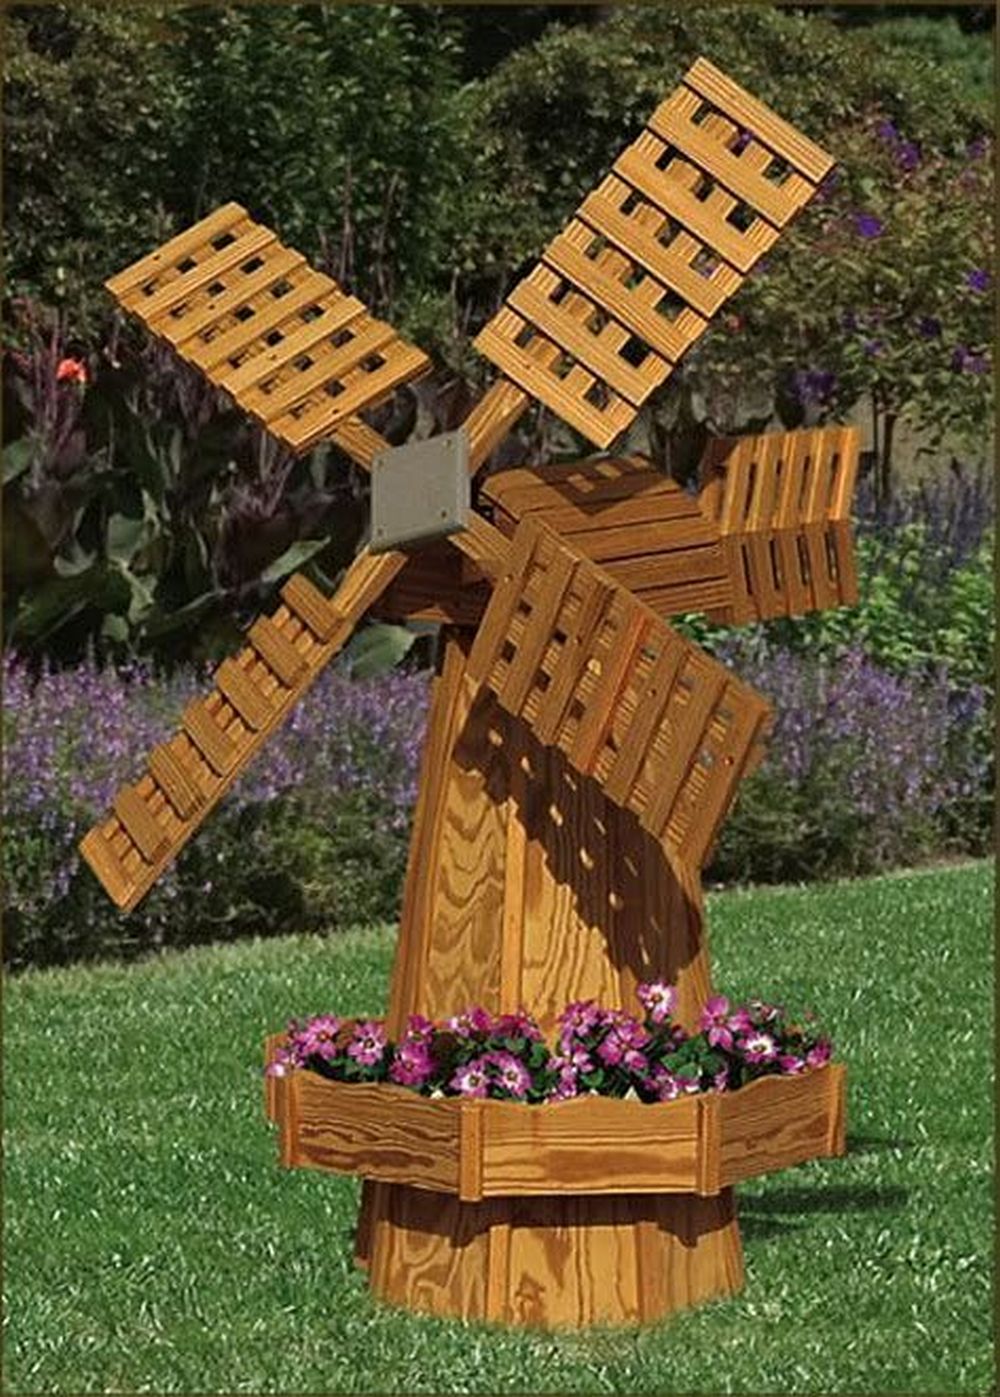
This garden windmill will make a great addition to your backyard.
Contents
- 1 Fabulous DIY garden windmill designs ideas
- 2 How to create a DIY garden windmill
- 2.1 1. Make the garden windmill pattern
- 2.2 2. Cut the plywood
- 2.3 3. Make the body
- 2.4 4. Make the base & window decorations
- 2.5 5. Make the second tier and roof
- 2.6 6. Attach the second tier to the body
- 2.7 7. Make a little hut and roof
- 2.8 8. Make the sails
- 2.9 9. Make the base
- 2.10 10. Attach the windmill to the base
- 3 Customizing Your DIY Garden Windmill
- 4 Eco-Friendly Materials for DIY Garden Windmills
- 5 FAQs for DIY Garden Windmills
- 5.1 What basic materials do I need for a DIY garden windmill?
- 5.2 How can I customize my DIY garden windmill?
- 5.3 Is it necessary to have advanced woodworking skills to build a garden windmill?
- 5.4 Can I use my DIY garden windmill for practical purposes?
- 5.5 How do I ensure my garden windmill is safe and stable?
- 5.6 Are there eco-friendly options for building a garden windmill?
- 5.7 How long does it take to build a DIY garden windmill?
- 5.8 Can building a garden windmill be a family project?
- 5.9 How do I maintain my garden windmill?
- 5.10 Where should I place my garden windmill?
- 6 Conclusion
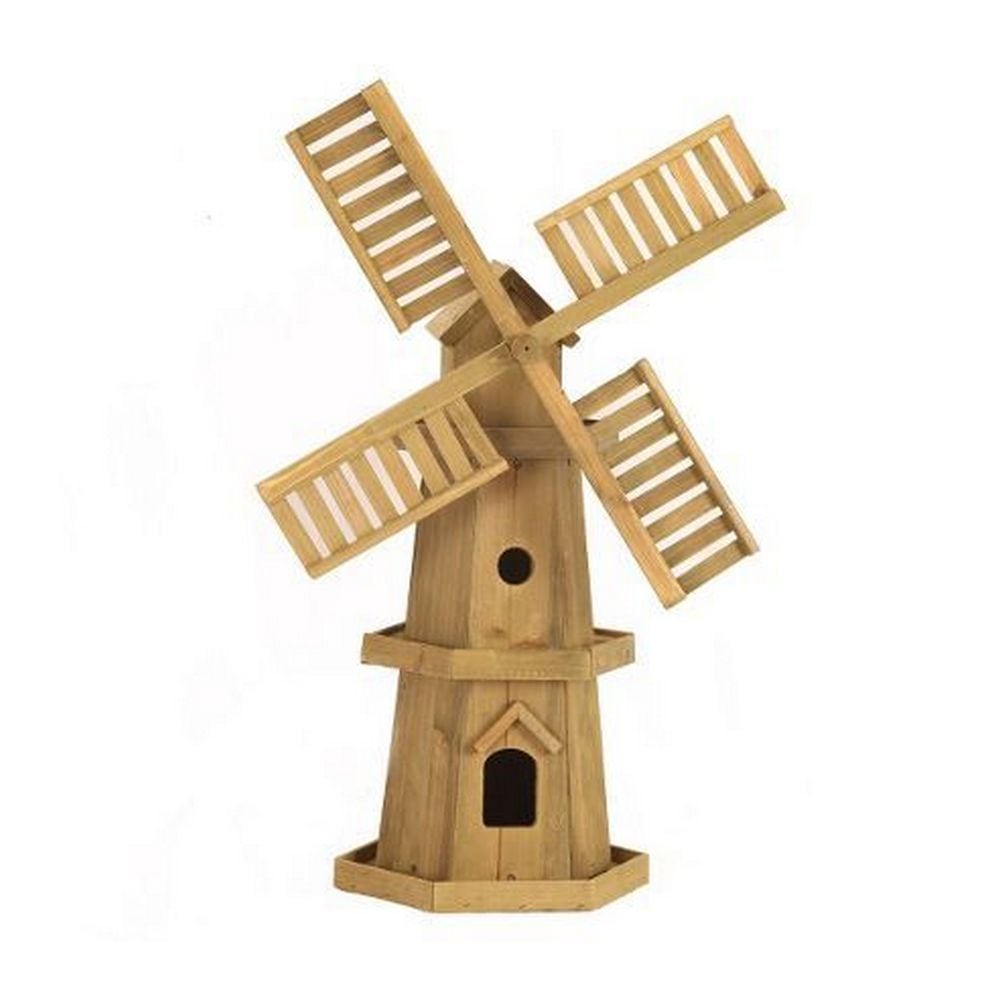
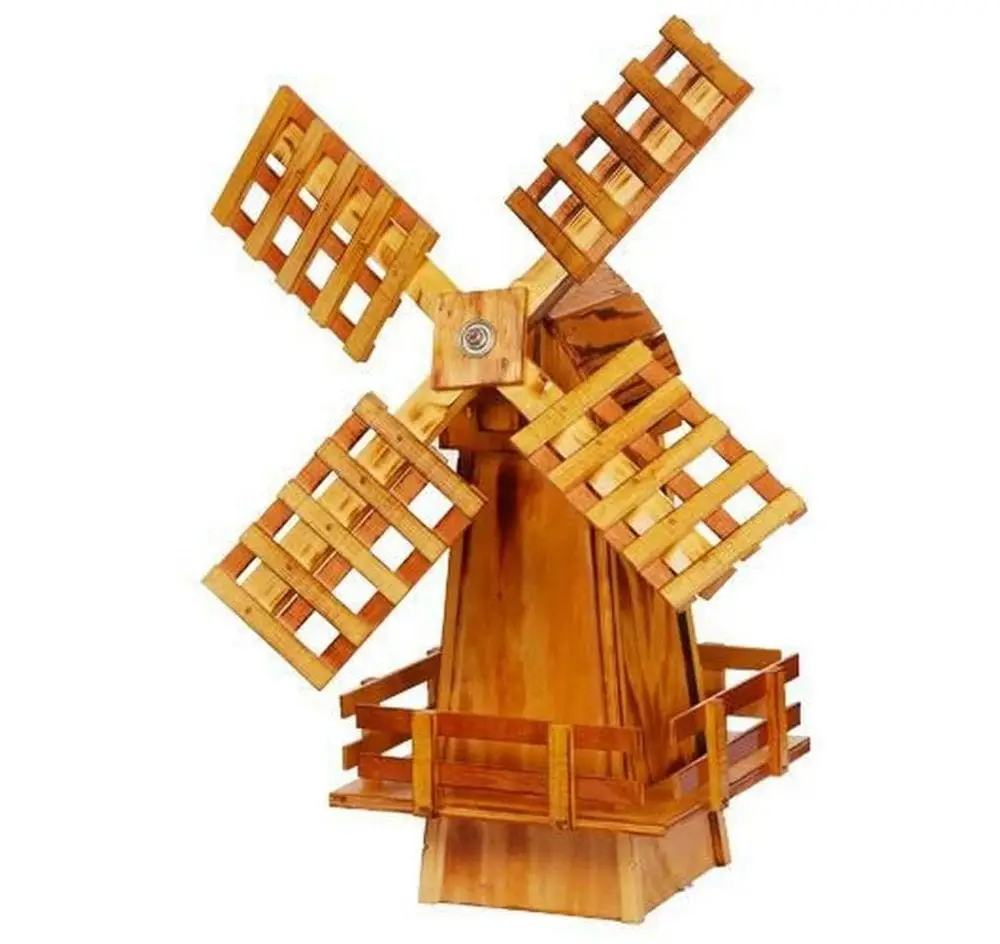
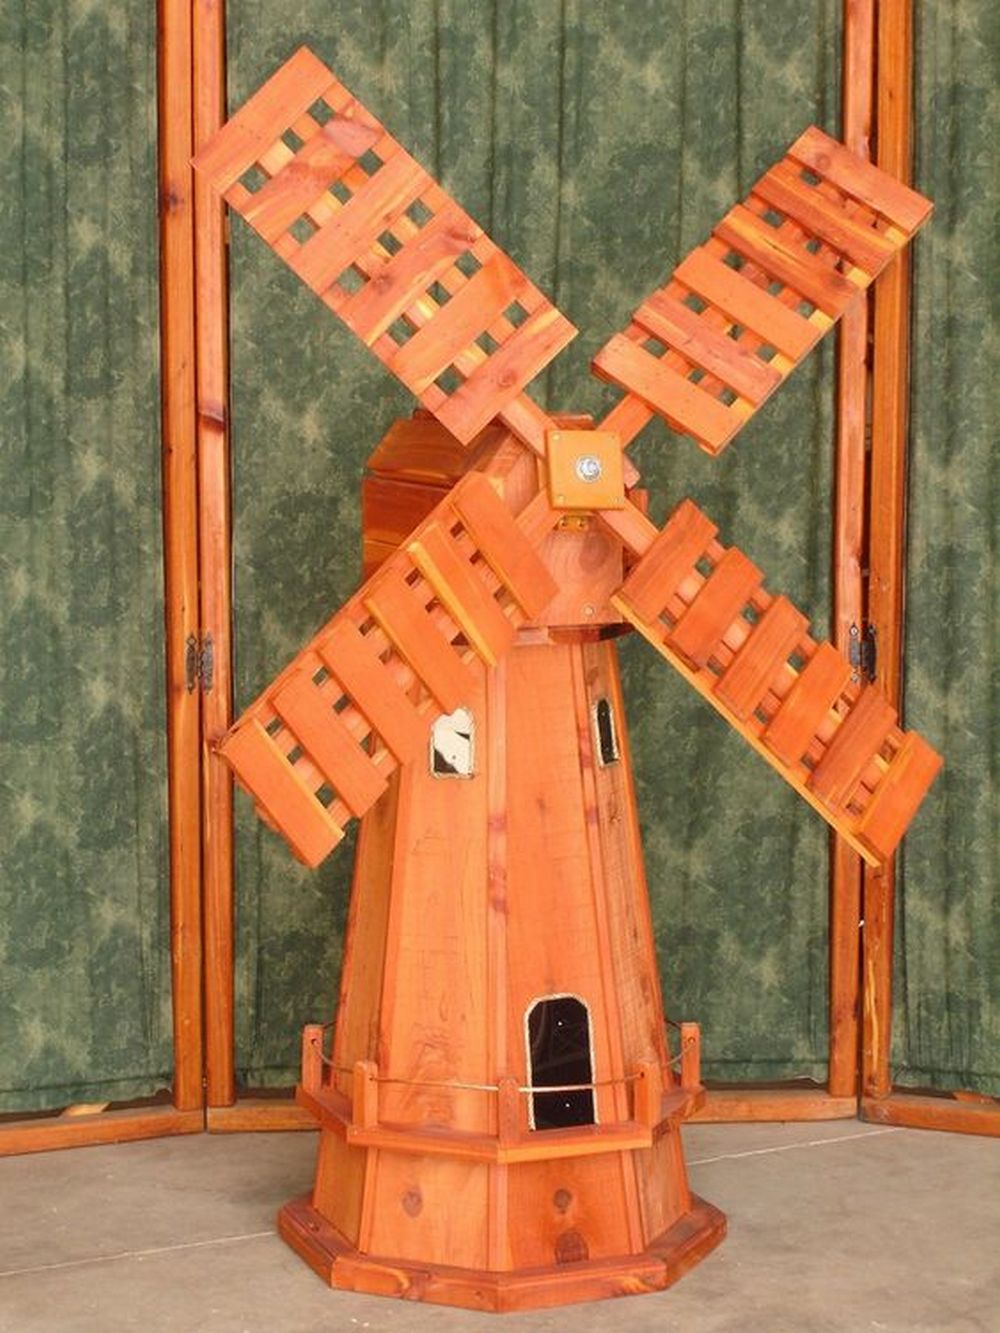
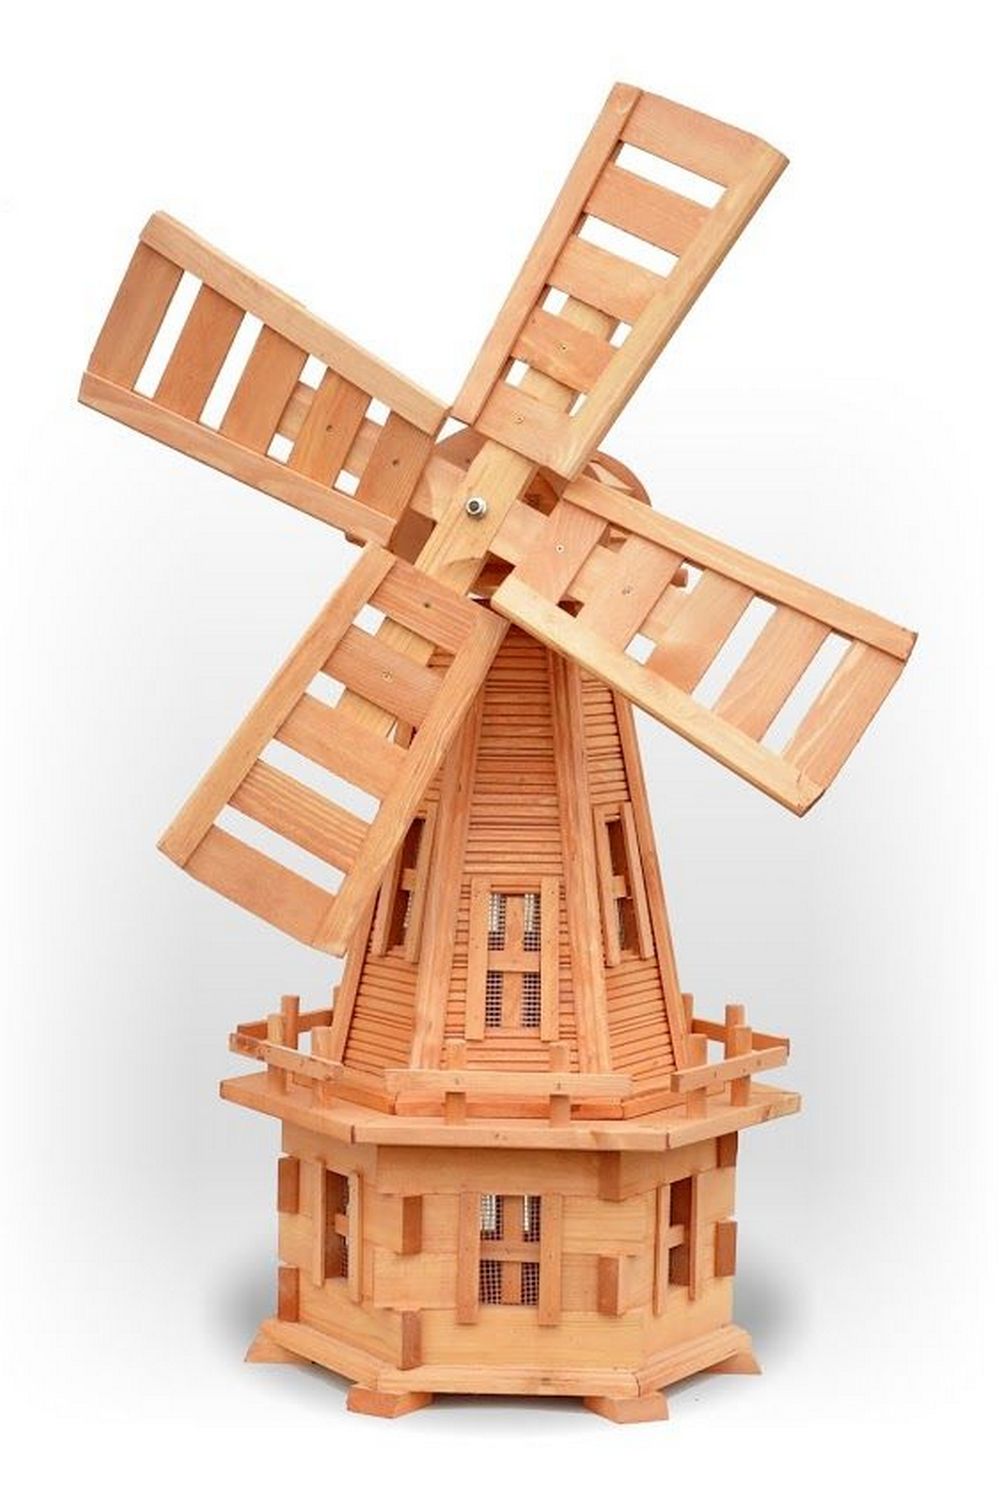
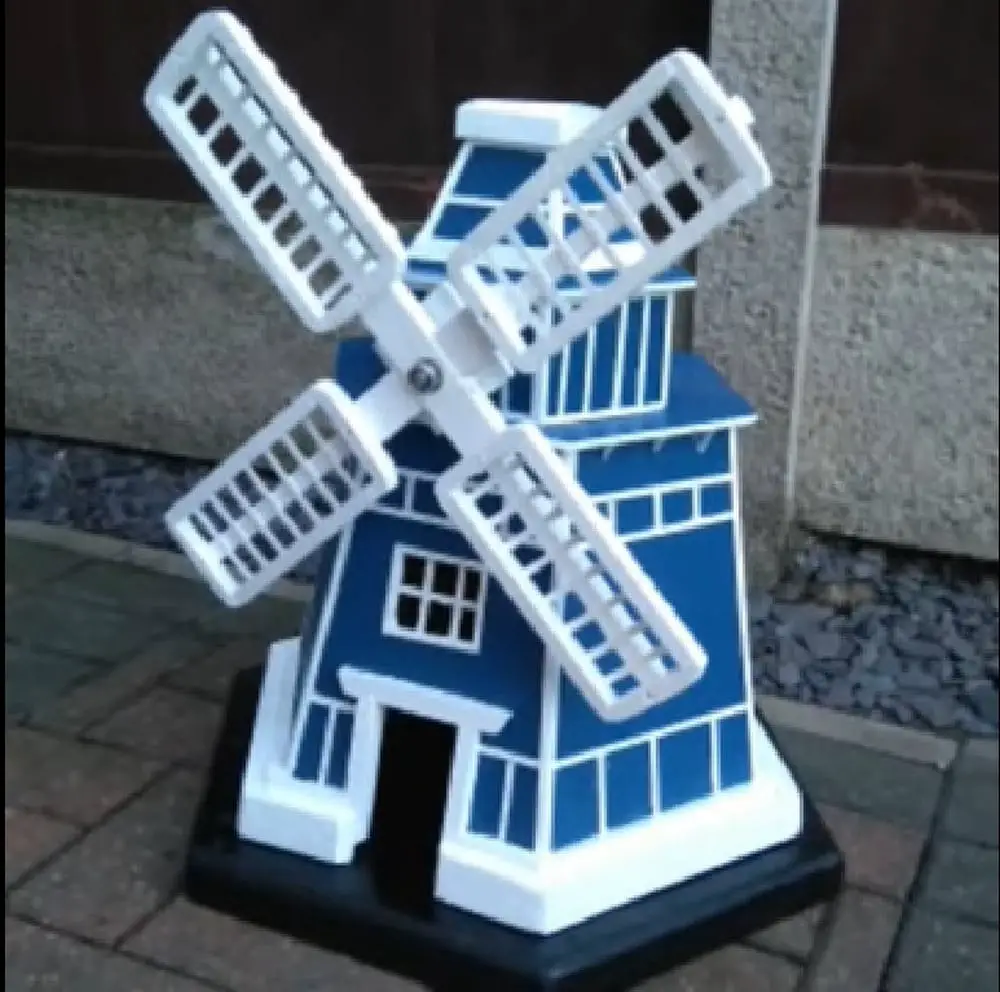
Fabulous DIY garden windmill designs ideas
Click on any image to start the lightbox display. Use your Esc key to close the lightbox.

DIY Garden Windmill: 10 Creative Steps
This guide will show you how to build a simple garden windmill using inexpensive materials. You can find everything you need to build your own windmill at your local hardware store. Here are the supplies you will need to build your own garden windmill:
- plywood
- wood glue
- screws/bolts
- wood filler
- pallet lats
- popsicle sticks
- paint (color of your choice)
- clear varnish
- Jig saw
- Table saw
- Sharpie/marker
- electric drill
- paintbrush
- chop saw
- hand saw
How to create a DIY garden windmill
Building a garden windmill is a fun and easy weekend project that will add charm and whimsy to your outdoor space. In just a few hours, you can have a beautiful and functional garden windmill that will add personality to your garden.
We’ll walk you through the steps to build your own, so you can enjoy the breeze and the beauty of your own backyard windmill.
1. Make the garden windmill pattern
On a piece of plywood, draw the body of the windmill
2. Cut the plywood
I then cut out the sections using a jigsaw, I did this to make it easier to run the wood through the table saw. I then ran the wood through the table which I set to 30 degrees on both sides. I then marked out where the door and window were going to go on the front panel and cut them out using a jigsaw.
3. Make the body
Then I glued all six sections together using good quality wood glue.
I then drew around the top of it onto another piece of board, added an inch to it and cut it out.
I then ran Pallet lat through the table saw to make some small blocks to attach to the top of the windmill.
To attach these I used glue and then once it had dried and drilled a hole in each one and screwed a small screw into them.
I then placed it on the board and drilled it into the blocks and screwed them to the body.
All the screw holes I have countersunk so the screw was under the wood which I later covered with wood filler.
4. Make the base & window decorations
I then made the edging around the base. To do this I ran a few Pallet lats through the table saw and cut the size of the base. I also used 30 degrees on the chop saw.
I then made another 7 blocks for the base and glued and screwed them in place like before.
Then I glued lollipop sticks all around it for decoration and used lollipop sticks for the window.
5. Make the second tier and roof
I then made the second tier using another piece of plyboard.
I cut the wood at 10cm in width and 8cm in height and cut at a 30-degree angle on both sides, I made 6 of these panels.
I then glued it all together and cut some smaller pieces of wood which I also glued inside for strength, I cut these to 8cm in height.
I then drilled a hole in the front of it for the bolt to go through.
I then drew around the second tier on a piece of board and added an inch. I then cut out the roof and glued it and screwed it on.
6. Attach the second tier to the body
To attach the second tier to the body I glued it on then turned it upside down and screwed in a few screws from underneath on the inside.
I then made the roof section, I cut 5 pieces to the desired measurement and cut both sides at a 30-degree angle. I then glued the 5 pieces together.
I then cut a piece of wood and glued it inside the top and then screwed it down to the roof of the 2nd tier through the hole in the top.
7. Make a little hut and roof
I then made a little hut at the back of the second tier.
This was made with a plyboard that I cut using a chop saw and then all glued together.
I then glued lollipop sticks around the second tier.
Then I made the roof itself, I did this by drawing around the top onto a piece of board which I cut and then glued on.
I then cut some thin strips on the table saw and using a chop saw, cut them to length and glued them around the top creating a slight lip.
I then put another edging around the bottom of the base. I did this the same way I did the first one. The cuts were at a 30-degree angle.
I then gave it a coat of paint.
8. Make the sails
I then made the sails. I did this by running Pallet lat through the table saw to create two long stems.
Then I cut a groove out of each piece in the center so when I joined them together they were the same thickness.
To cut the groove out I marked out the size in the center and marked it halfway. I then cut to the halfway point with a jigsaw.
I then drilled a hole in the center big enough for the jigsaw blade and cut it outwards.
I then cut out a square piece of board and screwed it over the join and drilled a hole through it.
I then trimmed down the stems but left the bottom the original thickness.
I used a hand saw for this.
I then made the edging for the sails. I did this by cutting some small strips on the table saw and gluing them together.
Then I glued it to the stem. I drilled two holes in each one and screwed them to the stem top and bottom.
I then forced lollipop sticks over the stem and glued both ends.
I then painted it white.
9. Make the base
Then built the base for the windmill to sit on.
I did this by drawing around the base of the windmill on a piece of plyboard.
I didn’t have a piece left so I joined two off-cuts together. I then added an inch to it and cut it.
I then ran Pallet lat through the table saw and cut six sections all at the same width.
I cut the edges at a 30-degree angle and screwed them through the board. I then ran a router around the top edge of it, I then filled the gaps with wood filler and then sanded it. After that, I painted it black.
10. Attach the windmill to the base
To attach it to the windmill I covered the blocks at the base in glue and sat the windmill on the base. When the glue dried I turned it upside down and screwed in six screws, one each block.
I then bolted on the sails and gave them several coats of clear varnish.
Then it’s complete!
Now that you’ve finished your DIY garden windmill, it’s time to enjoy the fruits of your labour! This charming addition to your yard will not only add a touch of whimsy but it can also be used to help aerate your garden beds – giving your plants a little boost.
You can watch the DIY garden windmill tutorial here…
Customizing Your DIY Garden Windmill
Creating a DIY garden windmill is not just about adding a unique feature to your garden; it’s also an opportunity to express your creativity and personal style. With a few custom touches, your windmill can become a standout piece that reflects your personality and complements your garden’s theme.
Personalizing with Colors and Patterns
One of the easiest ways to customize your windmill is through color. Choose colors that match your garden’s palette or go bold with contrasting hues for a striking effect. Consider patterns or designs that resonate with you, like floral motifs for a classic look or geometric shapes for a modern twist.
Adding Decorative Elements
Enhance your windmill with decorative elements. Attach ornaments, like butterflies or birds, to the blades or body. You can also add solar-powered lights for a charming night-time glow. For a whimsical touch, consider attaching small figurines or wind chimes.
Themed Windmill Designs
Tailor your windmill to a specific theme. For a rustic garden, use distressed wood and vintage accessories. For a seaside theme, incorporate marine elements like ropes or anchor motifs. This thematic approach can turn your windmill into a focal point that ties your garden’s decor together.
Seasonal Decorations for Your Windmill
Adapt your DIY garden windmill to the changing seasons. For spring, add floral garlands; in autumn, feature harvest-themed decor. This approach keeps your garden windmill dynamic and in sync with the natural landscape.
Incorporating Movement and Sound
Enhance your DIY garden windmill by adding elements that react to the wind. Wind chimes or hanging mobiles can add a melodic dimension. These additions create a sensory experience, making your windmill a central part of your garden’s atmosphere.
Eco-friendly Customizations
Consider eco-friendly options for customizing your DIY garden windmill. Use recycled or upcycled materials for decorations. This not only benefits the environment but also adds a unique story to your garden windmill.
Interactive Features for Kids
If you have children, turn your DIY garden windmill into an interactive play feature. Simple additions like a weather vane or educational markings can turn it into a fun, learning tool for kids.
Seasonal Lighting Themes
Experiment with different lighting themes for your DIY garden windmill throughout the year. Use warm colors for autumn, bright whites for winter, and vibrant hues for summer parties. This keeps your garden visually exciting and ever-changing.
By personalizing your DIY garden windmill, you not only add a functional piece to your outdoor space but also a reflection of your individuality and creative flair.
Eco-Friendly Materials for DIY Garden Windmills
When building a DIY garden windmill, using eco-friendly materials is not only good for the environment but also adds a sustainable charm to your garden. Here are some ideas for incorporating green materials into your windmill project.
Reclaimed Wood and Metal
Using reclaimed wood and metal in your DIY garden windmill project is a smart and eco-friendly choice. Old wood from furniture, barns, or pallets can be sanded and treated to create a charming, vintage look for your windmill. This type of wood often has a unique patina and grain, adding character to your project.
Similarly, repurposing scrap metal, such as iron or steel, can provide a sturdy and rustic element to your windmill. By using these reclaimed materials, you’re not only giving a new life to discarded items but also reducing the demand for new resources, thus contributing to a more sustainable environment.
Bamboo and Natural Fibers
Bamboo is increasingly popular in eco-friendly construction due to its fast growth and sustainability. It’s a strong yet lightweight material, making it ideal for the frame of your DIY garden windmill. This can ensure durability while maintaining a lower ecological footprint.
For the sails, incorporating natural fibers like jute or hemp can be a great choice. These fibers are biodegradable, have a minimal environmental impact during production, and offer a unique, organic look to your windmill. Using bamboo and natural fibers not only helps in creating an environmentally responsible project but also adds an earthy, calming vibe to your garden space.
Recycled Plastic and Rubber
Opting for recycled plastics and rubber materials is an excellent way to build a more modern and resilient DIY garden windmill. These materials are ideal for parts that require more durability and resistance to weather elements.
For instance, recycled plastic can be used to create strong, lightweight blades, while rubber might be perfect for protective coatings or non-slip surfaces at the base. Using these recycled materials helps in reducing landfill waste and the consumption of new plastic and rubber, aligning your DIY project with sustainable practices.
Moreover, they offer a sleek, contemporary look to your garden windmill, making it not only an eco-friendly choice but also a modern garden feature.
By choosing eco-friendly materials for your DIY garden windmill, you contribute to environmental sustainability while adding a unique and personal touch to your garden.
FAQs for DIY Garden Windmills
What basic materials do I need for a DIY garden windmill?
Common materials include plywood, wood glue, screws, wood filler, paint, and basic tools like a saw and drill. For eco-friendly options, consider reclaimed wood, bamboo, or recycled plastic.
How can I customize my DIY garden windmill?
Personalize your windmill with paint, decorative elements like lights or ornaments, and themed designs. Also, consider adding seasonal decorations or interactive features for kids.
Is it necessary to have advanced woodworking skills to build a garden windmill?
Basic DIY skills are sufficient for simple designs. However, more complex windmills might require advanced skills. There are options available for all skill levels.
Can I use my DIY garden windmill for practical purposes?
Yes, besides being decorative, your windmill can be used for aerating soil or as an educational tool.
How do I ensure my garden windmill is safe and stable?
Make sure to secure all parts firmly, use durable materials, and follow safety guidelines during construction. Regular maintenance is also key to ensuring stability.
Are there eco-friendly options for building a garden windmill?
Yes, you can use sustainable materials like bamboo, natural fibers, reclaimed wood, and recycled plastic and rubber.
How long does it take to build a DIY garden windmill?
The time varies based on the complexity of the design and your skill level. Simple designs can take a few hours, while more intricate ones might require a weekend or more.
Can building a garden windmill be a family project?
Absolutely! It can be a fun and educational experience for the whole family. Ensure tasks are age-appropriate for safety.
How do I maintain my garden windmill?
Regularly check for and repair any damages. Apply weather-resistant treatments if necessary, and keep the moving parts well-lubricated.
Where should I place my garden windmill?
Choose a location with good wind exposure and where it can be a focal point in your garden. Make sure it doesn’t obstruct paths or views.
Conclusion
Building a DIY garden windmill is a rewarding project that enhances your garden’s charm and character. With options ranging from simple to advanced, and the ability to use eco-friendly materials, it’s an activity that resonates with both novice and experienced DIY enthusiasts. Customization options allow for personal expression, making each windmill unique.


