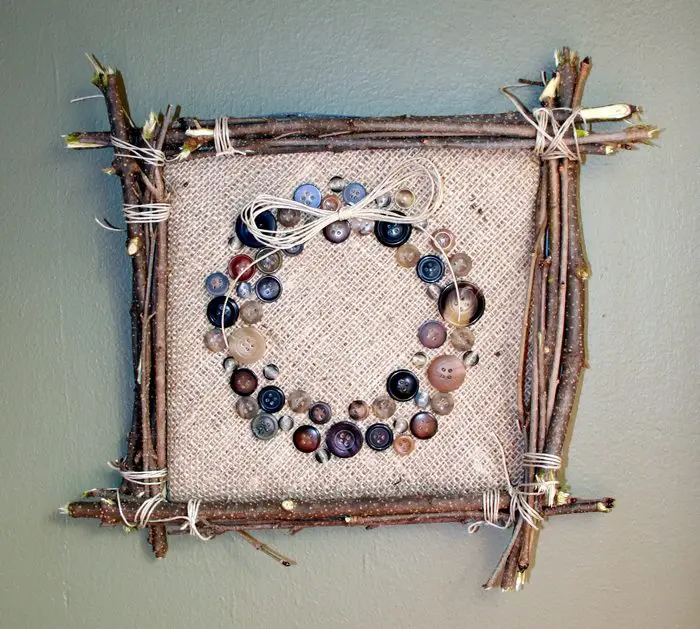
Want to display your favourite photos at home in a beautifully unique way? This gorgeous DIY picture frame is the perfect solution. It looks super expensive yet it’s as easy as and it’s so cheap to do!
You only need to collect twigs from your backyard or neighbourhood for this project. In fact, we don’t recommend buying treated twigs from the craft store because real ones, well, give the most authentic look.
Look for dead, brown twigs instead of green ones and check to make sure there are no insects or signs of decay. After collecting, rinse them and let them dry before proceeding to the actual project.
Now you can buy a simple wooden craft for your base, but it would be better if you can find an old or secondhand picture display. In other words, this project is also perfect for giving old, boring picture displays a new look!

This idea for displaying family photos, artwork, or as a wedding decoration is not just great for its aesthetic value, but also for its sentimental value. For many, family is everything, and what better way to display that than to have a beautiful display of family photos. This is also a great way to show off artwork, whether it be from a family member or a professional artist. And finally, this makes for great wedding decoration, as it is both beautiful and meaningful.
Is this your kind of project you like? Then learn how to make your own beautiful version by heading to the tutorial linked below our album.
You’ll need the following tools and materials to make this project.
- Wooden Craft Frame
- Brown Acrylic Paint
- 40-50 Small Twigs
- Decorative Faux Moss and Flowers
- Pruning Shears
- Foam Brush
- Hot Glue Gun
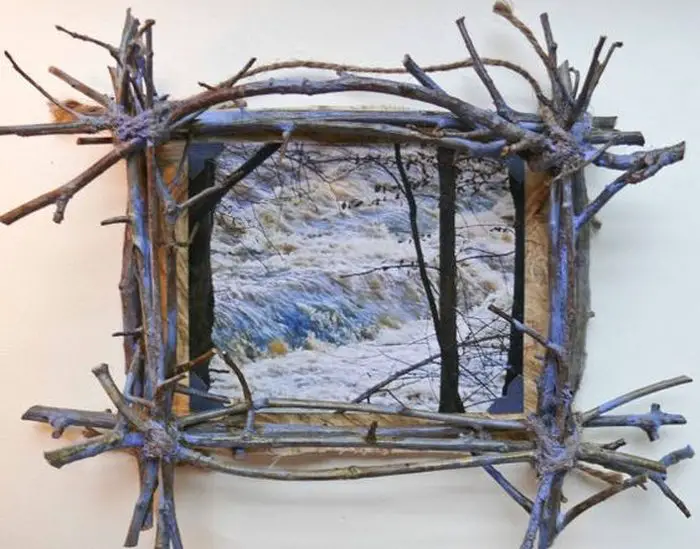
You can choose from the following beautiful designs to make your own memorable twig display.
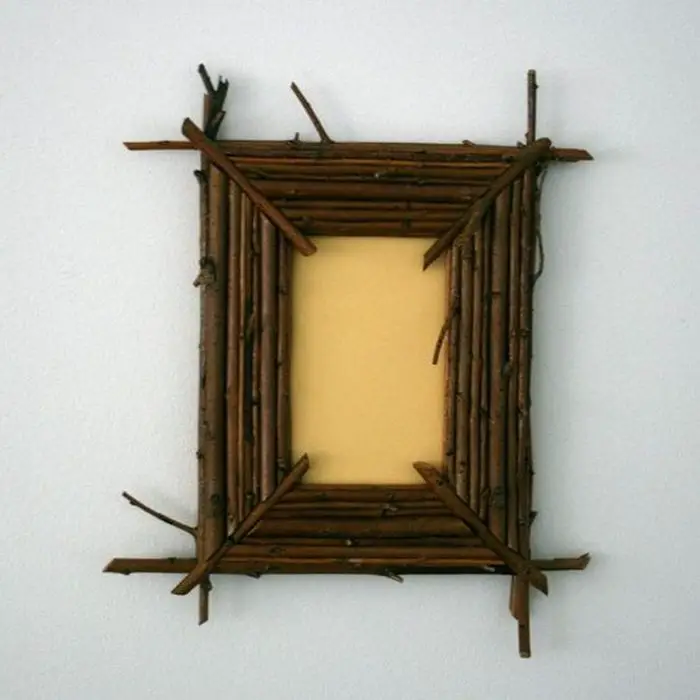
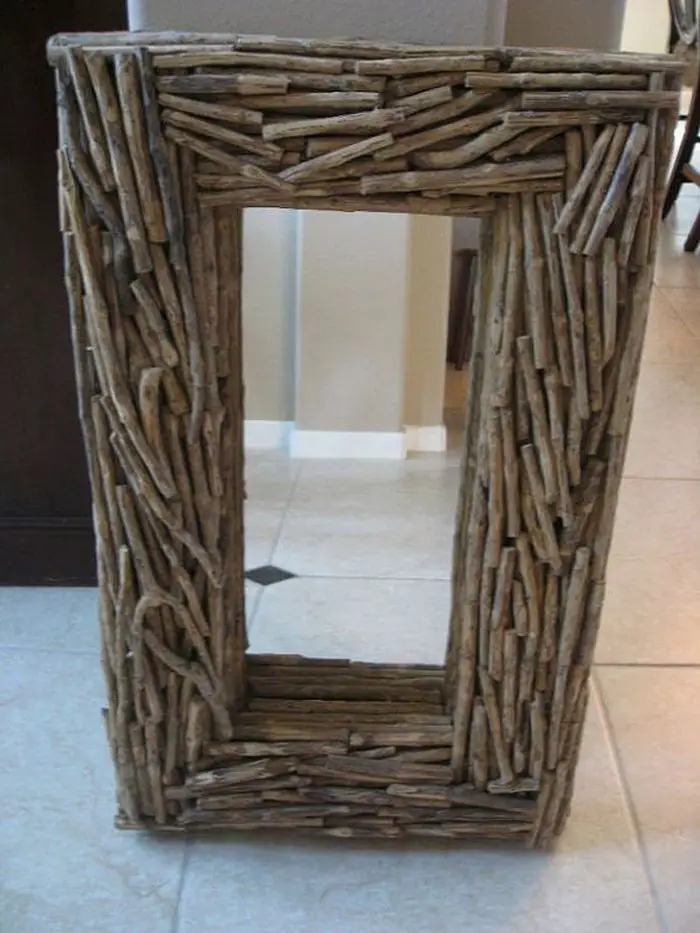
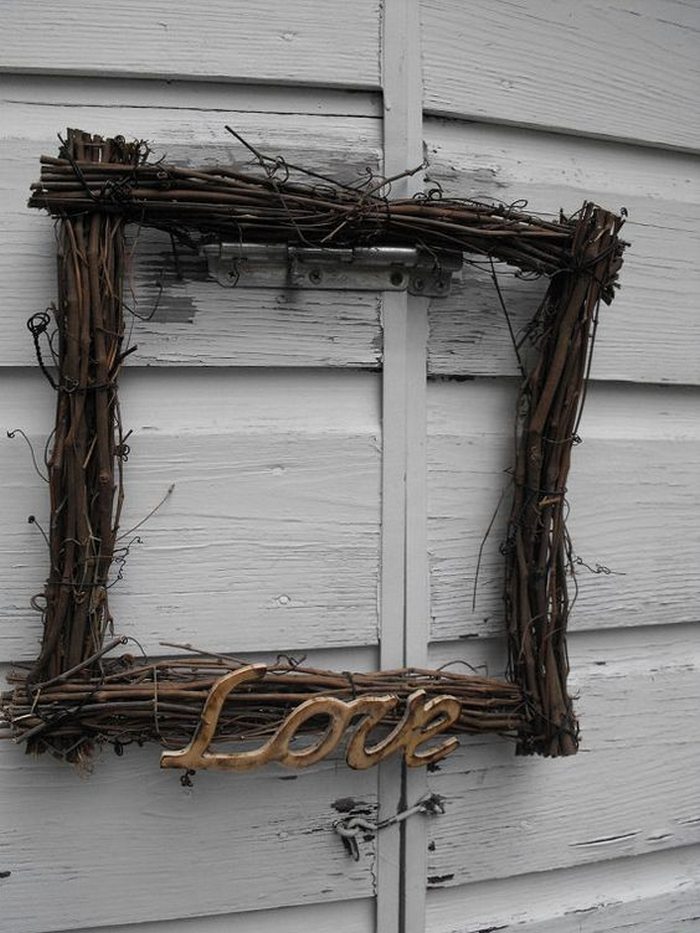
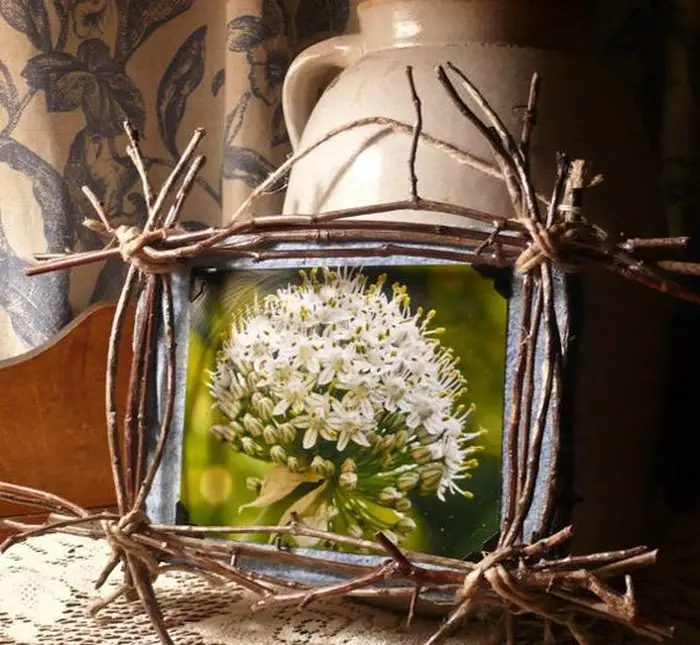
Cute twig picture frame designs
Click on any image to start the lightbox display. Use your Esc key to close the lightbox. ?
How to make a twig picture frame
1. Painting the frame
Dry the frame after painting it. Remove the glass and backing from the frame. With the foam brush, paint one coat of brown acrylic paint on the frame. After one hour, let it dry.
2. Prepare by trimming the twigs
Make sure the twigs are trimmed to fit the frame’s length and width.
Pruning shears should be used to trim the twigs about 1/4 inch longer than the length and width of the frame while the paint is drying. The twigs can be divided into two piles based on their length and width. Make sure your glue gun is hot.
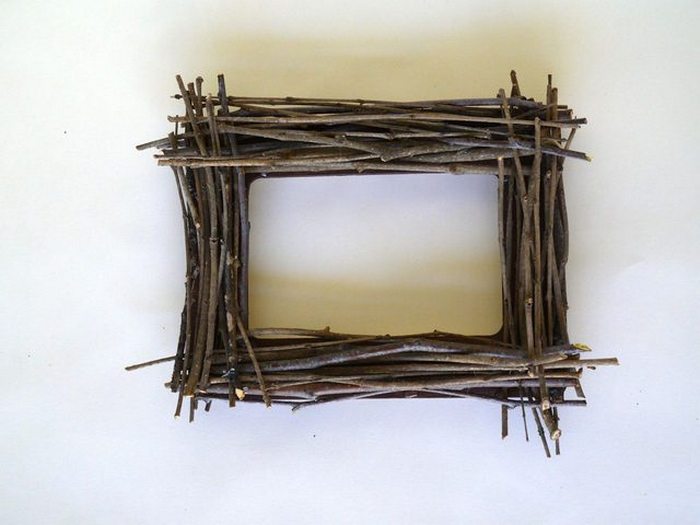
3. Make this stronger by gluing the biggest twigs
The frame should be covered with larger twigs. Once the paint has dried, place a few of the larger twigs along the length and width. To secure them, apply a small dab of hot glue where they touch the frame.
4. Increase the number of twigs and secure them
Glue the twigs together and keep adding them.
Little by little, overlap the twigs at the corners. A small amount of hot glue should be applied wherever the twigs touch; sometimes it will be the structure, and sometimes it will be another stick. As you work, add twigs evenly to the four sides.
5. Underneath larger twigs, tuck small twigs
Once all holes have been filled, stop.
Under larger twigs, tuck smaller twigs as the frame grows. You only need a small amount of glue to secure. If the smaller twigs fit snugly, they don’t need to be glued. It is complete when there is no more opening for another twig.
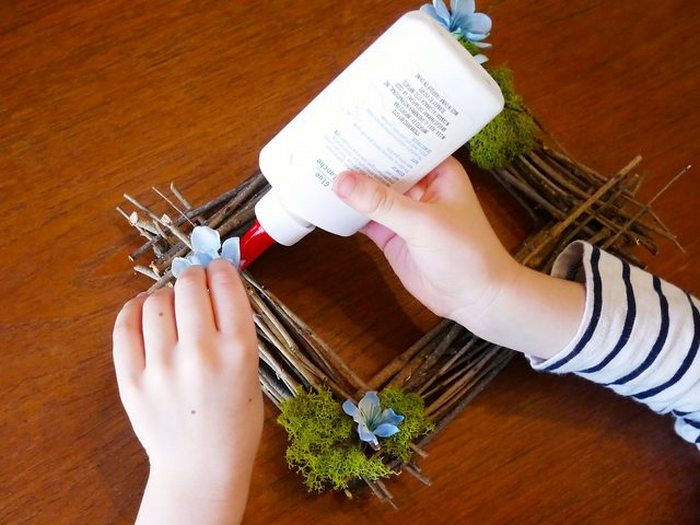
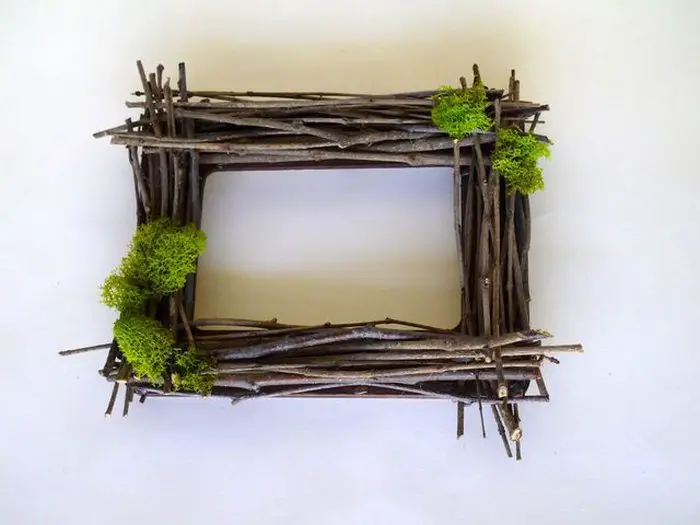
6. Flowers and decorative moss can be added
A spring-like frame is adorned with moss and flowers.
Use silk flowers and decorative moss to embellish. Apply hot glue to secure them.
You can get step-by-step instructions from Jessica Begum over at eHow…


