
We spend a lot of time in the bathroom and kitchen, so we often give those spaces the design upgrades they deserve. Fresh houseplants, bold rugs, and storage swaps will often do the trick. Sometimes, however, we want something with a little more zing and style, right?
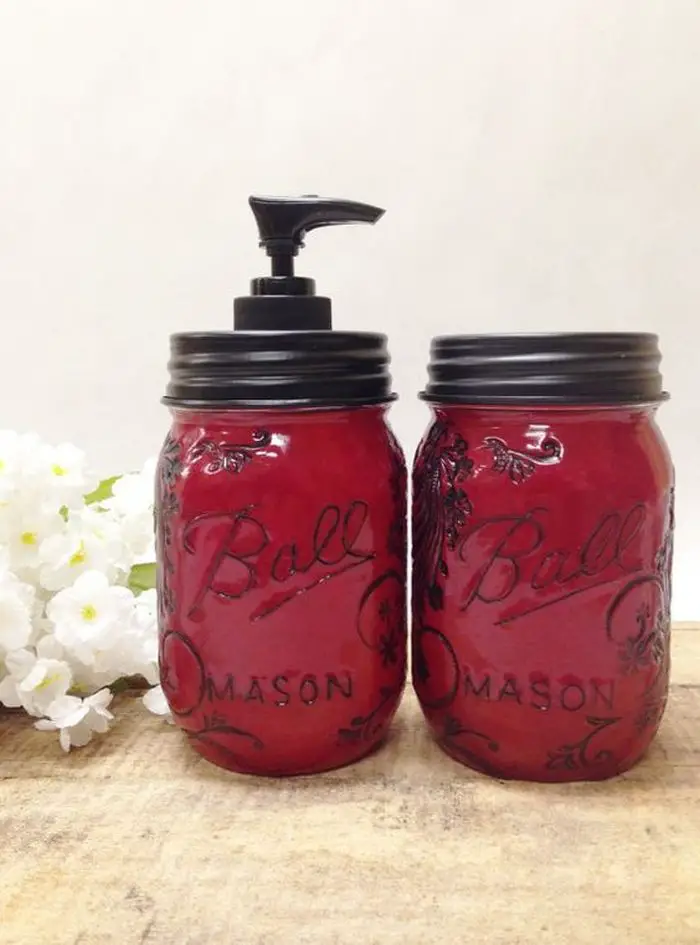
Well, here’s a simple trick for bringing both to your bathroom or kitchen! Give your space that classy vintage touch by turning a mason jar into a soap dispenser.
It’s an inexpensive project and very easy to make. If you happen to have an old mason jar or two, with lids, and a soap bottle with a pump, then you might just already have everything you need!

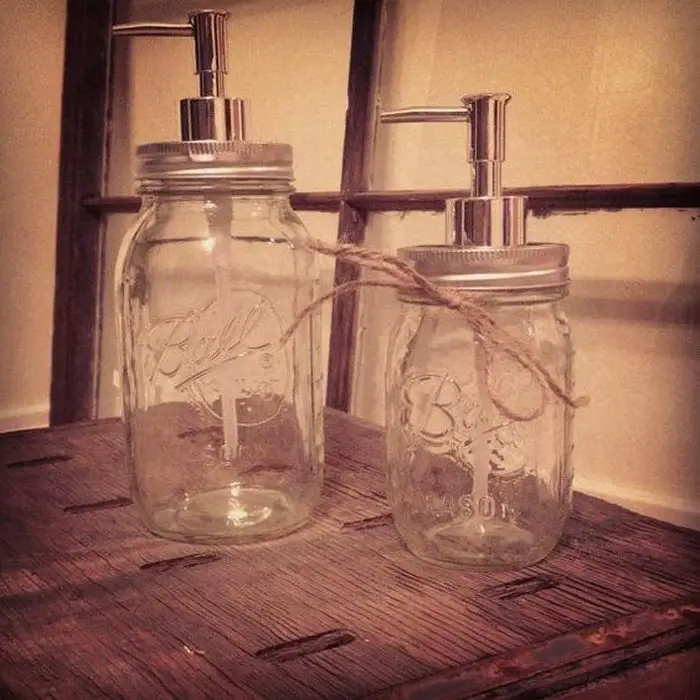
Now, of course, your bottle pump and mason jar have to match for this project. Small pumps obviously won’t work for large mason jars, but you can always trim the length of your pump if you’ve got a smaller mason jar.
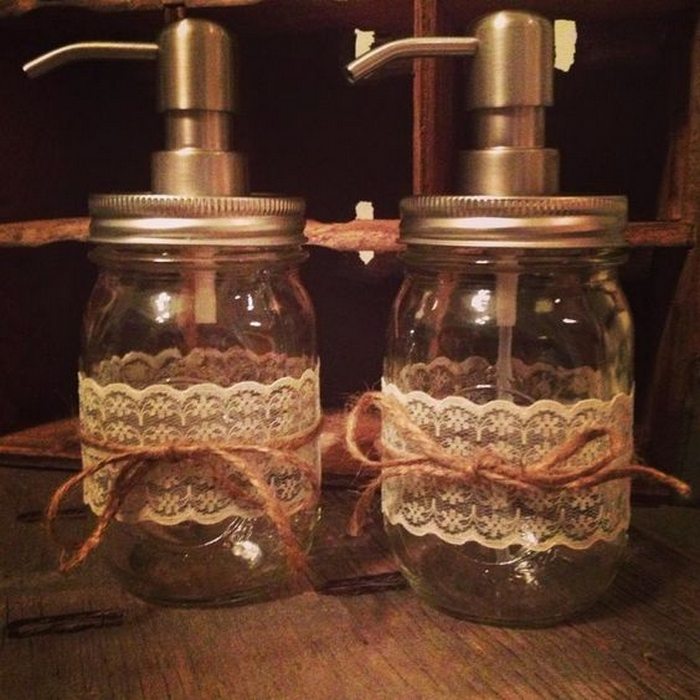
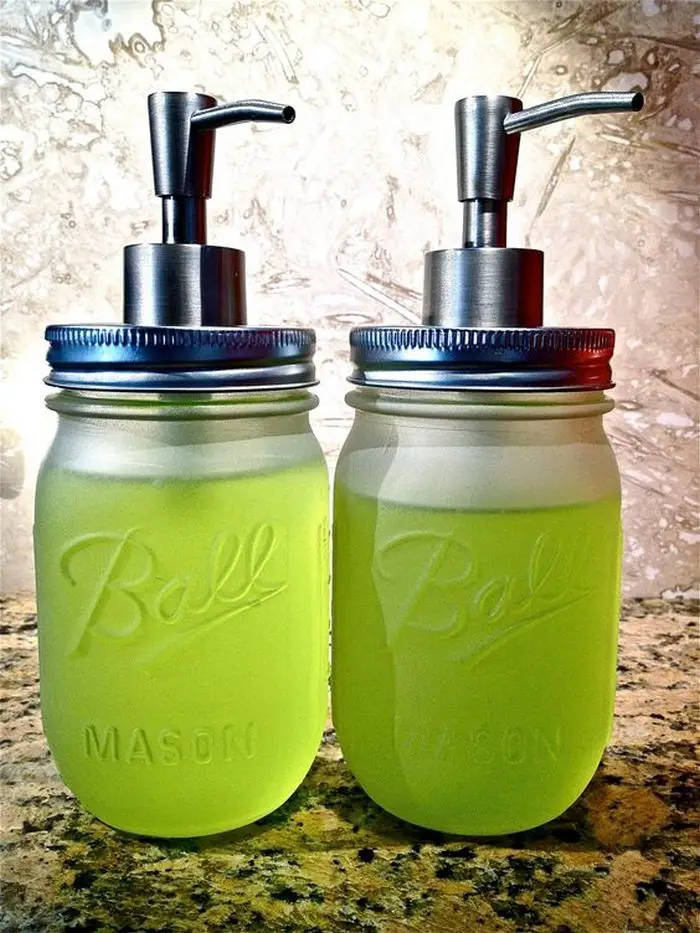
You can paint your mason jar, spray it with glass frosting or attach some twine and lace for added decoration.

Contents
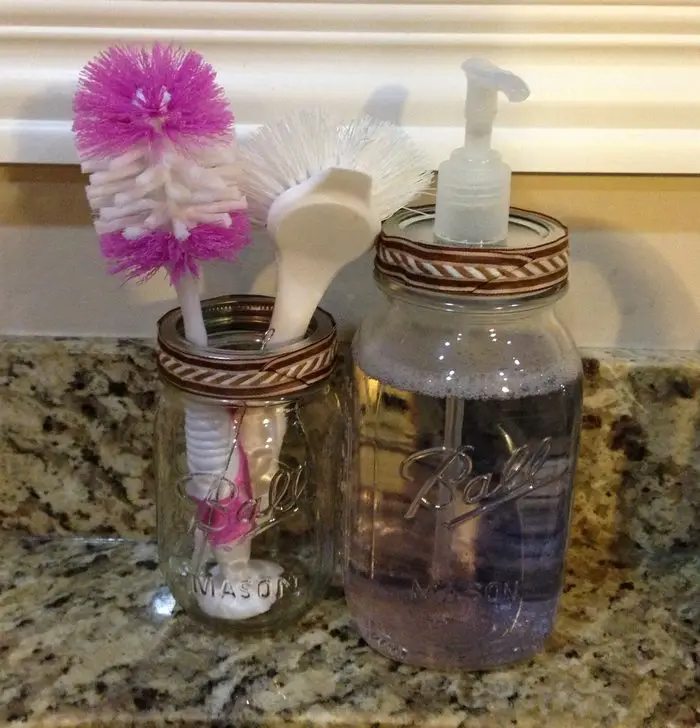
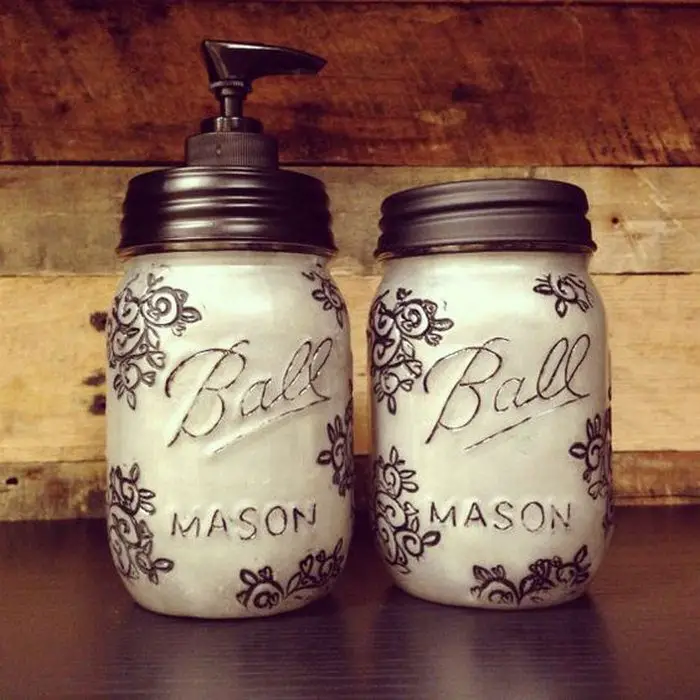
Minimalist mason jar soap dispenser designs
Check out our top picks for minimalist soap dispensers that will look great in any home. And, because we know that form and function are important, we’ve only included dispensers that are easy to use and clean. From sleek and modern designs to more traditional styles, we’ve got something to inspire you.
Click on any image to start the lightbox display. Use your Esc key to close the lightbox. ?


Do you want a stylish soap dispenser for your kitchen and/or bathroom? Be inspired to make your own mason jar soap dispenser by seeing all the examples we have for you below!
To turn a mason jar into a soap dispenser, you will need the following tools and materials:
- Mason Jar
- Soap Bottle with Pump
- Glue
- Spray Paint (optional)
- Marker
- Awl/Screwdriver
- Hammer
- Pliers
- Hand Saw/Cutter
How to turn a mason jar into a soap dispenser
1. Remove the pump
Remove the pump from the soap bottle, give it a rinse under some warm water to remove any soap residue.
2. Make a hole
In the center of the lid, mark the mason jar lid. Tap a small screwdriver (or other pointed object) on your centered mark until it penetrates the lid with a hammer. Make holes around the center until you have a hole large enough to fit the pump.
3. Paint the lids
If you’re looking to add a little extra flair to your jars, you can always spray paint the lids! This is a great way to personalize your jars and make them stand out. Just be sure to use a paint that is safe for use on mason jars.
4. Place the pump in the jar
If your pump is too tall to fit in the jar, you can place the end of the pump just above the bottom of the jar. This will allow you to use the pump without having to worry about the jar tipping over.
5. Apply glue
Apply glue to the underside of the lid all around the pump to attach it to the lid. Your new soap dispenser is ready to be filled once the glue has dried as directed on the package. Just make sure to let the glue dry completely before adding any soap, otherwise you might end up with a sticky mess!
You can use your new soap dispenser to add a personal touch to your bathroom or kitchen. With your new soap dispenser, you can also make sure that your family and guests always have soap available when they need it.
You may use different colors and patterns to create a unique look for your home. Don’t be afraid to experiment. Have fun and get creative with your designs!
You can get the full step-by-step instructions from Liz Fourez over at Love Grows Wild…


