Last Updated on July 19, 2024 by Team Ideas24
Do you want to design more green plants inside your home, but don’t have space for regular-sized planters? We have an incredible alternative – terrariums!
Whenever you decorate interior spaces with indoor plants, you’re not just adding greenery and color, but plants interact with your body, mind, and home in ways that enhance the quality of your life!

Not only are they a pretty sight, but you can also put them anywhere; from shelves, coffee tables, to the kitchen counter!
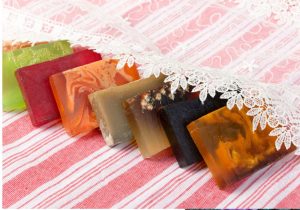
These are some of the most common terrarium plants you can use to place in your DIY terrariums. These are cute and lovely plants which can be displayed indoors to add beauty to your house or in your garden area.
Contents
Common terrarium plants
- Golden Clubmoss
- Variegated Spider Fern
- Black Mondo Grass
- Starfish Plant
- Aquamarine
- Nerve Plant
- Asplenium Bulbiferum
- Strawberry Begonia
- Variegata
- Air Plant
- Minimus Aureus
- Moon Valley Friendship Plant
- Succulents
- Cacti
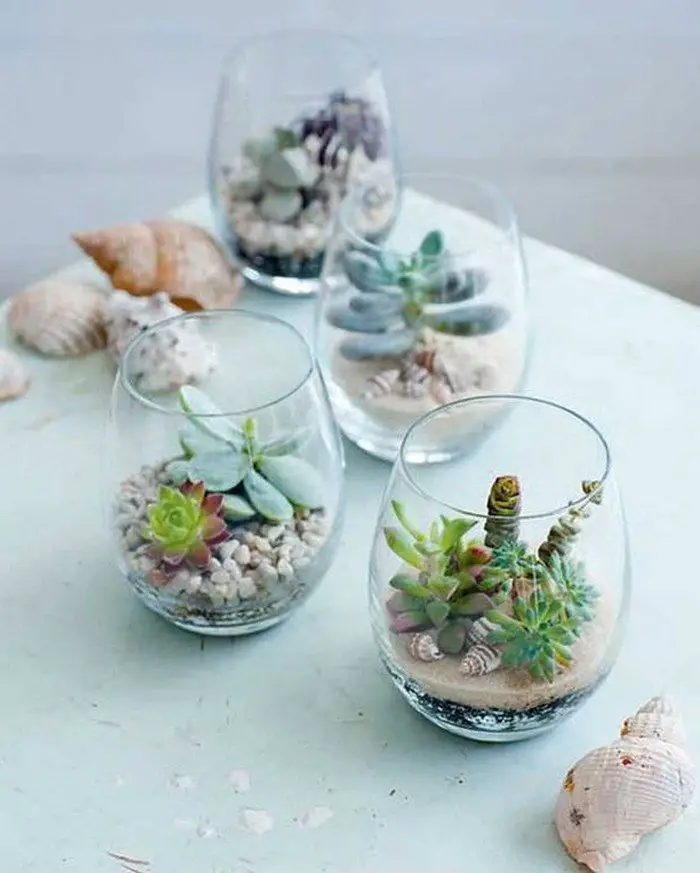
Is this going to be your next project? Get some inspiration from our gallery!
You’ll be needing the following tools and materials to make this project.
Making a Terrarium
Materials
- Container (of your choice)
- Plants
- Potting Soil
- Activated Charcoal
- Small Rocks
- Moss or Pebbles
- Paper
Tools
- Funnel (one that fits your container)
- Wooden Tongs
- Small Spoon
- Wooden Stick
- Spool
- Small Blade
- Bulb Syringe
- Water Spray
How to create terrariums
Terrariums are easy to make. And the best part? They’re very low-maintenance.
1. Prepare the glass containers
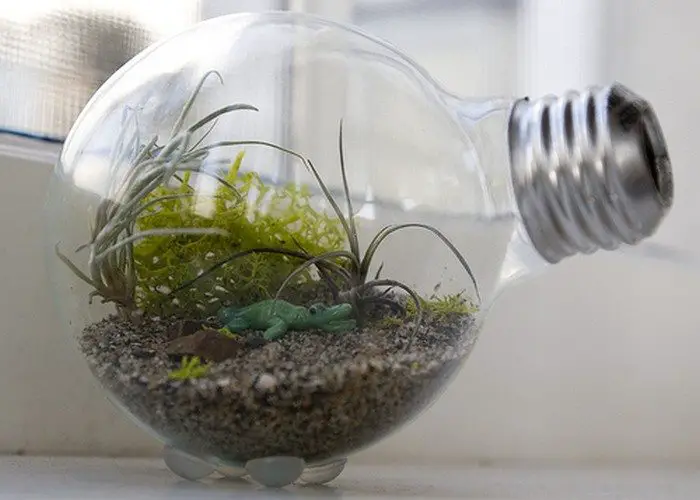
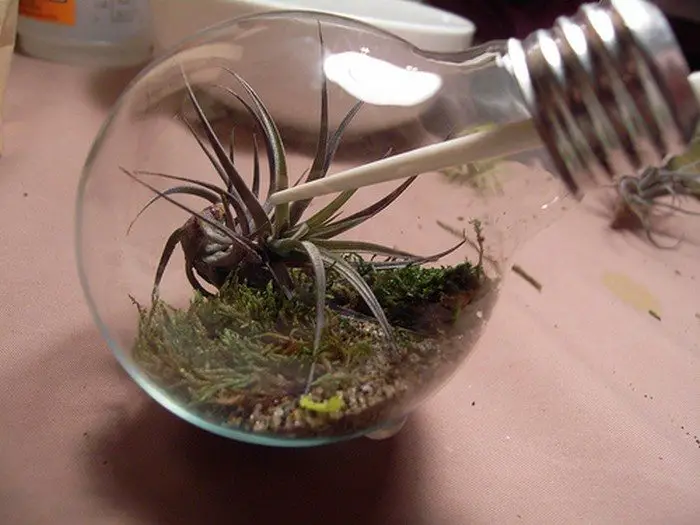
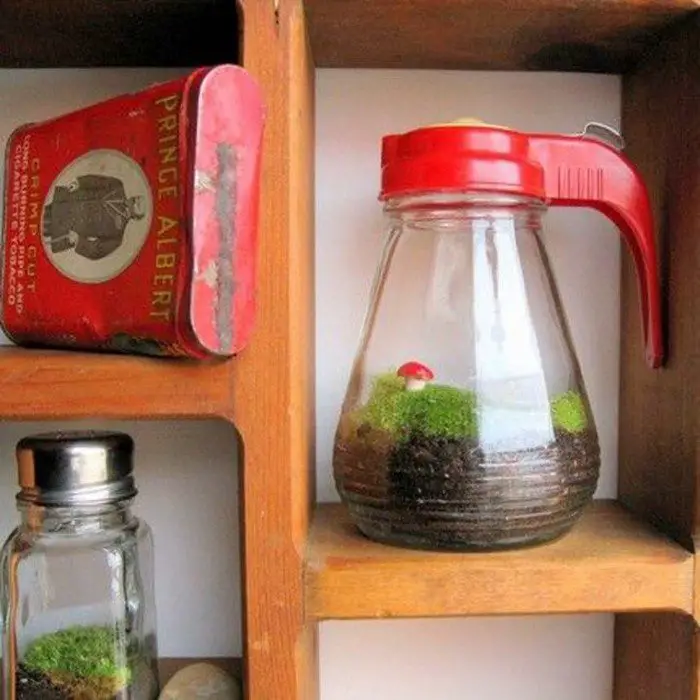
The first step you need to do is to get some clear glass containers. You can buy terrarium containers but recycled items make equally beautiful containers. Not to mention they’re cheaper, if not free. These can be anything such as beverage glasses, aquariums, jars, pitchers, teacups, even a light bulb!
2. Select the plants
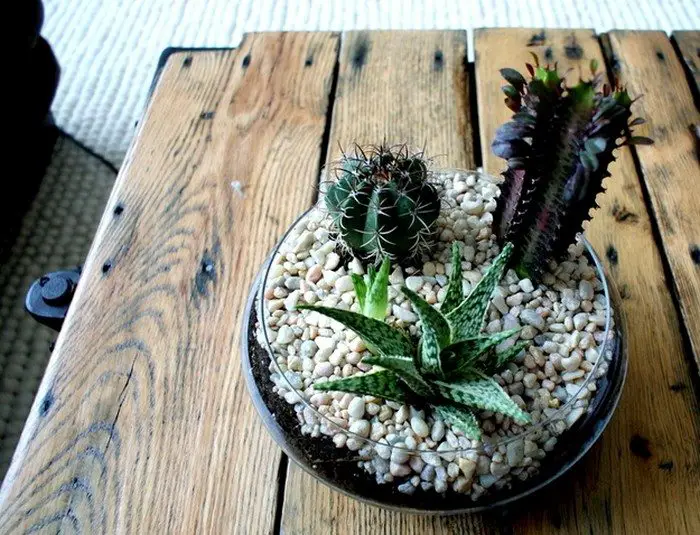
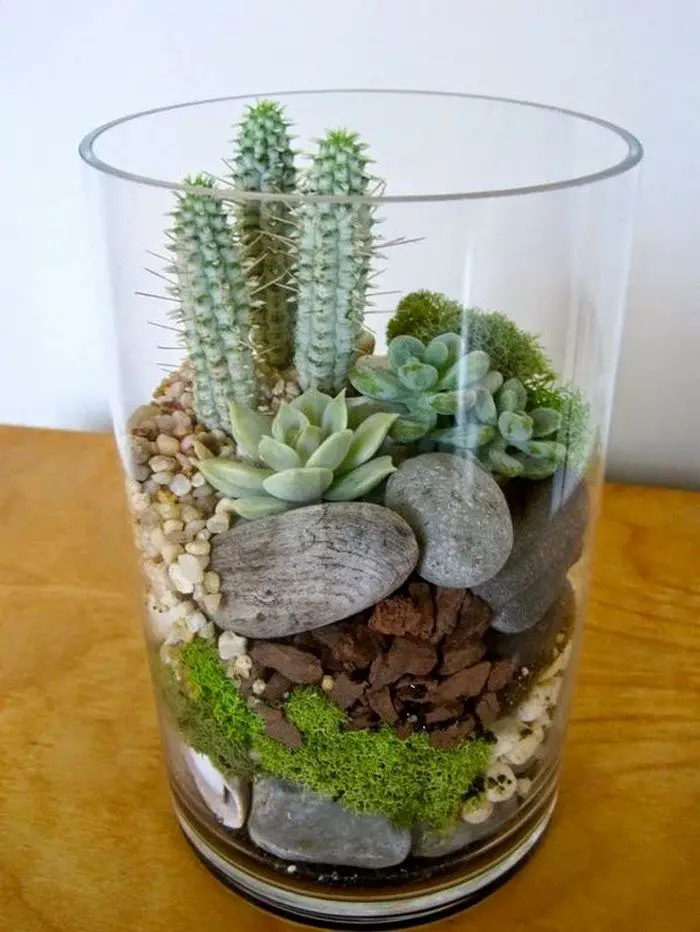
Next – the plants. You can choose from the many, most commonly used terrarium plants but any plant that’s small and doesn’t grow too tall will work. Be sure to group your plants according to the soil, water, and humidity requirements. For instance, cacti go well together with succulents while ferns should be placed together with tropical plants.
3. Add rocks or sand
Now terrariums are no different from regular gardens (except that terrariums are easier to maintain). They also need proper drainage and the appropriate soil – the proper substrate, in short. Rocks serve as the drainage so it’s usually the first one to go inside the container. Some people put sand first though it is optional and more for aesthetic purposes.
4. Add the activated charcoal
The second layer would be your activated charcoal. However, this is only really needed if your terrarium is a closed/sealed container. Activated charcoal prevents microorganism buildup and keeps air for your plants clean, thus making your terrarium odor-free.
5. Add in the moss, soil and plants
You can then add in moss (for plants that love moisture), the soil, and finally your plants.
If you want an easier reference on how to make a cute terrarium, you can head over to the infographic linked after our album below!
Click on any image to start lightbox display. Use your Esc key to close the lightbox.![]()


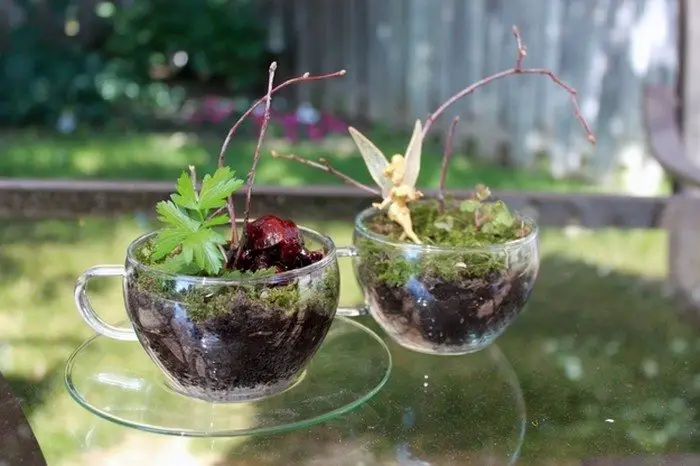
And that’s it! You can also add accessories like mini figurines if you wish. Simple and easy, don’t you think? ;)
Enjoy your plants in these DIY terrariums displayed in your living room, office, balcony, or anywhere you want. Then let us know how lovely are these to have! :)
Thanks to Desima for this great project. You can get step-by-step instructions here…
Choosing the Right Type of Glass Container for Your Terrarium
Creating a terrarium is an enjoyable way to bring a piece of nature into your home. The choice of glass container is crucial as it not only houses your miniature garden but also showcases it. Below, we explore different types of glass containers and how they affect the growth and visibility of your plants.
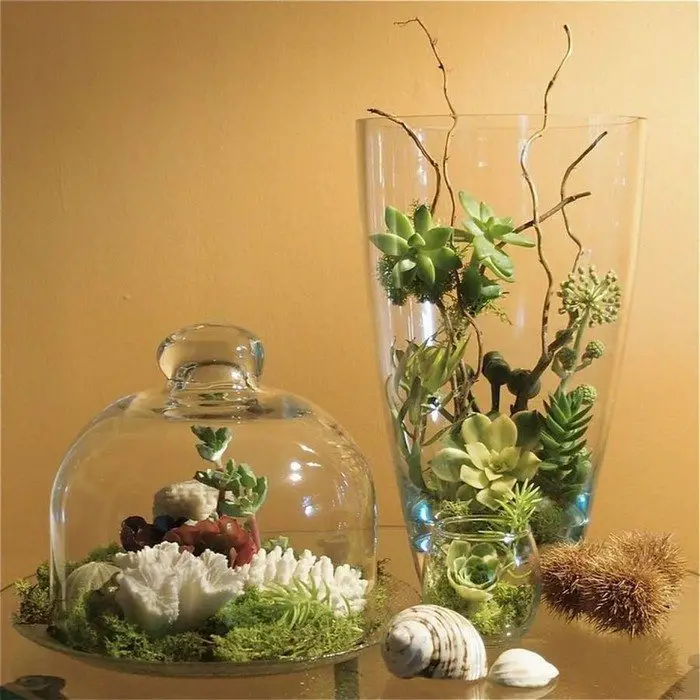
1. Classic Terrarium Jars
Terrarium jars, often spherical or with a wide base and narrowing top, are popular for their aesthetic appeal. Their shape allows for ample space at the bottom for layers of soil and decorative elements, while the narrowing top helps maintain humidity levels, ideal for moisture-loving plants like ferns.
2. Fish Bowls and Aquariums
Fish bowls and small aquariums provide a broad viewing area, making them perfect for creating intricate landscapes. Their wide openings make planting easier and are suitable for mixed plant varieties. These containers are best placed in a stable location where they can display the terrarium’s interior from all angles.
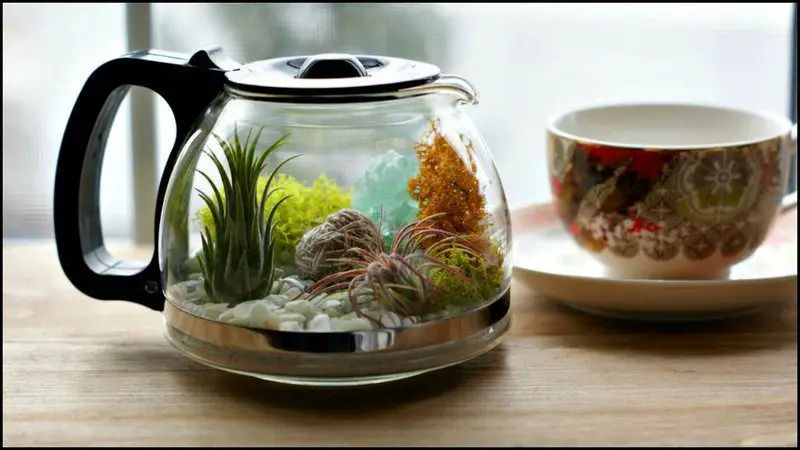
3. Kitchenware
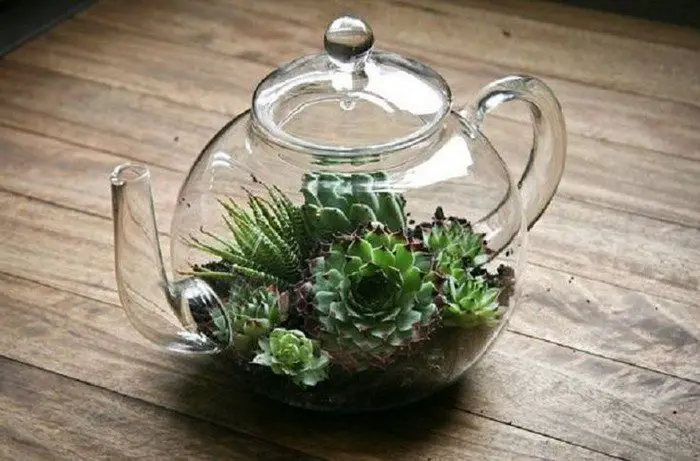
Repurposing kitchen items like mason jars, wine glasses, or even teapots can add a unique touch to your terrarium. Mason jars are great for small, simple setups due to their durability and ease of access. Wine glasses or teapots suit more decorative, open terrariums that require less humidity.
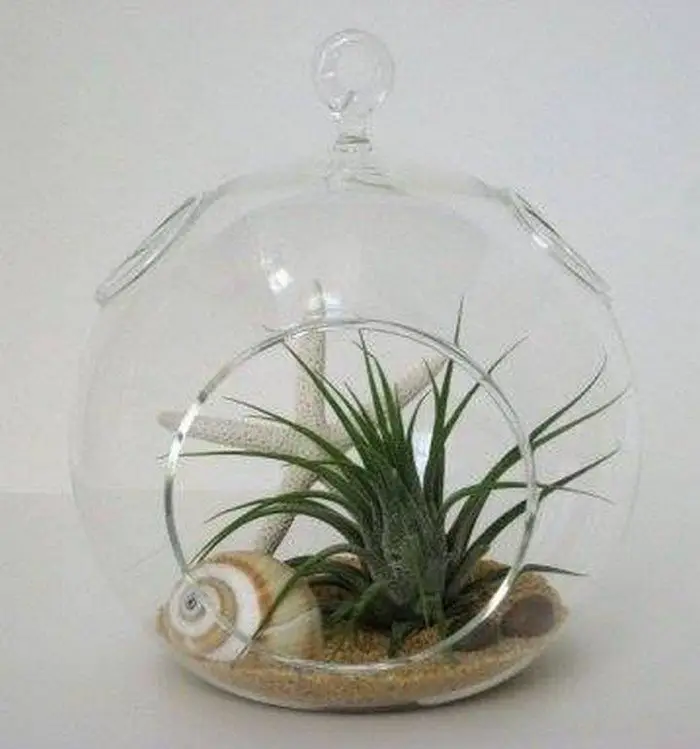
4. Hanging Glass Orbs
For those with limited space, hanging glass orbs can be an attractive option. These can be filled with air plants or small succulents and hung in windows or from ceilings. The transparent orbs allow for 360-degree sunlight exposure, which is beneficial for the plants’ growth.
5. DIY Bottle Terrariums
Old bottles can be transformed into beautiful terrarium containers. Whether it’s a large soda bottle or a unique liquor bottle, these can be cut open and used to host small terrariums. They work well for creating long, narrow landscapes and are often a conversation starter.
Each type of glass container offers its own set of benefits and challenges. Choosing the right one depends on the types of plants you want to grow, the terrarium’s placement in your home, and the level of maintenance you’re willing to undertake. By selecting the appropriate container, you ensure your terrarium is not only a thriving ecosystem but also a stunning piece of living decor.
Terrarium Care and Maintenance
Keeping a terrarium guarantees that your small ecosystem grows and gives your living environment a striking dose of nature. Regular monitoring and a few basic but vital habits catered to the particular requirements of your terrarium are part of proper care. Here we explore the key elements of terrarium upkeep to enable the growth of your garden.
1. Understanding Your Terrarium’s Environment
You need should know the kind of terrarium you have before starting upkeep. Typical of high humidity and damp circumstances, closed terrariums are perfect for tropical plants like mosses and ferns. Conversely, open terrariums offer a drier surroundings fit for succulents and cactus. Understanding the surroundings your terrarium supports will direct your regular maintenance and care.
2. Lighting Needs
Although light is absolutely essential, its needs will range greatly among various kinds of terrariums. Usually, terrarium plants flourish in strong, indirect light. Particularly in a closed terrarium, direct sunshine can overheate a terrarium and cause burnt plants. If natural light is inadequate, set your terrarium next to a window that gets filtered light or use synthetic plant lights.
3. Watering Practices
Among the most important facets of terrarium maintenance is watering. Since closed terrariums naturally recycle moisture, little watering is needed. Though they require more regular watering, open terrariums should be avoided overwatering as this could cause root rot and fungal illnesses. Lightly spritz your plants using a spray bottle to guarantee wet but not soggy soil.
4. Temperature and Humidity Control
Particularly with confined terrariums, maintaining the proper temperature and humidity is absolutely vital. Perfect temps run between 65 and 75 degrees Fahrenheit. Steer clear of setting your terrarium next to air conditioning vents or heat sources since these can upset the internal temperature. Make sure open terrariums have enough airflow to stop too much moisture from supporting mold development.
5. Soil and Fertilization
Since the nutrients in the closed system are recycled, terrariums usually do not call for regular fertilizing. Should you find that your plants are not growing as expected, a light feed with a diluted liquid fertilizer once or twice a year could be required. With sufficient drainage and the proper nutritional balance, always make sure the soil is suitable for the kinds of plants you are cultivating.
6. Pruning and Cleaning
Frequent pruning keeps your terrarium aesthetically pleasing and keeps any one plant from taking over the space. Cut back any overgrown plants to maintain a neat appearance for your terrarium and guarantee that every plant gets equal light. Additionally improves light penetration and enhances the general look of your terrarium by cleaning the glass both inside and out.
7. Monitoring for Pests and Diseases
Pests and diseases can still afflict even the most well kept terrarium. Look at your plants often for indicators of trouble include webbing, discolored foliage, or sticky residues. Early treatment of infestations with suitable insecticidal soaps or neem oil always guarantees that any therapy is safe for a limited environment.
8. Refreshing Your Terrarium
Your terrarium can call for a refresh over time. This could call for changing the soil, rearranging the plan, or adding fresh plants. Apart from rejuvenating the surroundings for the plants, refreshing your terrarium allows you to properly clean and check every element.
9. Observing and Adjusting
An effective terrarium upkeep depends on observation and modification. Watch how your terrarium responds to your care; be ready to change your maintenance schedule as necessary. Variations in soil condition, moisture content, and plant health might all point to a need for change in treatment.
Good maintenance guarantees that your terrarium stays a stunning and vibrant show as well as makes it active in your house or office. Following these care rules will help you to enjoy the rich, small world of your terrarium for many years to come.
If you liked this project, you might also like to view Adorable DIY Terrariums and Space Saving Planter Ideas…