Need a beautiful box to put a special gift in? Why buy decorative boxes when you can easily decorate boxes with stencil!
Turn any plain and boring box into a special gift box by decorating it using stencil!
Most of us have empty boxes lying around the house. Whether they’re from a shipment or you’ve just moved and have all of those moving boxes left, cardboard boxes can pile up quickly. We keep them, anyway, because they are quite useful.

For this project, you can even reuse an old gift box you received on your birthday or Christmas. It’s a great way to save money, it’s also a great way to make your gift unique with a custom gift boxes with stencil!
Don’t have any decent box at home? Buy a plain cardboard box and decorate it yourself. It’s cheaper than decorative boxes and you get to make a truly special, personalised gift box! Now that’s perfect for anniversaries and other very special occasions. :)
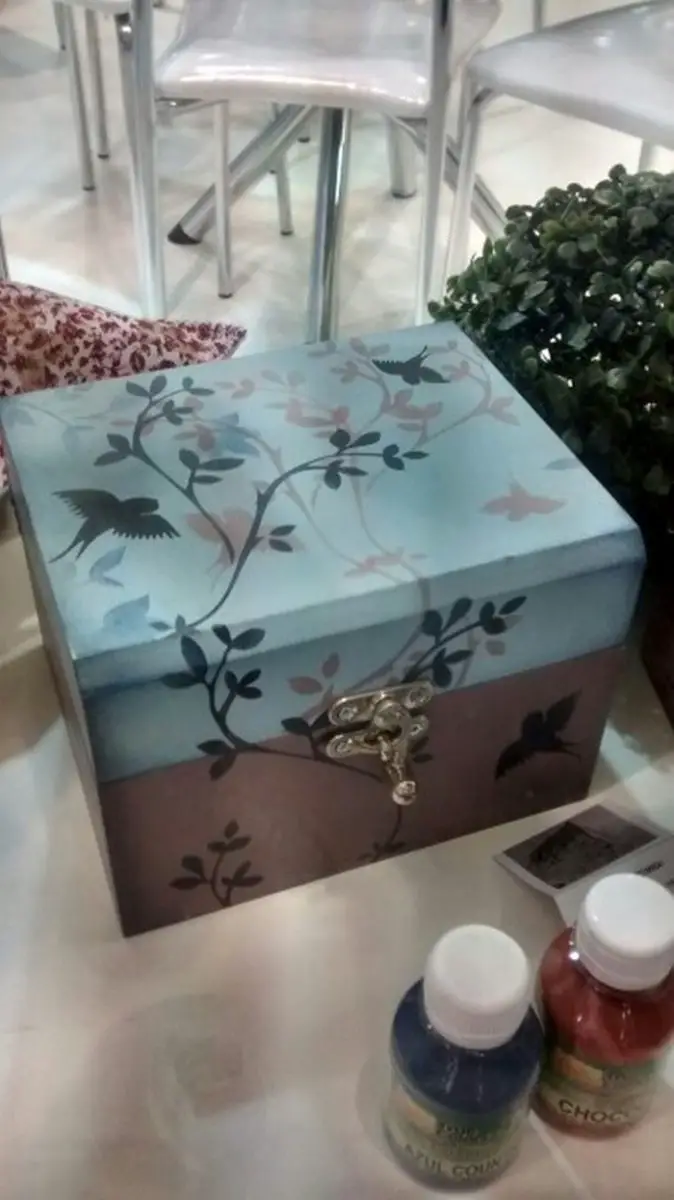
Like this idea? This tutorial will show you the basics of stenciling, which you can also apply on other materials such as fabric and plain paper. But before heading over to the step-by-step tutorial, get some inspiration first by viewing our album of DIY decorative boxes below!
Click on any image to start lightbox display. Use your Esc key to close the lightbox.![]()

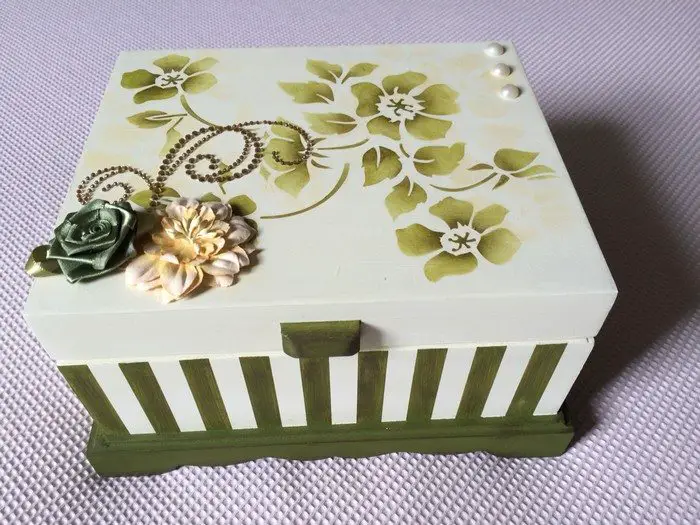
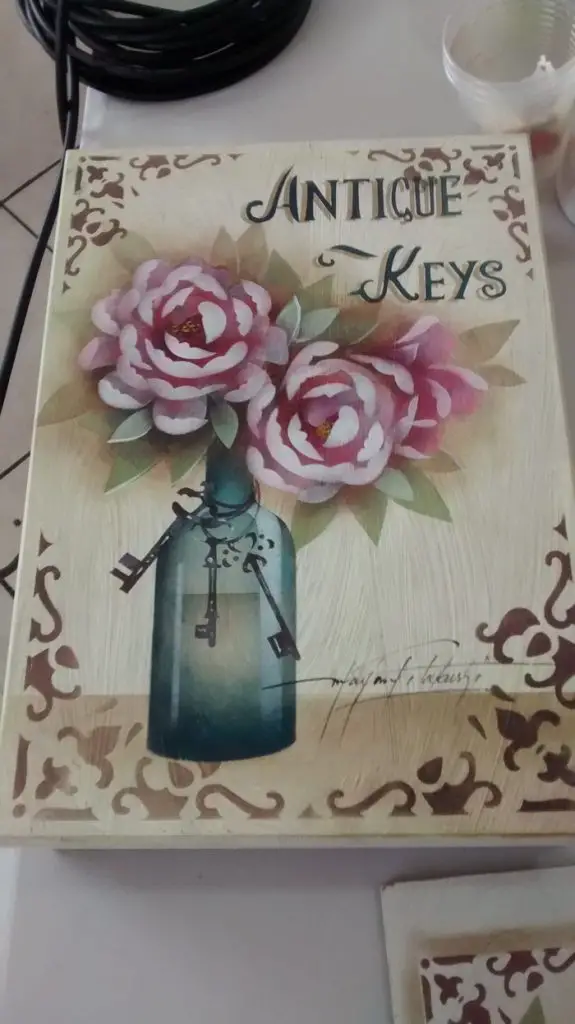
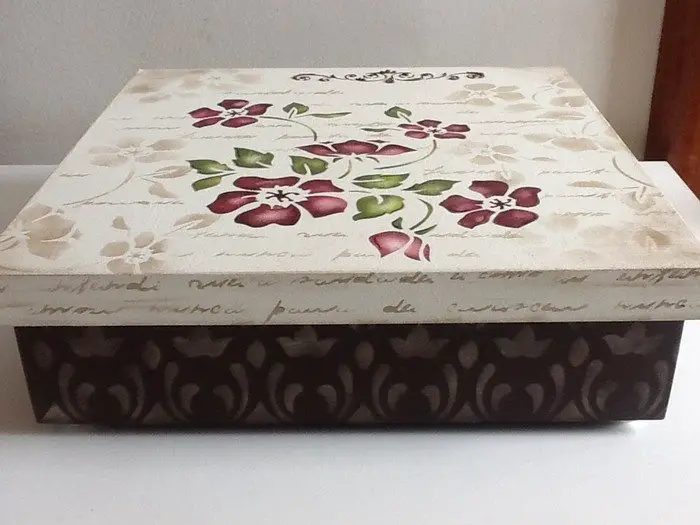
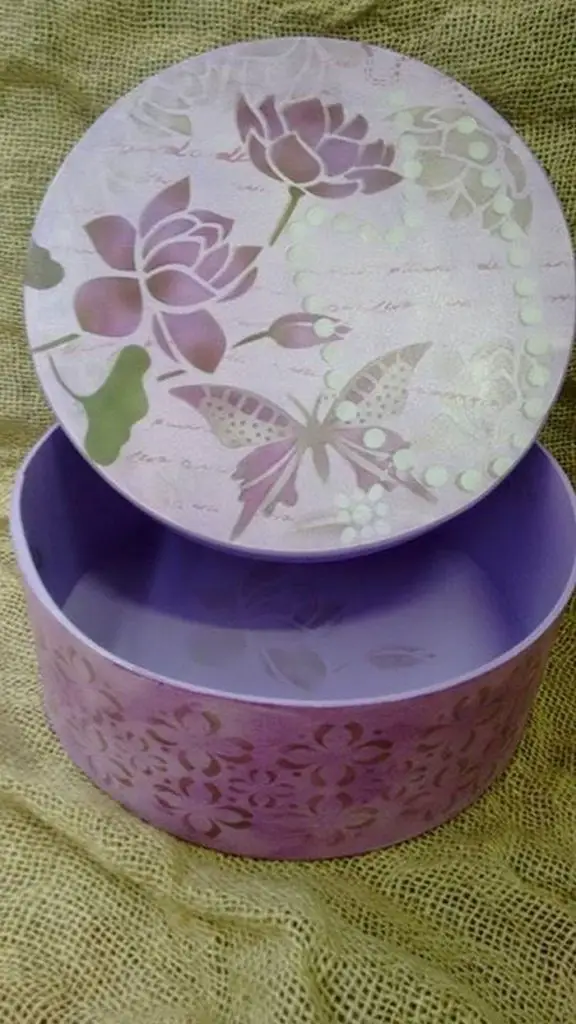
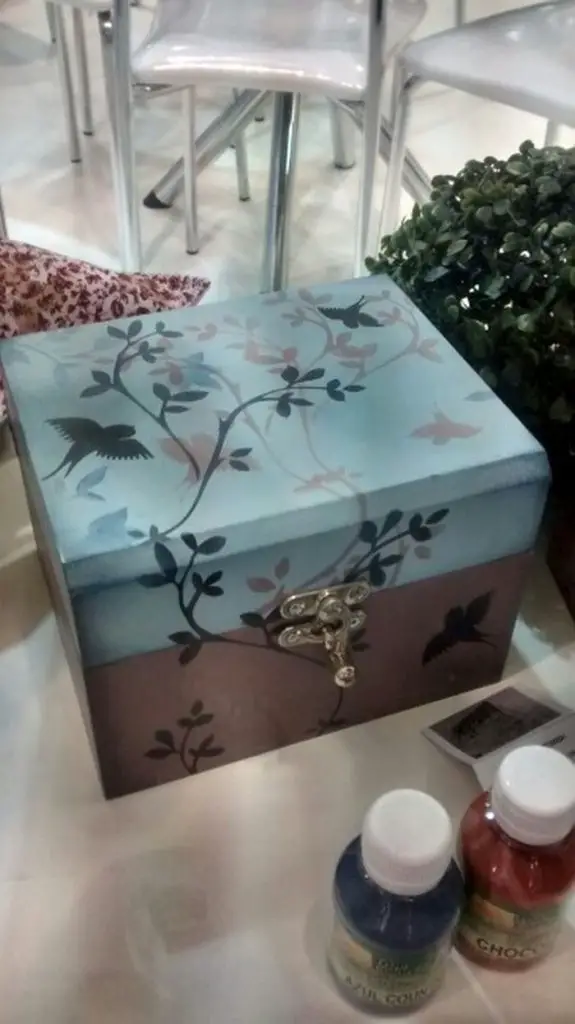
Materials for decorating boxes with stencil:
- Boxes
- Acrylic Paint (or any thick paint, not water colors)
- Sponge (without the scrub)
- Plastic Stencil
- Scrap Paper
Tools:
- Scissors
- Paintbrush
Steps:

Cut your sponge: OK, so the title says it all. If you have a circle of sponge cut it into four pieces as long as you have one pointed end; same with a square piece.

Apply the paint: So now pour out more paint than you think you’d need. This is because most of it will be squeezed out and will dry out. Use a flat plate and dip the tip of your sponge in the paint and squeeze out as much as possible on the plate.

Don’t leave it soggy because you’ll be squeezing it all out.

Do a test dab on the scrap paper to make sure it has the right amount of paint.

Painting the stencil: Now this is the fun and tricky part. Hold the stencil firmly over the box, or tape if the box is big enough. Start to dab the paint on the designated parts moving in small circles.
Don’t try to rub the sponge as it will just leave streaks. Use a different sponge for each color and never put water on your sponge – I know, it’s tempting! Continue with each color till the design is finished, and then carefully remove the stencil.
Use a paintbrush to fill in any spots you missed. Repeat the process all around the box.

And that’s it. Use it on almost anything – picture frames, clothes, bags, even your dog’s collar! :)
Thanks to fonzuzu for this great project!
If you liked these ideas, you will also like viewing these Upcycled: Business cards from cereal boxes


