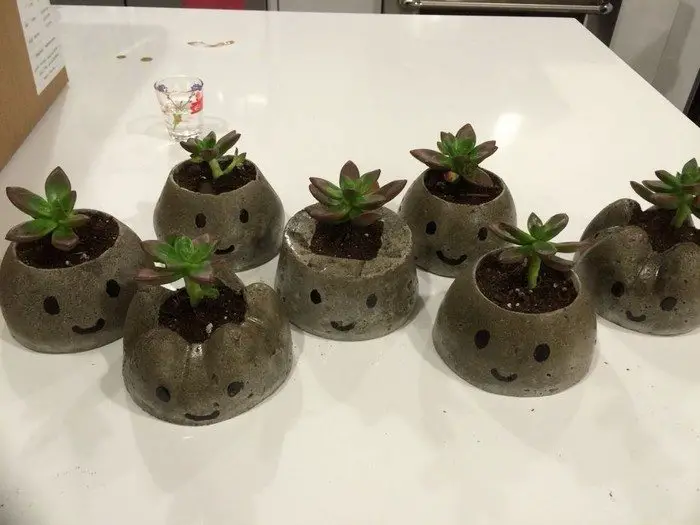
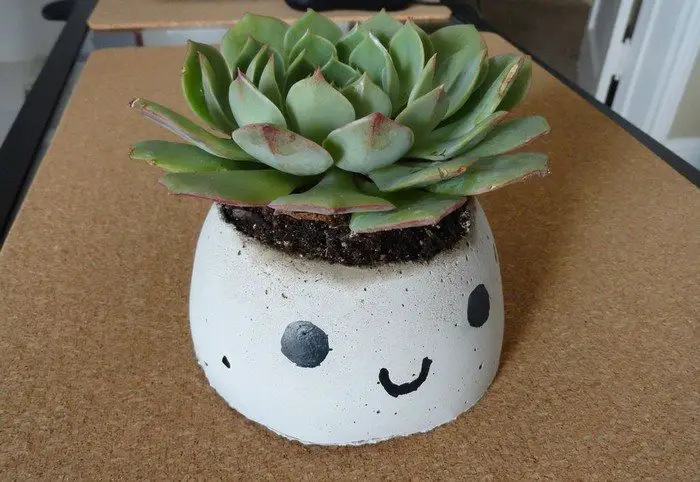
Now here’s a cute, easy concrete project for beginners! These DIY concrete planters are very easy and lots of fun to make…
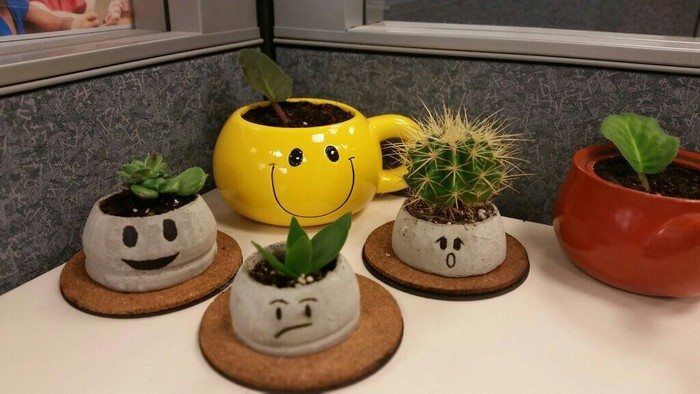
These planters go very well with little succulents. As you can see from the image above you can draw faces with different emotions in one set, making them even more adorable. You can even switch up the plants in them later on to give them a new look. And if you have the material, why not color the planters? You’ll never get bored with these cuties!
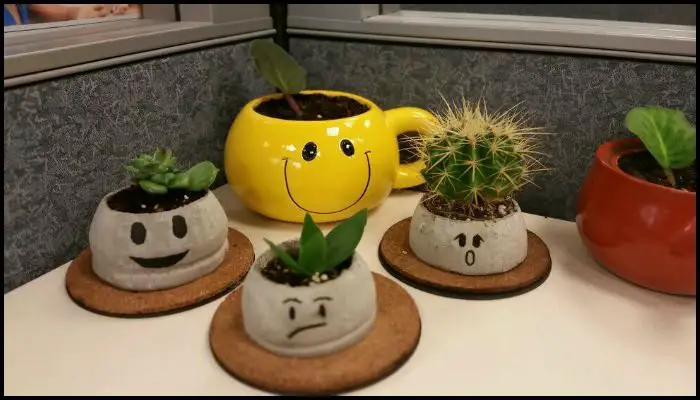
All you need is some recyclable plastic bottles for this. It’s a fun and addictive project. You might just find yourself making lots of these happy face planters and giving them as personalized gifts! These are great fun to have on the worktable, dining table, coffee table, by the kitchen window… anywhere!
These are also great for school fetes and other fund-raising activities as they sell like the proverbial hotcakes!
Click on any image to start the lightbox display. Use your Esc key to close the lightbox. ?
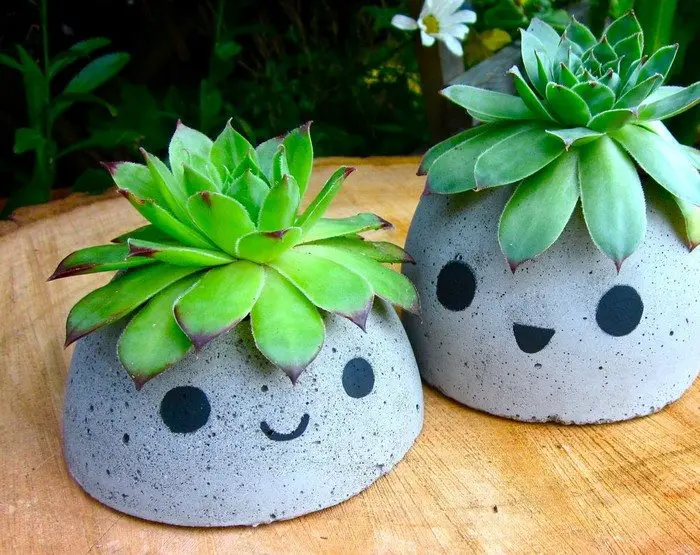

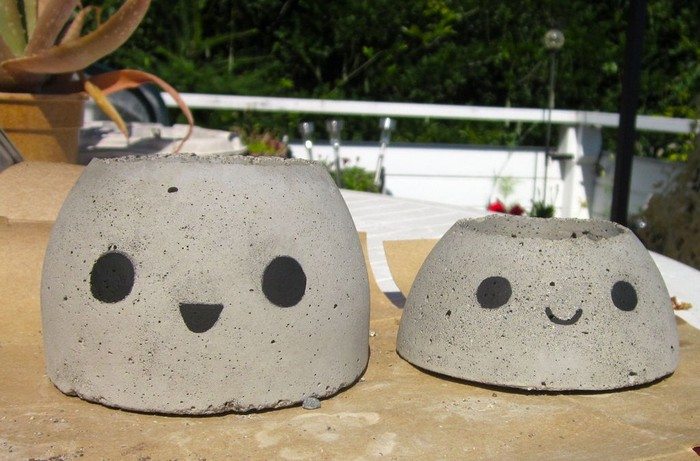
You’ll need these tools and materials…
For making the mold:
- Plastic Pop Bottle
- Marker
- Scissors
- Utility Knife
- Tape
- Drinking Straw
- Cooking Spray / Petroleum Jelly
For mixing and casting concrete:
- Quikrete Concrete Mix
- Safety Gear – Gloves, Mask, Safety Glasses
- Container – for mixing
- Water
- Garden Trowel
For the finishing touches:
- Concrete Paint (This is a nice paint to use. It’s weather-resistant acrylic paint for outdoor decorating on concrete, wood, and terra cotta.)
- Paintbrush
- Coconut Fiber / Potting Soil
- Plants
Steps for making concrete planters:
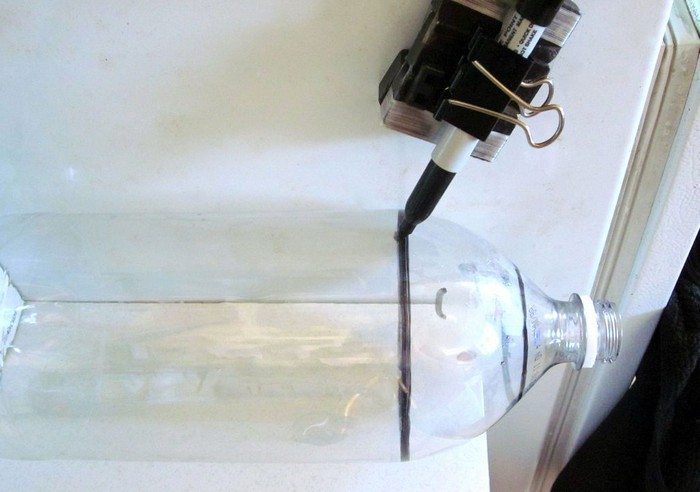
You will want to use the upper portion of the plastic pop bottle. Mark where you want your cutting lines to be on your bottle.
Tip for drawing perfectly straight lines: Use a metal clip to hold on to your marker and stick the clip to a magnet on your refrigerator. Then place your bottle so that it is touching the fridge and position the marker so that it is in contact with the bottle. Rotate the bottle all the way around so that you have drawn a line all the way around the bottle.
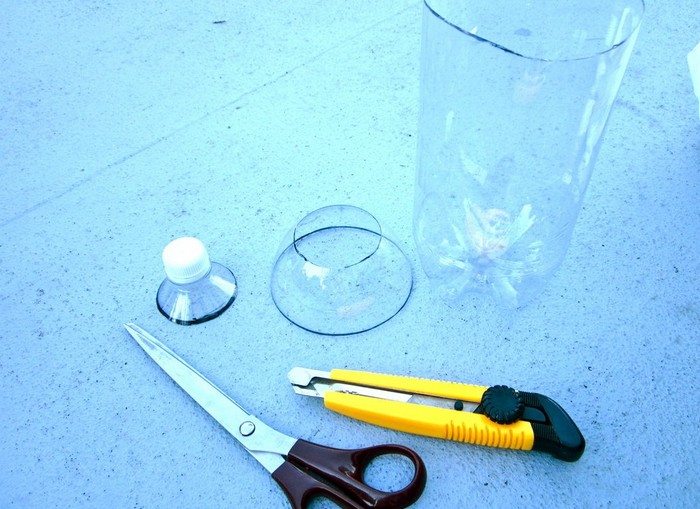
To cut the bottle, I first used a utility knife to make a puncture and then I continued with scissors.
Continued Page 2…


