Most of the fascinating things that have occurred to us at home are that we have built up small supplies of things around the house to solve last-minute issues. An example of these small supplies is a greeting card. We know that having a nice little supply of greeting cards can sure be helpful in a pinch.
One day you might be in a pinch. Where, a few hours before you are to leave for a birthday party, you’ll suddenly realize that you forgot the envelope to go with your card and gift. Time to check the greeting card and envelope stash! Yes! We have a cute and easy one here that will definitely work!
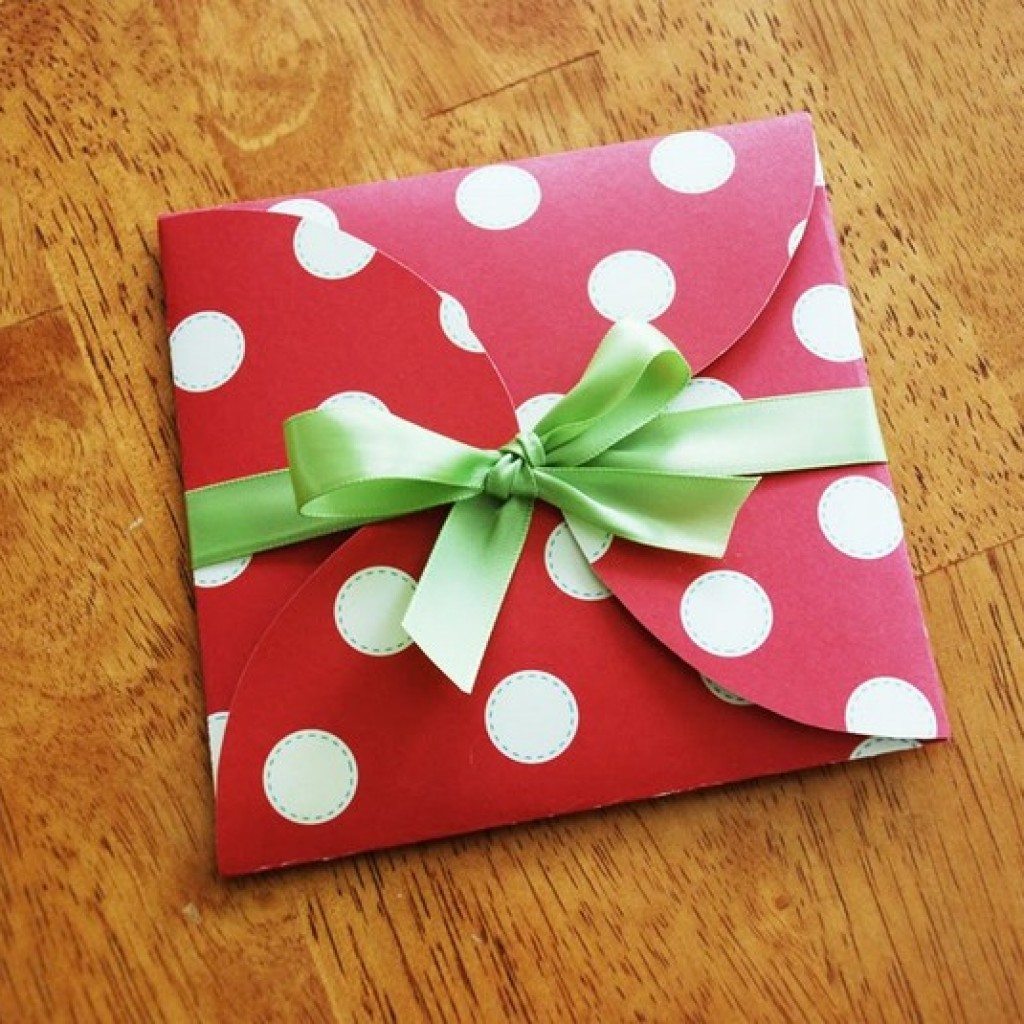
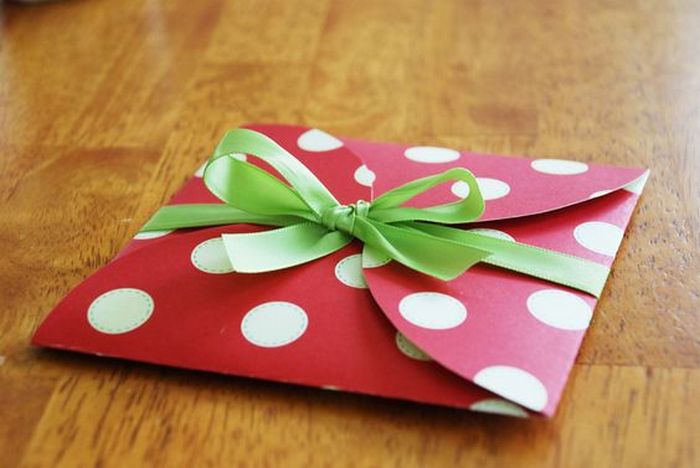
This easy DIY project is perfect because it gives the recipient the feeling of opening up a present!
And it’s not just an easy project! This cute and easy envelope can save you money if you already have some beautiful thick paper and a few ribbons in your crafts stores. You just have to look into your supply and be creative!
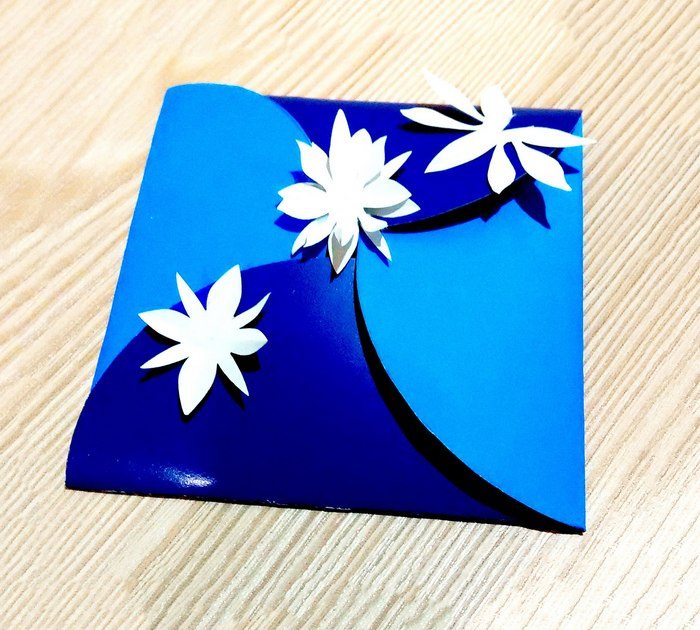
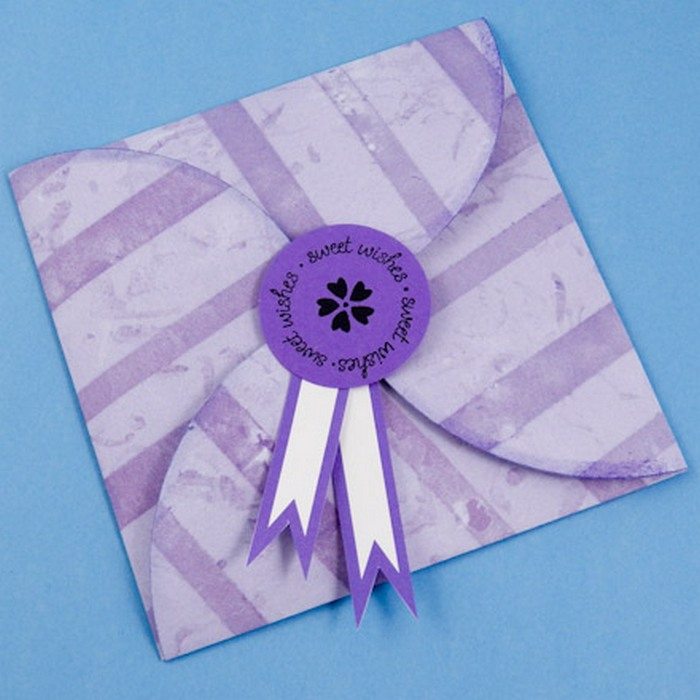
This crafty idea can also come in handy when you’re in sudden need of an envelope for other purposes, and you find out you have none left in your stationery supply. Simply replace the materials with a more appropriate design or look. For the card stock paper, choose plain instead of the ones with patterns. And instead of a ribbon, use washi tape to make your cute and easy envelope presentable and not unsuitably grand.
So how do we make these greeting cards and letters even more special with some cute and easy envelopes?
Click on any image to start the lightbox display. Use your Esc key to close the lightbox. 8-)


With these few things on hand plus your creative skills, you will have your own cute and easy envelopes in no time!
You’ll need the following tools and materials to create this project.
- Card Stock Paper (150 – 220 gsm)
- Any circular object with desired size (such as can lids)
- Ribbon
- Scissors
- Glue
Contents
Crafting a Creative Envelope
Clever isn’t it? This DIY envelope is really quick and easy! So without further ado, check out the tutorial below!
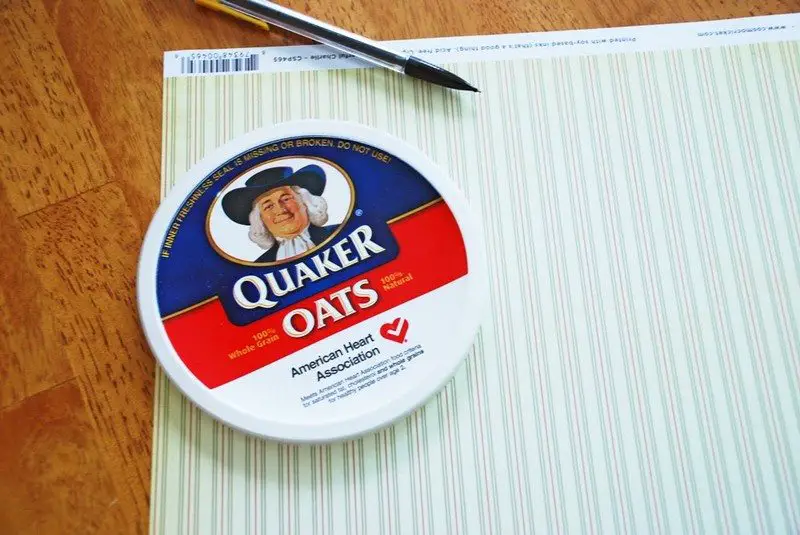
1. Make the pattern
Trace four even circles on your card stock paper. To be sure that these are equal in size, cut one circle, then use this as a pattern for the other circles.
2. Cut the circles
Cut them out as neatly as you can.
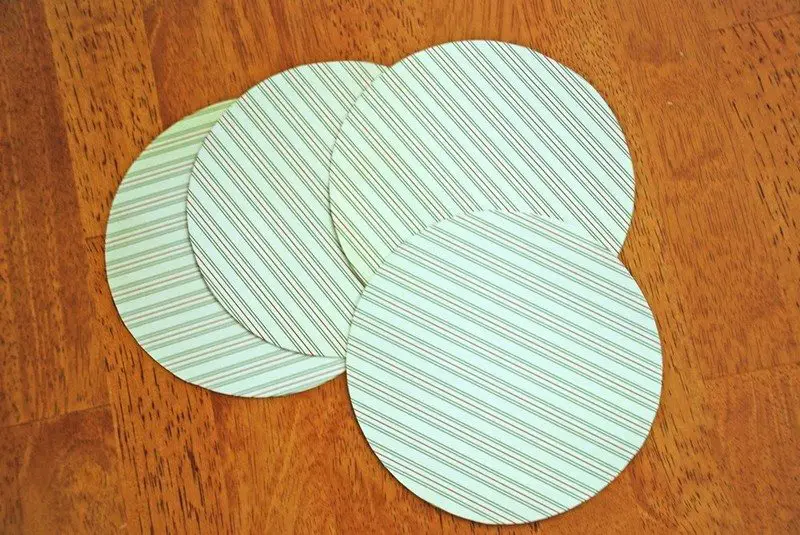
3. Half-fold each circle
Crisply fold each circle exactly in half.
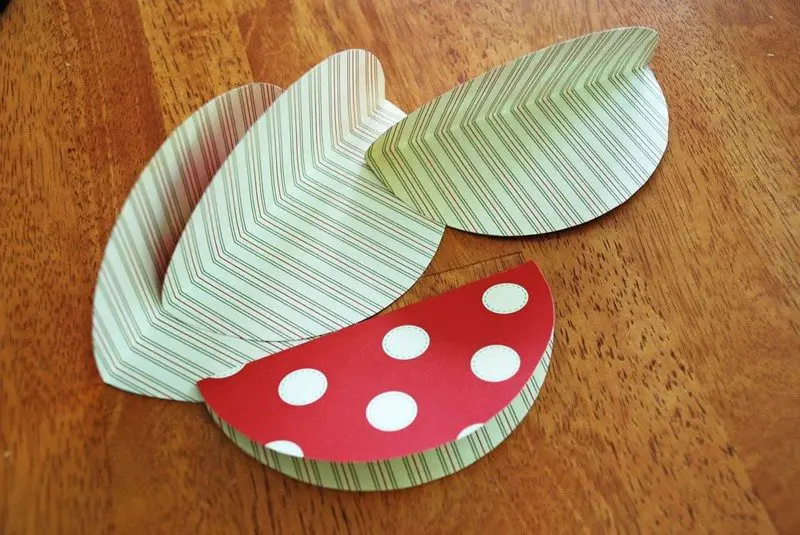
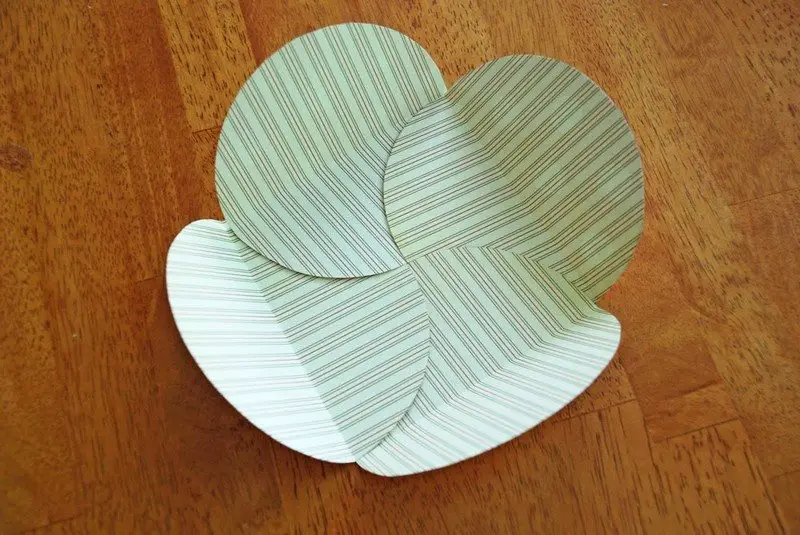
4. Arrange and glue in a square form
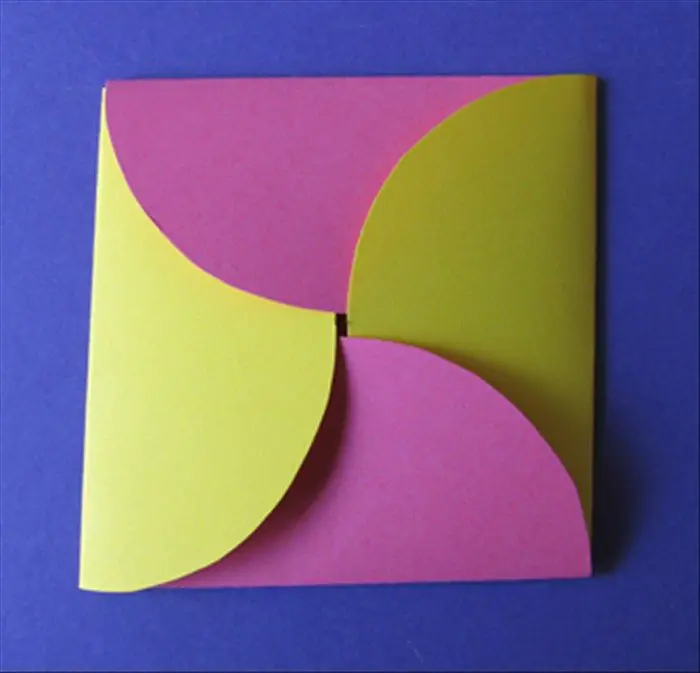
Arrange them all so that the folds form a square, with each circle overlapping the one next to it.
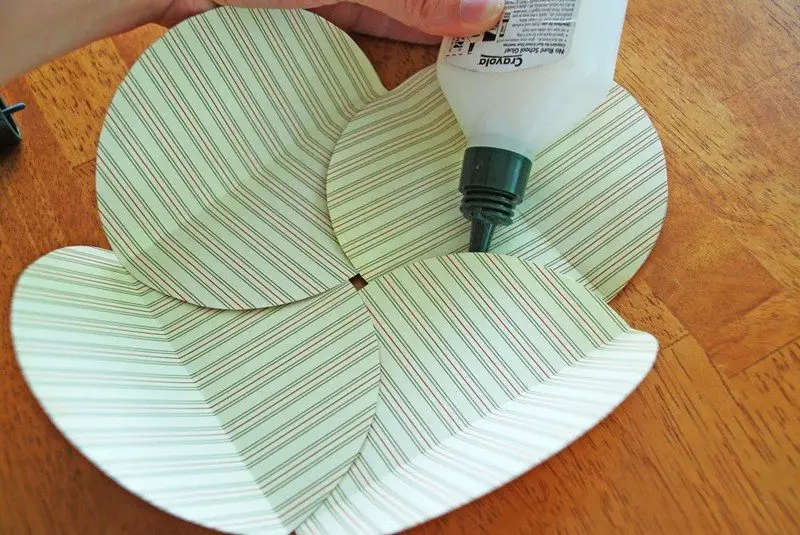
Apply glue in between the overlaps without moving the circles too much. And before all the glue dries up, quickly bring the circles together so that there’s no hole in the center and that the folds are forming a nice square.
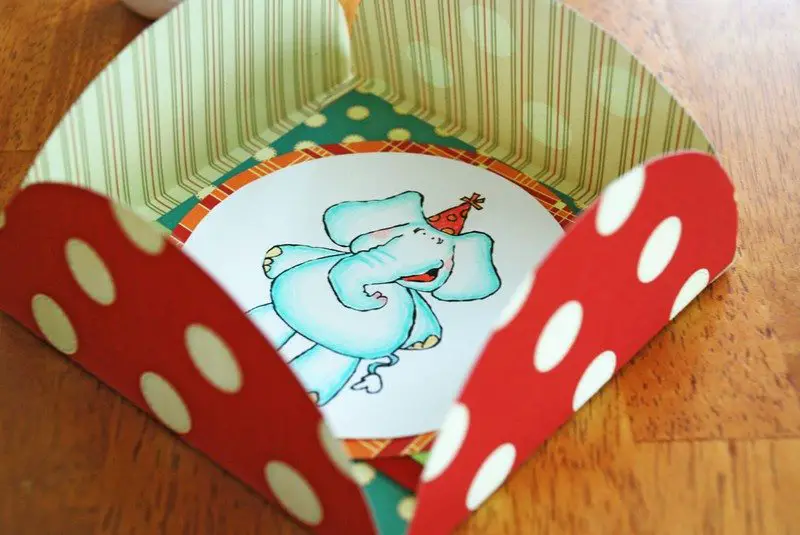
5. Write here or add a small card
You can stick one nice square piece of lighter gsm paper the same size as the square of your envelope and directly write your letter there.
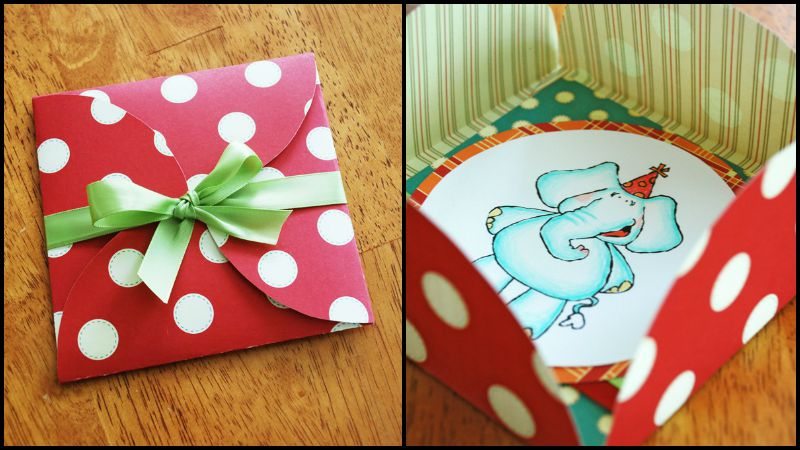
Or you can put a separate card inside…
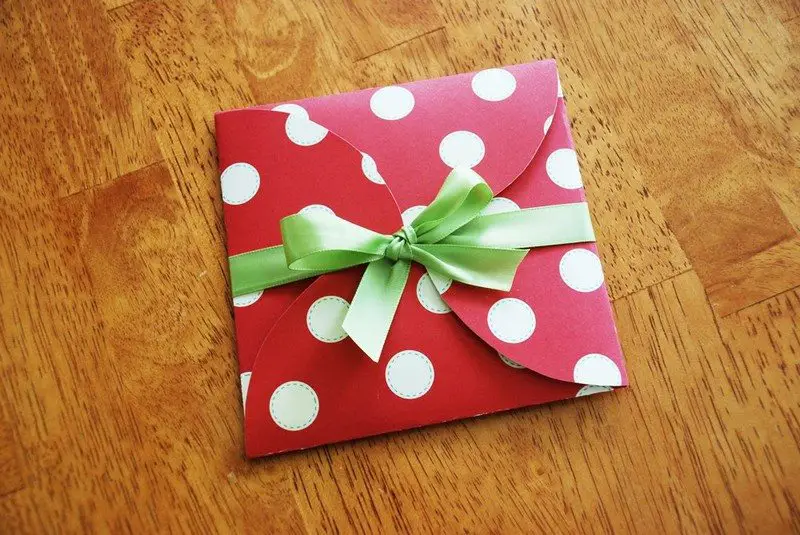
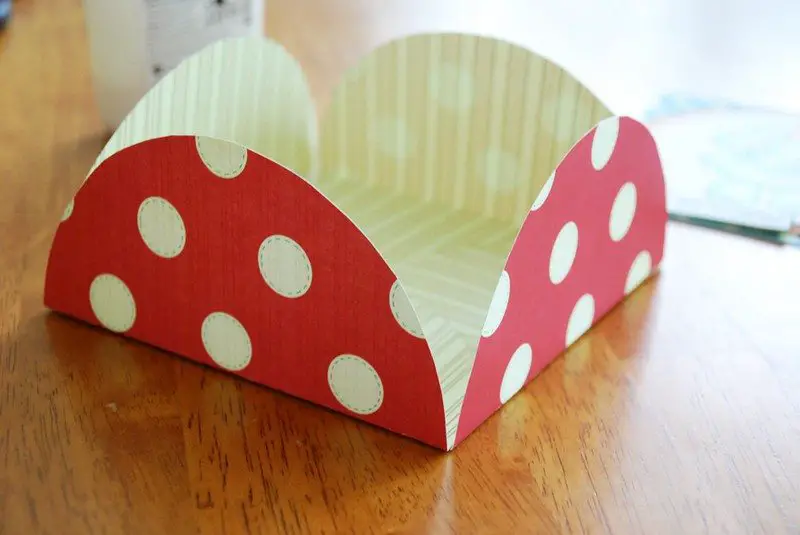
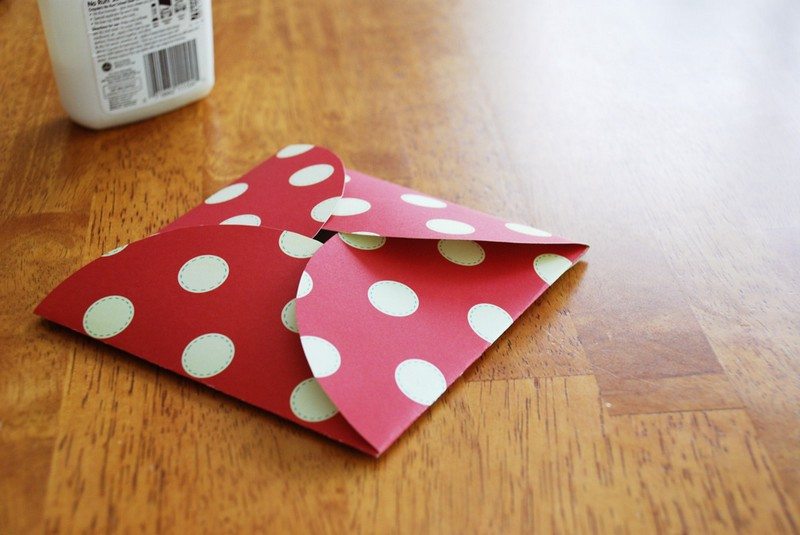
6. Close each flap
Carefully close each flap, each tucked under the one next to it.
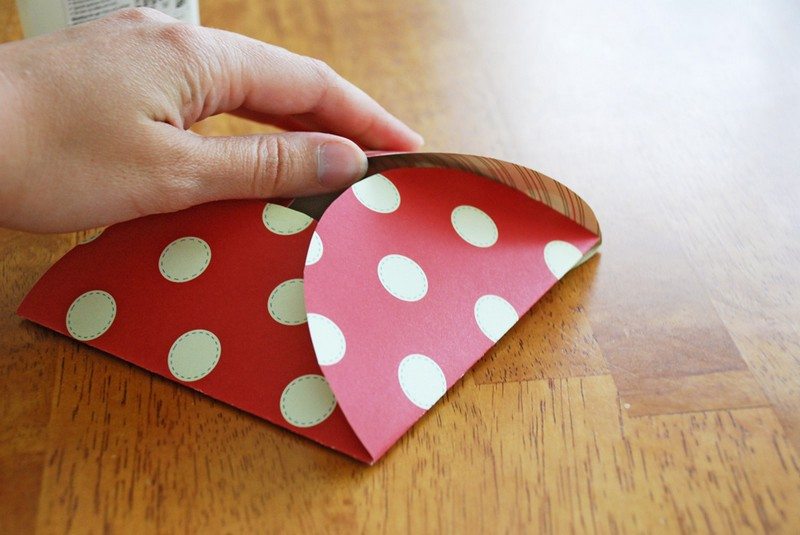
Be careful not to make creases on the flaps!
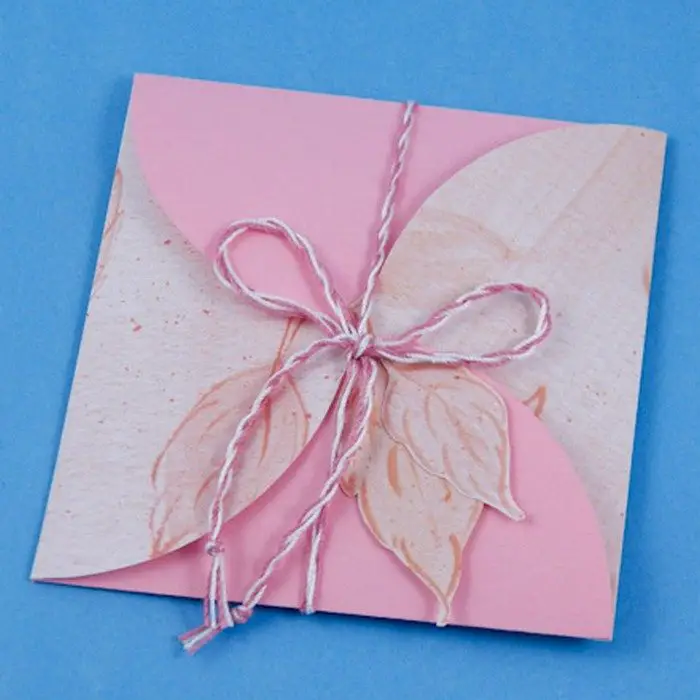
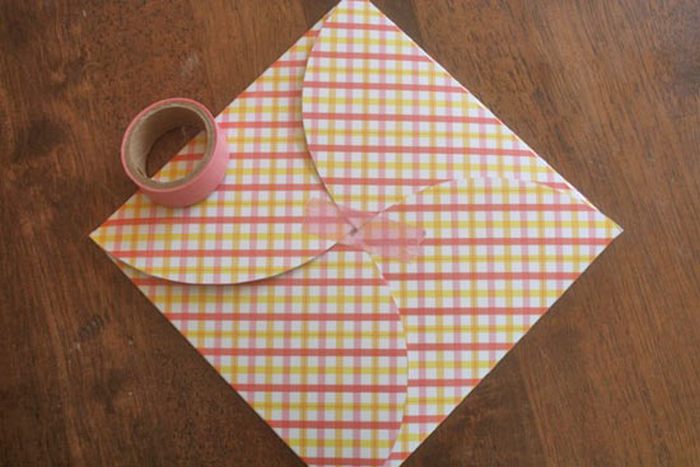
7. Add a ribbon
And finally seal it with a ribbon, just like a present. You can also apply two dots of hot glue gun at the back of your envelope so that the ribbon won’t slip off.
Thanks to ScrapNGal for this creative idea!
Eco-Friendly Materials for Craft Projects
Card and gift holder making can be fun and environmentally beneficial. Use of sustainable materials promotes a greener way of life and helps to reduce waste. Please find attached some environmentally friendly items for your next craft project.
Recycled Paper
Any do-it-yourself project would be well served by recycled paper. With so many textures and colors, it provides a distinctive appearance while using less resources. To be sure you are using the greenest paper available, use that which is produced from post-consumer trash.
Organic Cotton Fabric
For a more robust and washable choice, think about selecting organic cotton cloth. Produced chemical-free, this substance is biodegradable. It gives your works a plush, tactile feel and is simply embellished with natural dyes or fabric paints.
Seed Paper
Biodegradable paper containing seeds is called seed paper. Planting it after usage allows you to produce veggies, herbs, or flowers. This cutting edge material encourages gardening and environmental consciousness while reducing trash.
Natural Dyes and Inks
Choose natural substitutes derived from fruits, vegetables, and plants in place of synthetic dyes and inks. These provide brilliant colors without using any dangerous chemicals to color your paper or fabric. Beet juice, for instance, yields red, spinach, green, and turmeric, yellow.
Bamboo Paper
Growing fast and requiring little pesticides, bamboo is a very renewable resource. Bamboo paper is robust, pliable, and ecologically benign paper. Sustainable crafts will find its distinctive texture and natural appearance to be perfect.
Biodegradable Adhesives
Many times, traditional glues include environmentally damaging substances. Select biodegradable adhesives composed of cellulose or starch. The earth and your efforts are safe with these.
Upcycled Materials
Utilising recycled things from around your house, get creative. You can make lovely elements for your crafts out of old maps, book pages, magazine covers, and fabric scraps. ” This method gives your creations a personalized touch in addition to cutting waste.
Hemp Twine
One excellent environmentally friendly choice for binding or ornamental uses is hemp thread. When compared to other crops, hemp grows fast and needs less resources. Perfect for ecological crafts, it is robust, long-lasting, and biodegradable.
Selecting these environmentally friendly materials allows you to make distinctive, lovely creations that are also good for the environment. As you create, embrace sustainability and encourage others to follow suit.
Enhancing Craft Projects with Technology
Technology has changed how we tackle a lot of do-it-yourself jobs, including crafts. Using current equipment and methods will improve your works and make them more detailed, complex, and unique.
Here are some technologically enhanced craft projects.
Digital Design Software
Digital design software utilization is one of the biggest developments in craft. Simple programs like Adobe Illustrator, CorelDRAW, and even free ones like Canva let you easily create complex patterns and layouts. Before completing your project, you can design elements, add individual text, and make your own templates. Particularly helpful is this for making exact and original patterns for cards and other paper crafts.
Cutting Machines
Crafting has been transformed by cutting machines like Silhouette and Cricut. Using digital files, these gadgets cut a variety of materials with astonishing accuracy, from paper and vinyl to cloth and leather. Your patterns can be designed in digital software and then sent to the cutting machine for a perfect cut. With the time and accuracy this technology guarantees, you can produce intricate designs that would be challenging to do by hand.
Laser Cutters
Unmatched accuracy and detail are offered by laser cutters for more complex jobs. Using a laser beam to cut or engrave materials, this equipment lets you make elaborate designs on glass, acrylic, wood, and more. Laser cutters can also be used to engrave patterns or names as decorative components to your creations. While more costly, laser cutters provide countless options for detail and personalization.
3D Printing
A whole new realm of artisan opportunities is made possible by 3D printing. Custom stamps, embossers, and even ornamental components can be made with a 3D printer to use on your projects. Use Blender or Tinkercad to design your things, then print them in plastic, resin, or even metal. High customizing is possible with 3D printing, which may also realize your artistic ideas.
Digital Calligraphy Tools
Though it takes talent and practice, traditional calligraphy is gorgeous. and tablets and digital calligraphy tools, such the iPad and an Apple Pencil, you can easily produce beautiful handwritten drawings to your envelope. With a large selection of strokes and effects emulating actual calligraphy instruments, apps like Procreate let you digitally experiment and hone your style. Your designs are then printable or usable in digital projects.
Printing Techniques
Addition of fine text and images to your envelope projects has become easier with the use of contemporary printing methods like inkjet and laser printing. Your creations are printable on paper, fabric, and vinyl among other materials. Superior prints made possible by this technique can be used to make invitations, cards, and other items. The options are vast with a decent printer and design software.
Technology can let you craft at a degree of accuracy and inventiveness that was before unthinkable. Using anything from 3D printing to digital design, these technologies can help you realize your ideas in novel and fascinating ways. Accept these technical developments and see how they might improve, personalize, and professionalize your craft efforts.
Conclusion
Creating unique envelopes with modern technology adds a personalized touch to your cards and gifts. It allows you to explore new design possibilities and achieve professional-quality results. Embrace these tools to make your crafting projects more innovative and enjoyable.
If you liked this project, you might also like to view DIY Mug Art for your gift ideas…


